Endurance (1912) - Occre, Scale 1:70 - My First Shipbuilding Adventure

You did NOT !!!!!!!! :oops:
Yeah. He only did one song. There was a lot of trouble with the Hells Angels. About 20 of them got up on the stage with him. Playfully like, but I don’t think he was impressed. He duck walked off the side of the stage and never came back. Roy Wood also refused to perform. There was nearly a riot and the promoters legged it without paying the bands. The site was halfway up mountain bitterly cold with rain and fog. My friend and I were mugged by the Angels, who took our smokes away. We had no tent, but just wrapped ourselves in sheets of plastic.

Ah, those were the days.
 
Where do you start ?

Generally, I like to start from the bottom and the top, meeting in the middle somewhere. I do a top one each side and then a bottom one each side, have a break and repeat.

Occre.jpg

It was this gap that confused me but now I understand why it's there. It's only where you haven't finished filling in the quarterdeck area, right?

Also, don't forget to take those pins out when the glue's set.
 
No pics tonight as I'm only making slight progress with the planking due to a) shot nerves and b) shot nerves.
Well, I sort of exaggerate, but only a tad :p
I think my phobia is those damned nails, I'm finding I have no choice in places but in the fore of my mind I'm constantly thinking how to
sand with that nail there, then move on.
So I'm doing my very best to shape and bend, dry fit, then "tack" the plank in place (nail driven only 3/4 way) so I can remove the tacks when the glue has dried.
And that restricts me somewhat in doing the next plank, but I've worked it out that my average planks per evening x glue setting hours divided by
the last thing I thought of I should have the hull ready for sanding by my 114th birthday.
Happy Daze Thumbsup:)
 
So I'm doing my very best to shape and bend, dry fit, then "tack" the plank in place (nail driven only 3/4 way) so I can remove the tacks when the glue has dried.

That’s the way to do it. That and patience.

While waiting for the glue to dry you could be working on the boats, masts and so on. I know you want to keep moving forward at a zillion miles an hour!
 
Challenge accepted :p
On the plus side if all else fails I could just discard the ship, keep 3 disheveled and bashed about lifeboats and make a diorama of the landing on Elephant Island
ROTF

That was a typical Shackleton moment of idiocy. He decided that one particular member of the crew should be first to set foot on the island and threw him over the side of the boat onto the beach where he collapsed because he was the one member of the crew with frostbitten feet.
 
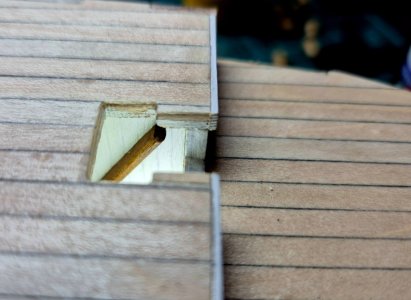
Well, managed 3 more planks this afternoon, but following some experienced advice I looked at commencing other parts of the deck fittings while the planking process was in motion.
15 (2).jpg 15 (3).jpg

I've been giving a lot of thought about "The Ritz", the cabin in the middle.
I didn't want it to look like a white box with portholes in it, I needed a little character, and after I managed a timber effect on that little false wall,
12 (2).jpg

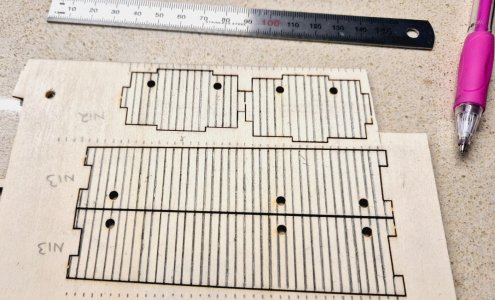
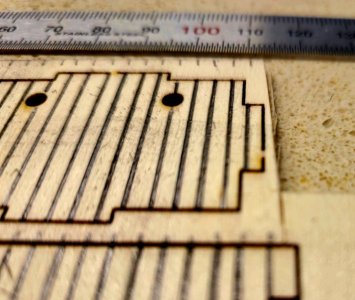
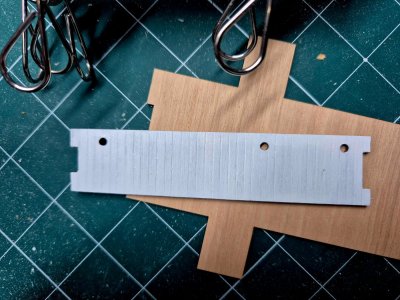
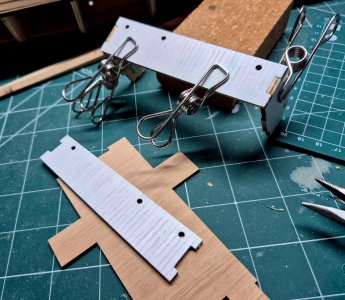
I thought I could add a little detail by making the walls of the Ritz look like its made of timber slats.
The effect was done by gently running a pencil along the wood at 3mm spaces, luckily they were all with the grain, this gave a slight indent and when painted was enough of an illusion for me.

13 (2).jpg 13 (3).jpg 15 (1).jpg15 (4).jpg

Well it's a start at least, I'd love to hang a jacket by a door or something but we'll see later. :p
 
Well, managed 3 more planks this afternoon, but following some experienced advice I looked at commencing other parts of the deck fittings while the planking process was in motion.
View attachment 479976 View attachment 479977

I've been giving a lot of thought about "The Ritz", the cabin in the middle.
I didn't want it to look like a white box with portholes in it, I needed a little character, and after I managed a timber effect on that little false wall,
View attachment 479981

I thought I could add a little detail by making the walls of the Ritz look like its made of timber slats.
The effect was done by gently running a pencil along the wood at 3mm spaces, luckily they were all with the grain, this gave a slight indent and when painted was enough of an illusion for me.

View attachment 479979 View attachment 479980 View attachment 479975View attachment 479978

Well it's a start at least, I'd love to hang a jacket by a door or something but we'll see later. :p

The possibilities are endless.
 
Cat checking in just to let you know I'm still about................just.
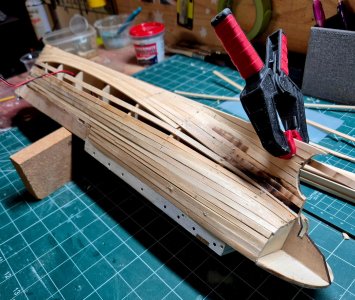
Making progress with this planking lark, but oh boy I'm just as nervous as before I started.
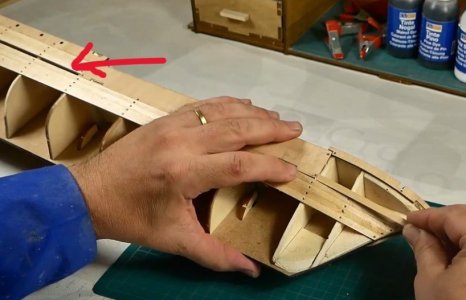
Doing my very best to follow Mr O'Ccre's pictorials and tutor vids, but somehow it's just not the same in real life, but I guess that's Hollywood for you.
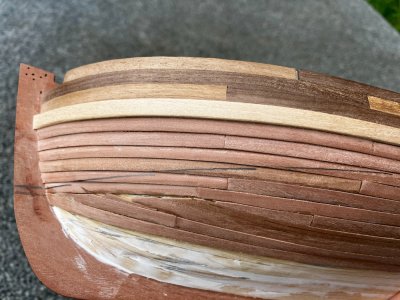
I recall a kind mentor on here saying it's very important that prior to planking, it's important that you "blend" the bulkheads along the length, GREAT advice, not sure if I managed to get them as right as would have liked now I'm 50% through it, but I can clearly see how important it is.
I also got the advice to resist he urge to sand "on the fly", that's a real hard one to resist, I sooooo want it to look like a proper hull and not a bunch of Lolly sticks stuck to the bottom of a dirty dumpster.
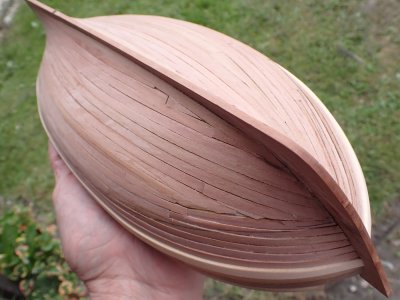
There are areas where I keep looking at all angles, hoping on hope that when I do get to sand it will be somewhat resembling the hull of my dear Endurance.
That's another quandary I have.
What does the hull of the Endurance look like ??
I know there are the photos on the box of course, and a few on line of the real ship but none clearly shows the true contours, am I overthinking again ?
Probably.
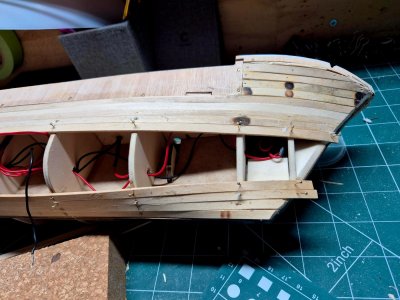
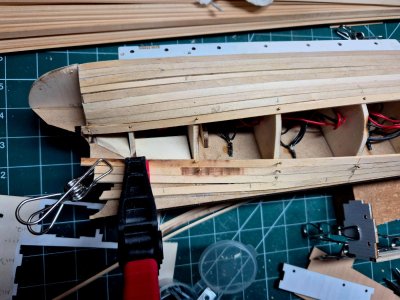
In these pics (I shudder to post) you can see at the point at the hull/rudder/keel there's a definitive sharp internal corner where a nice smooth transition should be.
These are the areas I'm getting sleepless nights over.
So I bought some wood filler as a security blanket..................
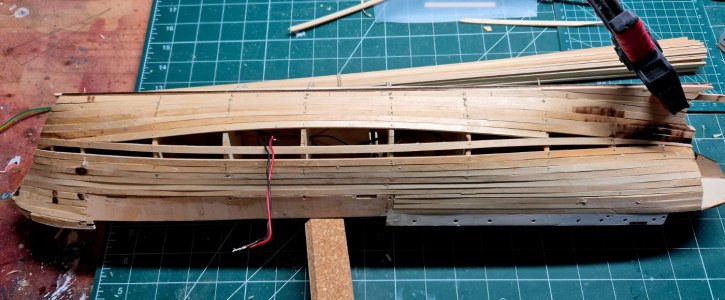
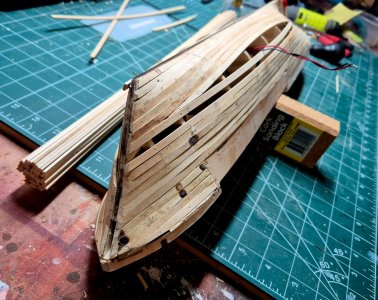
16 (2).jpg 16 (1).jpg

16 (3).jpg
 
You are doing well, Cat. Look at other build logs and you’ll see that even those who’ve done lots of boats still expect to fill and sand, fill and sand.

IMG_1257.JPG

That's the second planking on my Alert, but since it was going to be coppered it was like a first planking in that it didn't matter what it looked like as long as it was capable of carrying the next layer. Above the waterline I took a lot of care but below the copper, no worries mate!

P8050036.JPG

Rough as a badger's bum in the first pic, and still looking horrible after sanding but a nice smooth shape to mount my copper tiles on. I don't think I used filler, can't remember, but see how I used scraps to fill gaps.

The best thing you can do is stop worrying, relax and enjoy yourself. Even if you mess up, wooden boats are always repairable...
 
Last edited:
You are doing well, Cat.
I've been looking forward to your response Smithy mate (no pressure) I find your advice always honest and to the point, and more than that, no matter which way its aimed its always encouraging Thumbsup:)
Still unsure what to do with that wire though, I tried a 2 wire connector from a local store, it was small enough (ish) but to push it together and then pull apart was a challenge.
You know what its like when you pull open a packet of Smiths crisps at the bar and it goes everywhere ?
Well that's how I imagined would happen to my ship if/when I needed to unplug at any point, so still working that one out.
Dying to get this primary planking sorted, I was born impatient, but the want of a decent outcome is teaching me (forcing me) to step back, which is precisely what I was hoping she would do even before I bought her.

Going swimming today.
Cat
 
I've been looking forward to your response Smithy mate (no pressure) I find your advice always honest and to the point, and more than that, no matter which way its aimed its always encouraging Thumbsup:)

I look forward to your comments on Alert too. :)

Still unsure what to do with that wire though, I tried a 2 wire connector from a local store, it was small enough (ish) but to push it together and then pull apart was a challenge.
You know what its like when you pull open a packet of Smiths crisps at the bar and it goes everywhere ?
Well that's how I imagined would happen to my ship if/when I needed to unplug at any point, so still working that one out.

We’ve all done that with a packet of something. I tore open a family sized bag of Malteasers in a cinema back when the floors sloped and there were no carpets.

Rattle roll rattle roll rattle….

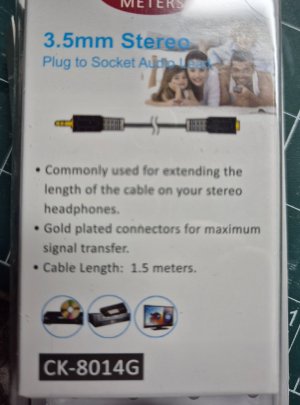
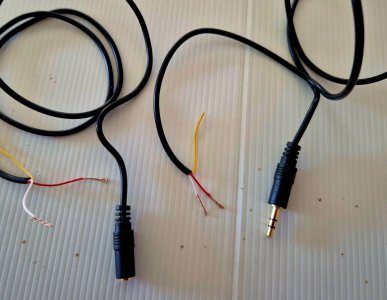
Can’t you just leave the wires sticking out for now and fit a little flying plug and socket later. Maybe a 3.5mm headphone jack.

Dying to get this primary planking sorted, I was born impatient, but the want of a decent outcome is teaching me (forcing me) to step back, which is precisely what I was hoping she would do even before I bought her

Enough of this lusting after instant gratification. Go tantric, make it last.

Going swimming today.
Cat

Cats don’t like swimming
 
Maybe a 3.5mm headphone jack.
You are a damned genius my friend.
Purchased said jack from a 2 dollar shop not far from our swimming hole this morning.
I'll make a block drilled to size and attach to a bulkhead, fix the female end flush (almost) to the finished planking. Perfect.

17 (2).jpg 17 (1).jpg
Absolutely wrapped !! Thumbs-Up n.b. - wrapped = extremely pleased

Tested it this afternoon and worked perfectly,..... BUT !!!!!
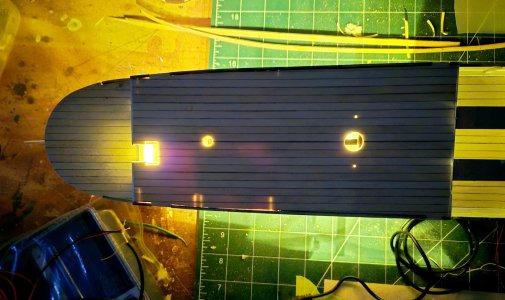
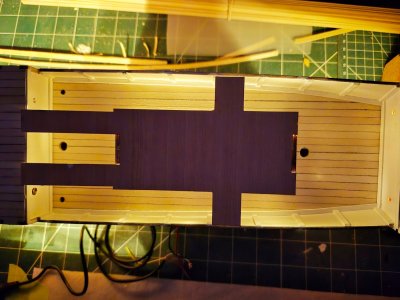
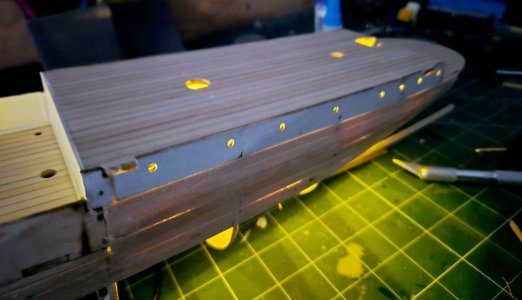
I did notice something to my horror :oops: - You can see light through the decking :oops:
As luck has it, I could still JUST about reach through the almost completed planked side and literally daubed and splashed like a mad womans spit wherever I could so I got 90% of the starboard side, the port side was easy as it's still in the early stages.
Thing is, in total darkness in my garage, the LED's in bloom, you genuinely CANNOT see where the light penetrates anywhere, not even close up, but hover a phone camera over it and it sticks out like the Bat Signal.
17 (7).jpg 17 (6).jpg 17 (3).jpg
All that said, I tried my darndest to omit as much as I could, and then got to thinking logically.
Where it will be displayed will not be in total darkness, and will be rarely seen through a phone lens, so I'm not going to stress about it.
The photos look waaaay worse than it is, there are a few spots on the outside of the bulkheads on the rear decking but that's where
the dog kennels are placed so no biggie.

Big lesson learned here:
If I ever decide to add LED's on another project, I'll make sure it's blocked out in all unwanted areas prior to assembly
 
Warning ship’s boats are tiny. I find them very difficult. In fact I have never managed to finish one
IMHO kit or scratch boats really are not any more (or less :) ) difficult than a full size model. LIke anything else the first ones may not be perfect but it gets easier with practice. The hardest thing at times is finding good information for a specific boat type and size. W. E. May's book Boats of Men of War and a chapter in Brian Lavery's The Arming and Fitting of English Ships of War are good sources and there are a number of contemporary drawings on the RMG site in low resolution and the Wiki Commons site in high resolution. Scantlings can be found in May's book, Steel's Elements and Practice of Naval Architecture and Scantlings of Royal Navy Ships. The topic here at SoS may be a little help as it gives a step by step description from drawing to finished boat including a very small one at 1:96 scale. https://shipsofscale.com/sosforums/threads/building-a-ships-boat.14490/
Allan
 
If I ever decide to add LED's on another project, I'll make sure it's blocked out in all unwanted areas prior to assembly

Of course! Glue and to an extent, thin wood is translucent. That's not something I would have anticipated.

I would use aluminium foil as a light blocker if I ever fitted interior lighting. And maybe make the lights a lot less bright. Curiously, as an ex-electrician, wiring up a model is the very last thing I want to do but never say never.

Oops I said it! Twice!
 
Back
Top