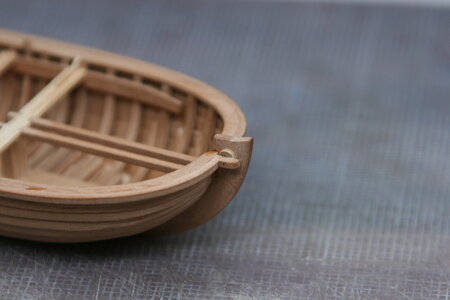
Thanks to Peter's keen observation I have now installed a sheave at the bow (thank you kindly
@PJenssen):
View attachment 344461
Today I dedicated myself to creating the windlass. I imagined all sorts of ways I could make this and settled on trying to use my new(ish) mill. Sadly, I couldn't figure out how to use one of the accessories (remember, I have no skills in the man-arts) and by the time
@Jimsky schooled me I was already done. I may make another one because my goal was to learn how to use my mill.
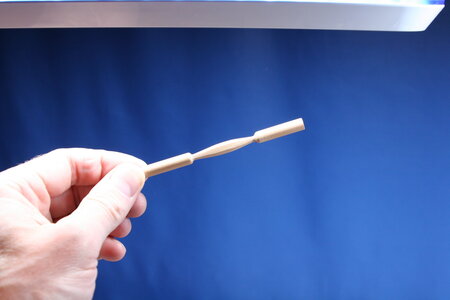
Anyway, what I ended up doing is turn a cylinder on my lathe and then cut in the flat portions using files (the center 1/3rd will have additional faces filed into it thus reducing the bulbous shape).
View attachment 344454
In place:
View attachment 344455
Here you can see the bracket the windlass rests in:
View attachment 344456
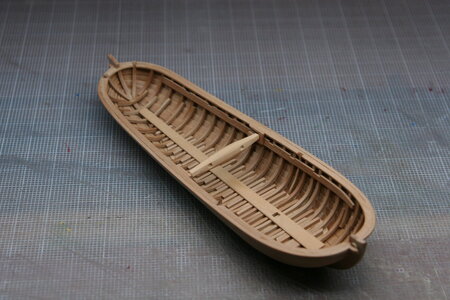
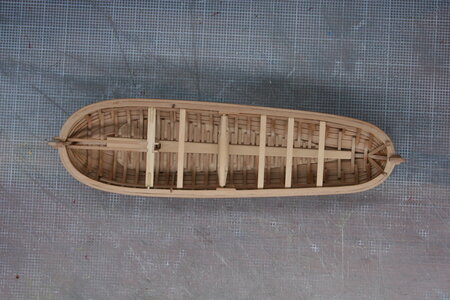
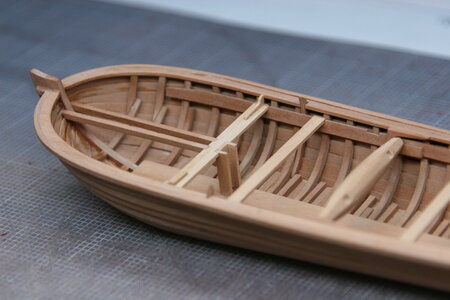
I had a bit more modeling time, so I added the seats. At this point everything is just dry-fit except for the most forward seat:
View attachment 344457
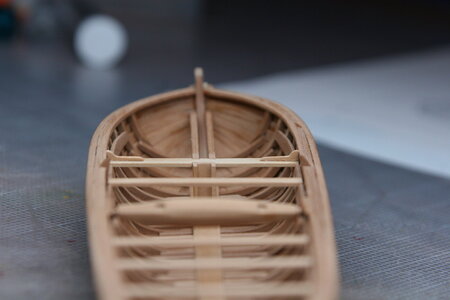
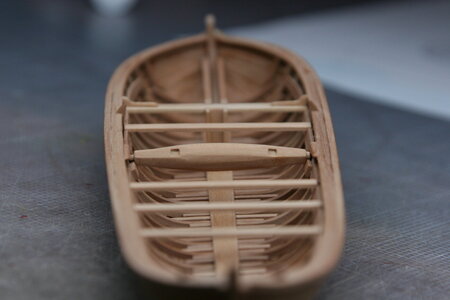
The forward seat has inset into it a shaft/column for the mast, as well as two battens that go forward to the bow. A fiddly bit of construction to be sure...
View attachment 344458
While the middle seats are all removable - the fore and aft seats are fixed in place. I did manage to complete the brackets that hold the forward seat in place:
View attachment 344459
I have reached the tolerance of pearwood with these tiny brackets. The grain is too coarse, and they want to crumble...
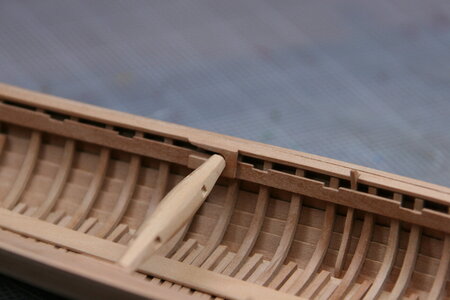
One more look at the windlass as a parting shot:
View attachment 344460
This little boat is just so much fun to work on! More than once I've had thoughts that I could just make these for a while...
I appreciate that you would take to time to visit!


