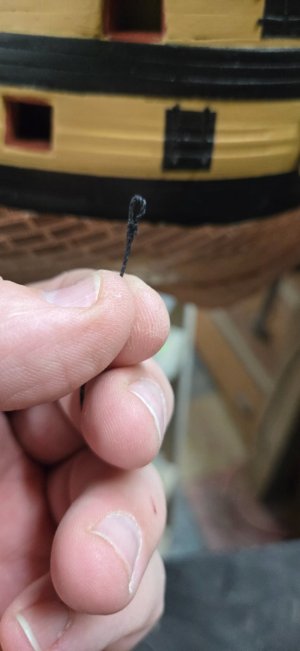
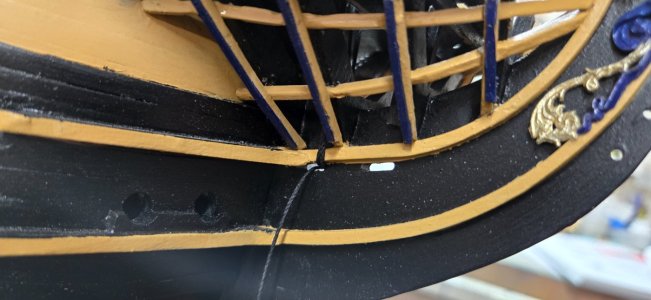
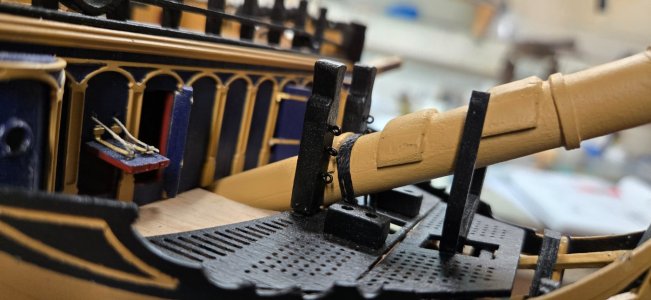
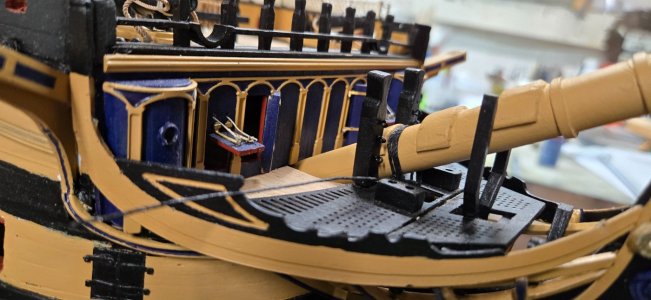
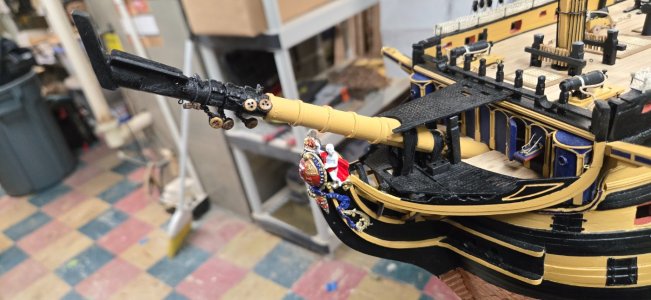
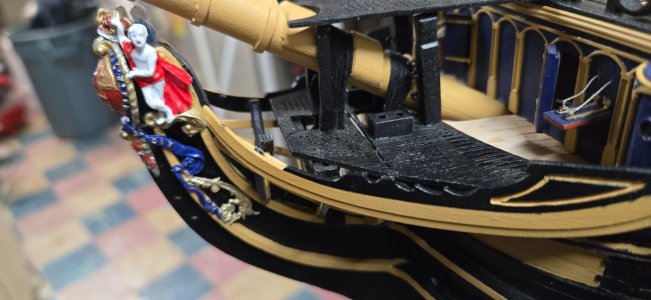
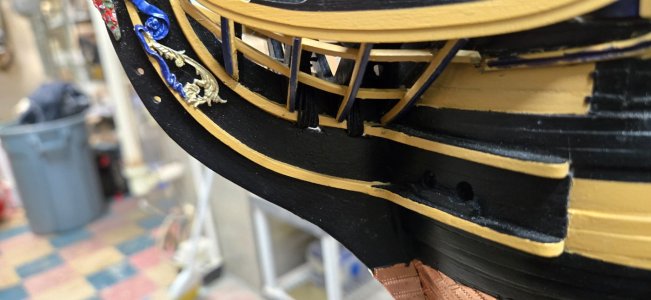
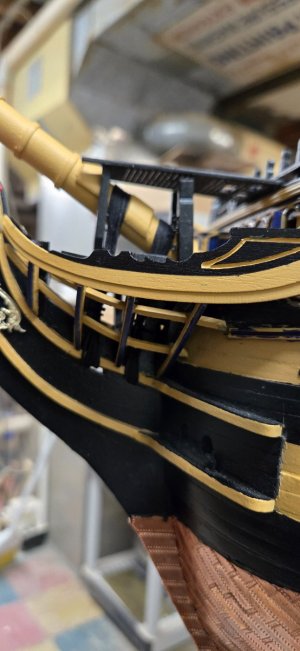
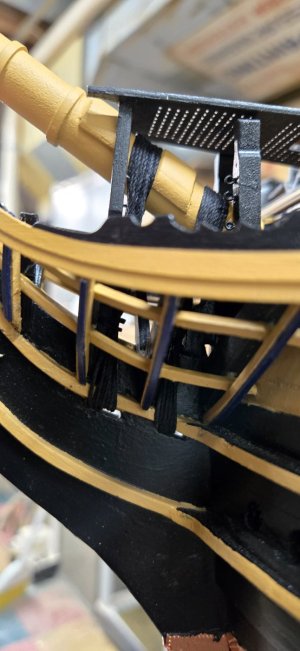
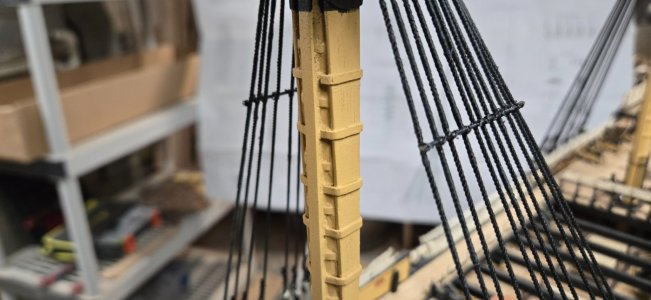
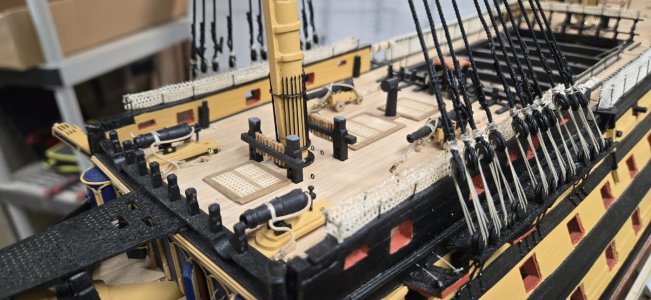
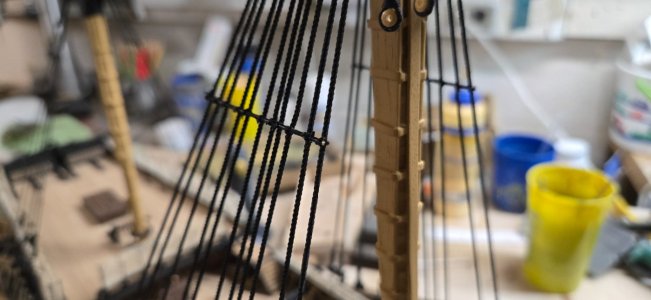
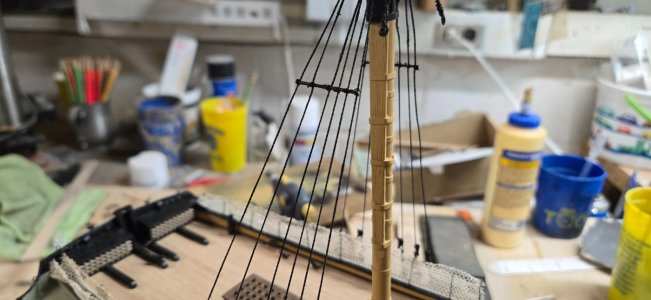
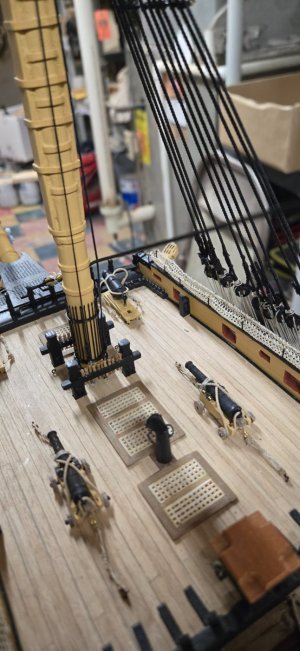
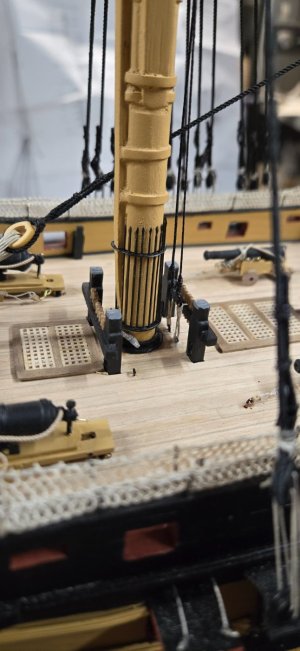
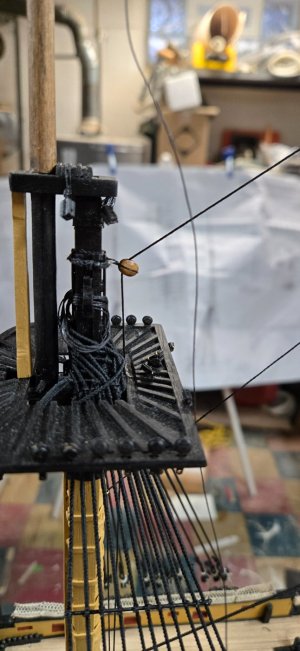
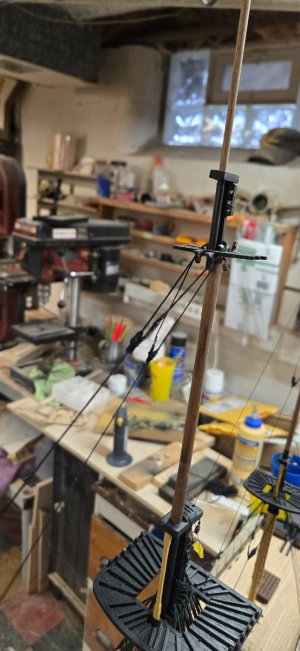
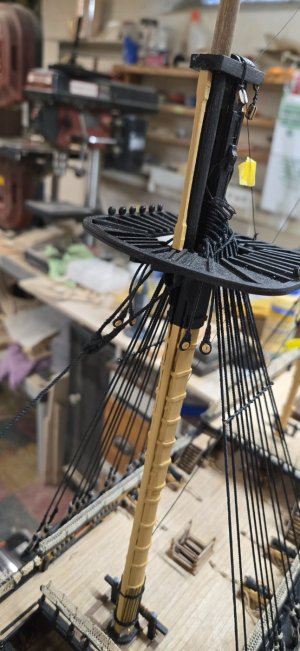
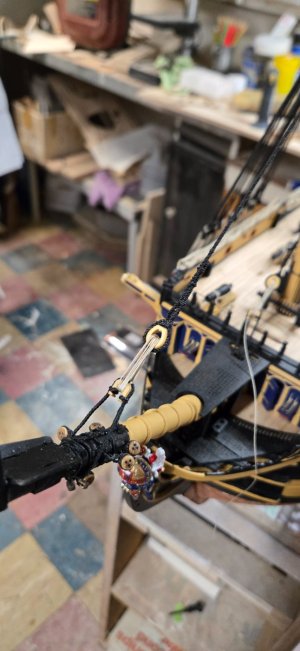
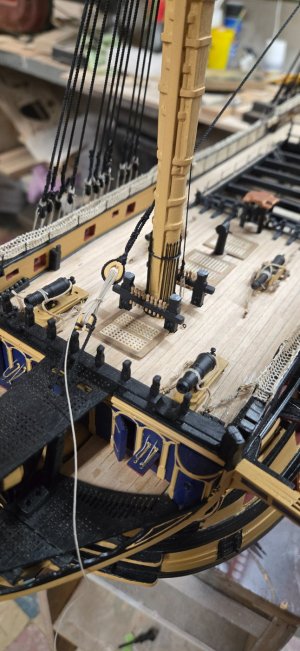
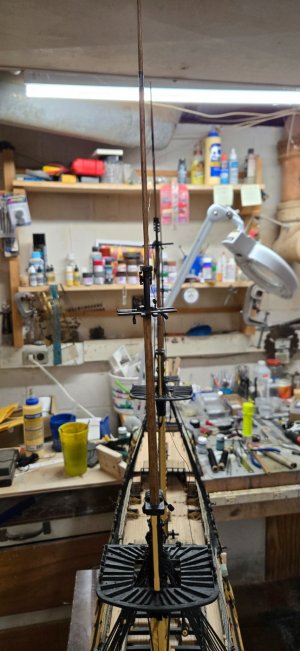
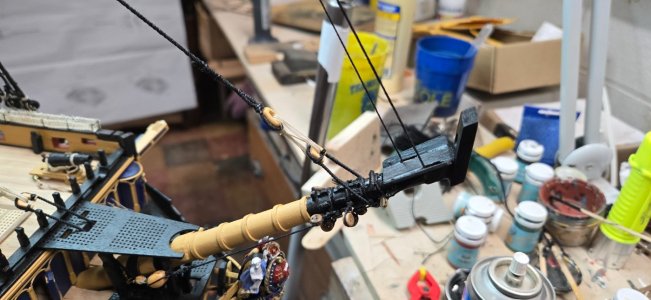
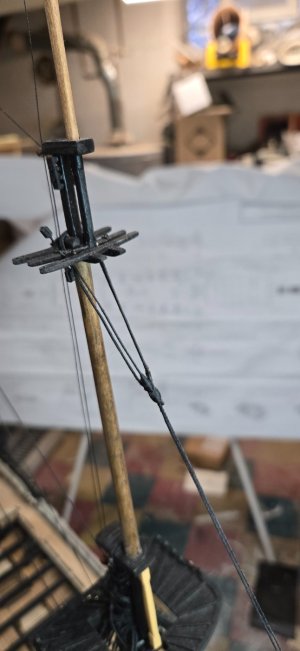
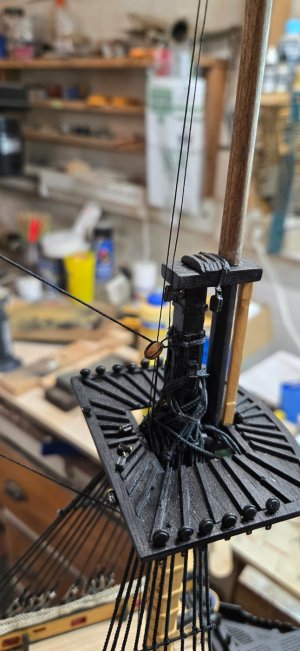
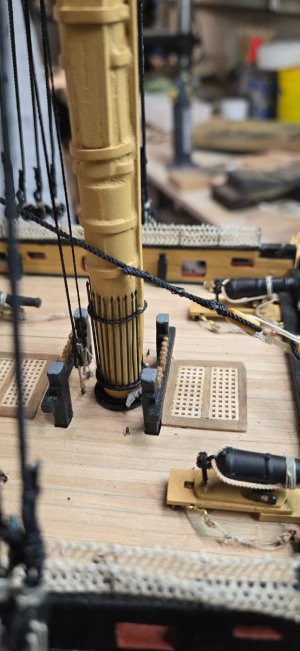
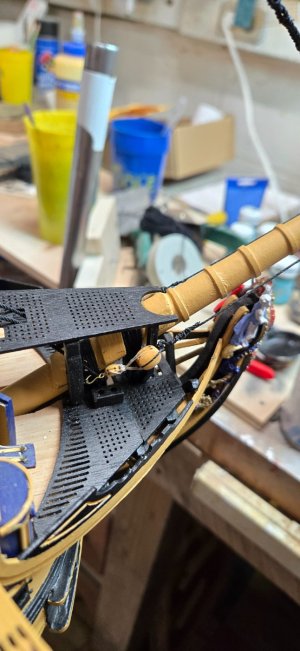
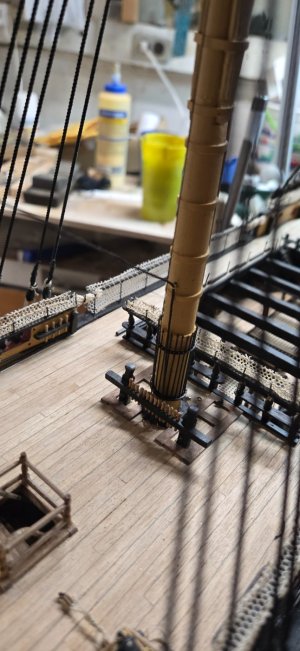
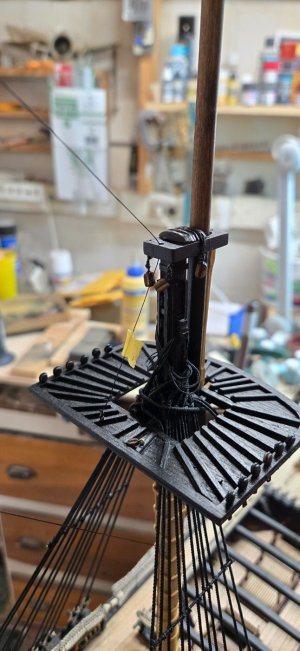
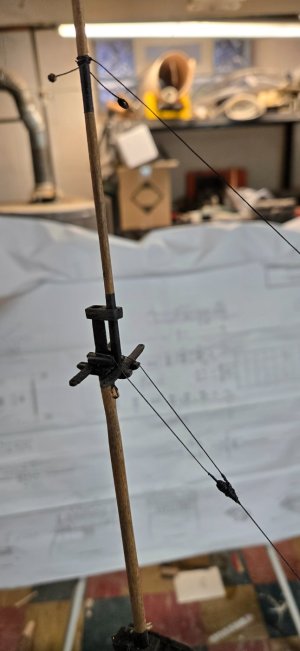
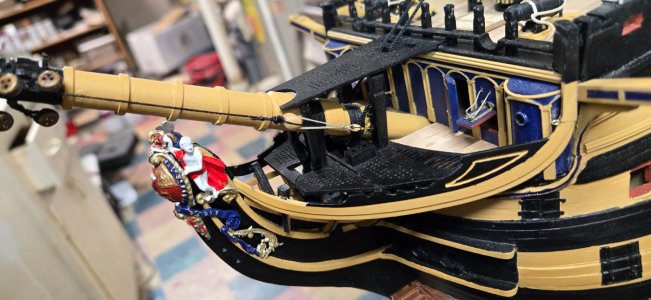
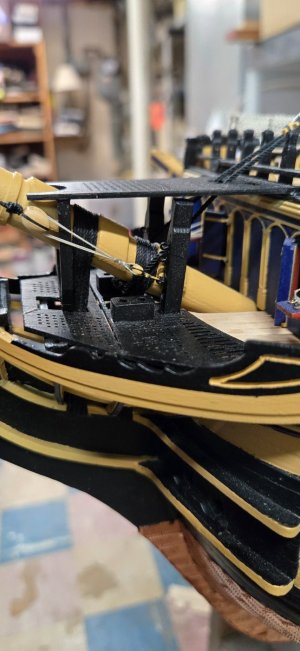
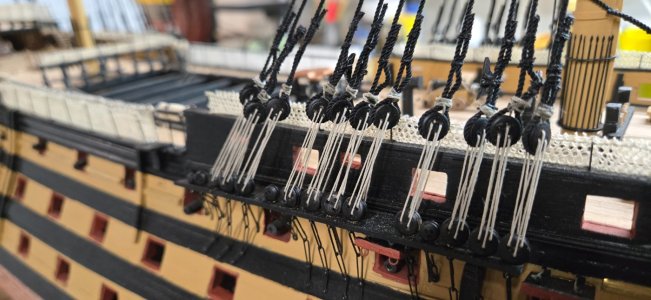
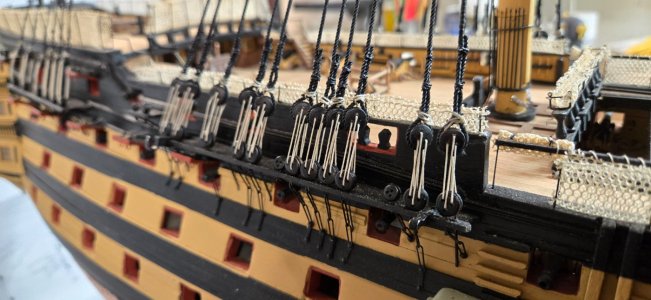
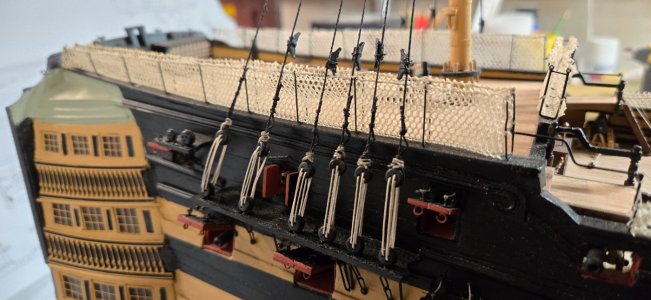
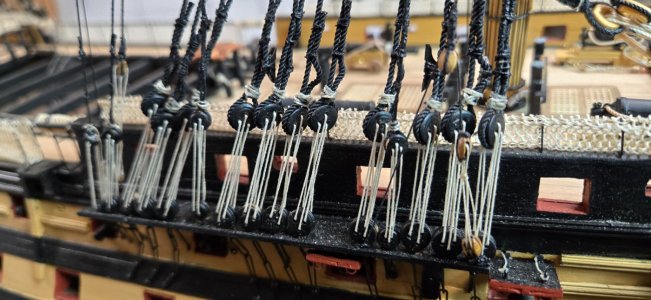
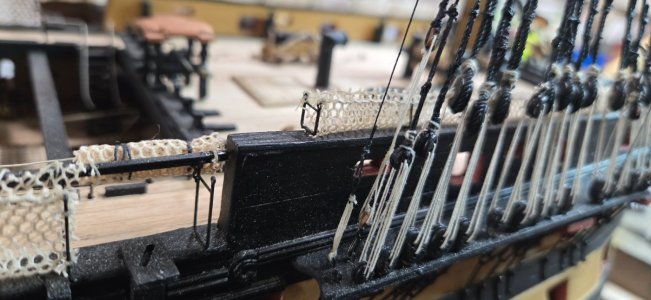
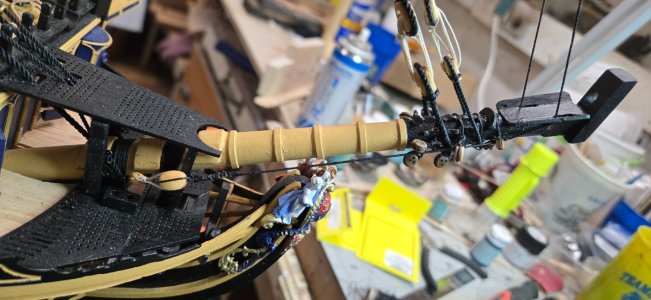
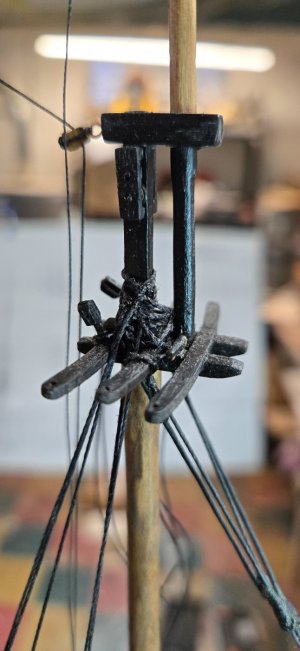
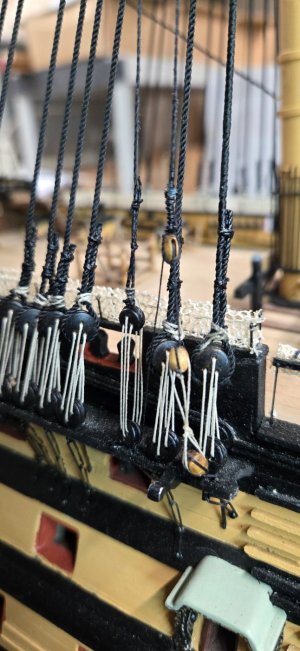
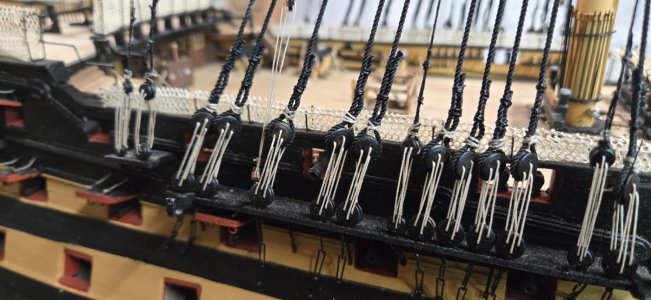
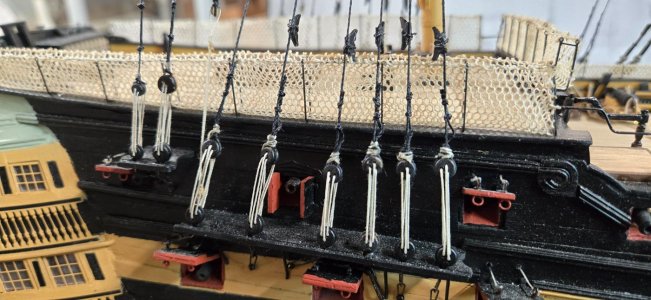
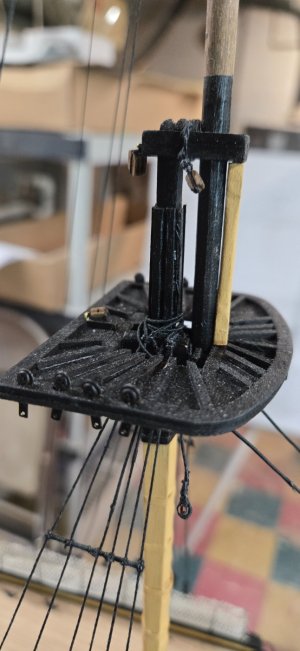
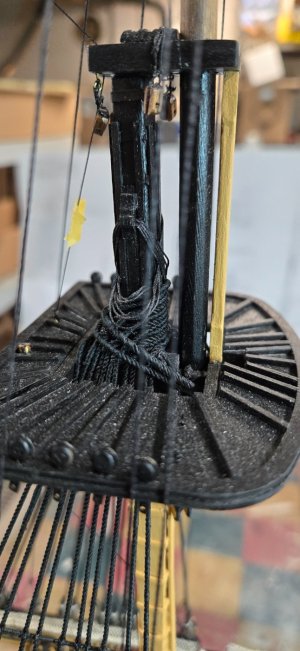
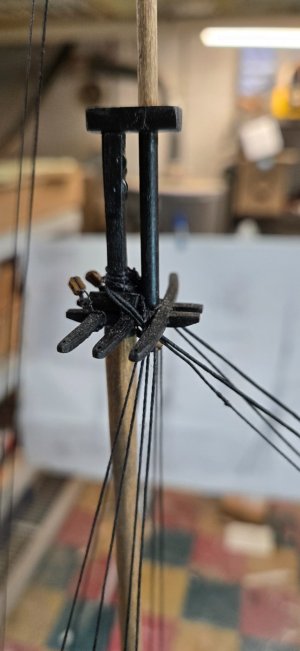
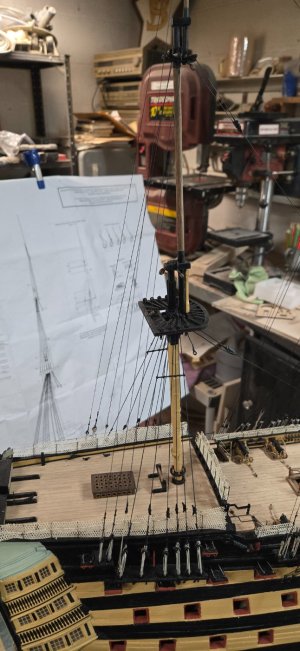
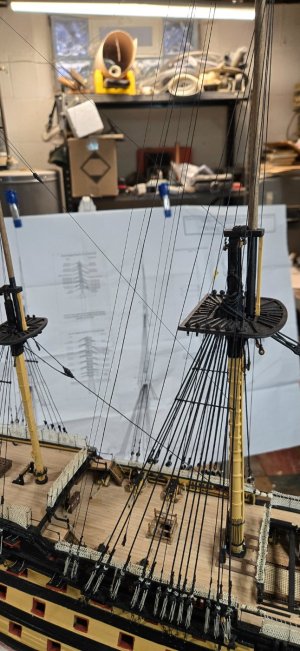
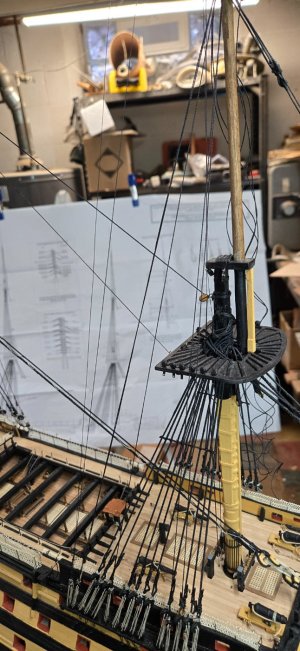
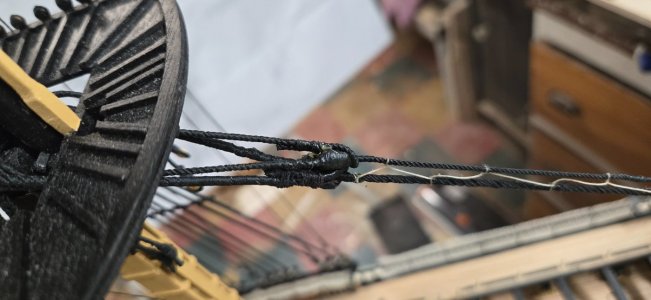
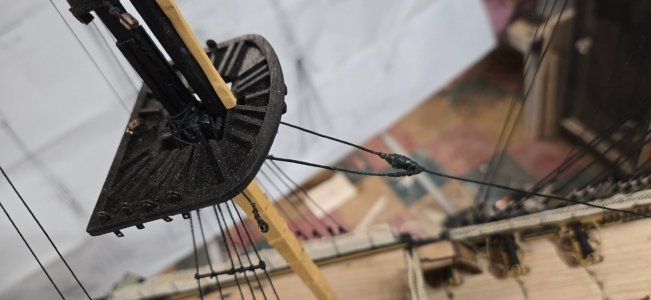
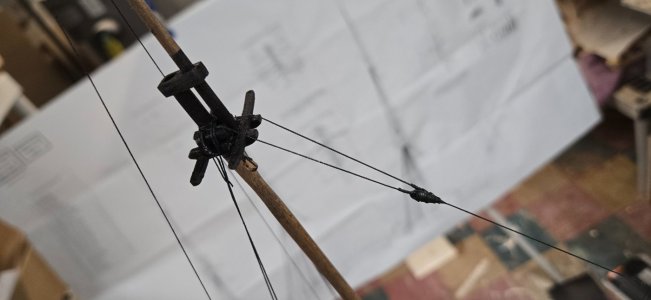
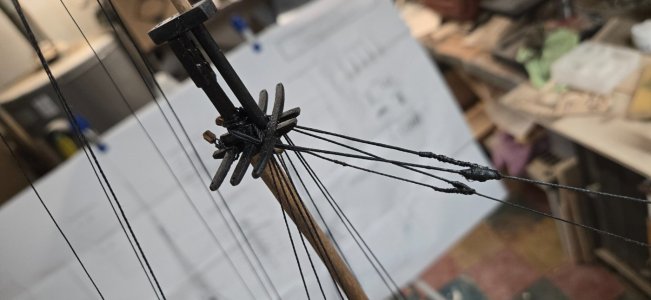
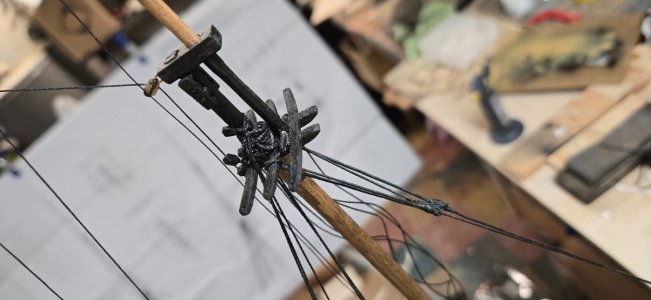
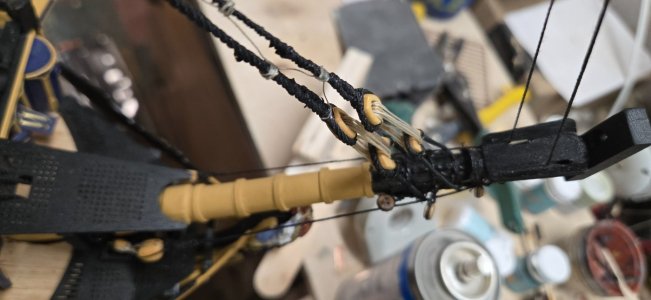
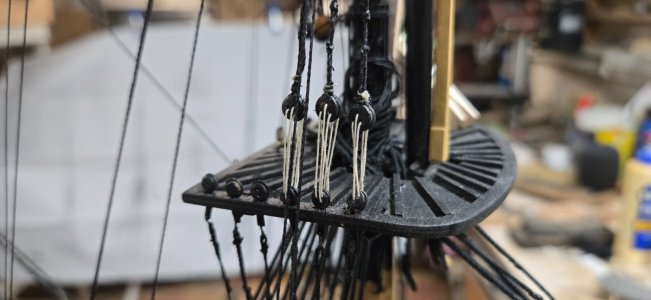
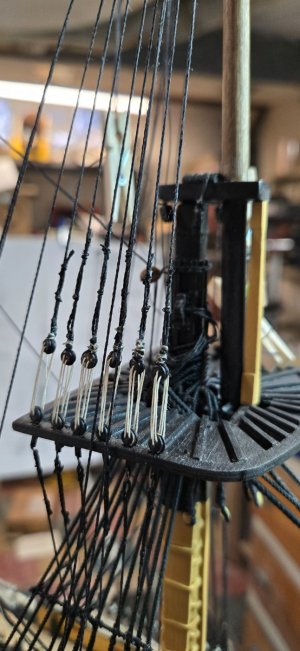
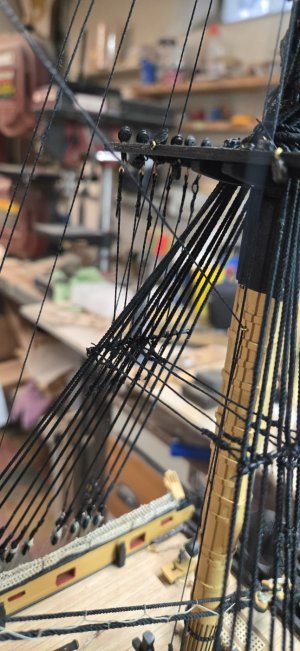
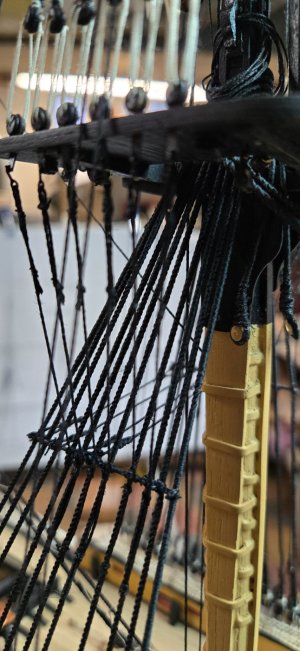
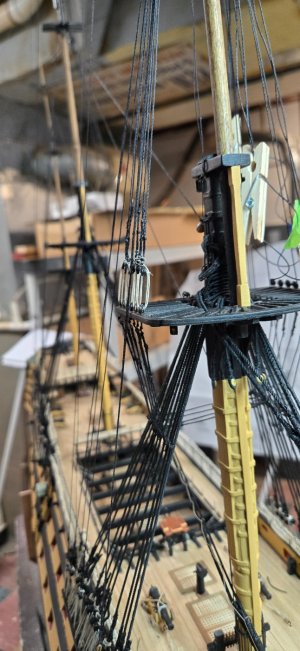
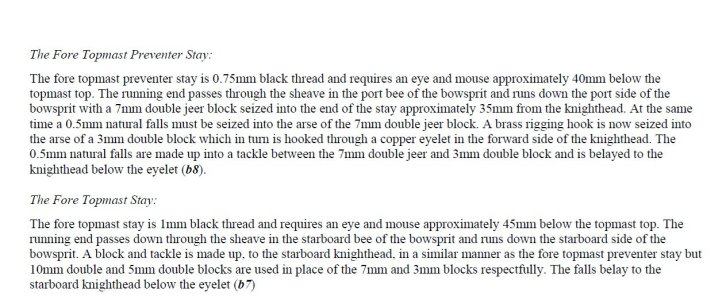
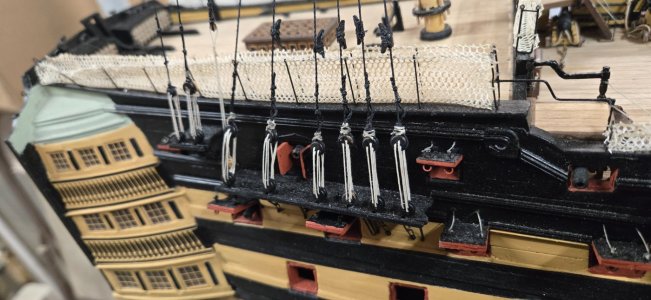
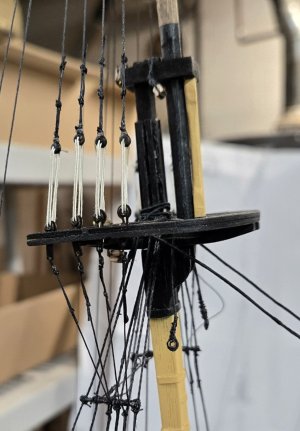
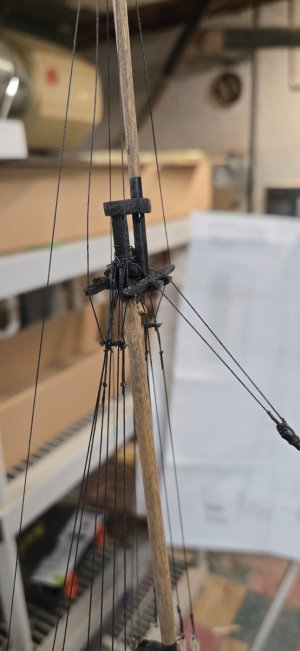
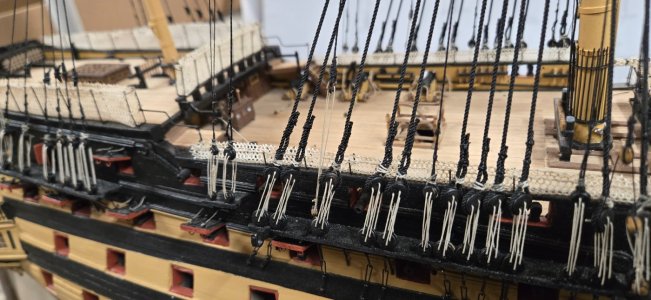
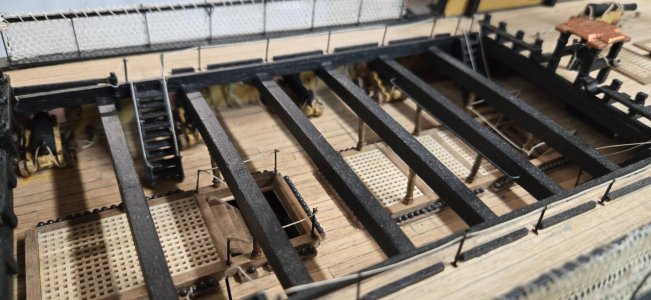
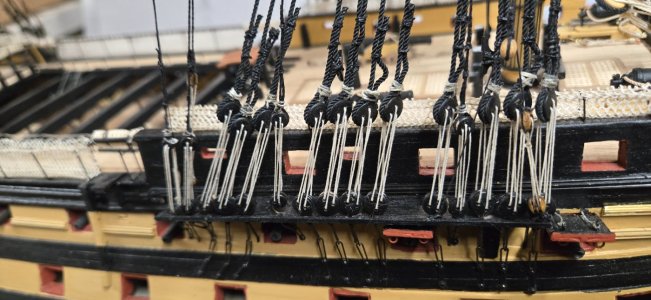
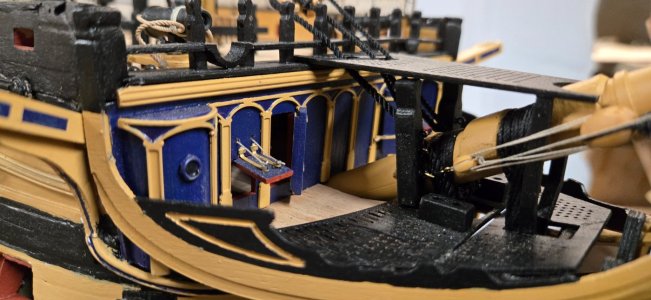
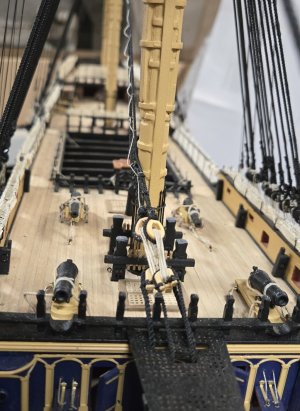
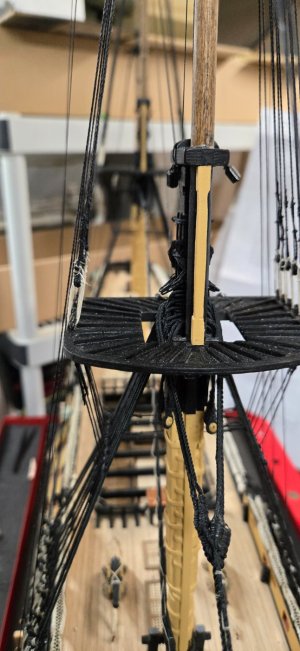
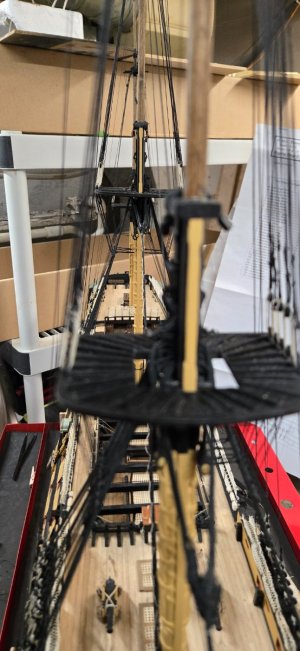
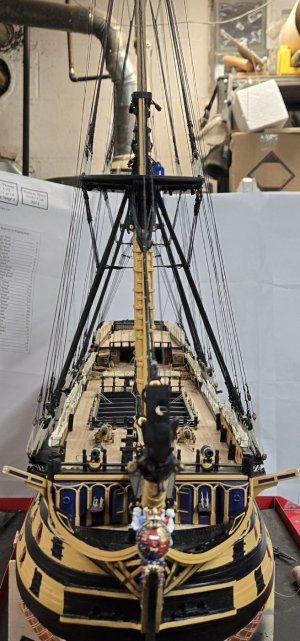
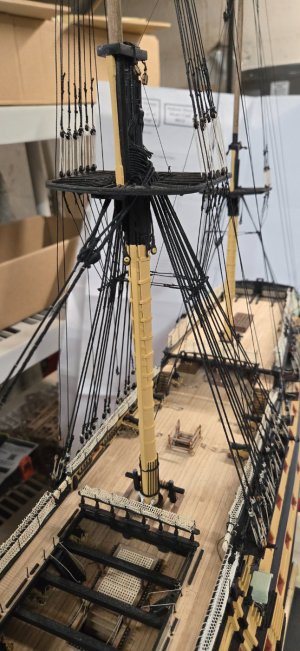
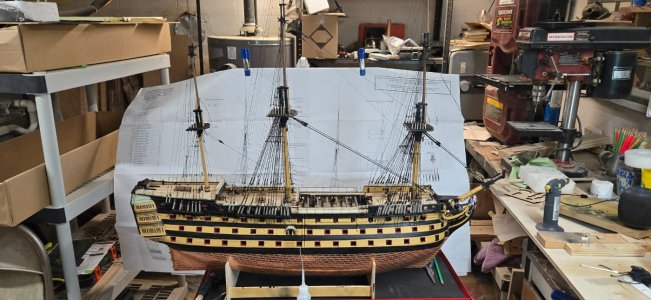
Looking back at my picture log, I see that I started working on the shrouds back on January 18, 2025.
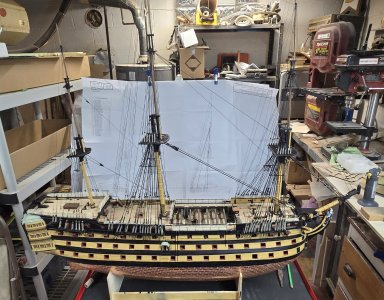
Learning how to serve line, create semi realistic seizings and more! Well, six weeks later and I think I may have finally finished with most of the standing rigging!
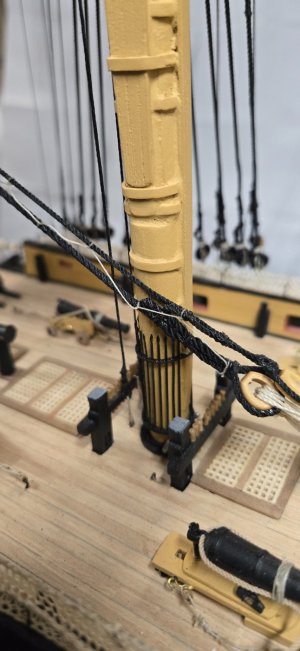
I think if folks look at this as a 'how not to do a model' guide, I would suggest following the directions and the real life sequence of standing rigging installations. I had opted to do the lower shrouds and then move right to the fore and back stays before moving back to the upper shrouds.
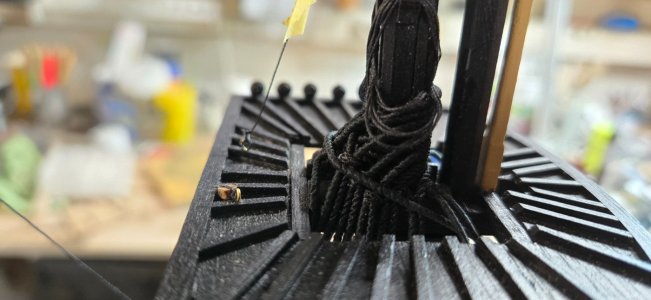
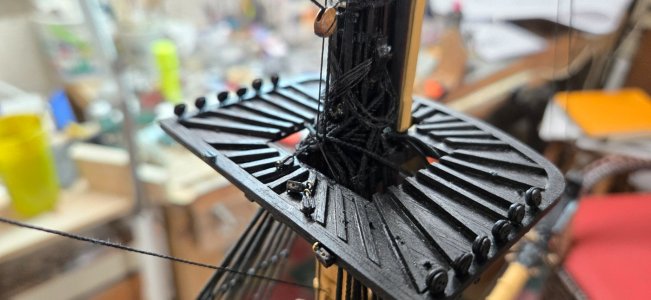
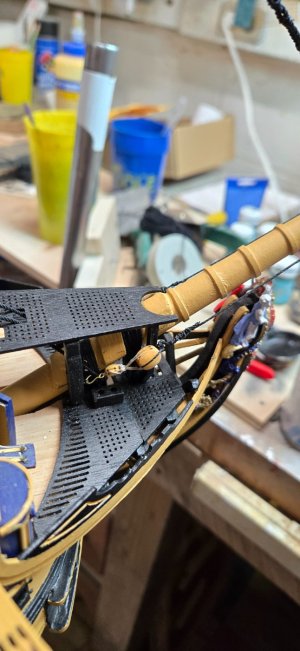
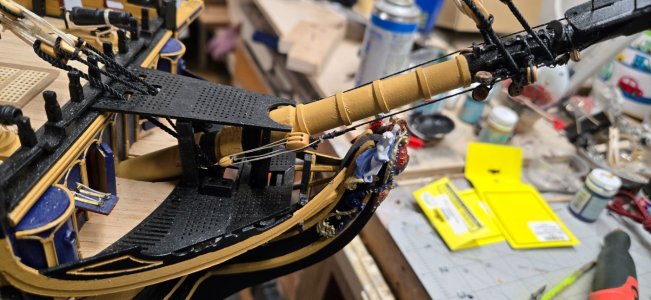
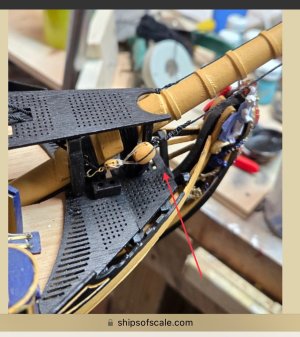
After the fact, it did cause some issues, some of my back stays are not in the right location because of this and most definitely, they are not laid correctly around the mast heads.
Is she close to perfect, well I think we all know my answer and I truly love the people that actually take the time to look and comment. I think that is validation enough!!!!!
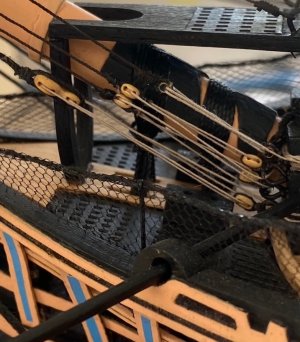
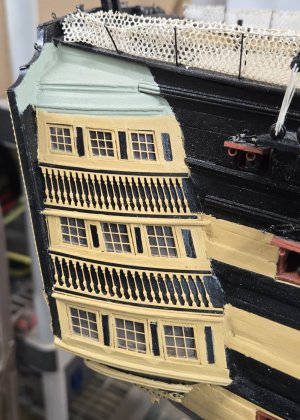
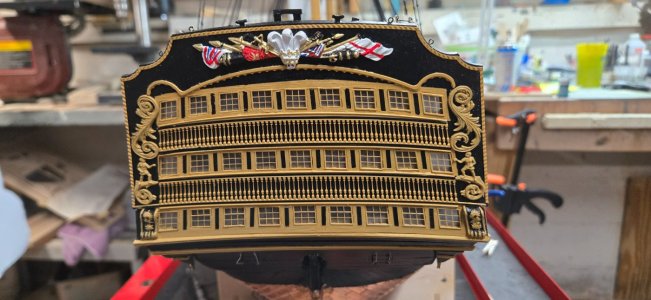
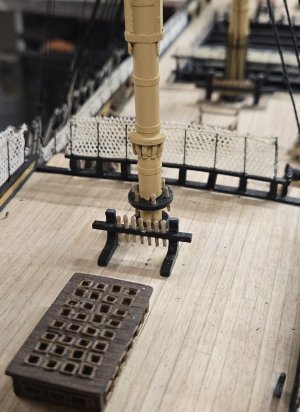
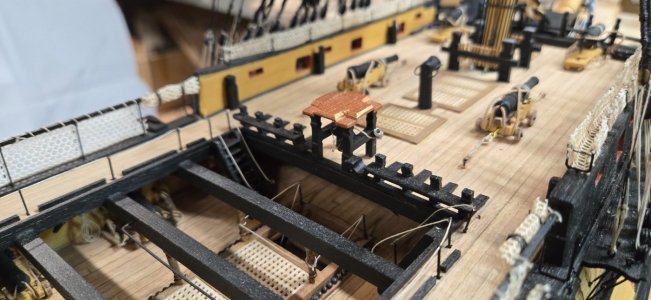
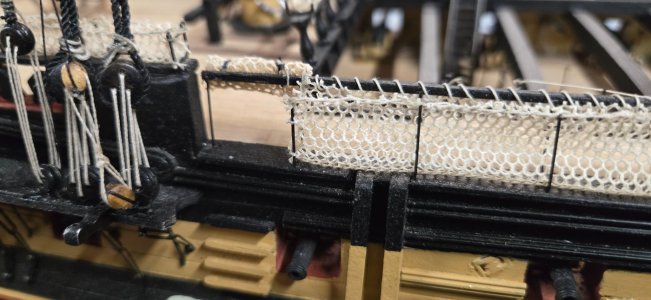
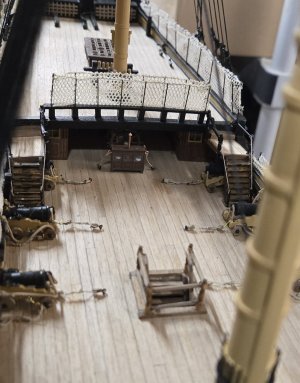
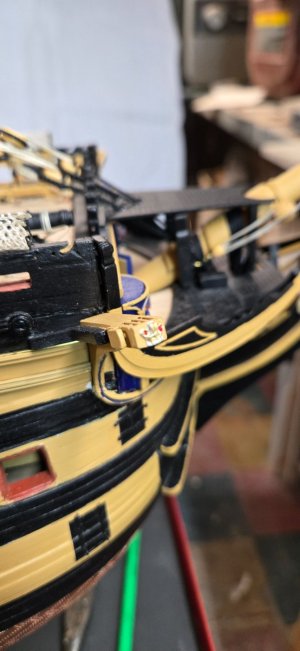
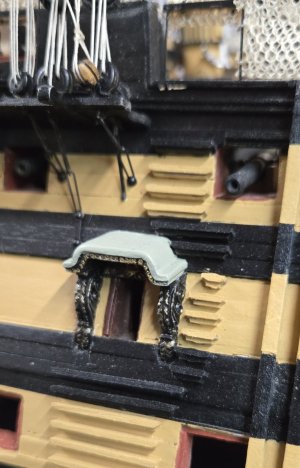
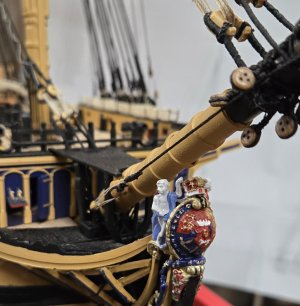
I tried to add a few pics of the various areas. I am going to have to clean this sucker up! She's a real dust magnet!
Anyone have techniques or tools they use to clean in the tight spots, let me know!
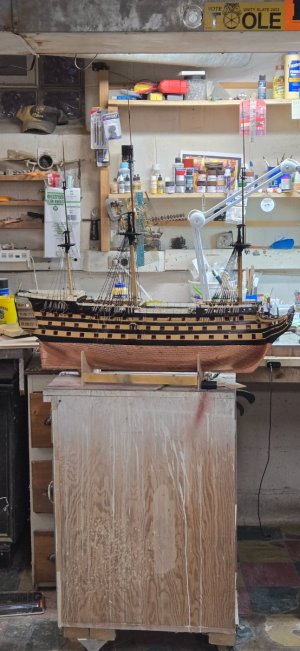
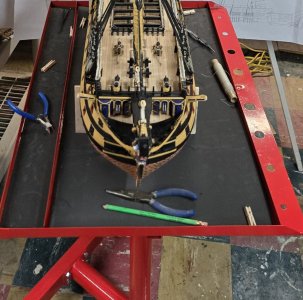
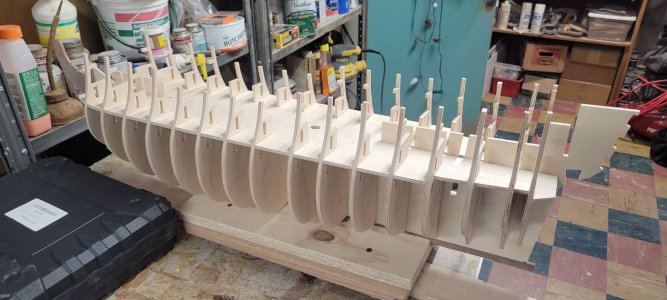
I have mentioned that I needed a new platform to work on the model. I have used a home made case that normally holds my belt/disc sander. It was skinny enough for the model and low enough to keep the mast heads from hitting the heat ducts in the basement. However, when I was working on the very top, I had to stand. In addition, the wheels really weren't made for pivoting very easily and every time I tried to turn the boat around, I had to hold on to it so it wouldn't fall!!!!
I found a nice table option online through Titan Attachments. I can raise and lower it (using a twist tightening knob) and she turns very easily and is very stable!
View attachment 504262View attachment 504263
On to the next phase! I still have to add the fire buckets, which I will do next.
Then I think I will do the ratlines. I think this will be along the same line as doing the copper tiles. A long, tedious task that I will do in small time increments, unless it goes quickly.
Once done, I will look to install the jib and flying booms and do all that rigging. I haven't done it yet, because it will really limit my turn around space, once it's done!
Then....I think I will add the lower deck cannons. They have to be drilled into place and I haven't done them yet. I won't do the lids, but I will at least get the cannons so they are all level. I should have done them ages ago!
Then, on to the yards and the running rigging! Woot!
My bet though is that will end up being put on hold till this fall.
Seasons change and winter is coming to an end up here. Soon I'll be working on my real sailboat getting her ready for our 5 month sailing season.
But till then, I'll keep cracking on!!!!!
View attachment 504237
View attachment 504238
View attachment 504239
View attachment 504240
View attachment 504241
View attachment 504242
View attachment 504243
View attachment 504244
View attachment 504245
View attachment 504246
View attachment 504247
View attachment 504248
View attachment 504249
View attachment 504250
View attachment 504251
View attachment 504252
View attachment 504253
View attachment 504254
View attachment 504255
View attachment 504256
View attachment 504257
View attachment 504258
View attachment 504259

