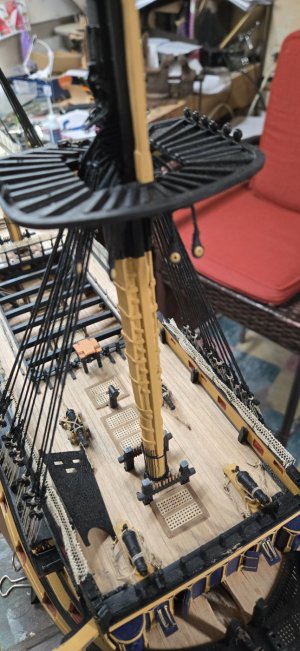
H.M.S. Victory by Caldercraft - Build Log

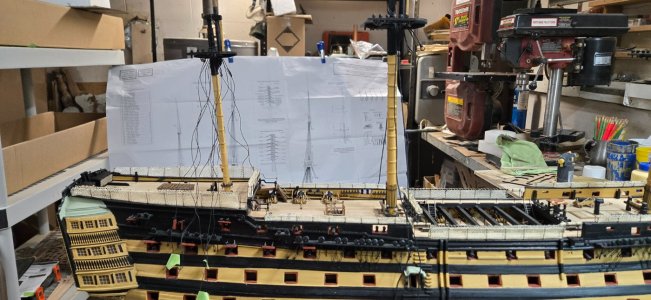
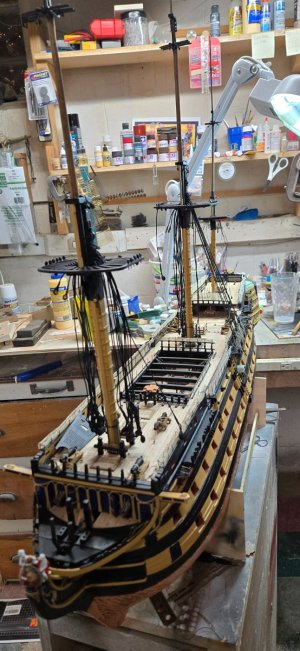
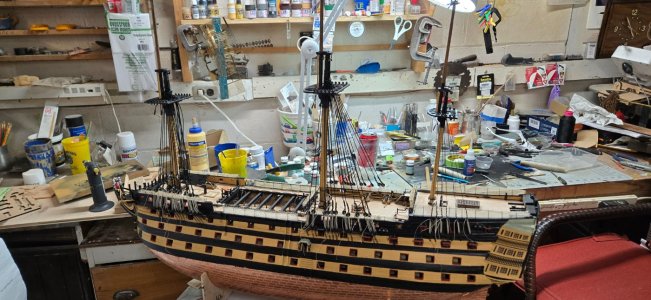
So far, today has been pretty successful dealing with serving and adding shrouds.
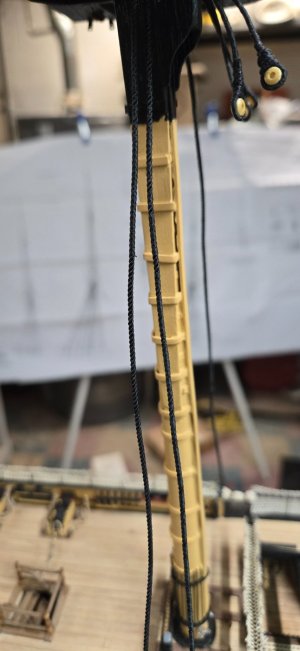
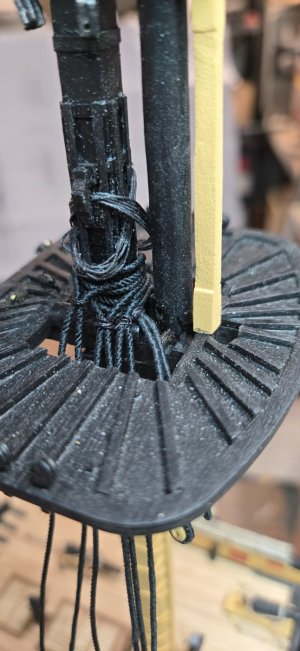
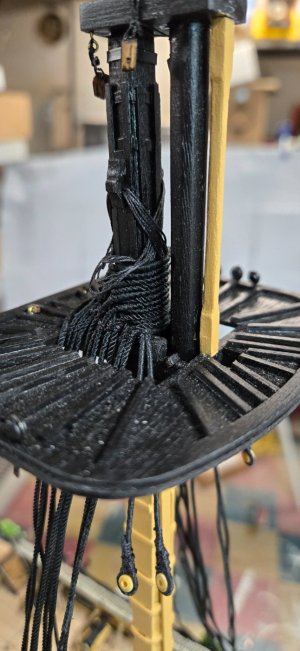
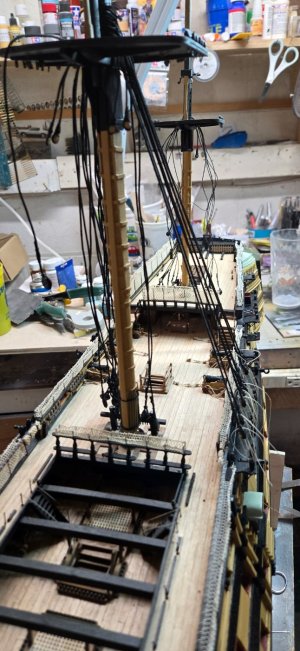
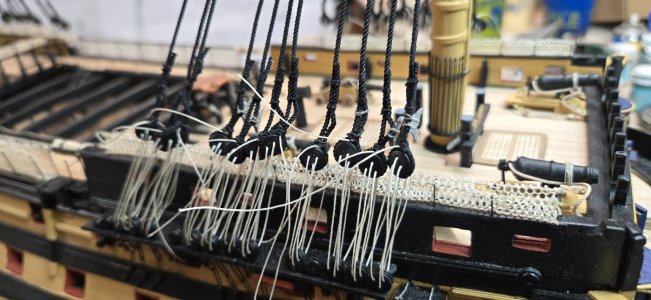
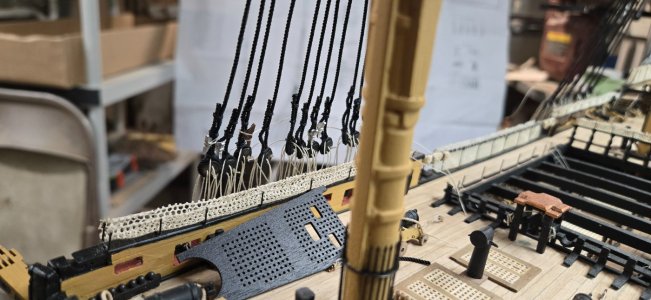
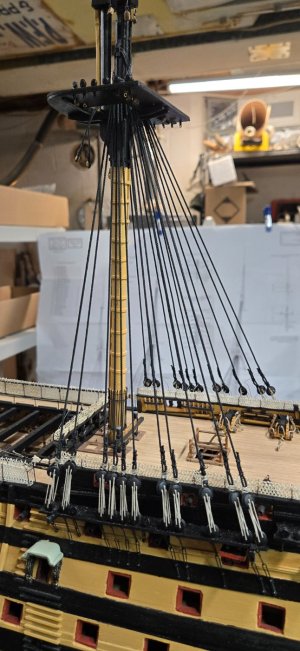
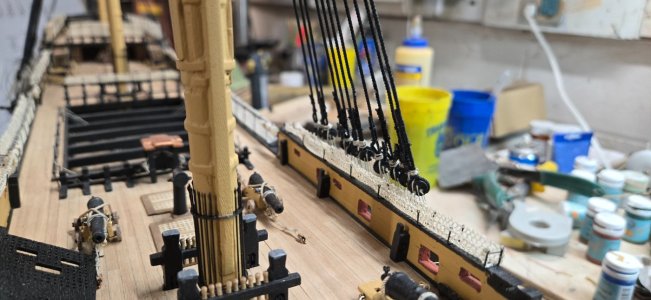
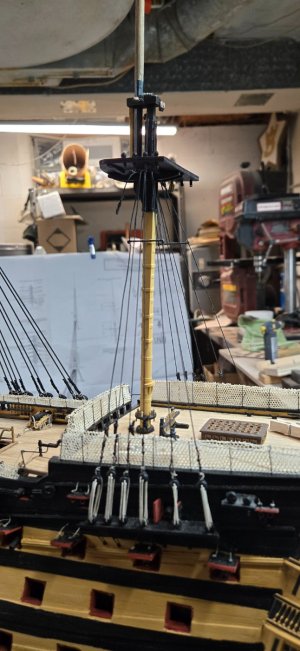
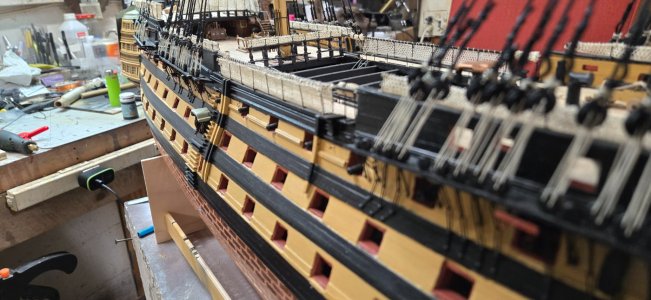
I have completed the shrouds (including the swifters) for the main lower mast.

One of the things I've noticed is that the Rope of Scale, while highly detailed in its look is actually hard to serve! The cabling is so aggressive that when I serve it, it looks like it's being wormed. I have to be very attentive while serving to be sure it looks right.

You can see from the finished work that some of the serving looks better than others. I thought about doing a quick pass to kind of work the rope and then dragging the serving line back to the beginning and then serve it....
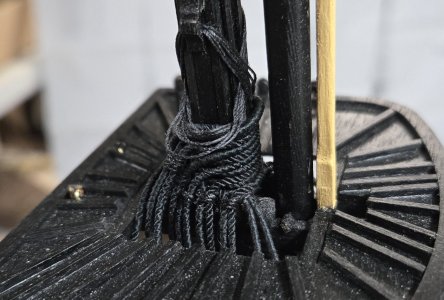
20250119_144355.jpg


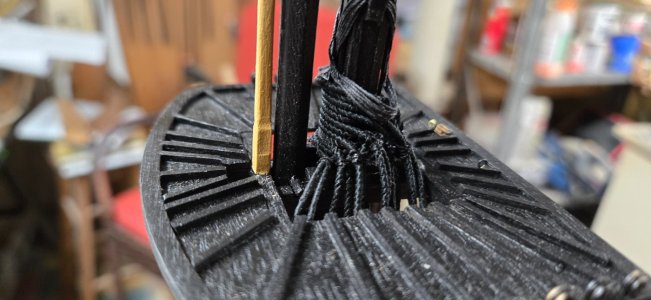
Either way, the shrouds seemed to lay down nicely on the mast. Sometimes the seizing would stick to the shrouds and make it hard to slide up, but I was usually able to pick and turn the seizes to get them right.

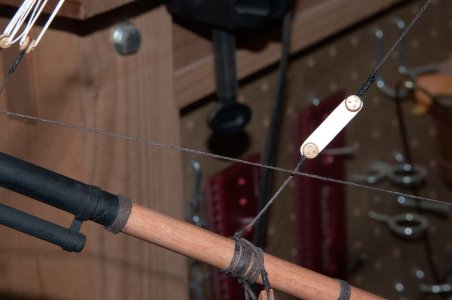
You can see above that I clearly made the jeer strops too long, but I was able to get all of the shrouds under them. Whew!

The only thing remaining here would be to add the jeer strops and over that would be the 2 stays.

I may or may not create the jeers and then move on to the fore mast.

All in all, I am actually happy with the work. I was and remain VERY nervous about this stage of the build. So much is foreign to me and a lot the instructions and terminology is so vague that I sometimes get 'stage fright' when I'm in the shop.

But today's results have been very encouraging and as a beginner I will tell others that get to this point, this portion of the build has been a breeze and very satisfying!

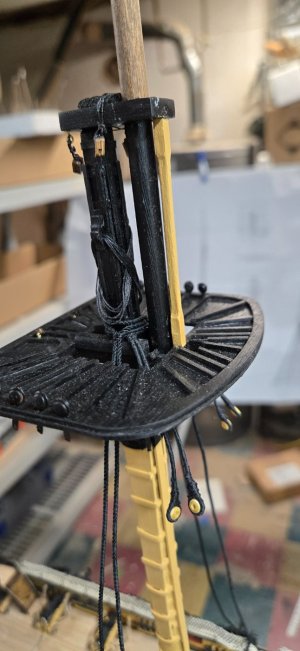
20250119_002613.jpg

20250119_002617.jpg

20250119_002623.jpg

20250119_002632.jpg

20250119_144359.jpg

20250119_144403.jpg

20250119_144411.jpg

20250119_144417.jpg
 
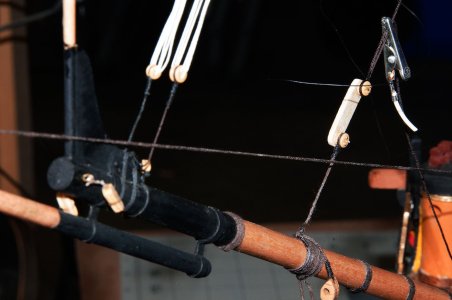
Chris it’s looking very nice. You have managed well with the topmasts in place, well done. Your Burton pendants look great with the thimbles. Remember that the Mizzen only has one pair.
Keep up your good work. Rigging is a whole different ball game to hull construction.
Michael.
 
Chris it’s looking very nice. You have managed well with the topmasts in place, well done. Your Burton pendants look great with the thimbles. Remember that the Mizzen only has one pair.
Keep up your good work. Rigging is a whole different ball game to hull construction.
Michael.
Thank you Mike;
Much appreciated!
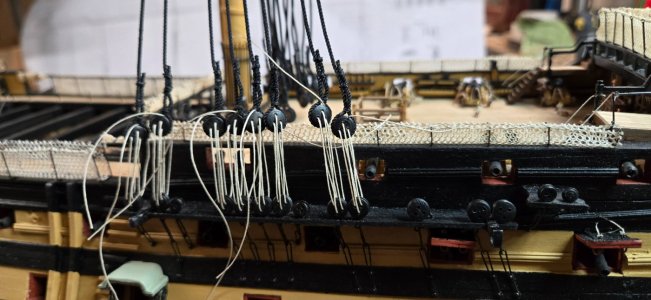
I did the mizzen first and there is only one pair attached!!!
Chris
 
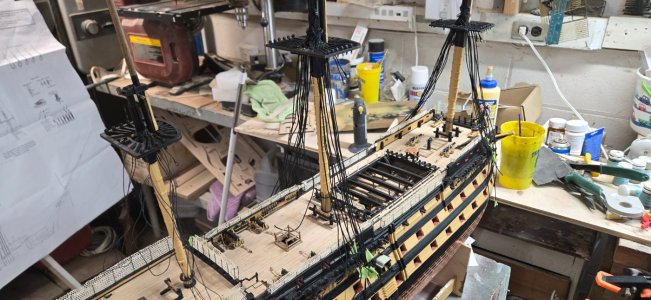
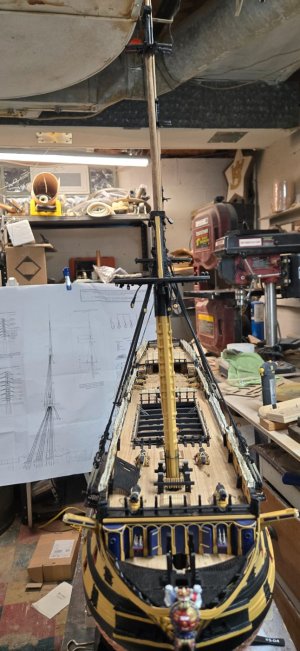
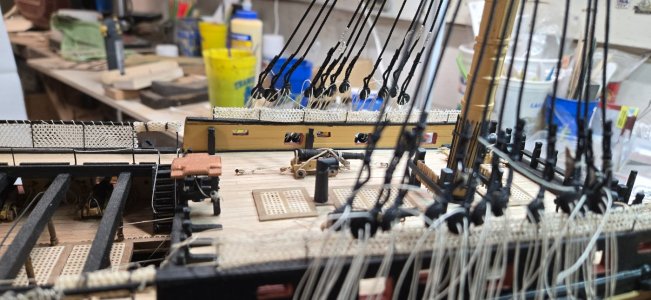
I spent about 5 days creating all of the shrouds. While I am not entirely happy with the serving of the lines I do like the shape of the rope and I think all of the shrouds have laid down nicely on all three masts tops.

The next step was adding the deadeyes at the bottom. I know the instructions and many other builds use wire spacers to lay them out.
I tried that and I think with some time and patience, I could have created a 3 strand wire setup for the deadeyes.

I managed to get the first one done with a spacer but it was very hard and my spacer was frankly, half assed.

I did the next three by eye and I think once they are all tied together, they will match up. But I really didn't want to do that for the next 40 or so to go.
20250121_234406.jpg20250121_234416.jpg

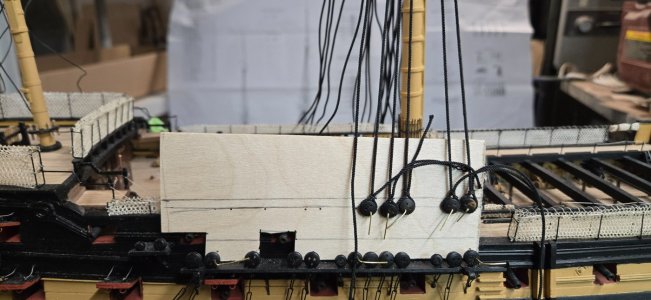
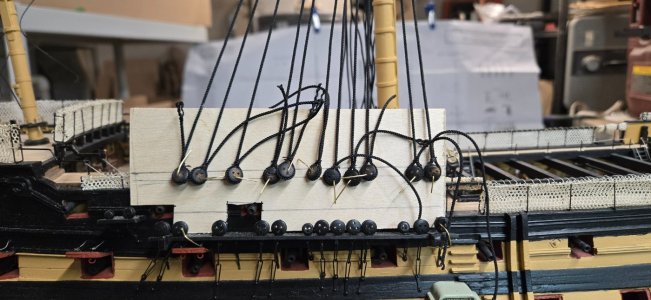
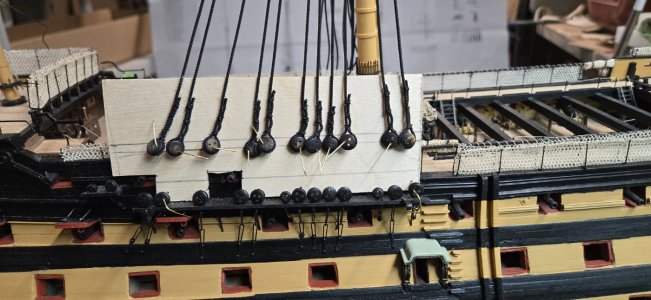
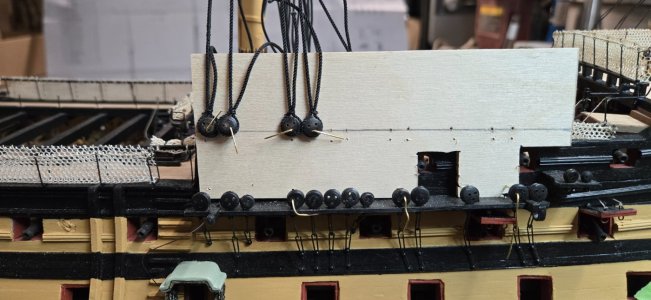
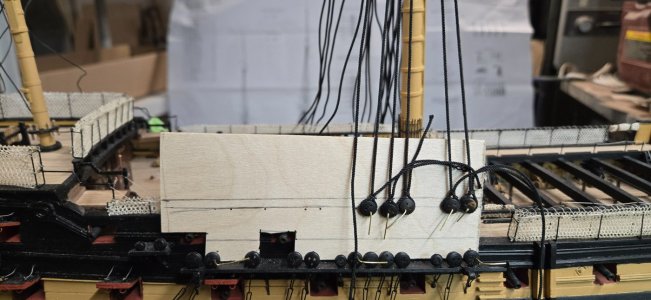
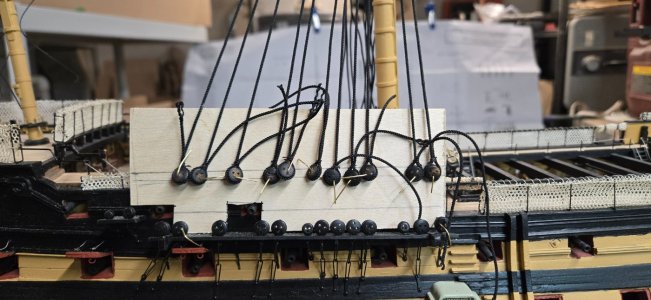
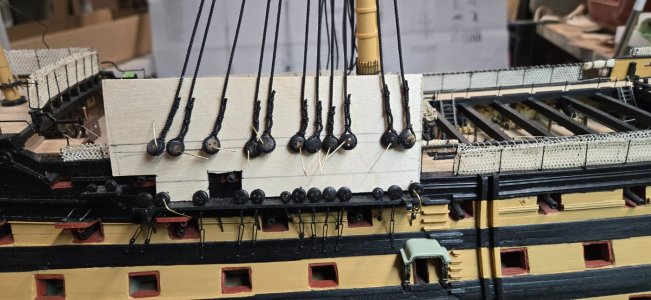
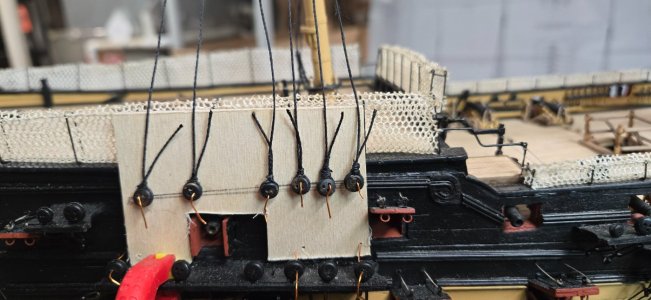
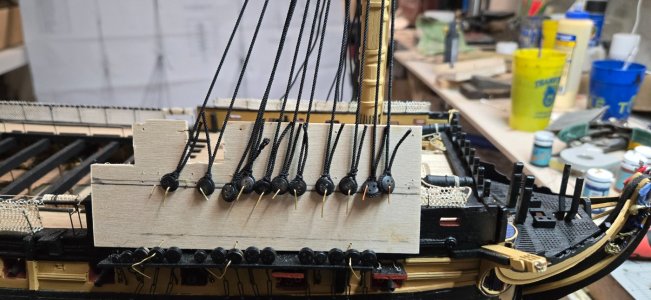
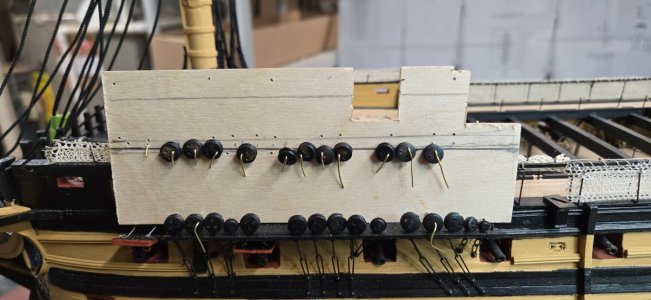
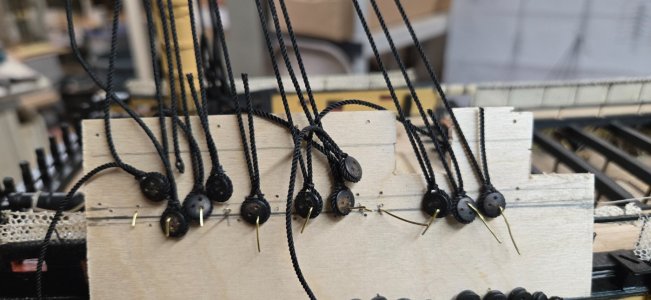
The next day I took the wood backing that came with the photo etch and created a full length template. Cutting out notches for the cannons and some of the obstructions on the channels, I drilled some hole to match up with some of the lower deadeyes. I drew a line that matched the deadeyes I had done and went from there.

20250122_111044.jpg

While they look sloppy, once tied up, I think they would even out.
20250122_114848.jpg

The next step is to trim off the bitter ends and seize them. In reality, there are 3 seizings on each, one just above the dead eye and the next two above that one.
There is also a bulge in the shroud created by the top 2 shrouds. I tried to pull that off and wasn't 100% successful.

I also was sloppy in trimming the bitter ends, the rest of them, I will add a higher line for that.

20250122_143304.jpg

On the port side, my layout started much better.
Once the rest are done, I'll lay out a cut line for the bitter end based on having enough for all 11 of them.
20250122_150649.jpg

20250120_235733.jpg

20250121_144119.jpg

20250121_170434.jpg

20250121_234613.jpg
 
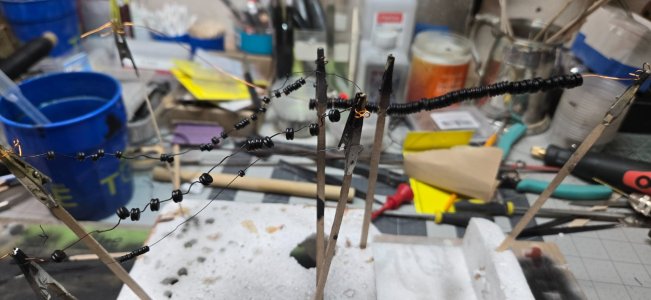
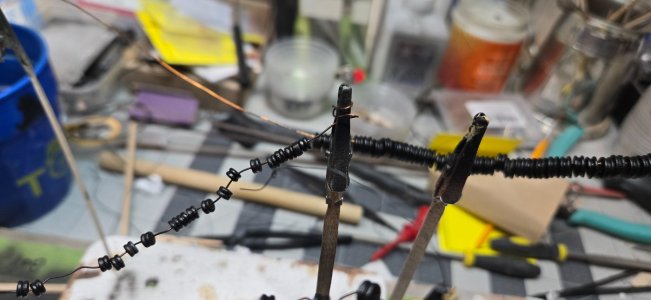
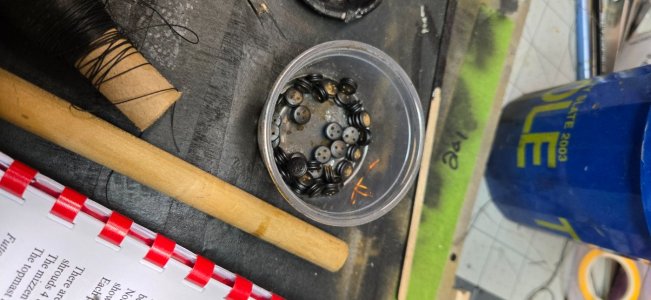
Looking forward, I am pot committed to painting the deadeyes as the channel deadeyes are all black. I did this with an airbrush which entails some thought as to how to do the loose ones.

I don't have any pins for the larger deadeyes and I'm not sure if I could find pins for the smaller ones.

I ended up stringing the deadeyes to wire and painting them. I was about 50/50 on the larger ones and I'll have to touch them up and be sure they don't clog. I'll let you know how the smaller ones end up!

I just couldn't see laying out 50+ pins on a base to paint them....whew!!!!

20250121_170359.jpg

20250121_170407.jpg

20250121_234647.jpg
 
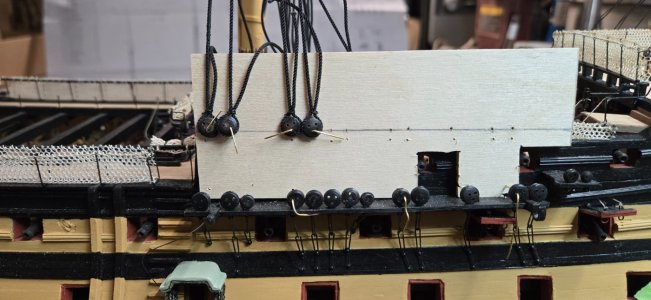
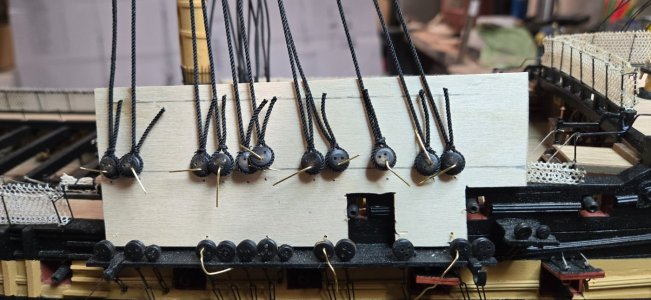
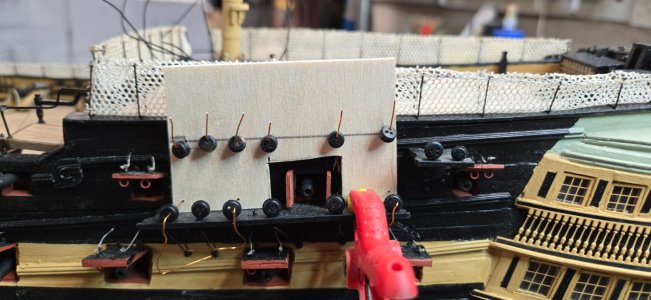
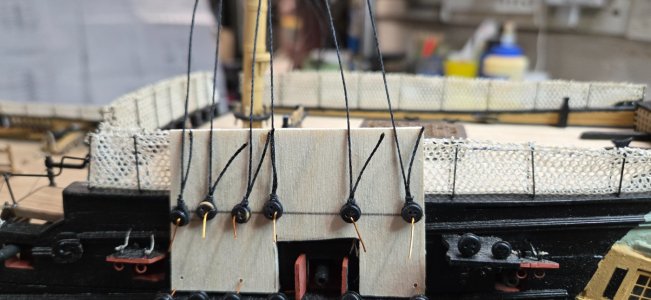
After trying to use individual spacers for my first attempt at laying out the deadeyes, I tried to see if I could create a full template to keep them all as even as I could.

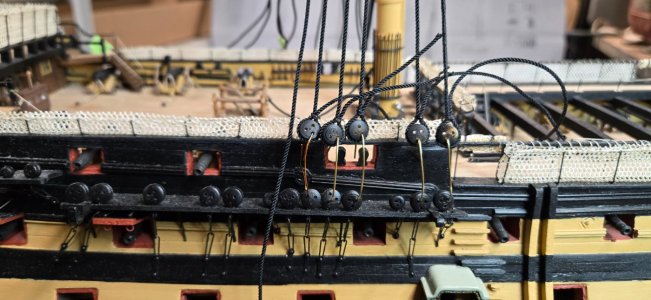
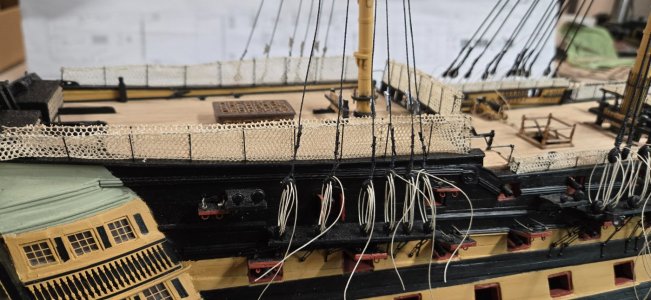
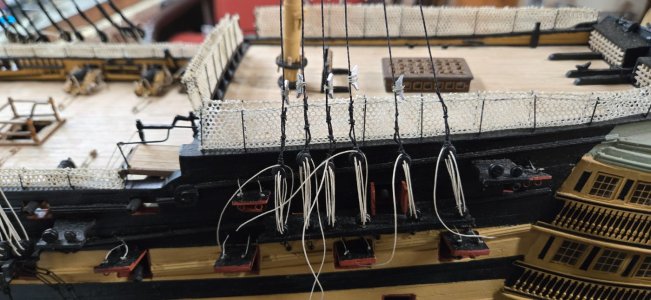
Using the wood backing that came with the photo etch, I cut down a few strips and laid them on the channels. I drilled small holes in 2 or 3 of the lower deadeyes to keep the template in place. At first I tried to mark where the top deadeye would go by holding it up and using a small drill to create a mark. That was tedious.

In the end, I drew a line that was even with the tops of the hammocks for that particular channel. Then I would hold each shroud taught so that it lined up with its sister deadeye on the channel...marking where it laid on the pencil line I drew.

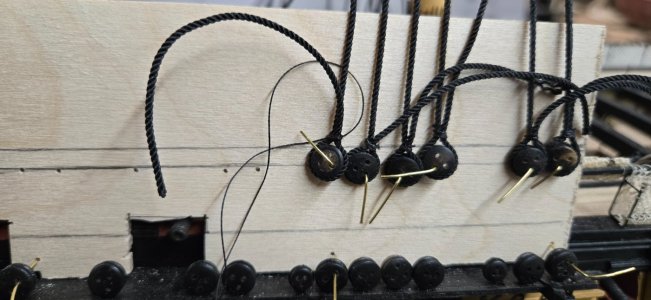
I removed the template and drilled out the 11 or 6 holes (depending on which mast). The first one I did, I pinned the upper deadeyes from the front, but after that one, I bent a piece of wire into a U shape and had them come in from behind. Then I could attach all the upper deadeyes and string them one at a time.

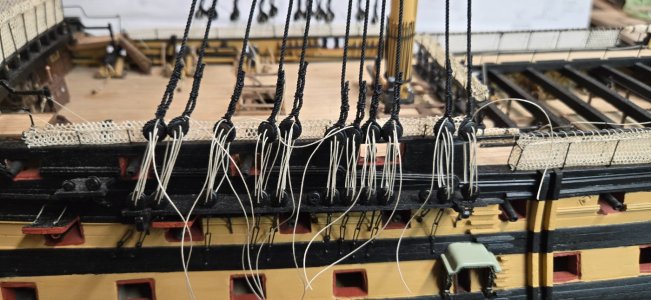
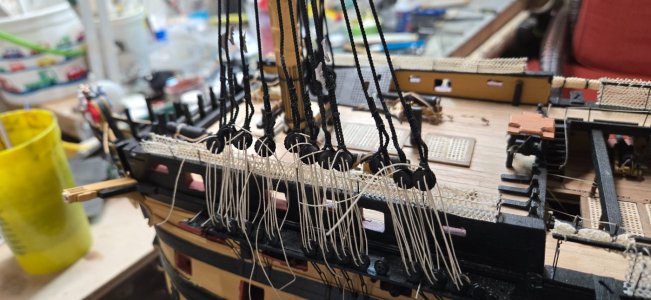
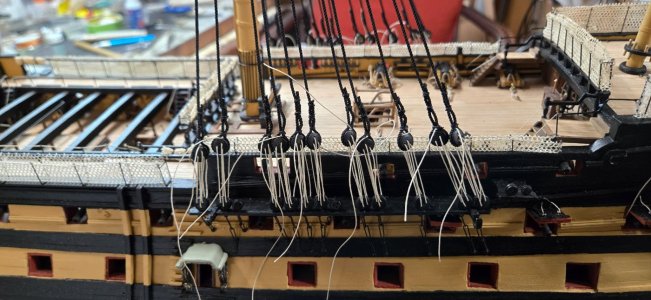
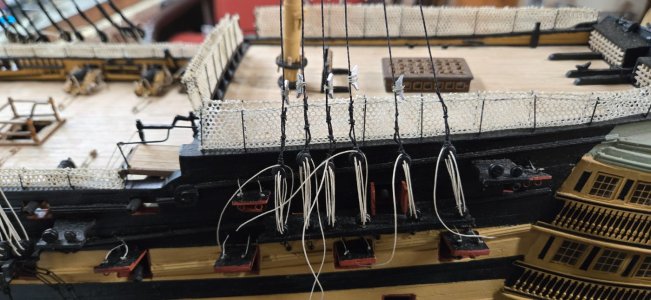
To rig them, I would add a bit of seizing to the folded shroud and add a small weight to the deadeye to help with the process. I used some small self clamping tweezers for that. I looped the shroud around the deadeye and pulled the shroud as tight as I could...snugging the seizing down to the deadeye. I would have to push down on the template to keep it in place. I actually put a lot of weight on the shrouds and channels when doing this, but the chainplates did their job of holding everything in place! Once tight, I would CA glue the seizing only. This allowed the upper deadeye to rotate in place. I did miss a few and they are now glued at the wrong orientation....

Once they were strung, I used the top of the template as a guide to cut off the extra bitter ends so they were reasonably even. For this particular rope I had to add CA glue to the area where I was going to trim it. If I didn't this rope would immediately start to fray. It looks great, but is very delicate.

Then one by one, I added 2 more seizings. One high and one around mid height. I also tried to create the little bulge in the shroud that appears at the bottom of the deadeye, where the lanyard would be wrapped around it.

The mizzen shrouds with their thinner ropes are a bit more sloppy looking.

....probably too many pictures of the same process, sorry.

20250122_111044.jpg

20250122_111530.jpg

20250122_114848.jpg

20250122_143304.jpg

20250122_150649.jpg

20250122_231912.jpg

20250123_000009.jpg

20250123_120414.jpg

20250123_130243.jpg

20250123_172544.jpg

20250124_124522.jpg

20250125_154940.jpg

20250125_171516.jpg
 
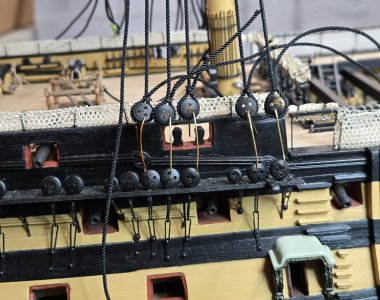
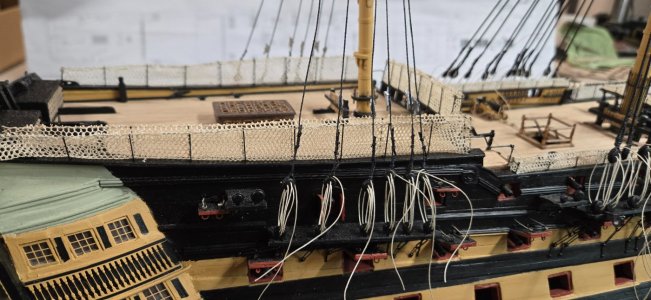
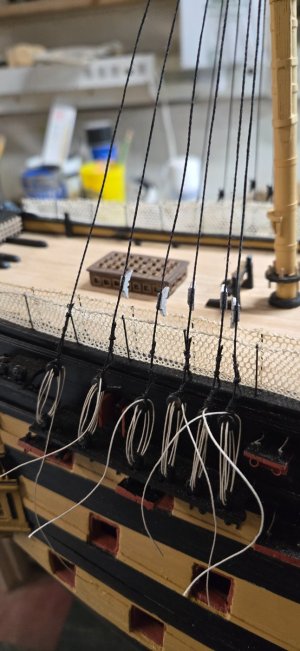
Last night after getting all of the shrouds rigged with deadeyes, I took a stab at the lanyards before dinner.

I am actually surprised at the ease so far. I want to be sure to get the length of lanyard needed right so I'm not wasting too much...or not having enough!

They are loose right now as I still have to add the cleats to some of the shrouds and it'll be easier to add seizing to loose shrouds. I'm screwed for these ones and I'll have to CA glue the cleat to the shroud and then add seizing....sigh.

Once done, I'll tighten them down. I haven't looked ahead, but I feel like the .5mm tan thread needed for the fore and main mast lanyards is going to be too thick for the mizzen deadeyes...they don't really say anything in the directions to the contrary, but it seems like they require a smaller line for the upper shrouds. I shall see!

This is an exciting milestone in the build. There have been others. Turing the hull right side up after completing the copper tiles, finally gives you a view of what will be. The first time you lay out deck planking. The finalization of the cannons on the upper deck just before adding the quarterdeck....every time I hit one of these milestones, they provide inspiration for the next hurdle!

20250125_191841.jpg

20250125_191907.jpg

20250125_191915.jpg
 
After trying to use individual spacers for my first attempt at laying out the deadeyes, I tried to see if I could create a full template to keep them all as even as I could.

Using the wood backing that came with the photo etch, I cut down a few strips and laid them on the channels. I drilled small holes in 2 or 3 of the lower deadeyes to keep the template in place. At first I tried to mark where the top deadeye would go by holding it up and using a small drill to create a mark. That was tedious.

In the end, I drew a line that was even with the tops of the hammocks for that particular channel. Then I would hold each shroud taught so that it lined up with its sister deadeye on the channel...marking where it laid on the pencil line I drew.

I removed the template and drilled out the 11 or 6 holes (depending on which mast). The first one I did, I pinned the upper deadeyes from the front, but after that one, I bent a piece of wire into a U shape and had them come in from behind. Then I could attach all the upper deadeyes and string them one at a time.

To rig them, I would add a bit of seizing to the folded shroud and add a small weight to the deadeye to help with the process. I used some small self clamping tweezers for that. I looped the shroud around the deadeye and pulled the shroud as tight as I could...snugging the seizing down to the deadeye. I would have to push down on the template to keep it in place. I actually put a lot of weight on the shrouds and channels when doing this, but the chainplates did their job of holding everything in place! Once tight, I would CA glue the seizing only. This allowed the upper deadeye to rotate in place. I did miss a few and they are now glued at the wrong orientation....

Once they were strung, I used the top of the template as a guide to cut off the extra bitter ends so they were reasonably even. For this particular rope I had to add CA glue to the area where I was going to trim it. If I didn't this rope would immediately start to fray. It looks great, but is very delicate.

Then one by one, I added 2 more seizings. One high and one around mid height. I also tried to create the little bulge in the shroud that appears at the bottom of the deadeye, where the lanyard would be wrapped around it.

The mizzen shrouds with their thinner ropes are a bit more sloppy looking.

....probably too many pictures of the same process, sorry.

View attachment 497577

View attachment 497578

View attachment 497579

View attachment 497580

View attachment 497581

View attachment 497582

View attachment 497583

View attachment 497584

View attachment 497585

View attachment 497586

View attachment 497587

View attachment 497588

View attachment 497589
Try something like this
Nuestra_777.jpgNuestra_776.jpgNuestra_774.jpg
 
Hi Chris,

I am curious so have to ask, what are the diameters of the deadeyes on the lower shrouds for the foremast, main mast, and mizzen mast? Many thanks
Allan
 
Hi Chris,

I am curious so have to ask, what are the diameters of the deadeyes on the lower shrouds for the foremast, main mast, and mizzen mast? Many thanks
Allan
Hi Allan;

Lower shroud deadeyes for the fore and main are 7mm.
Lower shroud deadeyes for the mizzen are 5mm.

Upper shroud deadeyes for fore and main are 3.5mm
Upper shroud deadeyes for mizzen are 2.5mm

Chris
 
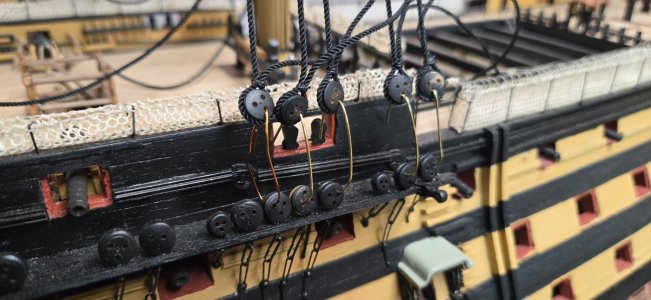
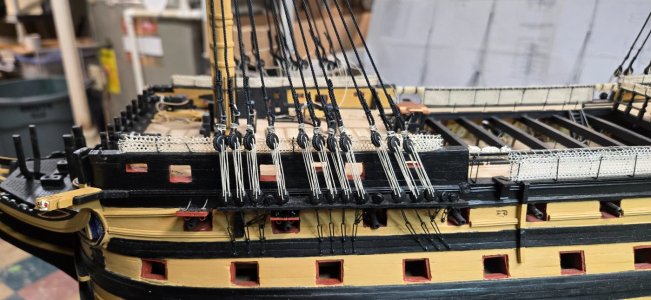
Spent about 5 hours today working on cleats and rigging shrouds. If I read the blueprints correctly, there are not any cleats on the main mast shrouds and just 5 each on the fore and mizzen. Looking at the directions and taking a hash count of the number of lines belayed to cleats on the channels and I think that is correct.

My first stab at putting the cleats up on the mizzen shrouds wasn't the best. They aren't aligned very well, but when they're blackened and the ratlines are installed, they'll fade into the back ground.

Also, from a scale point of view, I would think that the poop deck hammocks would be 3-4' tall with the average sailor then being in the 5'6" range. Some of my cleats are going to be WAY TOO HIGH!

I CA glued the cleats to the shrouds after first filing away any excess and filing the curved recess on the back to help with making them stick together.

It's funny, when gluing things if any little bit gets on the lines they stick right away. Except when I WANT to glue something like a cleat to a line....then it's hit or miss if they will stick!

Perhaps too many pictures below, but this really makes the boat come alive and I'm kind of excited about that!
My hope is to finish the last channel tomorrow and tighten them all up and hope that my layouts are going to allow for even deadeyes across the board!!!

20250126_165323.jpg

20250126_165327.jpg

20250126_165333.jpg

20250126_165336.jpg

20250126_165339.jpg

20250126_165359.jpg
 
Hi Phil;

I like those spacers, I will try my hand at making them as they will come in handy for some of the stay work ahead!
Chris
They worked well for me. I'm currently doing ratlines on the main mast lower shrouds but next up are mizzen maststays and shrouds so I'll be using those little jigs once again.20250108_131909.jpg
 
Lower shroud deadeyes for the fore and main are 7mm.
Thanks Chris. The reason I asked was because some of them on the fore channel and main channel are touching against each other which was new to see. Seeing these overly large diameters that were provided for your scale, it makes sense that they would be rubbing against each other.
Thanks again
Allan
 
Back
Top