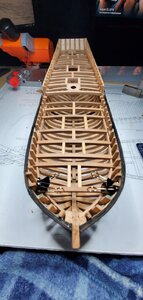
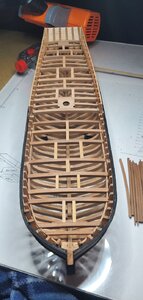
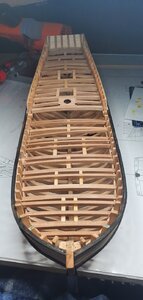
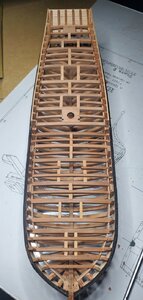
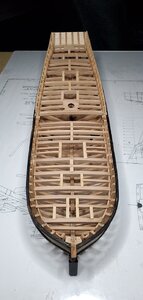
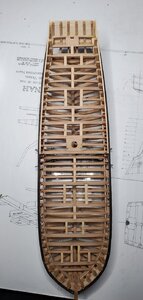
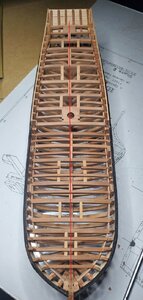
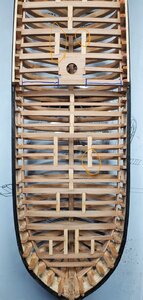
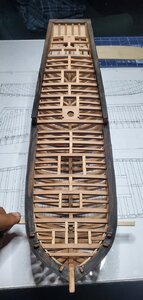
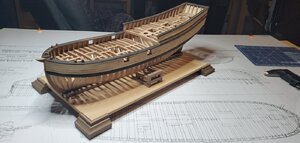
Hannah 1/48 - Lumberyard

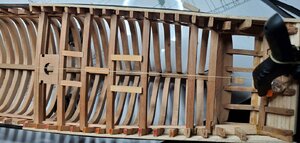
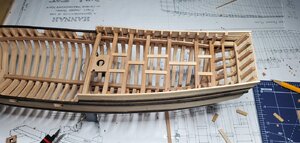
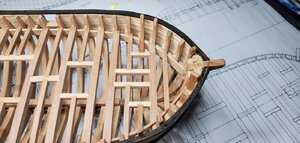
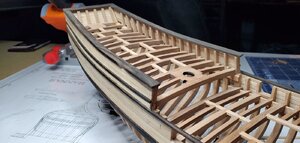
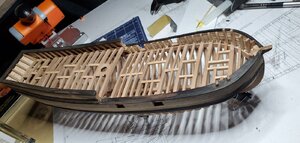
So I pulled out all the deck rails and replaced them all with a better piece of pearwood, so now it all matches the ribs. I had a spare piece left over from planning that was the correct width so it worked out.
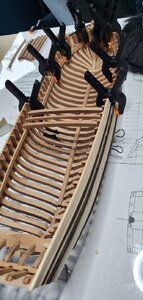
20200829_132353.jpg

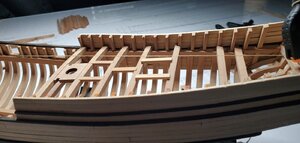
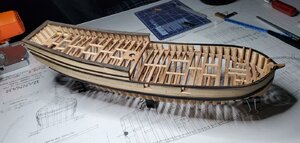
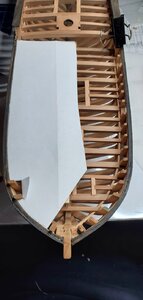
Test fitting the upper deck and everything seems to fit well. When I put in the new lower deck rails I took the opportunity to realign their placement with the gunports. So now they should fit more accurately and sit just below.

Next I started on the carlings.
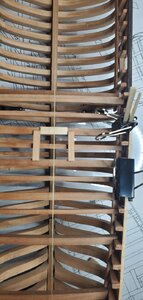
20200829_232458.jpg

If you notice the right carling is at a slight angle then you noticed before I did.
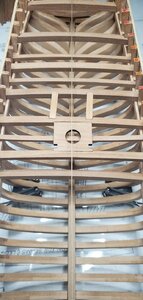
20200830_005145.jpg

It's now on the left but it's a slight angle. No way to fix that, I'll just have to deck over it if it bothers me later. In the meantime I did install the first three deck pieces, and it'll be a process working back towards the stern. I feel like I should probably glue these pieces in as a go in order to make sure they fit snuggly in the end.
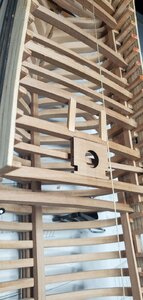
20200830_005129.jpg
 
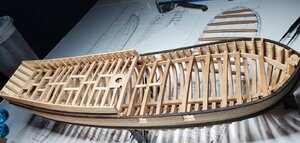
Making progress.

20200831_233507.jpg
20200831_233516.jpg
20200901_235153.jpg
20200901_235208.jpg

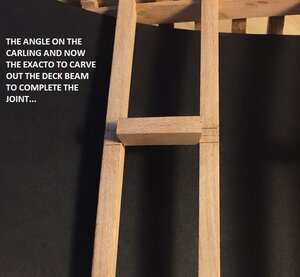
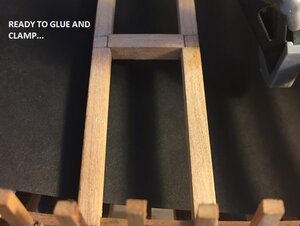
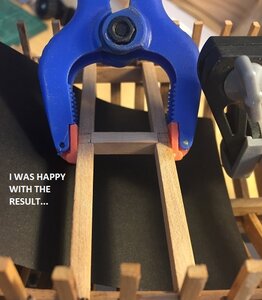
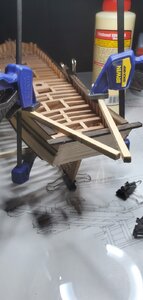
I do have a question: I've been cutting the carlings with a razor blade to create the angle where it meets the beam. Is there a better way to do this? The angle doesn't always come out uniform as the blade doesn't always go down straight.

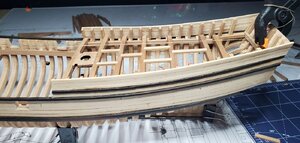
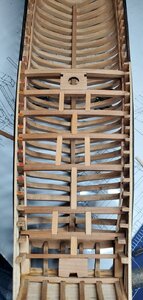
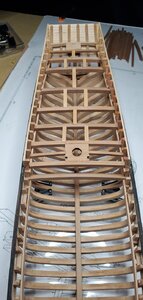
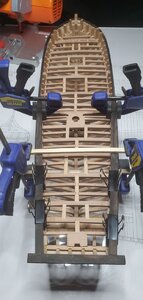
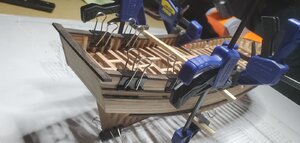
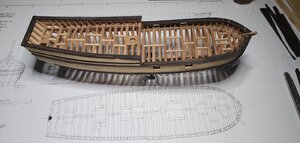
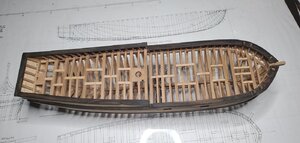
Otherwise getting close to finishing this portion. The beams are glued in place, the carlings are still lose since I will have to make cuts to then for the smaller beams.
 
Making progress.

View attachment 176695
View attachment 176696
View attachment 176697
View attachment 176698

I do have a question: I've been cutting the carlings with a razor blade to create the angle where it meets the beam. Is there a better way to do this? The angle doesn't always come out uniform as the blade doesn't always go down straight.

Otherwise getting close to finishing this portion. The beams are glued in place, the carlings are still lose since I will have to make cuts to then for the smaller beams.
Do you mean cutting to the correct length of the carlings? or the notches in the beams in which the carlings will be based?
Cutting the carlings, I would make with a small circular saw - with this you can be sure, that they have rectangular ends.
I make this in this way usually:
Cutting the carling slightly longer than necessary, afterwards I adjust the length with sanding down the ends with the disc sander (step by step)
-> with this way I get the best results and the gaps between beams and carlings are on a minimum or zero.
 
I make this in this way usually:
Cutting the carling slightly longer than necessary, afterwards I adjust the length with sanding down the ends with the disc sander (step by step)

I don't know why I didn't think to use the disc sander. Perhaps I'll give that a try next time, I'm already pretty far along here. I put in the carling and then went to work on the secondary beams.

20200903_003011.jpg
Of course my carlings still ended up a little crooked unfortunately.

20200903_225218.jpg

20200903_234815.jpg

Next was just working my way aft beam by beam. I did make a mistake at one point and had to replace a carling because I cut the beam notches in the wrong location. Other than that everything went in nicely.

With everything glued in place I did a round of sanding. 120 - 300 - 600 grit to smooth out imperfections, erase pencil lines, and make the coloring of the wood more uniform.

20200905_004943.jpg

As I mentioned earlier, I replaced the deck rails on the lower deck with Swiss pear; when I did that I also adjusted the height and made them lower so the deck beams would sit properly. I would say I lowered them about 1mm, should have probably dropped them 2.5mm or so looking at other references.
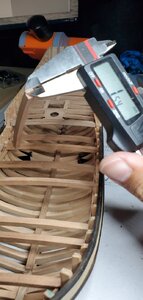
With this in mind I made an adjustment to the beams. These beams are 5mm thick from top to bottom, and we're originally cut at 2.5mm to make the notches. Well I cut them down another 1mm to make them 1.5mm thick.

20200905_000547.jpg

I think they sit on the railing much better and when the deck planks go on I think they'll fit better.

20200904_224551.jpg
 
Making progress.

View attachment 176695
View attachment 176696
View attachment 176697
View attachment 176698

I do have a question: I've been cutting the carlings with a razor blade to create the angle where it meets the beam. Is there a better way to do this? The angle doesn't always come out uniform as the blade doesn't always go down straight.

Otherwise getting close to finishing this portion. The beams are glued in place, the carlings are still lose since I will have to make cuts to then for the smaller beams.


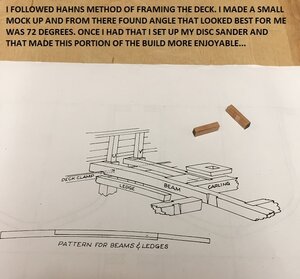
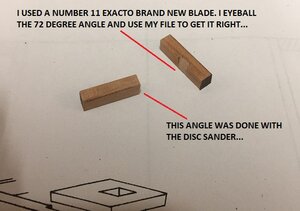
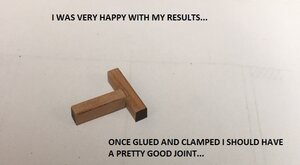
Gventura to answer your question this is how I do it, using Hahn's method.....

IMG_0942.JPG

IMG_0943.JPG

IMG_0944.JPG

IMG_0949.JPG

IMG_0950.JPG

IMG_0951.JPG


Hope this will help out. Sounds tedious, but actually very easily done.
 
Last edited by a moderator:
This is just great, Gventura! Really enjoy the evolution of your Hannah!! Thumbsup Very nice work.

Thanks! It's very much a learning experience.

Gventura to answer your question this is how I do it, using Hahn's method...

Hope this will help out. Sounds tedious, but actually very easily done.

That's helpful, I will keep this in mind for my next build, I was too far a long here to change methods.

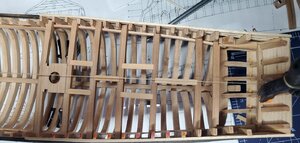
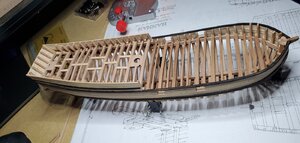
I have completed the beams, ledges, and carlings! My deck is all in place. There's not much commentary, so below is just a series of photos more or less step by step.

20200907_003221.jpg

20200907_215657.jpg

20200907_230434.jpg

20200907_235415.jpg

Here we are with one round of sanding complete to even out some of the rough spots. Unfortunately some of the carlings ended up crooked, I'll look up to do better next time. I think I figured the method out towards the end. From the looks of things the ledges all came out parallel and even, so I'm happy with those. I'm also very happy with the 1.5mm on the deck, it's very consistent and once all the sanding is complete I think it will be very nice.

20200909_001733.jpg20200909_001756.jpg

Still a couple more rounds of sanding, and some odds and ends to complete on the shaping, for example the forward carlings need to be shaved to accept a mast later.
 
Very good work - I think a very good basis for the deck planking . I guess you will leave some areas open, in order to see the structure of beams and carlings, or?

I would only check the correct location of the mast hole / mast partners !
The correct location (to starboard or portside) is very important, a half mm here will end in several mm off-center at the top of your mast
20200907_235415.jpg
It is more a feeling, because I know from a photo with the perspective it is not possible to check - only you can see this on the real model - so maybe you want to check my "feeling"?
 
Very good work - I think a very good basis for the deck planking . I guess you will leave some areas open, in order to see the structure of beams and carlings, or?

It is more a feeling, because I know from a photo with the perspective it is not possible to check - only you can see this on the real model - so maybe you want to check my "feeling"?

I'm currently debating how much to leave unplanked, truthfully the structure of these ships is why I moved to POF so I want to leave as much of it exposed as possible.

I took another look and some measurements. The blue areas are the same distance from the hull, which should put it at center.
I'm fairly certain the reason why it looks off, other than an odd angle of the photo is because the curling's in orange are not straight and the top orange ones aren't in perfect locations. Those were mostly done while I was still learning.

20200909_140423.jpg
 
So it turns out I missed one of the ledges, found it floating on my desk among some scrap pieces.

20200914_000405.jpg

Now the deck is complete. Moved on to the top rails. I had one more blank of ebony left, it just needed to be thinned to the 2mm to match. The rails are all 8mm wide, 2mm thick, and longer than needed to leave room for mistakes. The hull doesn't fit the plate plans for this section so I wasn't able to cut out a template like I had wanted. So I had to cut the rails slightly larger than 8mm to allow for shaping. I soaked the ebony for a few hours in hot water and then shaped them to the hull.

20200913_010642.jpg

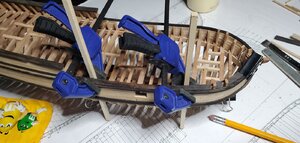
Had to get a little creative to hold everything in place.

20200912_213904.jpg

20200913_010648.jpg

After gluing everything in place there was some shaping that needed to be done. I had to cut the inner ribs so that everything was level. Then cutting down the rails so they didn't over hang too fair. The starboard rail is slightly damaged, the blade of the table saw broke off a piece. I thought about changing it out but I think it brings some character to the build, especially since I am not sanding out all the cut marks throughout the build.

20200914_000134.jpg

20200914_000116.jpg

I need to make rails for the lower deck next.
 
really looking good, keep up the excellent work

Best,

Ed

Thanks!

Started doing work on the main deck rails.

Started by making a template of the rail that needed to be cut.

20200914_233041.jpg

Shapes the paper as close as possible, pasted it to a 1/8 board and shaped that. Missed some of these pictures apparently, but after shaping that 1/8 board I traced that onto my ebony sheet that I thinned down, with a white colored pencil.

Cutting out the rail with the scroll saw and fitting it into the rail slot. Did my best to cut out the slots where the rib rises above the railing.

20200921_213321.jpg

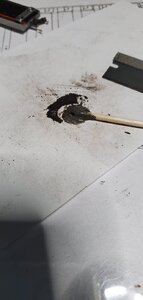
Glued the rail in and got to work on filling gaps. Made a mixture of titebond and ebony sawdust.

20200921_213430.jpg

After a lot of filling, sanding, shaping, and watching glue dry I have my first railing in place.

20200921_235257.jpg

It's not perfect but for my first go around I think it's pretty good. I need to do a little more shaping at the bow I think but I'll wait until I have the other rail in and can shape everything together.
 
it's looks great :) Thumbsup
Wow, thats a really nice looking model. Well done and love the timber choice.

Thank you both. I really like the timber choice as well, the holly and ebony works well, not sure if it all should have been on swiss pear tho.

In the meantime, finished the cap rails all around, as well as filled all the gaps.

20200923_000521.jpg

20200923_000535.jpg

The bow is still drying, and will probably need a little more sanding later on but all things considered I think it all shaped up right. My bow has been oddly shaped from the start when didn't shape the final bow rib early on. But I've tried to make the best of it.

20200923_000650.jpg

I think the next step is build the deck fixtures and start planking the deck.
 
Took a break today to build a temporary cradle/base for the Hannah. This is the Mantua simple base kit that I picked up a couple years back. One to build and a second to use as a template for building nicer ones later.

My favorite part of navy board builds is that you can stop at almost any point and it looks great.

20200924_201736.jpg
 
Back
Top