Hannah 1/48 - Lumberyard

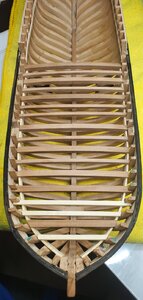
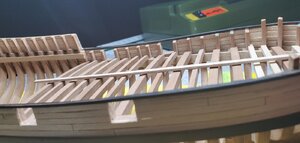
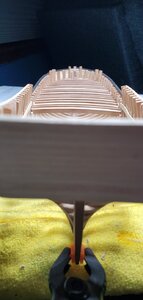
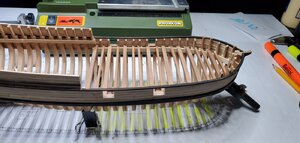
Two things for today. Gun ports and deck support.

20200618_192540.jpg

Gun ports are fairly straightforward. Drill into the hull planking and then cut it out. Sand it down and there ya go.

I had to do some gluing of some of the planking and the top rail because it came loose but nothing serious.

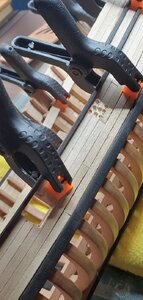
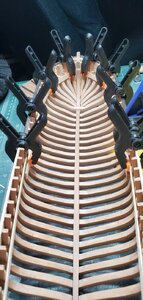
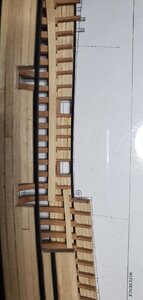
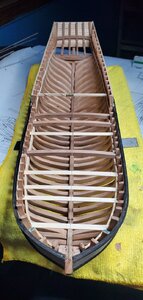
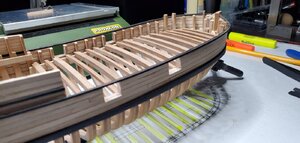
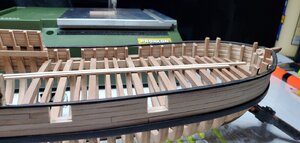
Also attached the railing that supports the beams. For the main deck, will install the secondary deck tomorrow.

20200618_214203.jpg

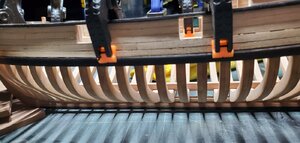
Looks pretty good. I do have one problem I will need to solve, which is that my planking does have some gaps I need to fill unfortunately. The bending didn't always take as well as I had hoped.

20200618_214234.jpg
 
Last edited by a moderator:
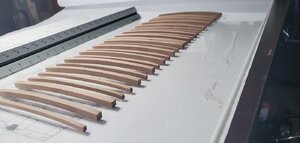
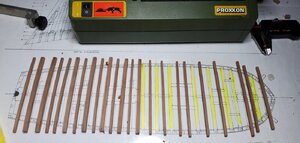
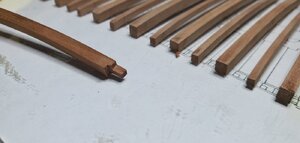
Quick update here, as I mentioned before the beams are laser cut. Took a long time to clean the char and then do another round of sanding. I didn't want to destroy the shape of them so it was all done by hand with a blade and sandpaper. They look good at least.

20200620_195514.jpg

20200620_195527.jpg

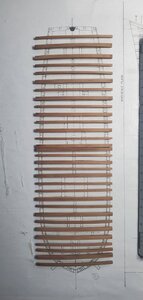
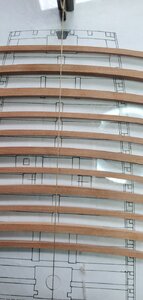
Before I started sanding I measured out where the center of the beams is. Marked that location and moved on. Now that they have been laid out on the plans I can center them with that mark and mark off roughly where they need to be cut to size. Obviously they will be oversized when cut to allow for exact fitting.

I was curious to see how close to the plans my Hannah is, from this angle her profile matches almost perfectly. The transom is a little high in the far back. But I think she is reasonably close enough that I can start by cutting the beams to the plans above.

20200620_215017.jpg

Also no one told me I should be posting full images! I've been posting thumbnails because I update this from my phone and that is the easiest way.
 
It took me a bit to figure out how to make the beams the correct length. I tried the measuring route and that got me close but the first couple i tried it with we're too short for some reason. So I fiddled with it and decided on a route.

I started off with centering all the beams and making marks based on the plans.

20200621_145413.jpg

Once that was done I put them in place and adjusted the cut marks.

20200621_154141.jpg

Here is where I realized that because the hull changes shape so much from the rails to where they will rest I had to go a different direction on how to cut.

So I used some of the boxwood strips as a way to make a template beam. These are flexible enough to get pushed around without breaking and give me the ability to shape them without worrying about ruining anything.

20200621_205421.jpg

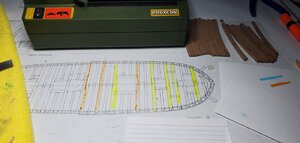
Orange being completed beams and yellow being template beams.

20200621_205430.jpg

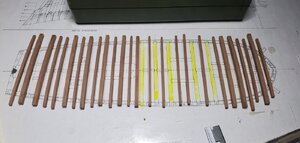
I switched over to yellow for the completed ones and just kept the actual beams on the sheet. I have a sheet of plexi that I use when I'm working with the plan sheets, so nothing is actually being marked on them.

20200621_215306.jpg

At the end of today I have 5 cut to length. Once I finish this I will cut them depth wise so they slide down onto the rail and into their final place.

20200621_215258.jpg

My plan is to cut and fit all the beams into place before I do the cross beams and cut the beams in half that need to be cut. This should insure a good fit on the ends.
 
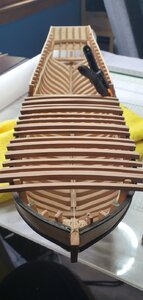
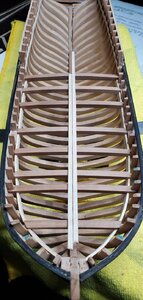
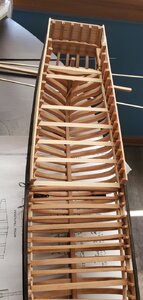
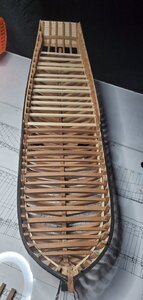
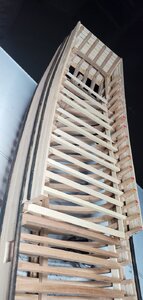
Alright, finished cutting all of the thicker beams to length and cut them to their proper depth.

20200622_231310.jpg

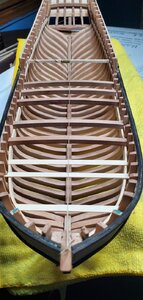
Making all these cuts is hard on your finger. I'm using one sided razer blades, so when you apply pressure it really digs in after a while. On my chart above I've put all the larger beams in place on the main deck. And they look good.

20200622_231249.jpg

I followed the plans pretty closely when it comes to shape of the beams, so some stop at the ledge and some go all the way to the hull planking, and some others are half on the hull half on the rib.

20200622_233541.jpg

These were fun to cut.

The important thing is these are all level and at the same depth and kept their slight upward bow. I picked one of them middle beams to start with, cut it to length, then cut it to depth (about half way), once that was where I wanted it I used that as the depth template for all the others. Then you kind of just chip away at the beams that sat too high making sure the original was always the lowest.

Next will be the half thick beams.
20200622_231258.jpg

Hopefully those will fit just as nicely.
 
You are making very good progress Gventura. It is coming along nicely.
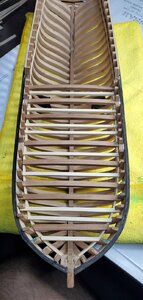
Thanks! It's really a slow process, I keep cutting my fingers actually, but I've finished the main deck. I used the same method as before, with 1/8 sqaure balsa wood as template.

20200623_213010.jpg

Using these templates I cut the laser cut beams to length, then shape them to the location where they meet the rib. Leaving depth for later.


20200623_233015.jpg

20200623_233038.jpg

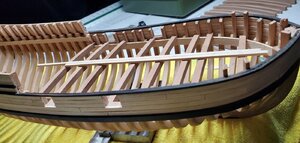
With only a few left to place I checked the heights, the half sized beams are only like a 1mm too tall. So cutting out the depth is difficult, can't cut too much out or it'll ruin the planking.

I don't have a photo, but I realized the best way to cut the depth on the smaller beams is using the nearest thicker beam that's already set, taking that profile with both beams upside down and flush, and cutting the depth on the thinner beams from there. That gave me the most consistency without having to make so many adjustments.

Now, having completing the main deck, here we go.

20200624_235324.jpg

20200624_235423.jpg

20200624_235431.jpg

20200624_235601.jpg

It looks like once this is all glued into place it shouldn't need too much sanding to level it all out.

The next part is the fun part. Cutting all these planks up to build all the different squares and cross beams. Not sure where I'm going to use that wood from.
 
MAY I BRING UP A QUESTION GVENTURA?

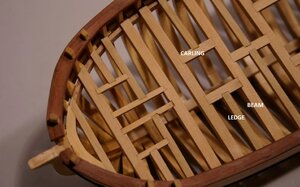
I am bad typist so here we go. Forgive me if i am miss understanding. You are gluing the beams and ledges at this point. It's easier to glue the beams in then locate the where the ledges and carlings go. I added the carlings first and then cut my ledges to fit. because if you glue the ledges your going to have to cut them out to fit the carlings. i placed and glued the carling in and i then laid the ledges over their location and marked where to cut them to fit. I am adding a picture.

AAAAAAA.jpg
 
MAY I BRING UP A QUESTION GVENTURA?

I am bad typist so here we go. Forgive me if i am miss understanding. You are gluing the beams and ledges at this point
So, I haven't glued anything in place yet. Everything is a dry fit. Your pictures are helpful. So the next thing I'm going to do is locate all the carlings and make the necessary cuts and additions. I'll glue the carlings together at the same time I glue the beams and ledges together.

I didn't want to glue carlings to beams first because I've had some trouble getting the beams out because of the curvature of my hull.
 
Some big changes in the shipyard, so some delays.

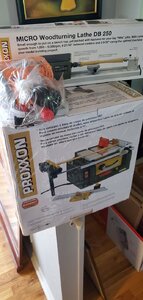
First up some new tools, very excited about.

20200702_192001.jpg

I switched out my little table saw for this version which can a lot more in terms of cuts. But I won't be unpacking all that just yet.

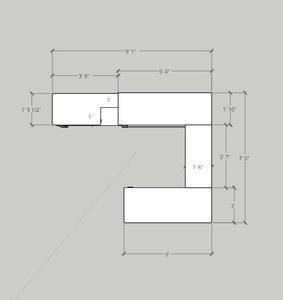
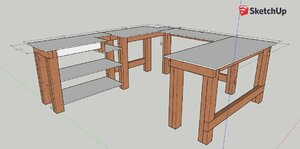
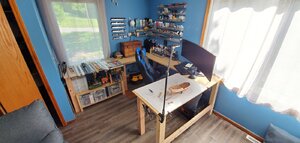
I've been putting the finishing touches on a new workbench/station. Right now I work inside on two generic L shaped desks from Amazon. So I'll be raising the height significantly so it's more comfortable and easier to keep track of things. New shelving to store all the boxes of materials and proxxon tools, and a single drawer for keeping tools together. I'll be building a cut out to house the table saw full time. There are some smaller details missing like hole cut outs for cables and attachments for wiring to be kept out of the way.

Very excited, I'll be building this over the coming weeks and installing it the weekend of July 24, so the next two weeks there won't be many ship updates as I tackle this project.

I'll be fine tuning the design over the next couple days before I pick up the materials this week and start cutting wood this weekend, so if anyone has any suggestions for additions or changes I am open to hearing them!

signal-2020-07-04-190540.jpg

Workbench.png

But! I still have a few things to wrap up on the ship, namely the distancing of the top deck beams.

20200705_151020.jpg
 
Last edited:
The stern area of your build came out just beautiful!
Thanks!

It took almost a month but the shipyard is back up and running.

The new desk is about 98% complete. Learned a lot, not everything came out like how it was supposed too but I made due.

20200815_170242.jpg

Huge upgrade from what I was working on before. Probably needs another light or two, especially on the back bench. Was finally able to unpack everything. The next thing to do is make a wood sorting of some sort to house pieces long term.

Finished a couple little things during my first day back on the bench.

20200815_235119.jpg20200815_235125.jpg

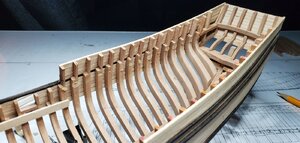
The lower deck is fitted. The upper deck is measured and now the deck beams will be fitted. After that is cutting and adding all the bits where they need to go.
 
Dear Gventura:)
The model looks really beautiful,Thumbsup and so does the desk, that Proxxon new tools will fit in superblyThumbsup


Thanks!

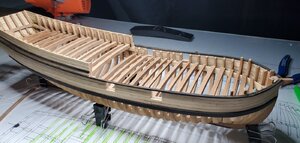
Finished the fry fitting on the decking.

20200816_222027.jpg

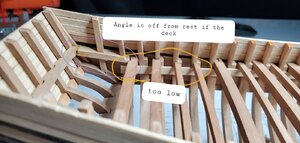
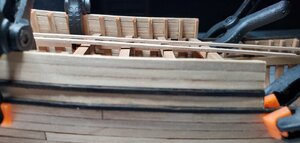
Little bit of an issue at the stern. My guess is that the rails the decking is sitting on isn't high enough, so the angle is wrong.

20200816_234415.jpg

My best guess to fix this would be to remove the pieces the deck is sitting on and reattach at a higher angle at the stern.

Or I can leave it as is and just have a slight slope from the stern to the first rib, that may not even be noticable since I won't be putting deck planks down in many places.
 
As they say, Its your ship do what fits your liking. If didn't tell us first, how many would notice the deck level issues from looking at the finished kit.

Kurt
 
Thanks!

Finished the fry fitting on the decking.

View attachment 173699

Little bit of an issue at the stern. My guess is that the rails the decking is sitting on isn't high enough, so the angle is wrong.

View attachment 173706

My best guess to fix this would be to remove the pieces the deck is sitting on and reattach at a higher angle at the stern.

Or I can leave it as is and just have a slight slope from the stern to the first rib, that may not even be noticable since I won't be putting deck planks down in many places.
I had the same problem. Decided to go with the slope, adding some thickness to the last few deck supports (forget technical term)
 
leave it as it is, and just have a slight slope from the stern to the first rib, that may not even be noticable since I won't be putting deck planks down in many places.
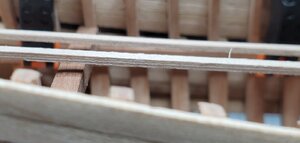
 
You are correct, that the deck clamp is sitting low. It's up to you, but remember whatever is going to sit on the poop deck will all be off from your plans. If you used white glue to attach the clamps, then it's not very hard to remove the clamp. Just add a little water and the glue should give way after a few minutes. Good Luck!
 
Last edited:
So I decided to rip out the deck clamps, I replaced the balsa wood strips with 1.7mm thick pearwood to match the frames.

20200818_213359.jpg

Had to scrap off the wood glue but it was actually a fairly simple process.

I installed the new pieces as high as I could make them go while still having them positioned correctly at the drop off point. Even with my correct there's a space between the decking and the deck supports.

20200818_223746.jpg

20200818_223756.jpg

It's truly a small amount, my best guess is there was some misalignment either with the stern construction or with the template used to make the cuts in the ribs. Either way, live and learn, because there's not much more to do.

Once this dries I'll start the next step in building the deck structure.
 
Dear Gventura
A good decision, since it is you who builds and sees directly the reality on the ground, there is no doubt that adding the pear tree will contribute to the beautiful result
.
 
Back
Top