Hayling Hoy: POF kit [COMPLETED BUILD]

Hi Glenn,
I first had another picture of how it was done at Le Coureur, for example, but then deleted it.
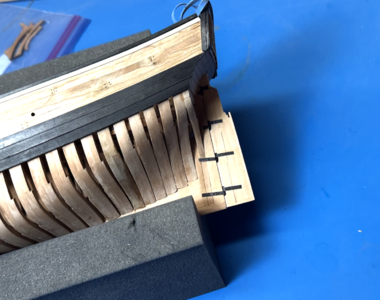
Here are two pictures of Vlasko as he did it on his Lugger.

View attachment 403940

View attachment 403941
Picture source Vlasko SOS member.

It is a different ship but maybe it inspires
Interesting, thanks for posting. There aren't any timberheads fore of the catheads on this, but one just aft. Maybe I can make it look right along the lines seen in this.
Thanks!
 
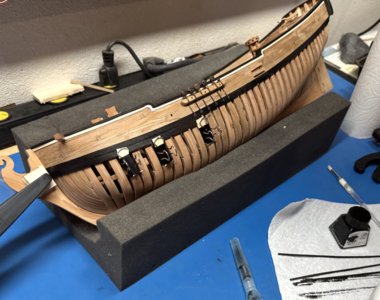
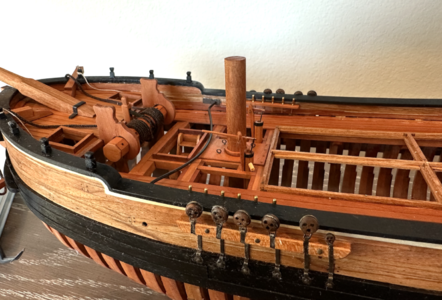
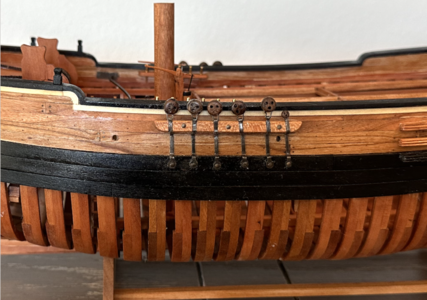
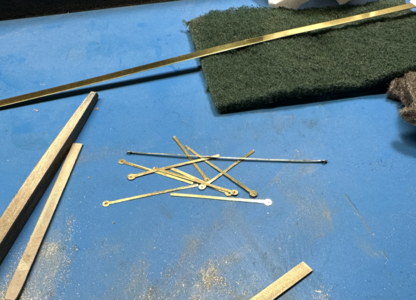
Wrapping up the chains and channels. I've never done more than two chains per side and strictly per kit parts. This time I went 100% scratch using the book as my guide. Well, I used pre-made deadeyes, but close. I hacked up and filed down a lot of brass to make 6 chains per side.
1699279926380.png
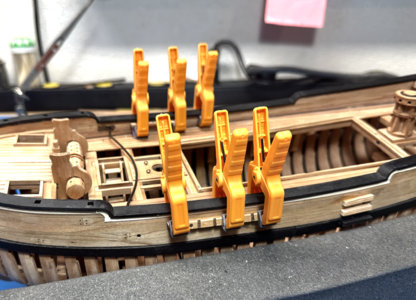
I modified the channel I laser cut from the plans by including 3 bolts per side for a more solid look. They were easily applied to the ship.
1699280052385.png
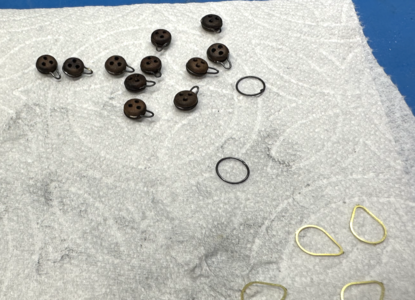
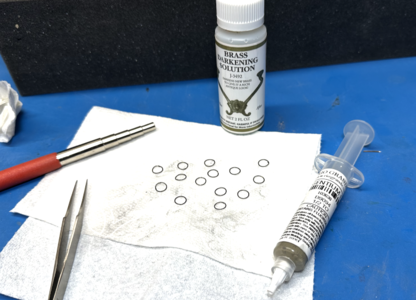
The book specified making rings for the deadeyes on a 15/64" shank. For some reason i actually had the right size, although I suspect no one would have missed 0.0156". The rings are cut, shaped, silver soldered, balckened, and than partially crimped onto the deadeye to an approximately right shape. The syringe is something I got from Rio Grande for jewelry making, an all-in-one solder and flux. I just put a tiny inch worm on clean brass at the gap in the ring, hit with butane flame until it flashes a silver color, and it's solid. Cool stuff. Use with lots of ventilation. Now even I can solder shut rings, eyebolts, and hooks. And that rather generic sounding "Brass Darkening Solution" shown works well and leaves no discoloration of wood if you put a dot or two on an inlaid brass bolt. Brass black turns wood green/grey.
1699280245049.png
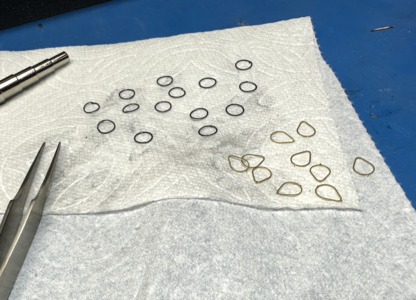
Custom vs. kit rings for deadeyes (kit bottom right). The kit ones and photoetched. It probably would have looked fine from a normal viewing distance, but I'd like to get practice with the finer details done from scratch when I can.
1699280500708.png
Shaping up...
1699280624941.png
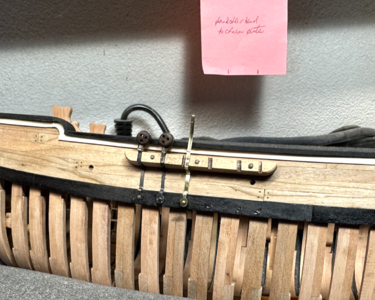
Chains being done one at a time. Holes for the bolts in the wales were done in advance (some mistakes seen on this side, will try to cover with ink). Each chain is shaped invidually, blackened, the deadeye applied, and then glued into place with a little CA and a bolt through the hole. In progress below...
1699280837153.png
Final product on starboard. I can see about 5 things wrong with this, but I'll keep my nitpicking to myself. I am not ashamed of my first chain and channels of any complexity, and from scratch at that. I think this looks much better than I would have gotten with the kit, even if I botched a few things.
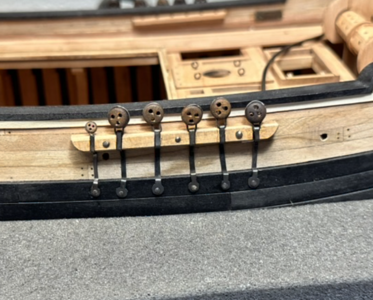
1699280897614.png
A long post for what you guys generally just show a picture of the end product, but confession can be good for the soul. Plus this took a week, on and off.
 
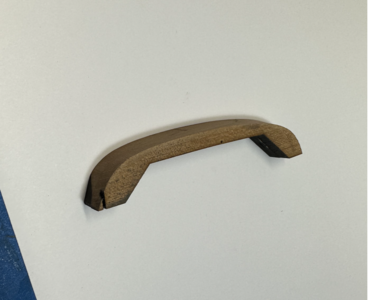
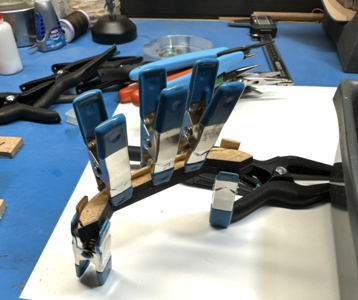
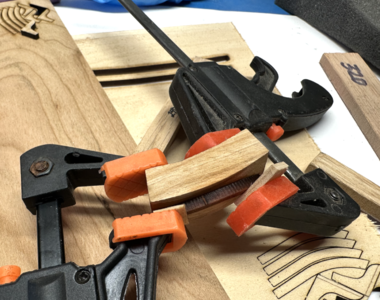
I couldn't get the taffrail to lay down right. It's made of cherry and there's no good way to clamp it down after soaking in hot water and letting it dry. The kit has a cardboard cutout of the panel that goes on the stern. I think it was there to line up windows but I didn't really need it. But now it's turned out to be handy. I scanned in the template along with the taffrail. I made a clamping jig in Illustrator with some great spots to clamp, doubled it with 3/16" inch scrap stock on the cutter, glued up and beveled the jig according to the top of the transom.
1699282483232.png
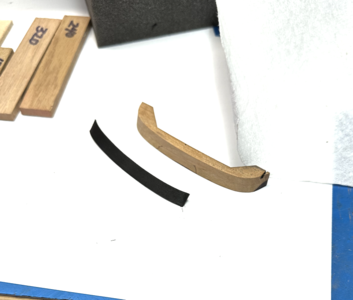
I was much more successful in bending strictly to form, very easy, but have to confess I used basswood for the taffrail. It was going to be inked black anyway and I've already proven to myself that grain isn't an issue later.
1699282594939.png

Here it is, fully formed and inked.
1699282642934.png
...and installed. It is shaped well to what has already been installed.
1699283023284.png
After all the work to get the shape right, I'm not sure I spent as much time on getting the placement correct. I used CA for this becuase the difficulty in clamping, so it is now a live and learn situation. I little scraping the excess CA and re-inking and it should be ok enough.
 
My wale showed up, B1!!!! It was sent to the wrong address but got forwarded. I was minutes away from driving to my old house to look for it, despite the rudeness of that. Thank goodness, many jobs on hold for that. I wasted no time shaping and gluing in parts.
1699283276597.png
I finished installing everything in two days. Wow, game changer! Nothing between me and finishing other than the fashion pieces (a little intrepidation), a bunch of small details, the head (lots of concern), and finishing.
 
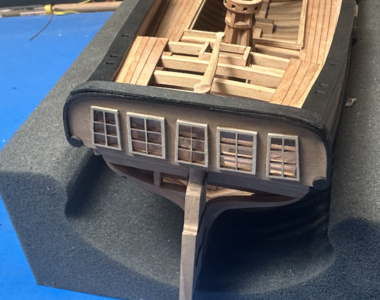
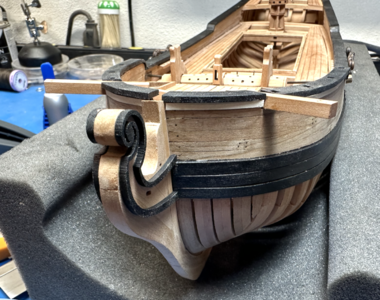
On to the head, face. your fears. The decorative piece to add, that would otherwise have been carved, it pretty delicate and doesn't fit well without a little trim and some pressure. I snapped one, but got the other installed. The other will go on tonight.
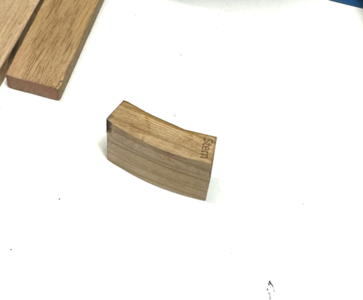
The lower cheeks look like pussy cats. I'll put that to the test once the glue dries on the other side for the faux carving. The upper cheek is going to be a monster. David Antscherl said it was the toughest part of the build. It consists of a cathead support that slopes toward the stem and is met by the piece coming from the stem. The kit gives you the larger part of that cheek as a single piece that needs bending. The ability to bend directly on the bow went by about two months ago. Again, I made a card tracing the profile of the bow at the height of the cheek, scanned it in and cut three pieces with clamp-able surfaces. I built it up and sanded away the char.
1699283855511.pngT
he cherry was softened up over twenty minutes in hot water and then in a second batch of water as well. It was easily applied to the mold, clamped and left to dry overnight. As long as I remember to clamp up the second piece in the opposite orientation...
1699283905683.png
You can see that while I had the cutter out, I had scanned and redrawn the cathead supports and cheek pieces and cut from both cherry and basswood. I hopefully won't need them, but I have enough to keep trying until I have something passable. With the bend it should be a bit easier, but I get dizzy trying to fit the pieces together in 3D. Good practice. More to come.
 
I had a nightmare of a time getting the hinges on the rudder using the supplied cut pieces. With metal, you are stuck with CA or epoxy. The kit supplied photoetched sheet was a laminate. When I went to (mis)place the hinges, attempts to adjest lead to the first layer of the laminate ripping off, glued to my thumb. The pieces are very large and the slots on the side are to scale, I'm sure, but very difficult for a pintle. I gave up and for some reason just glued on the rudder after bevelling the surface to the sternpost. It ought to look like it could turn, right?
But later I regretted it. While I was waiting for the head pieces, I made some simple hinges from inked strips of light cardstock of roughly the right width CA's onto a small skinny piece of bar stock. I slipped through the holes, folded, cut to shape, touched up with ink, and glued on. It doesn't look to bad IMHO. I went back and drilled holes with a #76. I had nails to apply, but for some reason almost none of them worked, it was less like a building issue and more like a curse. But the drilled holes, after re-inked, added interest even if they weren't bolts. I can live with it. I hope I'm not converging on "I can live with it" at the end of my build. But I am really a beginner with 4 workboats under my belt. This seems like as good a place to learn as any.
1699284570730.png
 
How in the world did you file down brass that straight/perfect?
Thanks! I'm not sure about perfect, but I started on the sides with a needle file and ended up with a 1+" file I had in my drawer with the work clamped in a bench vise. Lots of taking it out, flipping it over, and just general obsession. The compliment is well received after spending days at these small pieces.
 
Finished the head work
1699366518208.png
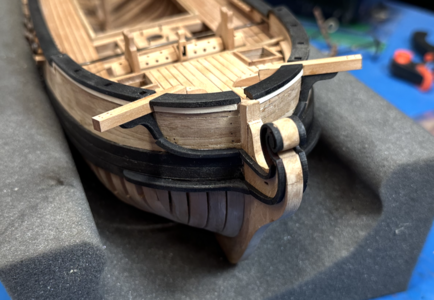
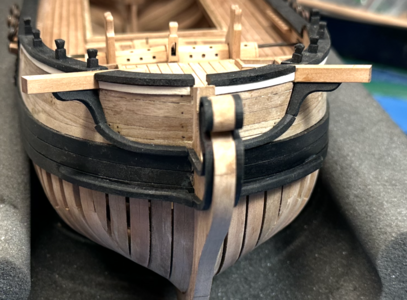
Cheeks installed
1699366558960.png
1699366613672.png
It wasn't as bad as it was made out to be, but the black covers up some of the roughness of the joint in the upper cheek by the cathead support. I could have tried again, but the larger part of the upper cheek takes a day to make, per side. I'm considering a small amount of filler or leave it alone. The filler disappears with the black ink but nervous about inking directly on the model next to bright planking.

I wanted to do that work natural, but the thin pieces on the head were too delicate to remove all the char. I had to blacken the whole thing. This time I defaulted to the kit's treatment of the subject. But it did make the tough work on the upper cheek a little less fiddly.

Note the carved timber heads are in. Scary story there. I was having a hard time getting one in and leaned in on the bench to apply pressure. It still wouldn't go in so I let up to do a little light cutting. As I pulled back, I heard little things hitting the floor. I had put my forearm into the pile of simulated carved timberheads, they stuck to my arm and then fell all over the floor. Of course the first thing I did was roll back in my chair a little and grind a couple to bits (no pun intended). Fortunately, on a lark, the last time I ordered a few more cherry sheets, I ordered some 1/8 square strip stock. I had new parts carved in minutes. Didn't even have to whip out the laser cutter for a change. :D I don't think I would have been able to do that with confidence when I started the kit. I think building this model has been a good learning experience.
 
This model is great, after looking through your construction log I decided to just order it. Awesome, in my opinion the cherry version looks better than the pear one. I will continue to follow your construction, thank you for sharing the construction in detail !
 
This model is great, after looking through your construction log I decided to just order it. Awesome, in my opinion the cherry version looks better than the pear one. I will continue to follow your construction, thank you for sharing the construction in detail !
Thanks, I'm glad you've enjoyed it. I have enjoyed building it. I hope cherry is the best choice for you.
 
Thanks for the encouragement and likes! I'm in the home stretch for the non-rigged version, the list of things left to do is short.
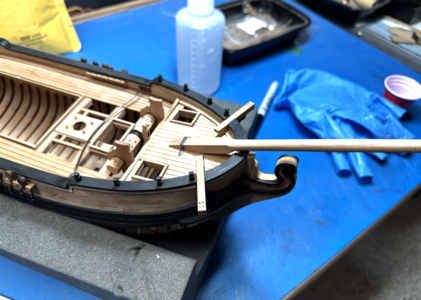
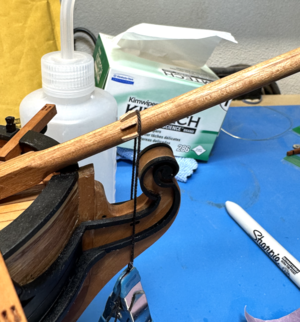
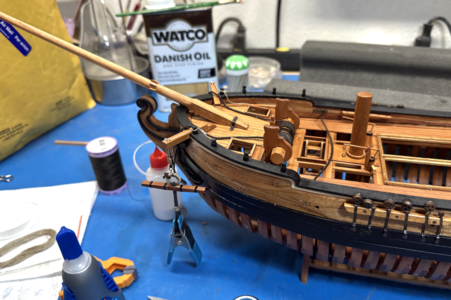
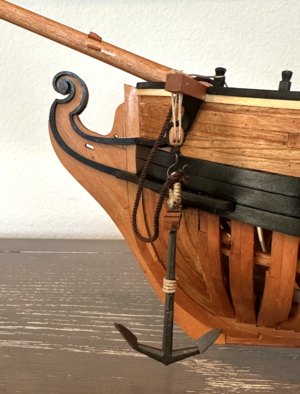
I had some 1/8" wide brass stock that I had cut from 1/4" for the chains and decided to mount the bowsprit the way Antscherl did instead of the kit.
1699537700849.png
I think the clean, simple look say "workboat" better than the other treatment. And I won't be rigging it so I won't miss anything.
1699537796232.png
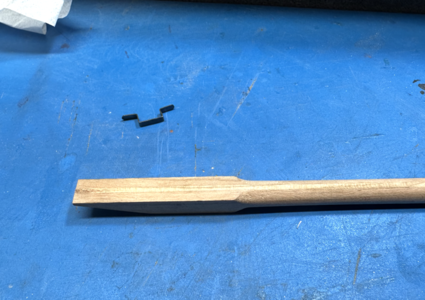
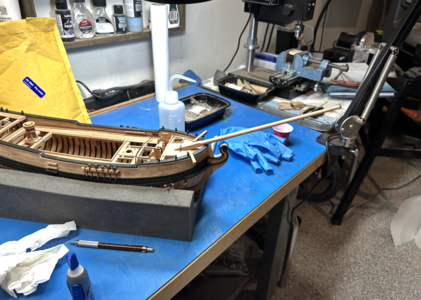
Even though I am not building the rigged version, I'm including a full-sized bowsprit. That's for 2 reasons. One, the way it is mounted, dropping in just a dowel won't do it. And two, the aft end was tough getting right. I built it up from scratch and it gave me the opportunity to simulate a really nice sheave at the fore. i just wanted to include it. I will be more strict with the admiralty style when I build something with guns.
1699537971629.png
 
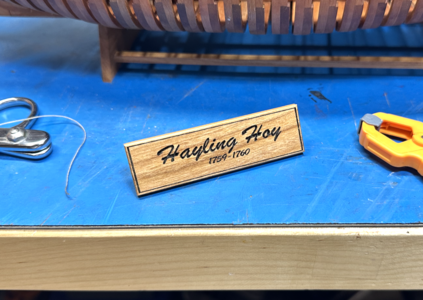
The moment of truth. I'm ready to finish the model. I decided on Danish oil early on. It looked nice on my test pieces. I also build a stand and sign from the cherry I recut floor timbers for and tried the finish. It looked good.
Here is the initial coat.
1699538159924.png
It is very much darker than I had though and still looks a bit wet after a day. I buffed it out as best I could, but I suspect the look is here to stay. The deck is very dark, I think it's the wood selection. I should have replaced that deck, it nagged at me the whole time. I would suggest doing so to any builder. There are good details in the book for that.
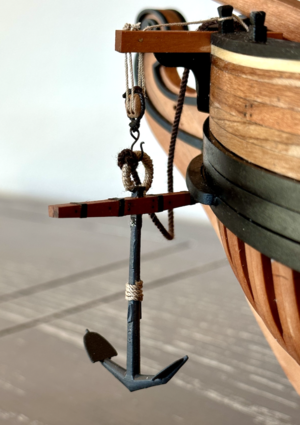
Coated the anchors and pumps as well.
1699538315473.png
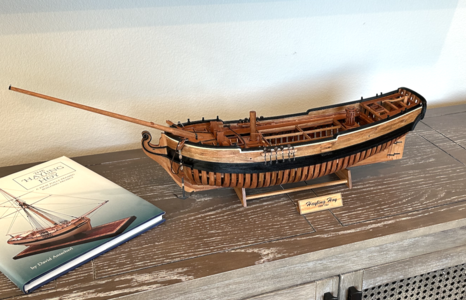
Here's a picture of the simple stand I made. I think the level of sophistication fits the subject. Note how much lighter the finish is compared to the boat itself.
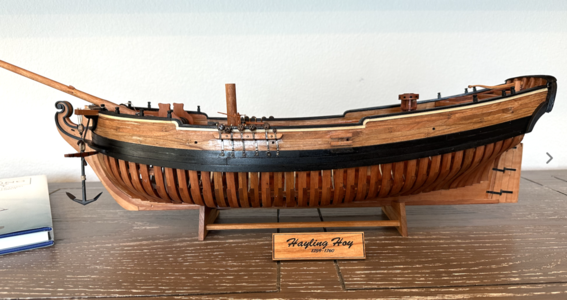
1699538393277.png
I've never done the gammoning on a ship before. Here I am installing the gammoning cleats templating the way described in the book. In the end, they were too far forward. And because I remembered only after finishing the bowsprit with Danish oil, the cleats were installed using CA. It's a one way trip. I will finish them and not do the gammoning. The templating might have worked better if I had done it on unfinished wood and eyeballed the rest better.
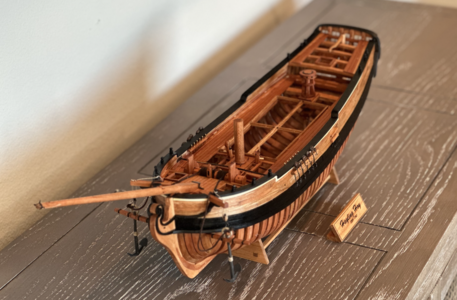
1699538630815.png
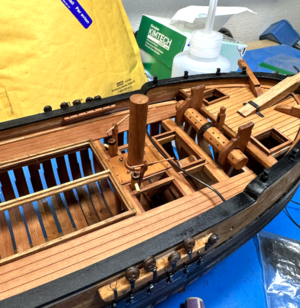
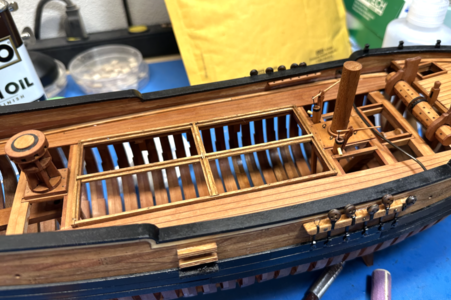
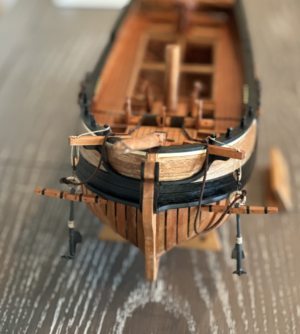
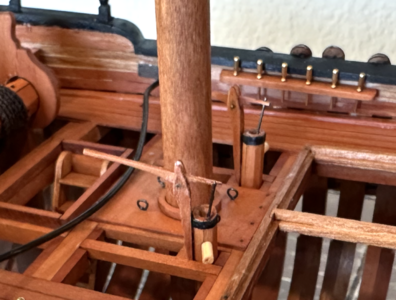
Here's the mast and pumps installed. The mast is sawed off but I did cut a tenon for the mast step on the bottom.
1699538729197.png
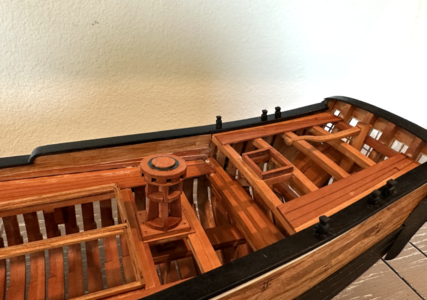
The crossbeams for the main hatch are now finished and installed. They aren't glued in place in case I decide to detail further in the future.
1699538855186.png
 
Back
Top