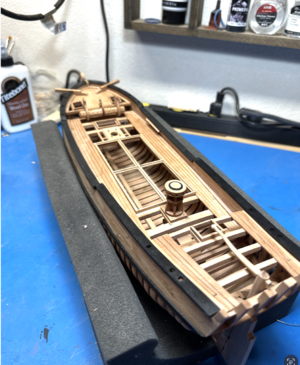
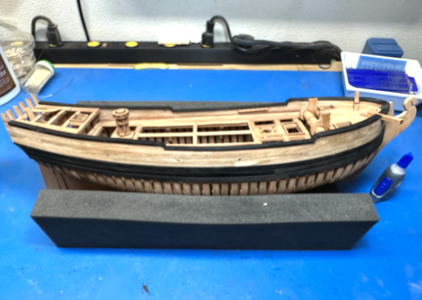
Hayling Hoy: POF kit [COMPLETED BUILD]

Hi Glenn, sorry for the confusion, we will update the windlass to make the resin part invisible, I have also updated the instuction to make less confusion.
The reason we did not cut out the rabbets of the windlass base are beacuse modellers might have slightly different height for the lower platform, cutting it out might make the fit not so well. We have gave a paper mold of the windlass base for modellers to try and cut, then transfer it to the wooden part, but surely more reminder we should put.
 
Thanks. And I forgot I saw that paper template early on when I was marking out the deck clamps.
I also thought that if I had painted it red as suggested, it wouldn’t have been a problem. But the cherry laminates made me want to keep it wood.
I primed it and will try to simulate wood with paint.
Thanks for support after the sale, it’s not always so common
 
I finally got closer on the angles for mating the half frames to the keel. The bevels included just aren't on the money, as you might expect, especially for the shallow angles. I used a protractor between keel and marking on the jig for the frame and then put that angle on the tilting table on my disc sander. Yes, it's a nice thing to have, not a necessity, but I'm not sure I could reliably get closer to the right angle. The fore half frames look pretty good. Here's all the frames on the keel, not affixed.
View attachment 391087
Now that I've assembled, shaped, and fitted all the frames, it looks like I have 2 full and one half frame I must redo. There are another 3 dodgy full frames I'd like to retry as well.
For anyone else reading this log... If cut to the line the angles on those frames are a good fit to the keel. I found putting them in a vise then paring them with a very sharp half inch bench chisel was quick and accurate.
 
I decided to use Titebond III that I got in the exploding bottle from Amazon. Longer work time, less gummy, takes a little more work to soften up with IPA. So I used it, put some in my silicon glue pot and put on some strakes with it. However, when it dried in the pot, it was a brown color. This isn't a big deal for darker cherry, but some of the sheet stock I have is lighter colored. And what if I wanted to use boxwood or holly?
So, after Weldbond, Aleene's,, Titebond Quick & Thick, and Titebond III, I went back to my roots. Elmer's Glue-All. It is strong, longer work time, sandable, and dries transparent and solid. I used most of a bottle on the last three models. I was hoping for something that grabbed faster to deal with awkward clamping and my lack of patience going on to the next step. But what works, works. And patience is the name of the game. Maybe some more traditional woodworking glue that dries clear would be good to try, but you got to stop somewhere.
View attachment 396562
Something seems off with the Titebond 3. I make furniture and use it frequently. When it first dries it's cream colored, not brown. Titebond does make a brown colored version of Titebond 2 but not 3 as far as I know. Maybe you got a bad bottle?
 
Last edited:
I think I found a better solution to making the wales and the cap rails black. Black India Ink. I think it just looks better.
View attachment 396563
The Ebony stain is top left and the India ink is top right. I also wiped part of each patch with some Danish oil to see if it would run. The stain did a little but the ink didn't move at all. Also I tried some touchups with it to see if it looked weird with the ink, but it looked fine. I think I have a solution. Who needs ebony?
It may seem like cheating but black permanent marker also works well.
 
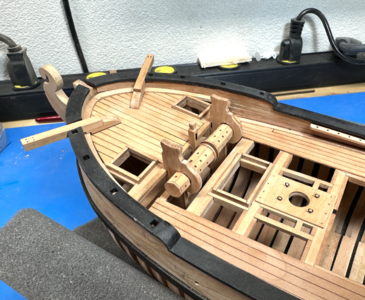
I finally took the windlass apart, it was the only way I was going to get any paint on the plastic colored sections. I primed with some grey and then mixed up some burnt sienna, yellow ochre, and burnt umber watercolors and painted the primed plastic. i also spotted all the holes so the white plastic wasn't peaking back. I had to break the brackets to get it out (I had CA glued it to get around having to hold it for a long time), but with a little love, it doesn't look too bad. It also gave me a chance to lower the height of the center post, it was too high. I still have to fabricate the pawl bar, but you get the jist.
1698069675078.png
 
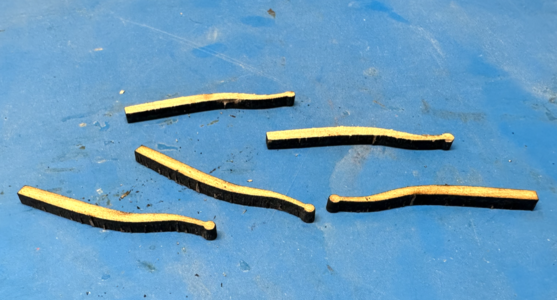
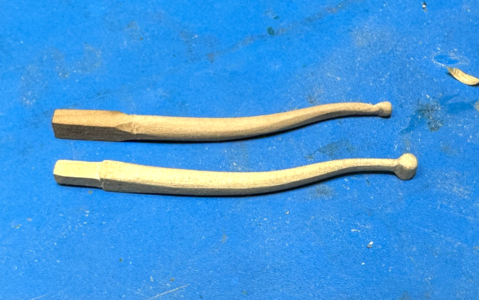
I didn't like the look of my first tiller, no beginner's luck, so I cut a few more blanks to try again.
1698069905128.png
Ended up with the one on the bottom, first attempt above.
1698069993801.png.
Not really any instructions, text drawings, painting, to get it right, so I just did my best.
1698070351186.png
I cut the mortise all the way through. The tenon was pretty flush to the mortise when i started, but ended up trimming the sides a little to make for a better mate on the front end with the angle as the tiller got thicker. I think it is now a bit to far. Any input on where it might look best? I might just cut it flush but wondering if it would look a bit more accurate with some of the tenon remaining proud.
 
I decided I didn't like the look without the main hatch combing. There are combings elsewhere and it is just too obvious and looks incomplete to my eye. It's a little puzzling why the manufacturer didn't include one, the ones for the other hatches look very simple but nice. Maybe it always has to be a custom job because of potential accumulation of errors making a final fit unlikely.
Anyway, I came up with a scheme to cut from 2 1/16" sheets on the laser with simulated joinery.
I started off with something square that came from two measurements on deck.
1698155020671.png
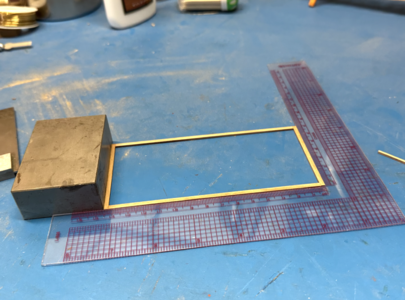
There's a second layer that creates the rim for the hatch cover and "mortises" for the cross beams. I test fit it and it turns out my Hoy is not completely square. Not bad, but not square and I want to get a snug fit. So this came apart. It would have never worked with a big solid piece from the manufacturer like the other combings.
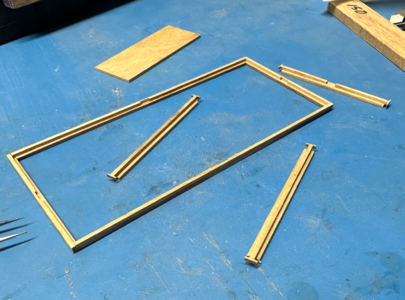
Here it is with the top layers and the cross timbers/planks built and joinery added. I did s pretty good job figuring out all the dimensions in one go, but got one wrong and the cutter had to get set up a second time. But I'm happy with it.
1698155314538.png
Finally, no big fixture on the deck would be complete for me without a few bolts. I stuck with brass and the brass black, even though it bleeds. I wanted it to look consistent and it does have that look at the bolts like a 100 year old model where some of the tarnish from metal added has bled into the wood a little.
1698155487722.png
David Antscherl's monogram shows off some really fancy hatch covers. I cut some blanks and was going to go down the road of all those small pieces and bolts and rings, but didn't like the way it looked covered. I like the simple open look. I think it would be different if I did the model in a way where one side was ceiled, planked, decks, and the other wasn't. In summary, I'm not lazy, just stylistic. :D
 
Here's just a couple of quick shots of progress afterall. I'm still waiting for the replacement part so I haven't been able to finish the wales on the port side. I also don't want to install the timberheads or chainplates and can't install the fashion pieces on the stern until the wales are complete.
1698418089841.png
1698418230303.png
I was able to finish the wales on the starboard side. I think it will really come together once I can install all of them. It's been about 3 weeks but the replacement is free (might incur shipping charge) and, according to tracking, arrived in the US today. Hopefully I will get it in a couple of days.
1698418390304.png

(Never mind the CA bottle in the picture, I used PVA for the wales. CA is wood-to-metal, impossible-to-clamp, and emergency only)
 
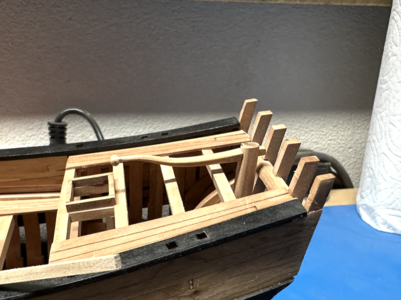
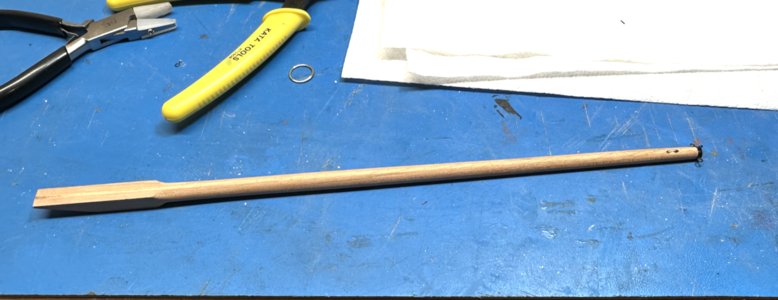
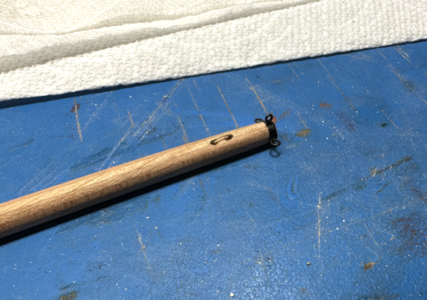
Got to work on the bowsprit. It's got a distinct angle aft and was bolted to the thick beams of the forecastle. The kit provides a dowel, despite the deck end being four square inboard. It would take a mill and building the end back up to get the correct shape. Instead, I scanned in DA's plan for the bowsprit and cut three sheets and built it up. This has the advantage of getting the angle to the deck exactly right, makes to transition of four square to round easy, makes the taper easier, and the end of the piece has a sheave that's always easier to install on something square.
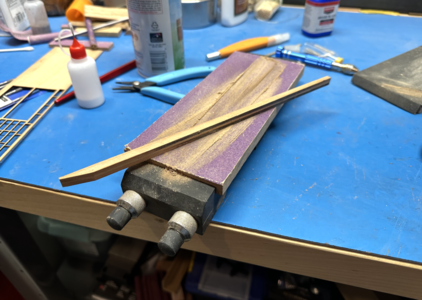
Here's roughing it out from the glue up. I use a "cheap" wet stone holder to hold a homemade sanding block. Slippage is pretty minimal, even with a glued up part plus I keep the angles right. I used a disc sander to clean up the ends and keep them square.
1698418828703.png
Here it is fully formed. I'm happy with the way it turned out.
1698419077764.png
You can see the brass ring back a little ways in the shot. I was toying with making the traveller as well. The proper size needs to be installed before the three eyebolts at the end of the bowsprit. I opted to install the "metal" (inked card stock) strap and the 3 small eyebolts, since this model won't be rigged (at least not right away). The eyebolts are small and don't go deep; they can be removed and replaced someday if i want to get a proper traveller on there. The traveller was just going to look like lame overkill without being rigged.
1698419336758.png
 
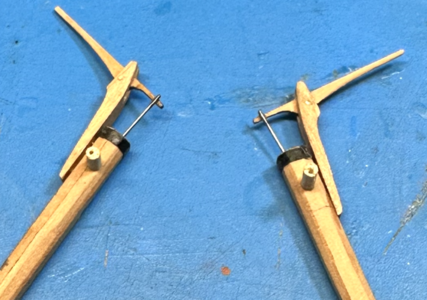
Waiting for the wale has been an opportunity to do a few of the kits within the kits. I followed through on upgrading the pumps. I used the pump handles from the kit that weren't conducive to hooking the pushrod to, I had to just contact them to the end, but otherwise I think these will add a little interest to the deck.
1698419547229.png
To make the part that connects the handle to the pump body, I put the pump body on my scanner and brought it into Illustrator to make sure I sketched something proportional. I used images from DA's monogram to get the look right. They are bolted to the pump body. I decided not to blacken because of the staining of the wood. It's copper next time. Although I got a very nice result with Jax Brass Darkening solution for the rods, the rods look like a refill for a mechanical pencil. Not as fussy and flaky as BrassBlack. I'll have to see what happens when I touch some onto a brass wire embedded in wood.
 
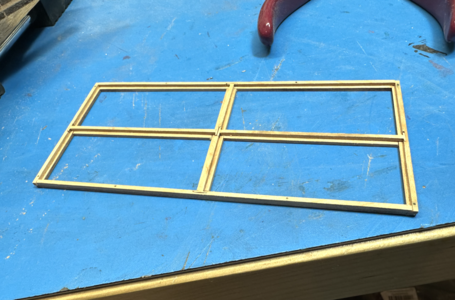
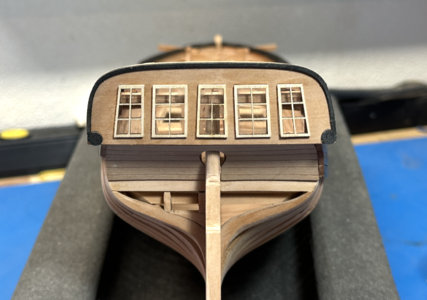
I found I could install the stern gallery without completing the wales. I'm not sure I like how it went together. I thought the clear parts were one piece as in the instructions. Instead, they are separate plastic panes that press-fit into the window holes on the sheet to go on for the gallery. The window frames kind of sit on top of it. I decided I wanted to accent here a little with some lighter wood, so I did more scanning and reproducted some frames out of 1/32" basswood. The first frames were too small to meet the edges of the wood and completely cover the plastic. I popped out the cherry frames and it was close to the same deal. Weird fit. I modified the Illustrator file to widen the frames a bit and recut. I think they look ok. It is missing some of the arc to the installation, but the panes are in very specific places and there isn't really an arc to the window holes in the gallery piece. I installed the decorative rail above with more ink.
1698420779771.png
Clearly it isn't perfect but harder to see the lack of arc from a distance and I am happy with the contrast. It's not entirely satisfying to use basswood on a cherry model, but with parts at this scale, you should never see the blotchiness of the basswood taking up the finish.
 
Hi Glenn
very nice and clean work, I like it when you replace parts from a kit with homemade parts. It gives the whole thing a personal touch.
 
Back
Top