At the end of the chapter on frames, I want to add two more points.
The
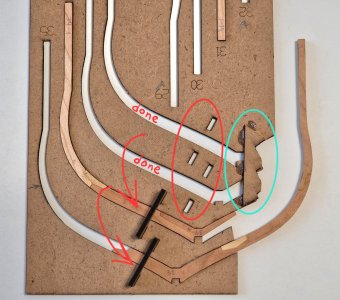
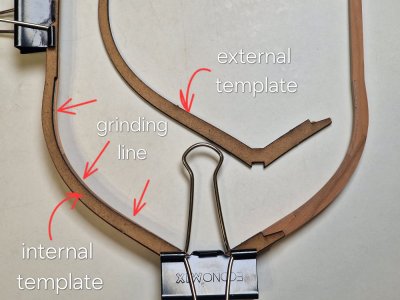
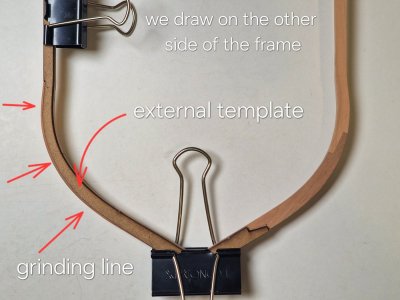
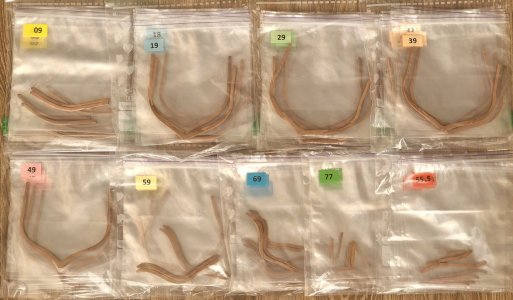
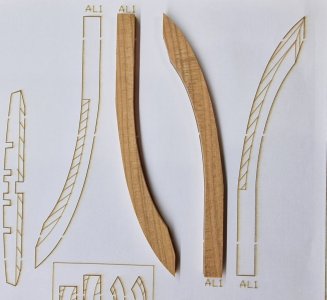
first moment concerns the first three pairs of frames. According to the set instructions, they should be processed using special template stickers. Which is convenient on the one hand, but I do not recommend doing it right away.
View attachment 513195
View attachment 513196
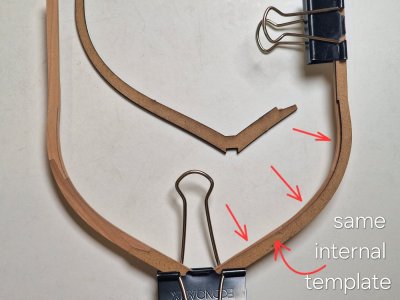
An accurate template is good, but you don't have to blindly rely on it alone. After all, we do not collect Lego, and the details are not standard and may change slightly, which accumulates errors and as a result, gaps and inconsistencies will appear without individual adjustments. Therefore, I postponed this step until the assembly of this node.
View attachment 513197
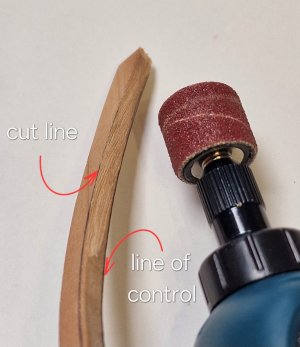
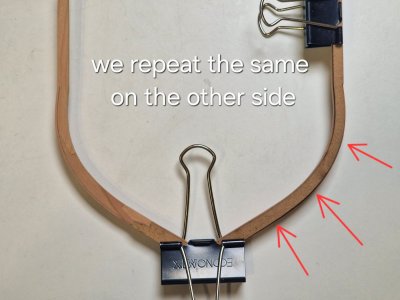
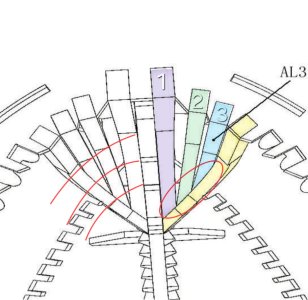
In this case, I can more predictably adjust the connections that are shown in the oval. And I will try to convey the bends of the case inside as much as possible (shown by red arcs), since in this place it will then be problematic to grind and correct the geometry, especially if there are holes and holes.
The
second point concerns the next 3 pairs of frames (4,5,6).
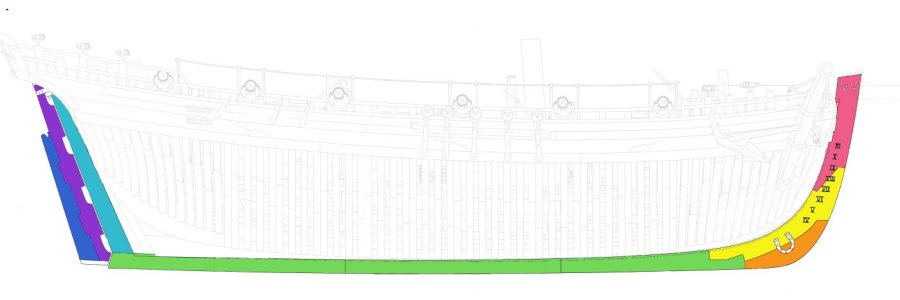
As shown in the drawing below...
View attachment 513198
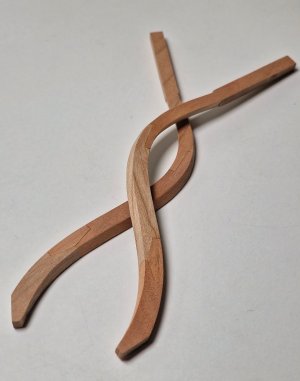
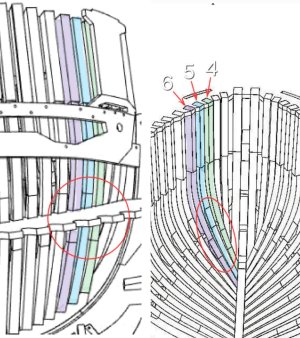
... The 4th, 5th and 6th pair of frames also have connections (i.e. do not consist of one fragment). This has already been implemented since the 7th pair. But interestingly, not only in the anatomy of this ship, these frames were prefabricated, but in the instructions for this kit, they also consist of 3 fragments (as shown in the image above). But for some reason, the manufacturer has simplified this knot, which can be corrected.
View attachment 513200
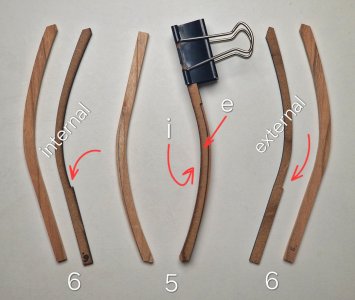
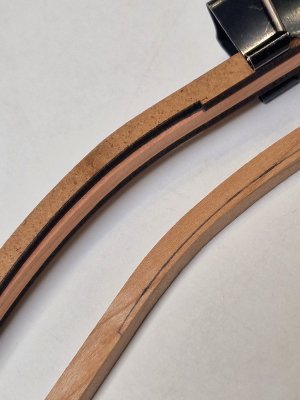
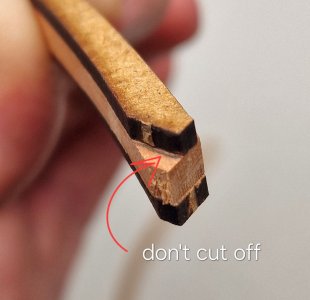
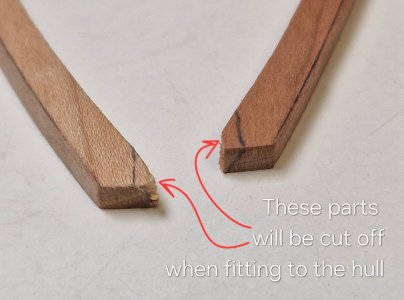
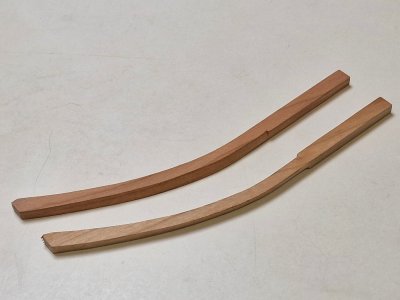
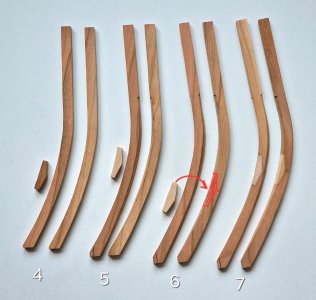
Anyone who wants to repeat the real connection (as on the 7th pair) on all solid frames (4,5,6) (necessarily before contouring) can cut out a fragment (as shown on the 6th frame) and then paste the connecting fragment there. Yes - this is an extra action, for a long time, but it will be right, but!
Someone who is as lazy as I am can do an imitation of this compound as follows.
Oh yes! A very important point. I did not just arrange the connecting fragments in these specific places. Because (as shown in the drawing above) - these connections are located in certain places (as if in a checkerboard pattern). And in order to know exactly where their place is, it is better to do them at the moment of assembling the case. Assemble dry frames from the 7th and further and then applying the front frames to outline where the connections will be (as shown in the drawing above in the red circle).
So, how to simulate connections on the frames:
View attachment 513206
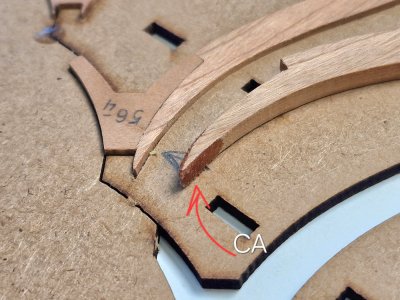
First you need to attach the connector patch template and fix it...
View attachment 513208
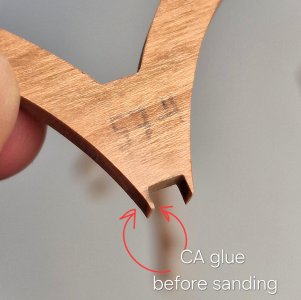
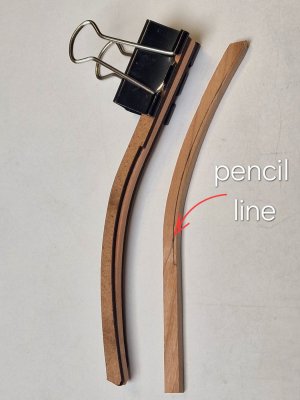
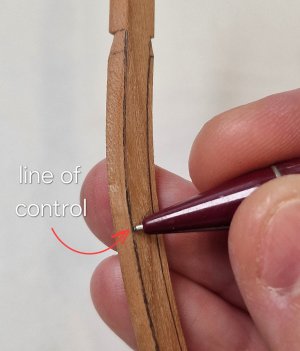
... then make the outline of this pattern with the blade. The thickness of the section and its depth are very important here. First, try to do it but the probe, below you will understand why.
View attachment 513209
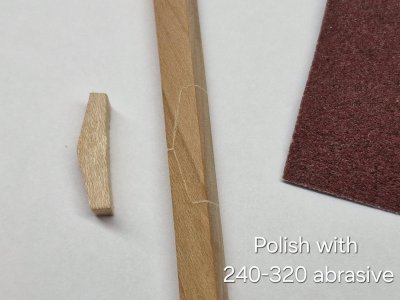
Then you need to lightly polish with sandpaper 240-320.
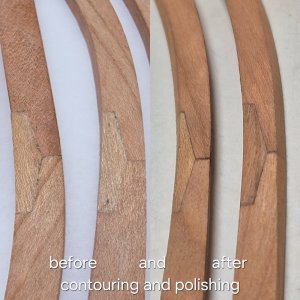
Well, here is the result after coating with tung oil:
View attachment 513214
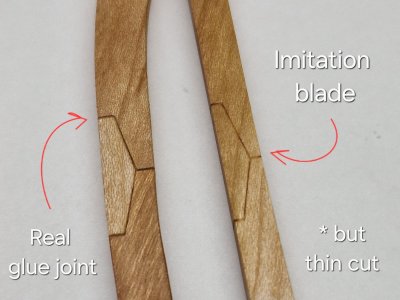
And this is why you need to make probes of depth and width of the cut. Since with a large cut, it is visualized more than the glue seam and will be more noticeable, but...
View attachment 513217
... if you choose the right depth and width of the section, you can completely achieve perfect similarity with the glue seam. But, there is also a consistency here. At the end of the post I will mention it, but for now I will tell you about the final version of imitation of bolts.
1.8. Bolt imitation (version 2.0)))
The first version with "punctures" for imitating bolts is a fairly fast and convenient way, but it has a slight disadvantage - punctures are a little more saturated than I would like and I will now show the second option, which I settled on.
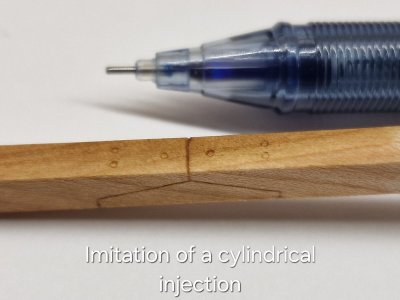
View attachment 513218
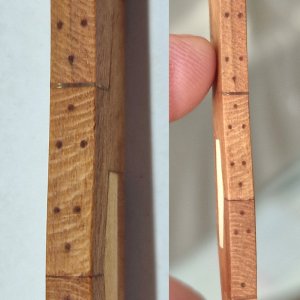
It's still the same tool I used to make simulated nails on Victory's deck. Conventional helium pen. Three balls on very small sandpaper (1000-1500) until the ball falls out. And here's a ready-made cylindrical tool. To make such a round dent (injection), you need to lean the handle against the tree and gently press the top of the handle 360 degrees (the angle of inclination is small, up to 20 degrees). Or by pressing and twisting the handle around the axis. Depending on the density of the tree in different ways. The only thing is that the depth must be small otherwise either the tree will remain inside the handle, or the dent will be very saturated in color.
View attachment 513224
I understand that this is not exactly an imitation of bolts, but most likely an imitation of pins, but I really like it. This is a quick and convenient way. And these punctures do not stand out as much, but they are also noticeable enough to create additional accents.
And as promised, I tell you in what order you need to do what:
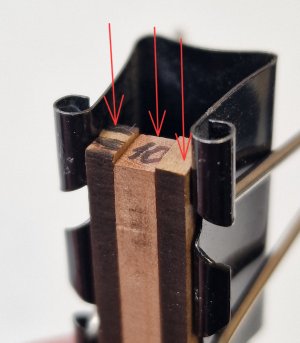
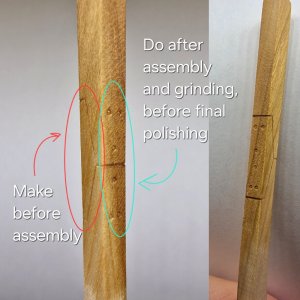
View attachment 513226
The red oval shows the place to be made before assembly. Since these are interframe surfaces and after assembly they will no longer be accessible.
But what is shown by the green oval is that the surface (like the inner one) will be ground after assembly, and therefore imitation must be done after final grinding. Well, after imitation, you can already finally polish these places 320 with sandpaper very neatly and slightly.
Live, imitation bolts and connections look like in the last photo on the right. There is a relief and here about polishing, I still think, you may immediately need to cover with oil so that this relief is not sealed with dust from polishing.
Well, how do you like this result?
All, now, officially we can say that this is
the end of the first part)))


 You're doing a fantastic job Serikoff!

