As promised, I will share
my experiments with wood, coating oils and bitumen.
And first, let's talk about
my headache - this is a search for a pear and disappointing results.
As I have previously shown, I had a light and dark pear...


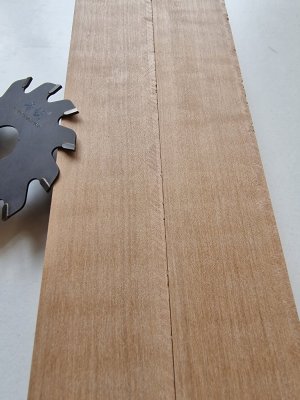
... I cut it into slats with a margin because I guessed that the color might differ and I would need to choose from the resulting ones what would be combined in color.

Earlier I showed the probes, but they were made of separate slats, but then an unpleasant surprise awaited me.
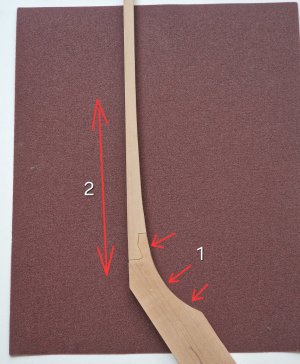
And he was discovered after I polished all the sliced slats. Again, I guessed that the wood might not be uniform, so I laid it on a flat surface and sanded one side to 240 with sandpaper.
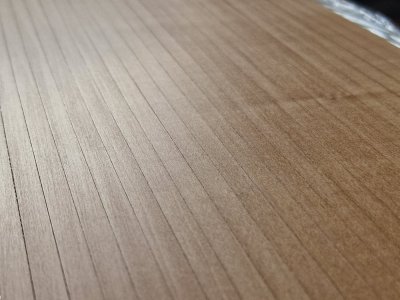
This eliminated the saw marks, which camouflaged an even greater problem than the marks themselves.
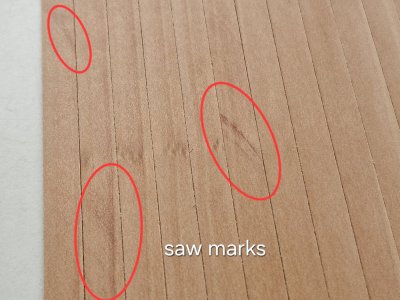
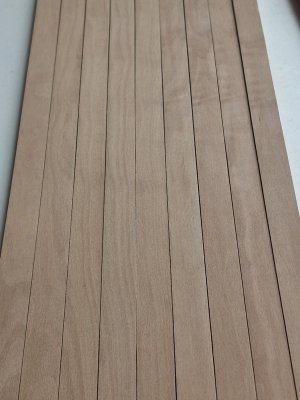
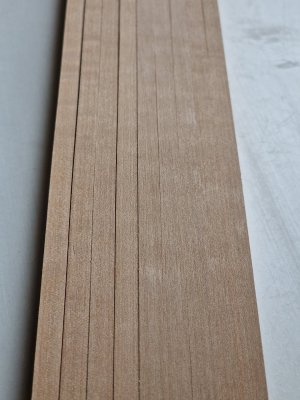
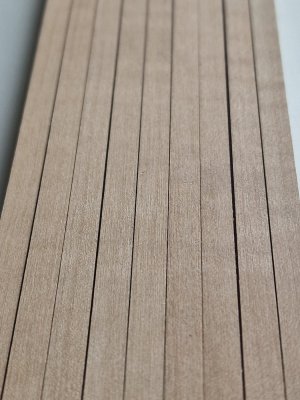
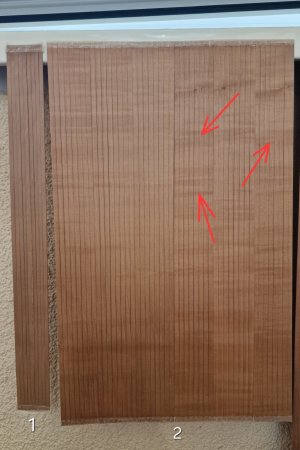
When the surface was flat, I saw my concerns - these are very noticeable color changes through the diagonal stripes.
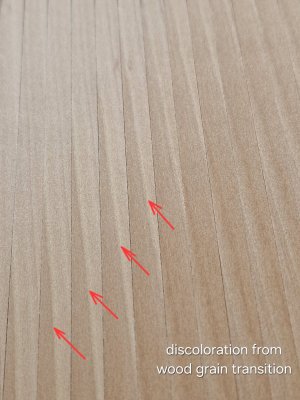
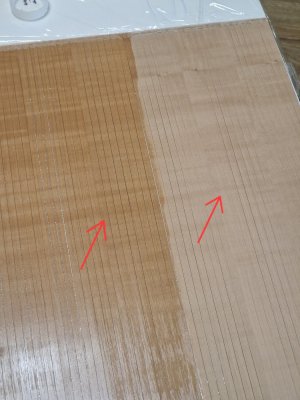
The last hopes that everything will be leveled with oil fell after I applied tung oil...
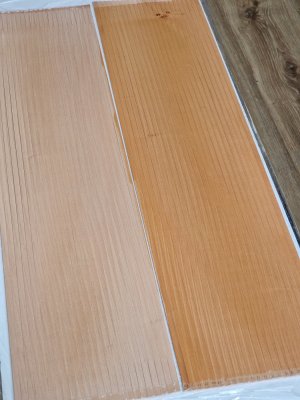
Color changes have become even more noticeable...
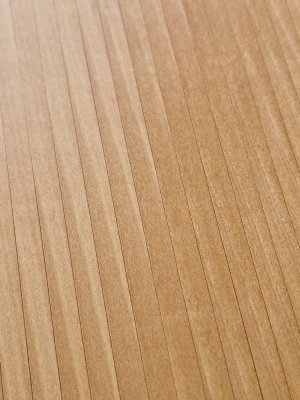
Among all the disappointment, the only relief was that it all showed up NOT on the model but on the table!
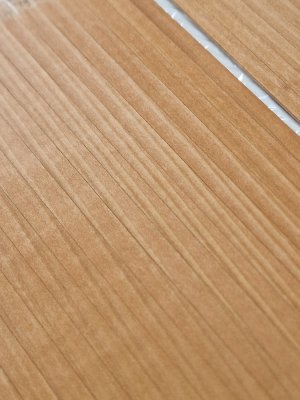
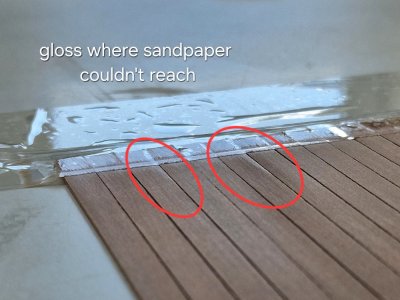
As a rule, wood is not polished into an ideal and oil is not coated, but this is done on a model.... but. I build a boat and its rails overlap, which suggests that they should already be ready before plating. It saved me. And even more so, I noticed on the probes that if you do not polish the entire surface, but somewhere there will be a mark from the saw (gloss), then there will be spots from the oil coating, as can be seen here.
By the way, not only were there problems with the light pear, but the dark pear was also not uniform.
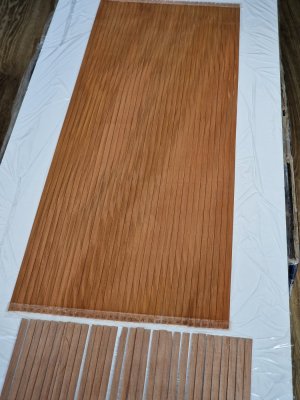
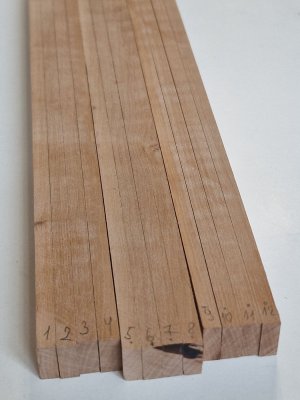
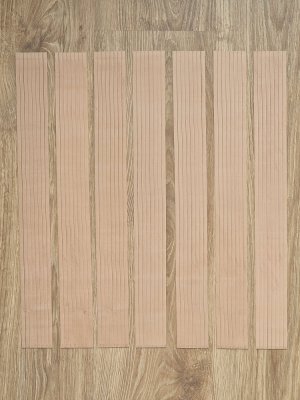
Well, here, the result of several days of work... and my disappointment...
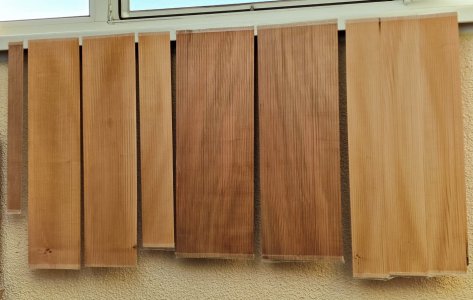
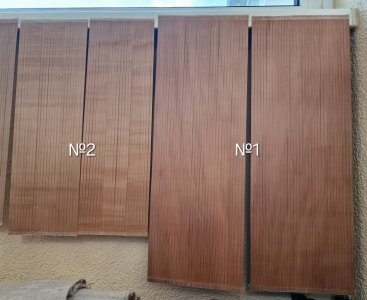
And in order:
- 1 on the left - this pear is homogeneous, dark (it will be on the deck with single breaks separating the main light color). There are no complaints about her.
- 2,3,4 on the left - light pear on board to the waterline. Not homogeneous, but it is with a margin, therefore (running ahead) I will try to select from the whole one that will be as uniform as possible in color and there will be no diagonal stripes of sharp color transition.
- Dark in the center - I haven't decided with her yet. There is an alternative, but I don't really like the color of that, as for the skin and it is all in knots, because there will be even more waste. I will try to sort this one out and combine it so that there are no strong transitions and lines, but I'm not sure about that yet.
- The light right is the biggest disappointment, since it will definitely not fit on the deck with such stripes and heterogeneity... Therefore, the question is very open with her! As possible with dark, but with dark I will try to come up with something.
This sample shows the diagonal stripes that I talked about. I specially made them on a probe to try how it will look after coating with bitumen. But something tells me that nothing will change and the way out is to manually select each rail to eliminate all defective areas.
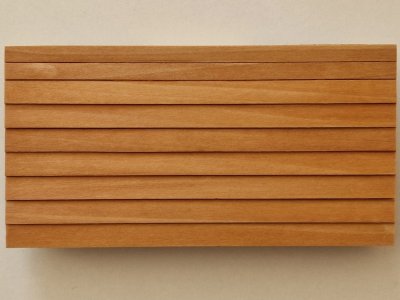
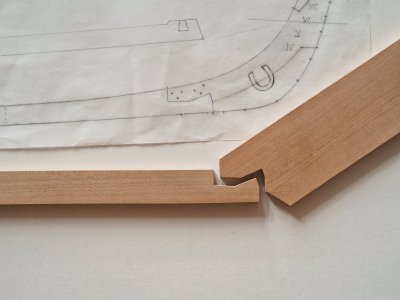
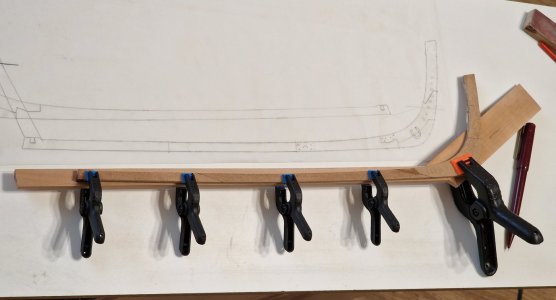
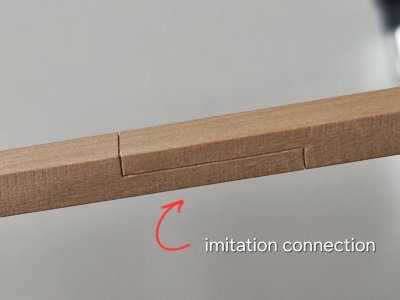
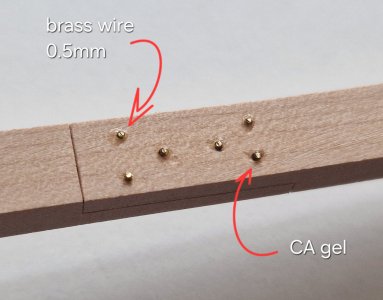
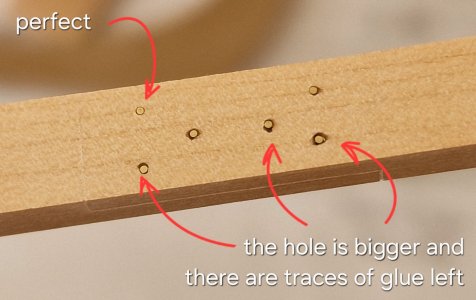
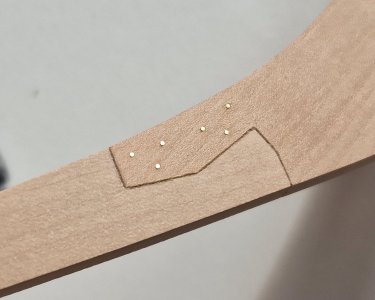
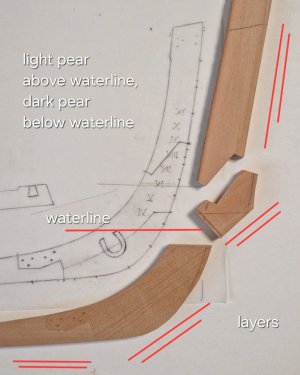
Probnik still did to test his method of overlapping the rails, but more on that later.
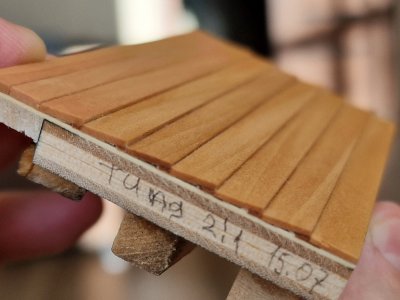
A few more words, why again chose Tung oil, although it dries for a long time and there is a smell all this time... the answer is its color. Compare...


(Click on this photo to see the original.)
On the teak (left), spots of glossy film are visible, and this often appears when coated. And like Danish - it weakly manifests the tree. Linseed oil gives a yellowish tint, but Tung oil gives a slightly reddish-yellowish tint of beige. I like this shade the most.
Well,
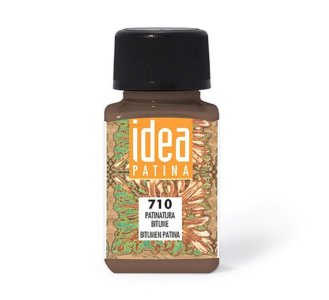
finally - bitumen. Attention! This is not the final version of working with bitumen. This time I wanted to age the wood as much as possible to check if bitumen could shade all the unevenness of shades. You will see Ruzultat. So, with bitumen, I will still try repeatedly until I see the result that suits me. I tried different methods. With two brushes I didn't really like it (maybe there was a strong concentration), I still need to try. But with the method - application and immediately remove with a napkin - I liked it more, but again I need to try everything, and I will still talk about this and show it in detail. In the meantime, here are the first cursory tests to check camouflage for uneven pear color. A few macrophotos... (and remember, this is a probe, done in haste)))
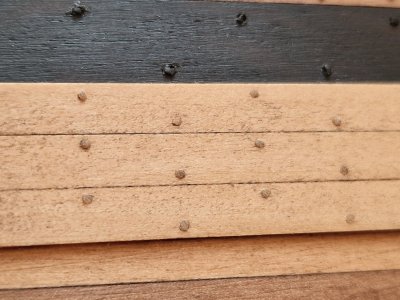
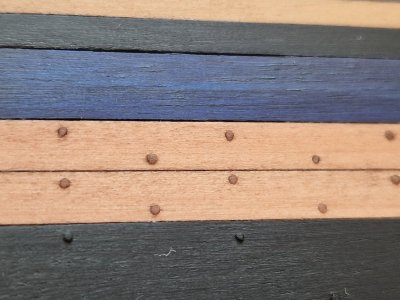
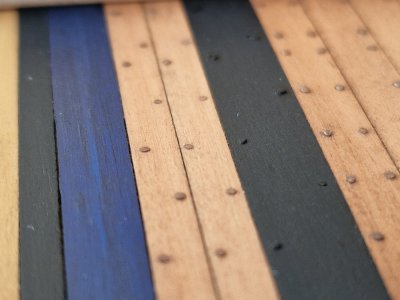
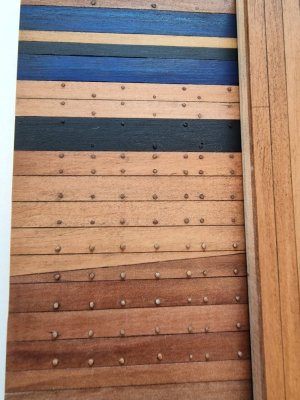
It is almost impossible to convey color with a camera. I tried to... next time you need to take not a phone but a demon SLR camera, you may be able to show the true color.
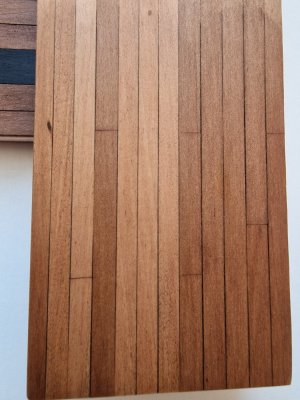
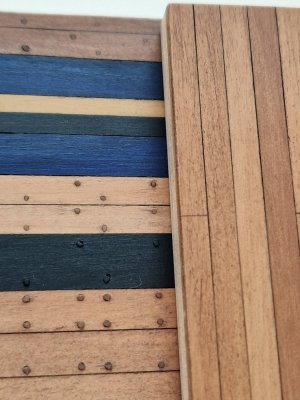 The verdict...
Part of the pear - in scrap!
What I keep - need to combine and select very carefully.
The search for pear actively continue.
Oil - Tung, bitumen - I will test further, but I think it will look great.
Oh yes,
all thanks who responded to the search for the pear!!!


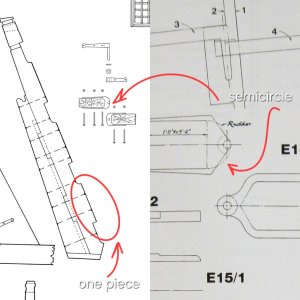




 .
.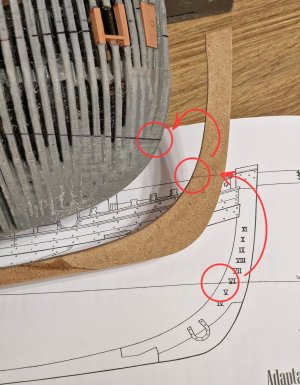
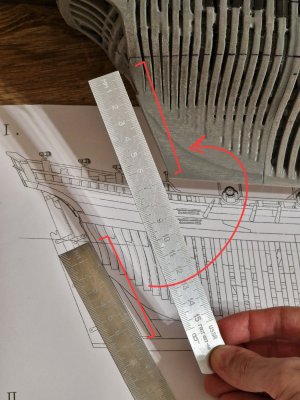
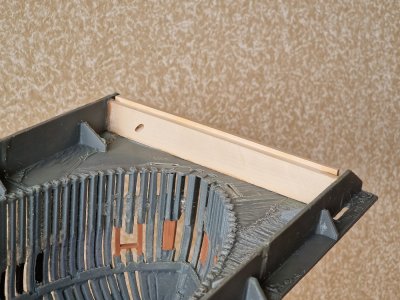
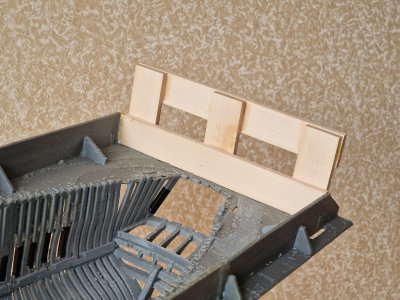
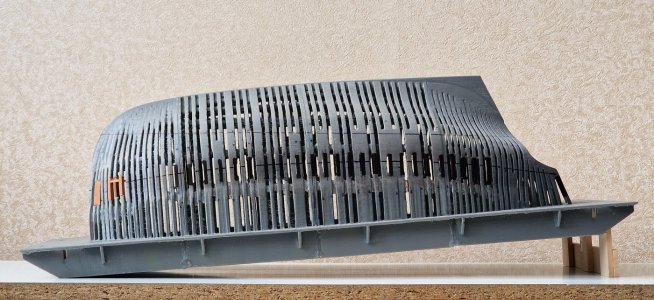
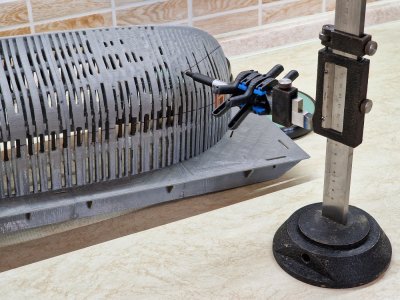
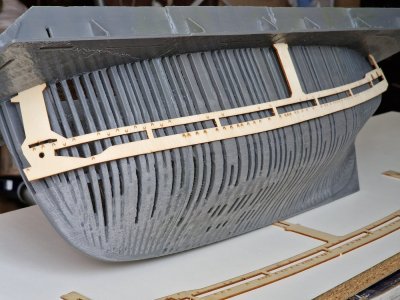
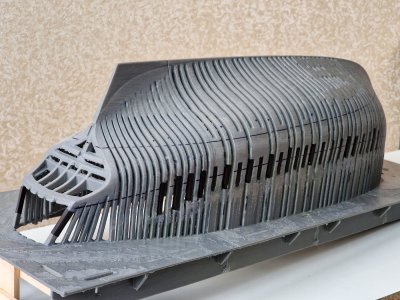
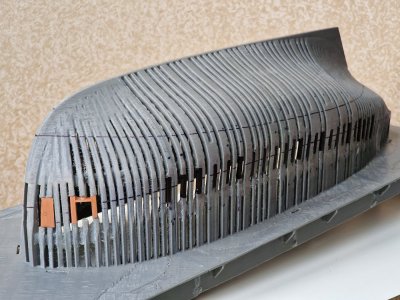
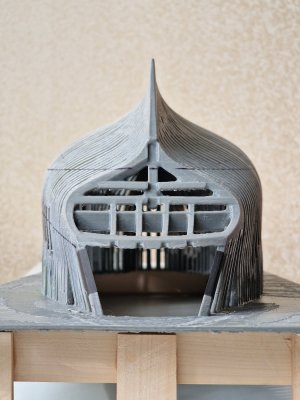


 , for now let's see what will happen after drying out and after testing with bitumen, but for now I continue with the hull.