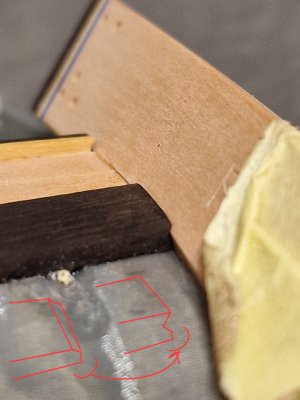
8. Railing-sill.
Small changes for you, but very big decisions for me.
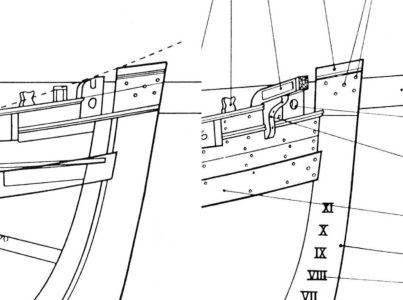
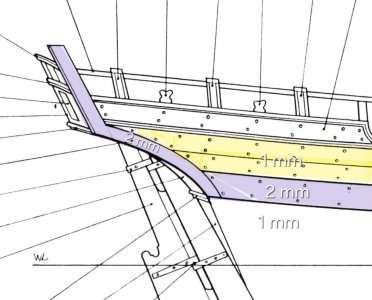
Lower railings "window sills."
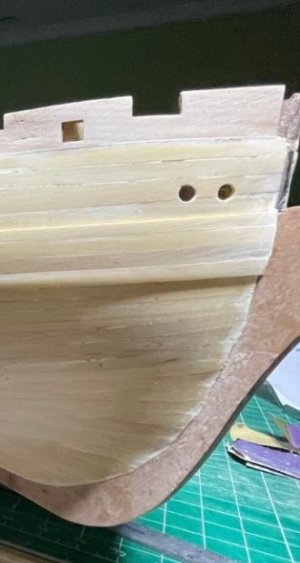
This place (lower railings - window sills) turned out to be the most difficult for me in deciding how to implement it. Since I did not want to do in the kit on the second hull - due to the gaps between the railing and the racks. And so I finally figured out how to make sure that the work was minimal, but also the solution was as satisfactory as possible for me. I have not yet decided how I will do on the first hull. Most likely I will give a chance to the manufacturer's version with modifications, but I will leave the opportunity for my version.
So, the implementation of my decisions, which I came to after a few months of thought:
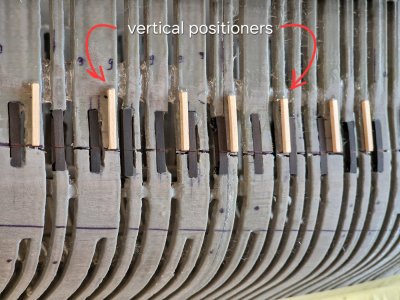
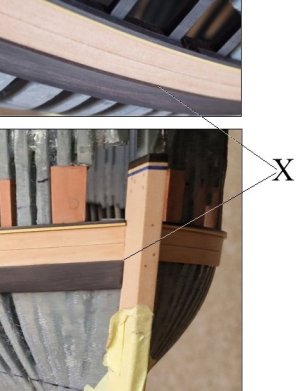
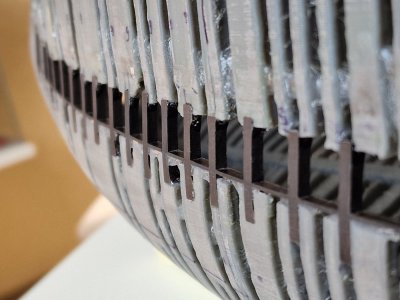
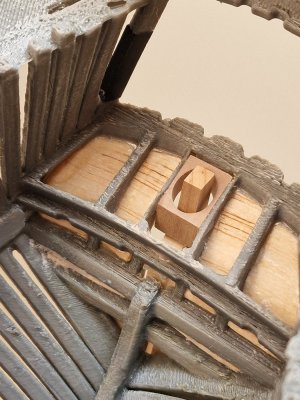
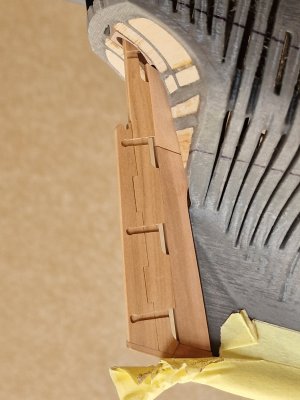
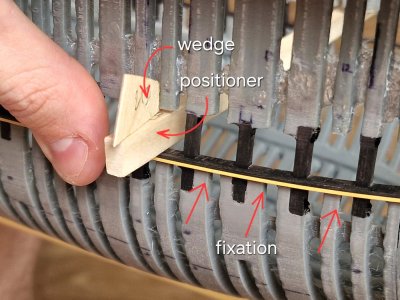
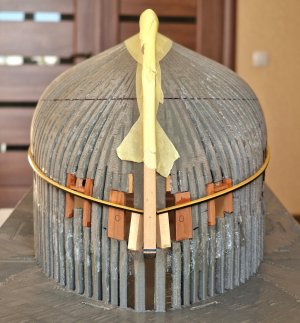
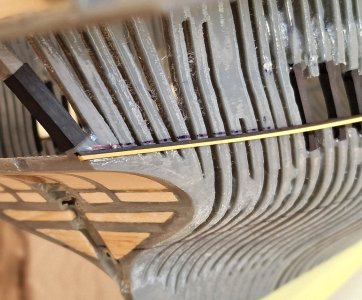
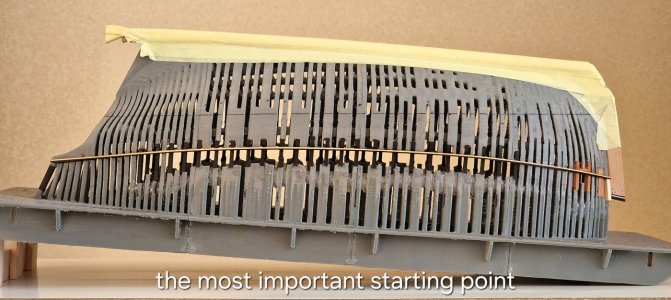
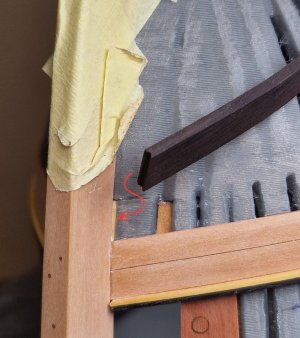
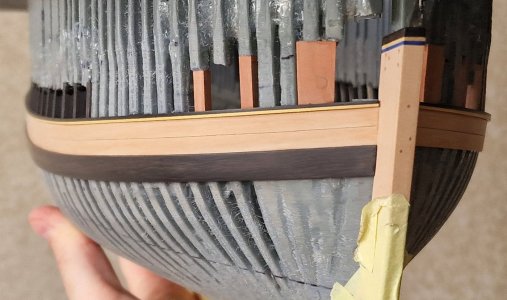
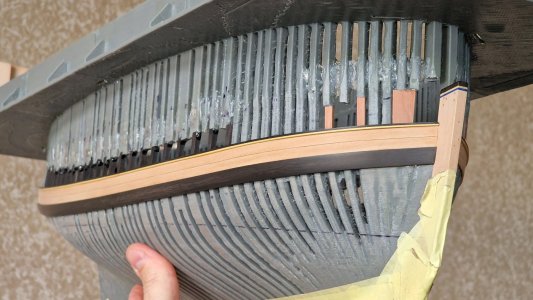
After I installed the vertical positioners, I rested them on the horizontal positioner along the hull.
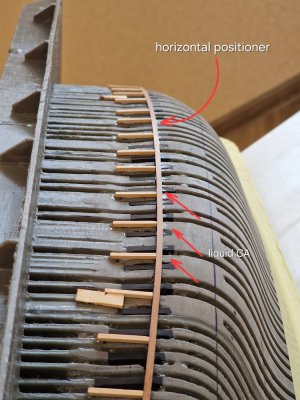
And looking ahead, I will say that all this will be cleaned, and now it served for accurate positioning of the "windowsills." And the first to remove the vertical stops, since they have already completed their task.
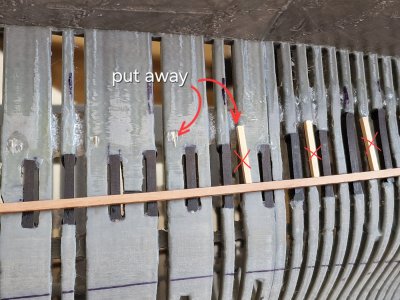
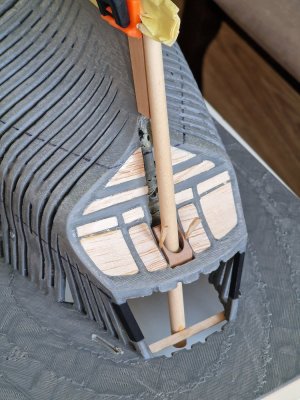
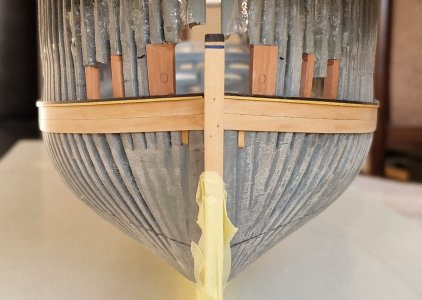
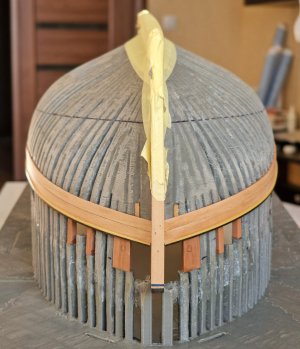
By the way, to keep the keel intact - I pasted it over with a protective tape.
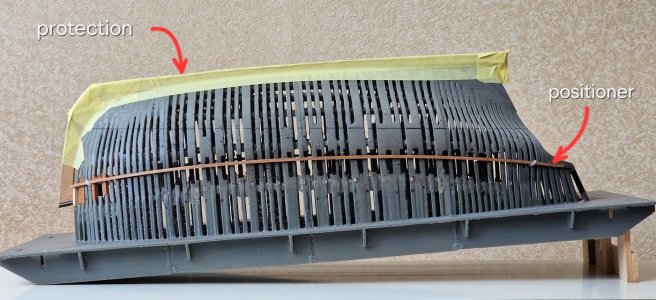
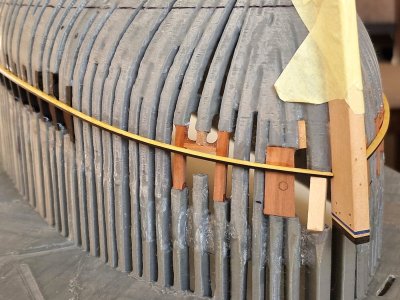
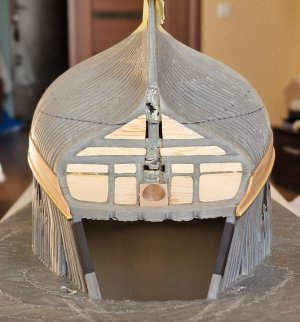
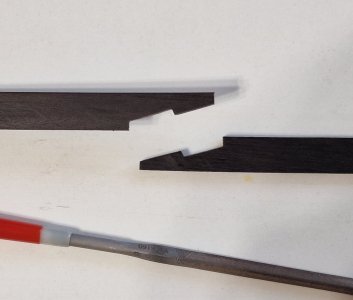
Then - I removed the plastic jumpers in the insertion area.
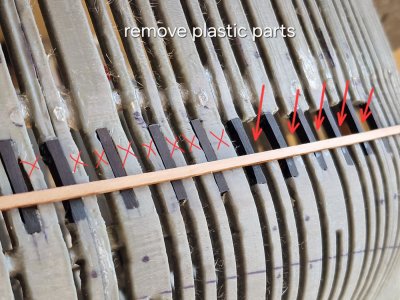
Now these inserts (railing drains) are free to fix the "sills."
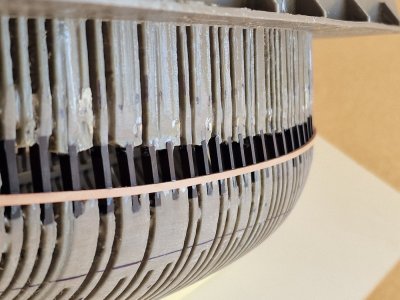
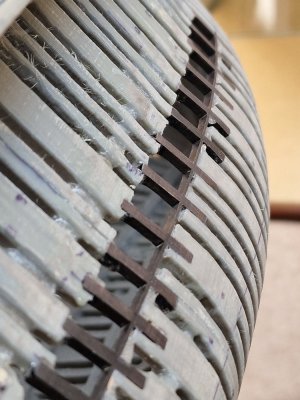
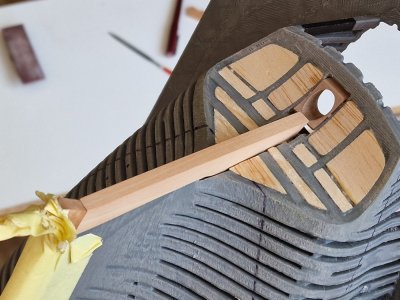
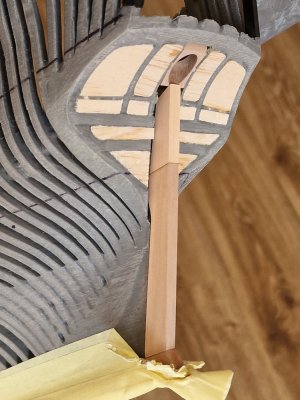
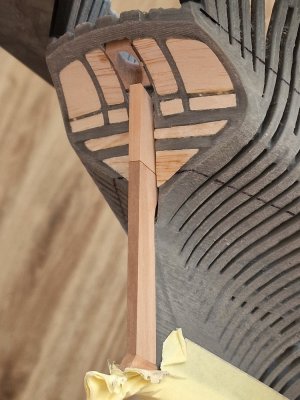
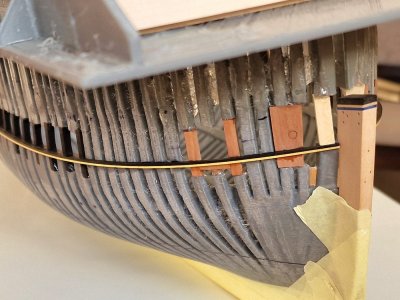
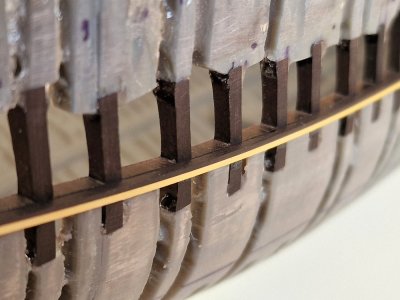
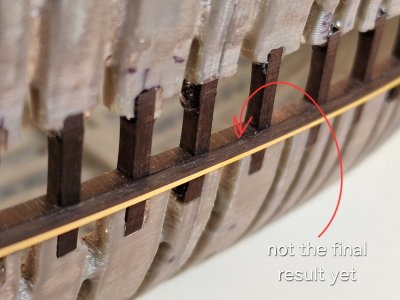
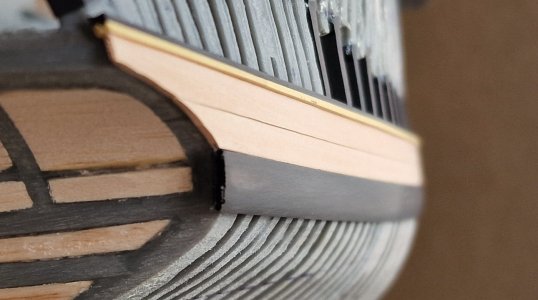
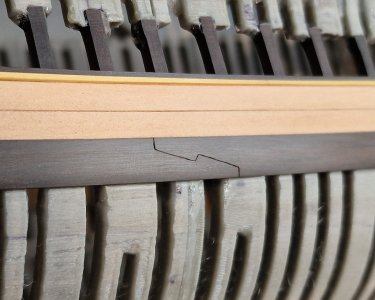
Well, the "windowsill" themselves (the middle part of the lower railing), as I did it.
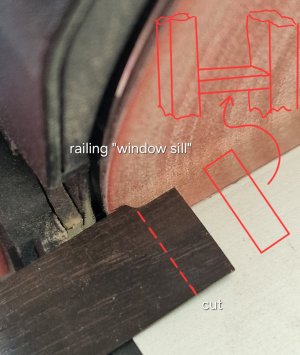
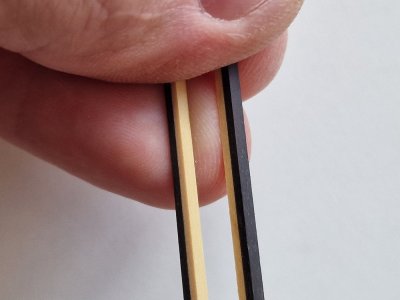
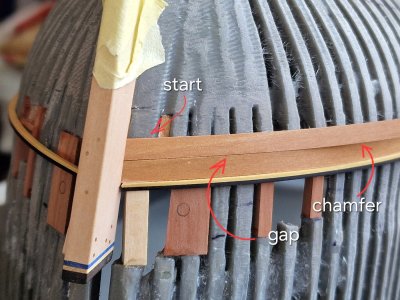
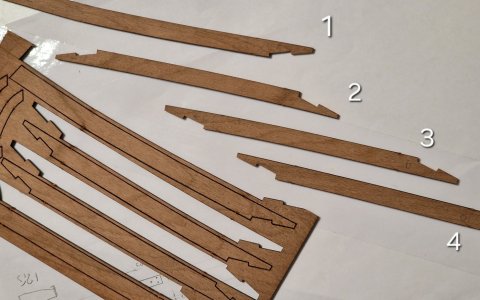
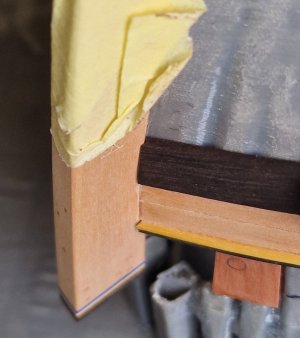
I measured the exact width of each span and cut out the corresponding blank.
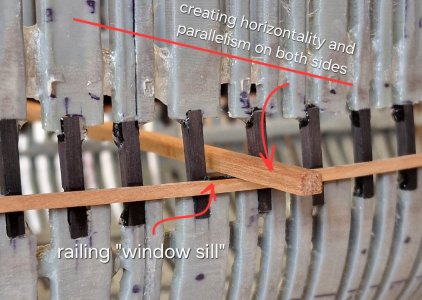
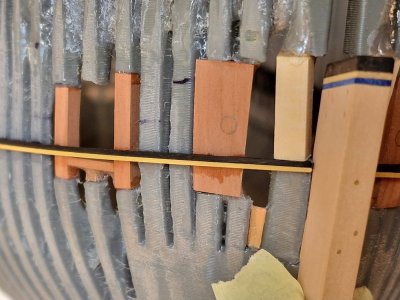
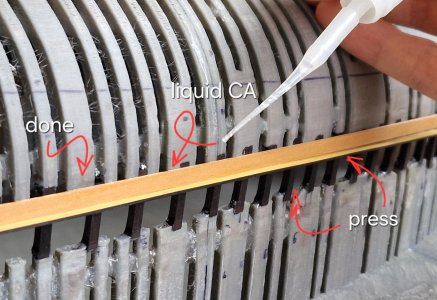
After that, I pressed it against the horizontal positioner with a bar that rested on two sides at once, creating parallelism and accurate horizontality.
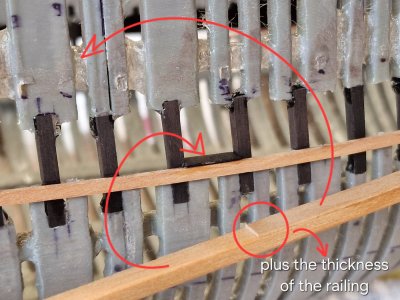
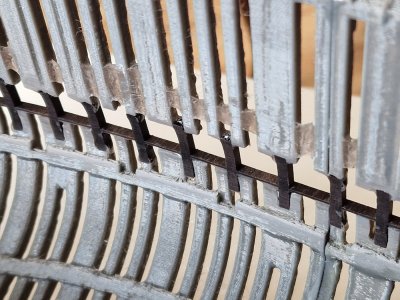
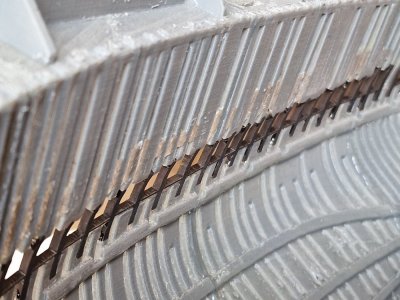
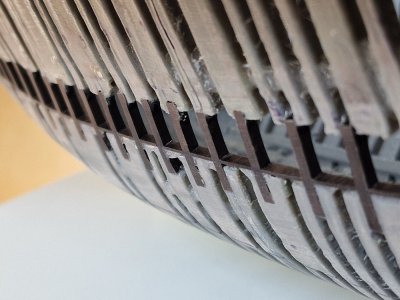
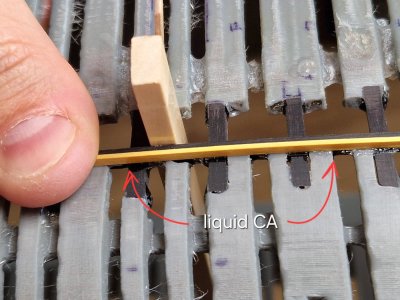
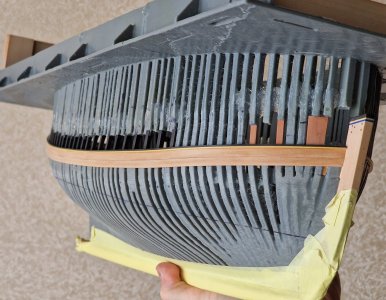
To maintain accurate horizontality, from the second side I added a thickness equal to the thickness of the "windowsill" to the bar. Fixed from the front on liquid CA by capillary deposition. Glue penetrated under the railing, gluing it to a horizontal positioner and even racks.
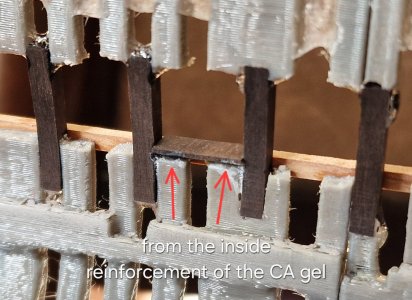
And from the inside - I smeared CA gel, reinforcing this compound.
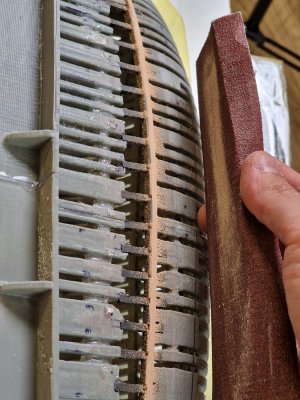
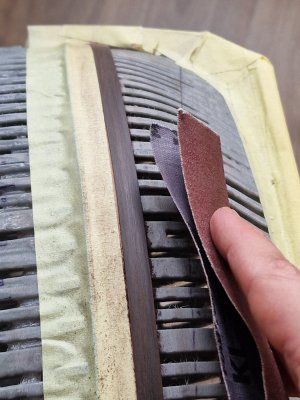
The idea is to then grind the surplus those that remain from the inside and grind the outside level with the body not only the surplus, but also the entire positioner, since it will also fulfill its functions and will no longer be needed.
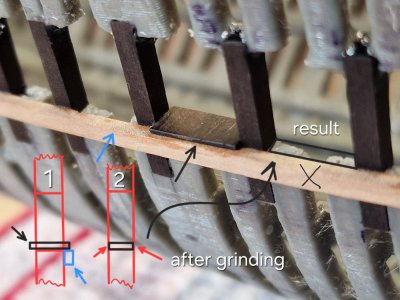
And then, in order to smoothly glue the outer and inner parts of the railing, I will glue another vertical positioners...
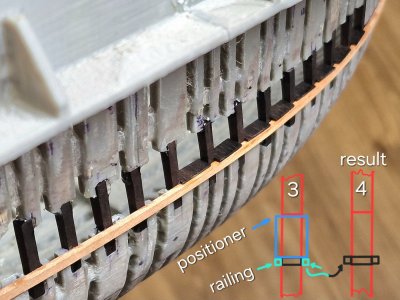
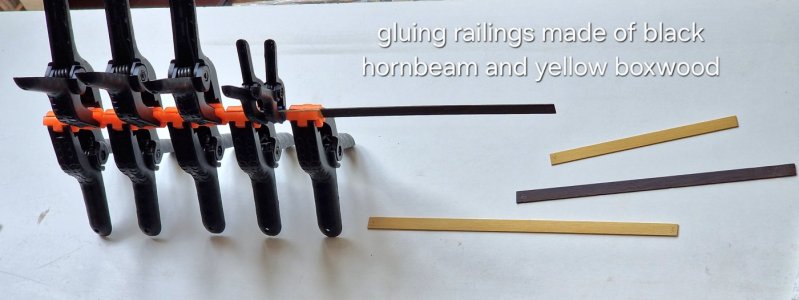
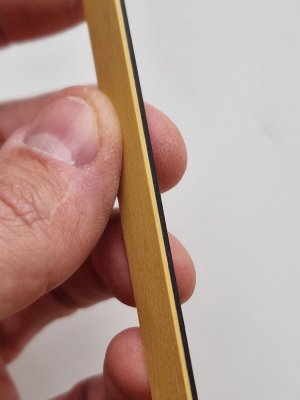
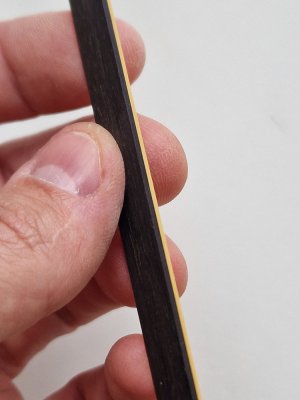
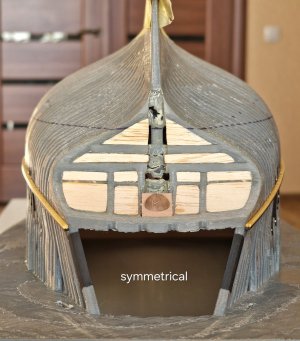
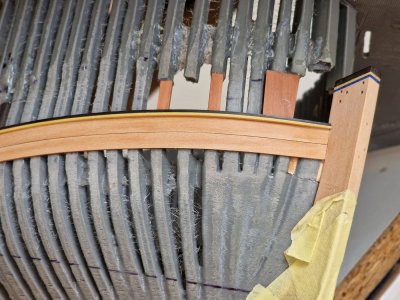
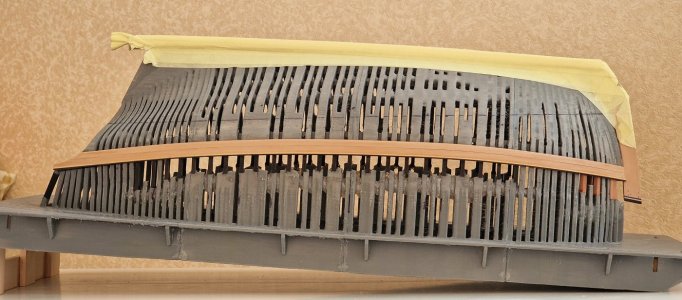
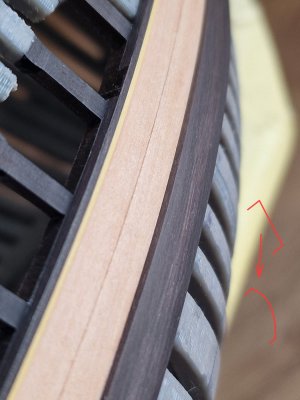
... and in the end there will be such a result: the lower railings - consist of three parts: "window sills," external and internal. And after gluing, they should visually form one part. Since the black hornbeam is logically black, all seams should be practically invisible.
At first glance - the implementation is difficult, but! I thought a lot about this and did not come up with a way in which accuracy can be achieved in the least amount of time.
Making railings with square holes is not an option - because it is not possible to achieve accuracy without a milling machine in multiple lines. And any other method still leads to errors or significantly lengthens the process, which is also not acceptable. Therefore, it is easier to make a lot of positioners in a couple of minutes and then eliminate them, but on the other hand, do everything symmetrically and smoothly and most importantly quickly, which is most important for me.




 .
.