HMS ALERT 1777 cutter POF by shota70 [COMPLETED BUILD]

Good evening friends
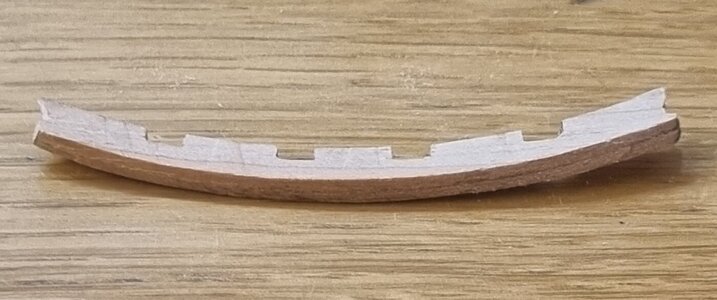
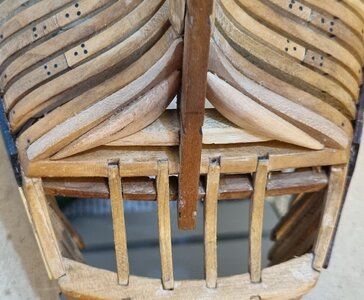
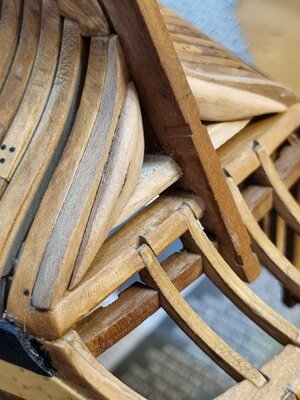
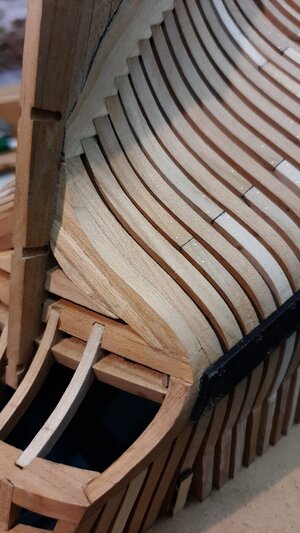
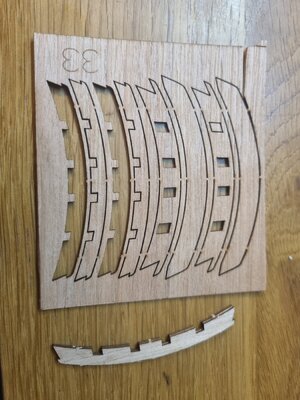
Tonight I continued the work on the tafrail, thanks to the guidance and assistance of our dear friend Maarten.
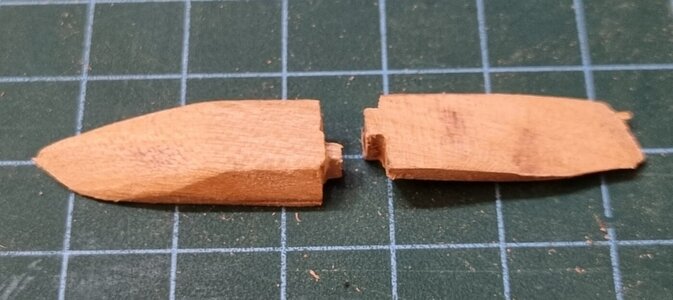
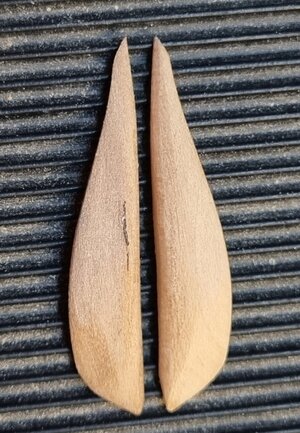
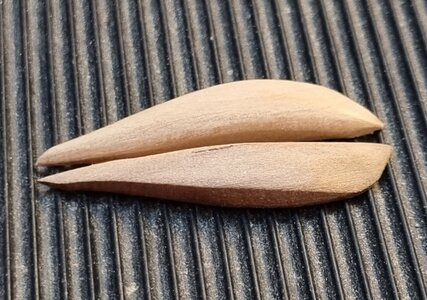
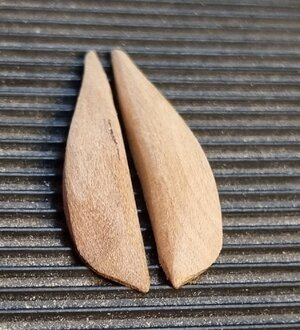
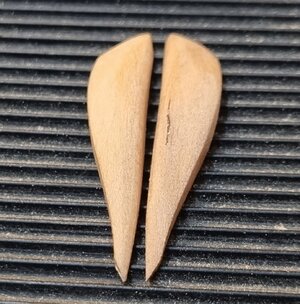
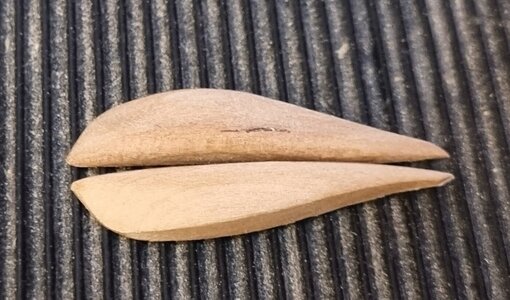
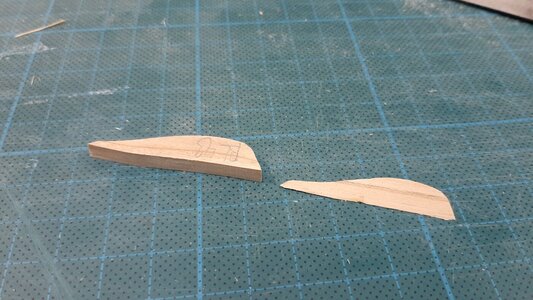
I would like to point out that of the 4 pieces there is a short pair and a 1.5 mm longer pair. After testing I used the shorter pair.
At first I tried to bend the pair of glued pieces with the help of the cl50 jig, but it was not strong enough and broke. The bending of the fl104 part with the help of drying on a hot pot as I did before withother parts.
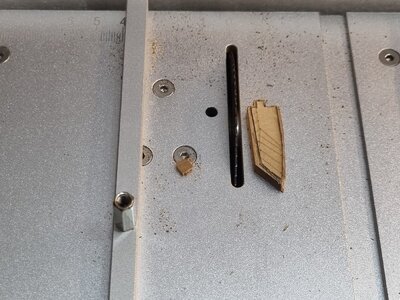
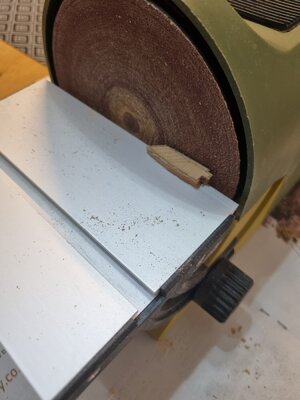
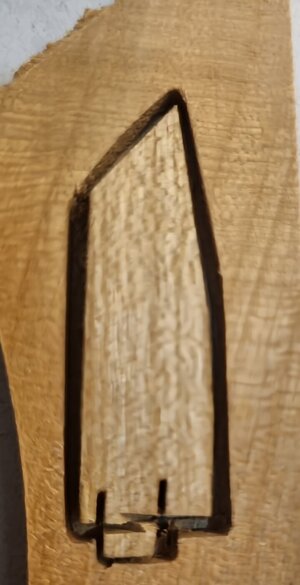
Later I did light sanding in the holes/dents in part 104 for those in the beams of the stern.
I am attaching photos of the process and its result for your impression.
20221221_194644.jpg20221221_194741.jpg20221221_212049.jpg20221221_220857.jpg20221221_220933.jpg20221221_221344.jpg
 
good evening dear friends
The break of the last two months on carving the figure of the marine carpenter, created a passion and longing for the creative process of the ship.
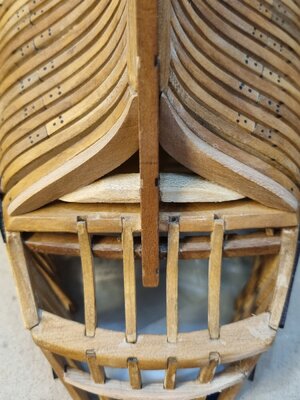
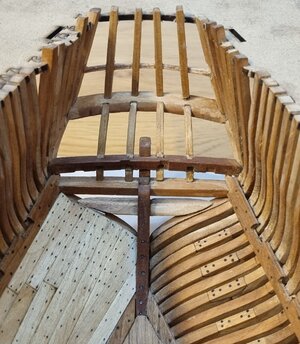
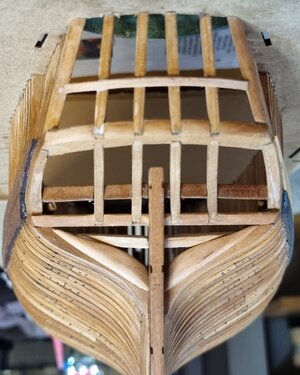
Today I continued the work on the transom at the stern of the ship.
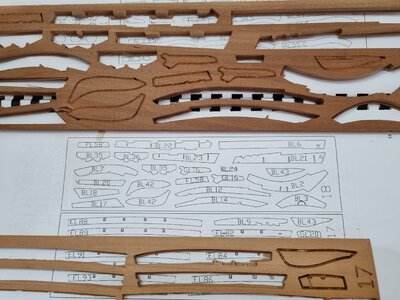
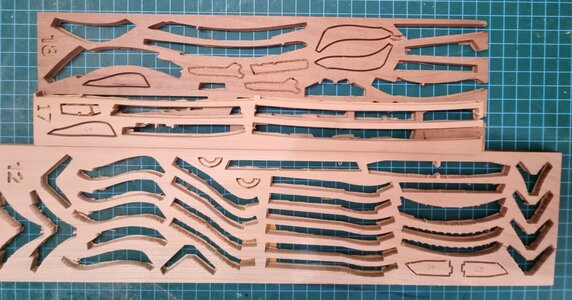
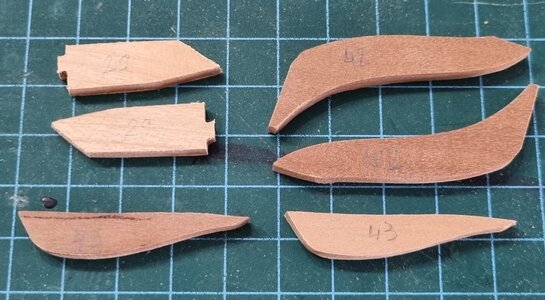
The parts on which this stage is based are Bl 29, Bl 42 and Bl 43.

20221223_130450.jpg20221223_132207.jpg
20221223_135023.jpg
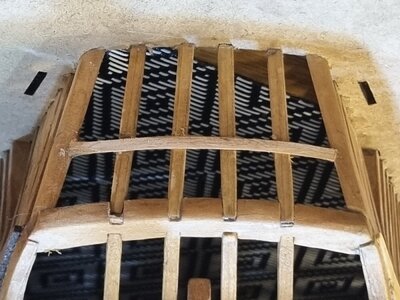
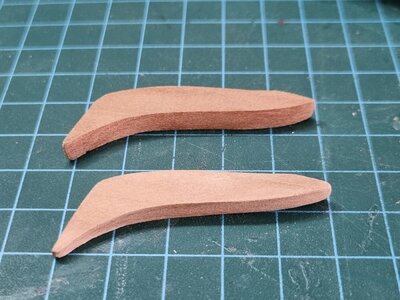
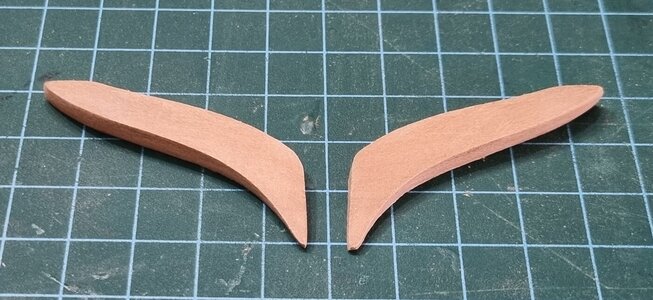
The first step started with designing the BL 42 part at the right angle, this required a lot of fine sanding work. First I sanded the appropriate angles for the stern and upper transom. I then dry fit them to mark the bottom and top dimension. Patience is required until the correct and exact configuration of the parts to the stern is achieved. I will attach the photos of the process until the gluing, which I think turned out satisfactorily.
20221223_150516.jpg20221223_152101.jpg20221223_153812.jpg20221223_153851.jpg20221223_153923.jpg
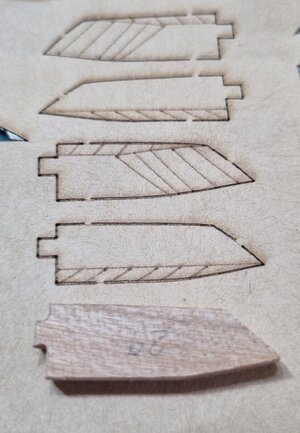
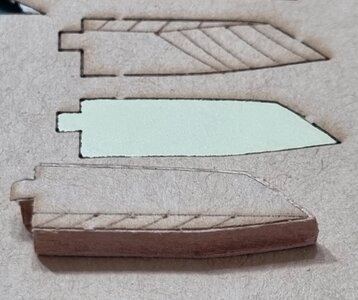
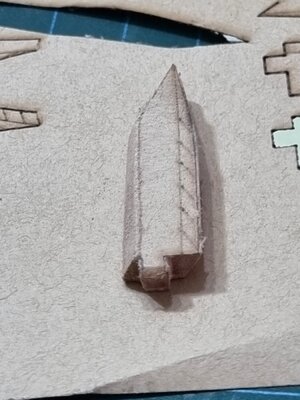
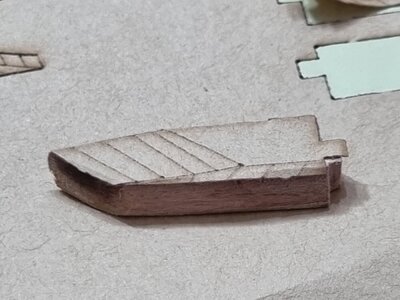
I then proceeded to handle the lower transome parts BL29, these also have multiple angled surfaces but a sticker template is provided to give them the right shape. The right shape, still a lot of trimming is needed.
When I started the BL 29 the sanding job, one of them sanded excessively, I was not careful with the electric sander. No big deal, I'll use the existing template to re-manufacture the part.
20221223_154440.jpg20221223_154706.jpg20221223_155205.jpg20221223_155719.jpg20221223_165552.jpg20221223_165713.jpg

wish to all of us a pleasant weekend :)
 
Last edited:
good evening dear friends
Today I continued the work on creating the transom at the stern of the ship.
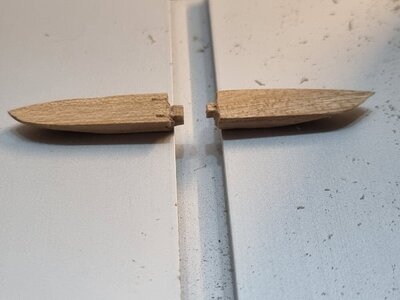
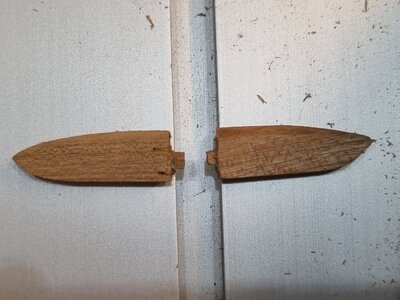
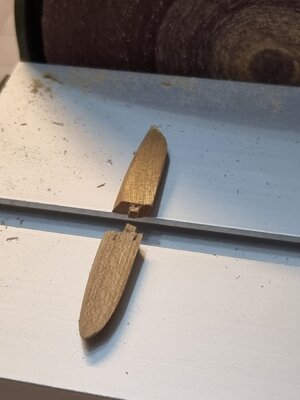
Today I went back to work on the BL29 part, I remade the left part after I ruined it yesterday due to over sanding. After I created the part according to the pattern, I had trouble with the sanding required for it to fit the transom. After that I made sure that the two pieces were sitting in a straight line and that the small protrusions fit into the square hole that is in the wooden board to which the ship will later be attached.

20221224_175418.jpg20221224_180238.jpg20221224_180319.jpg20221224_182343.jpg20221224_182350.jpg20221224_182357.jpg20221224_195954.jpg20221224_205540.jpg20221224_205624.jpg20221224_205701.jpg
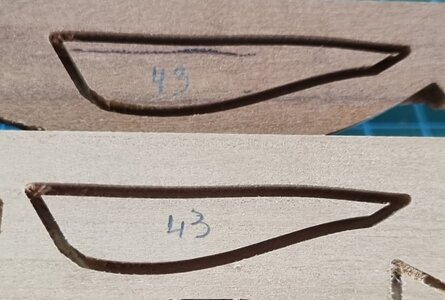
I am asking for your help, dear friends, with an emphasis on those who have already built the BL 43 part, I am not sure that I understood correctly how to prepare it and how to install it properly.
20221223_131350.jpg
I wish everyone a good and happy Hanukkah, Christmas and New Year :DBottleExplosionBeerAnchorShip-1
 
Hi Shota

I just got through 36 pages of Your build log, I'm hooked like with Netflix series, I'm hungry and thirsty !! I see that it is clear to you that the goal is less important than the way we reach it. I can make a beautiful model, but if I haven't done something right, I keep looking at that point. The support guys are great and I think it will be a beautiful model. I didn't follow how you do the engraving, but the carpenter turned out well. I didn't have boxwood, which is the best for engraving, so I used pear. I had a similar idea like You, but when I realized the crew was about 240 people, I just gave up.

I wish you good luck in your work, enjoy it and don't rush, the work won't run away.

regards
barba
Dear barba
thank you very much for your support and the kind words, I appreciate it :)
 
good evening dear friends
Today I continued the work on creating the transom at the stern of the ship. Today I went back to work on the BL43 part. Before I took care of the parts for me, I researched the construction logs of several friends who had already gone through this stage as well as the ship's book to see and understand what was required of me in the design of the part and its adaptation to the parts of the ship.
I will attach the photos documenting the process and the result.
happy holidays to all :)
20221227_203230.jpg20221227_203251.jpg20221227_203301.jpg20221227_203307.jpg20221227_203403.jpg20221227_205339.jpg20221227_205427.jpg20221227_205508.jpg
 
good evening dear friends
Today I continued the work on creating the transom at the stern of the ship. Today I went back to work on the BL43 part. Before I took care of the parts for me, I researched the construction logs of several friends who had already gone through this stage as well as the ship's book to see and understand what was required of me in the design of the part and its adaptation to the parts of the ship.
I will attach the photos documenting the process and the result.
happy holidays to all :)
View attachment 347883View attachment 347884View attachment 347885View attachment 347886View attachment 347887View attachment 347888View attachment 347889View attachment 347890
Good morning Shota. I love the detail and close up photos you include in your log. Lovely work on your transom. Cheers Grant
 
Yesterday evening I read a little bit through your log to prepare my own Alert build (not from the kit). You're building a really nice model.
I am really surprised how the fashion pieces and transoms are interpreted. Be careful with rounding the timbers as visible in the last pictures. The part is really flat in the original design.

Have a look at Maartens build at page 21. This is looking how it should
 
Last edited:
Hi Shota,

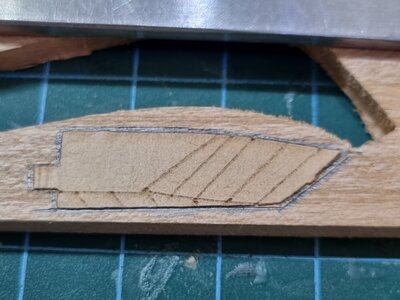
These two pieces are just filler pieces at the stern. You have to sand them down to create a flat surface for the stern planking.
See my blog page 9.

And the pictires below.
20210118_175646.jpg20210118_174930.jpg

Hope it helps.
 
Hi Shota,

These two pieces are just filler pieces at the stern. You have to sand them down to create a flat surface for the stern planking.
See my blog page 9.

And the pictires below.
View attachment 347980View attachment 347981

Hope it helps.
Dear Maarten
I'm using your blog all the way, thanks my dear friend :D Thumbsup
 
Yesterday evening I read a little bit through your log to prepare my own Alert build (not from the kit). You're building a really nice model.
I am really surprised how the fashion pieces and transoms are interpreted. Be careful with rounding the timbers as visible in the last pictures. The part is really flat in the original design.

Have a look at Maartens build at page 21. This is looking how it should
thank you very much for your encouragement and support, I look at page 21:D
 
good evening dear friends
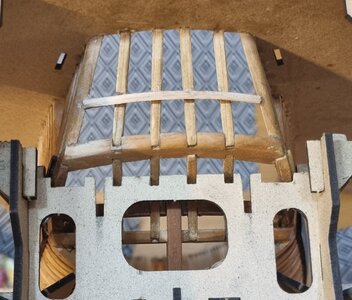
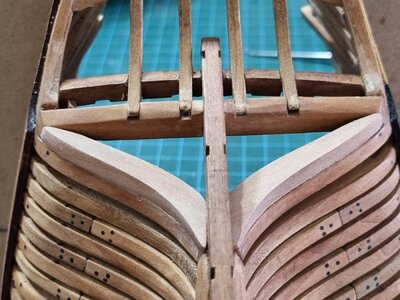
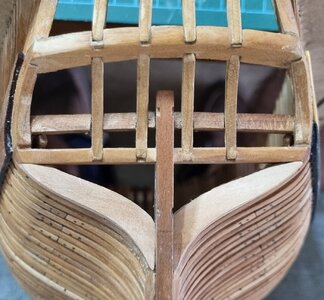
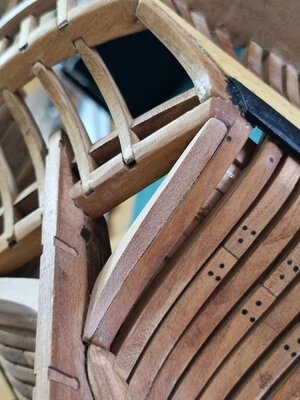
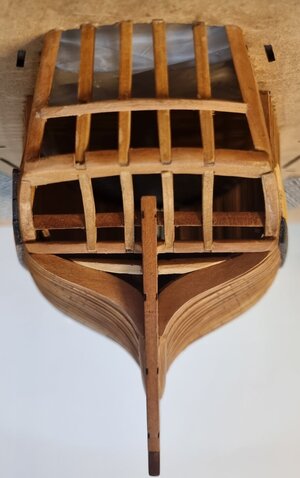
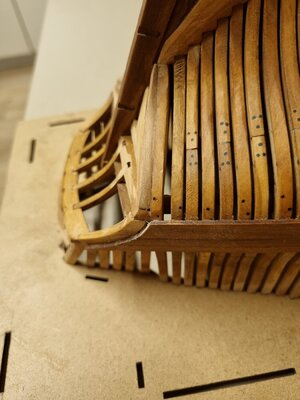
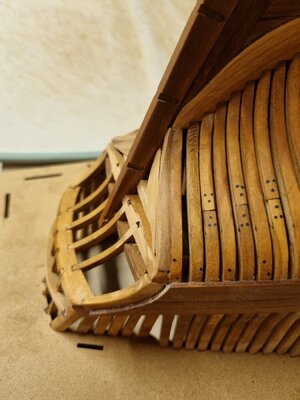
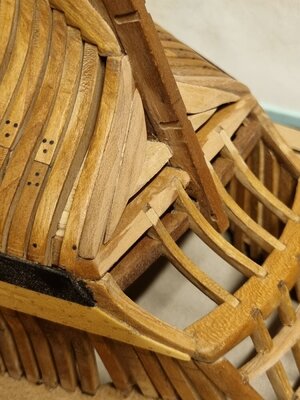
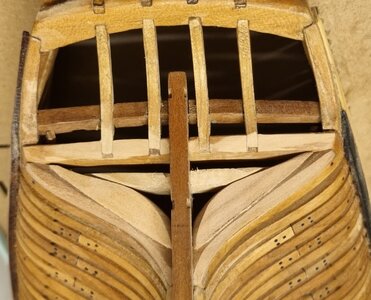
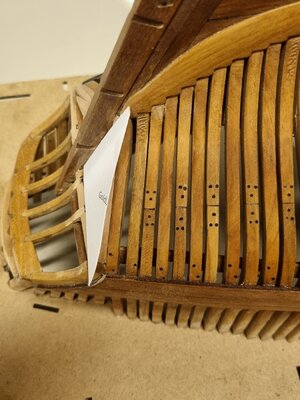
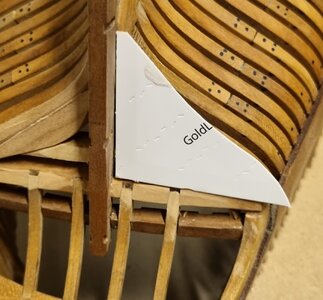
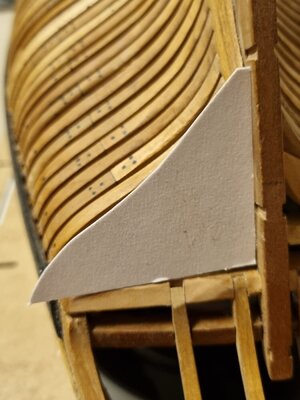
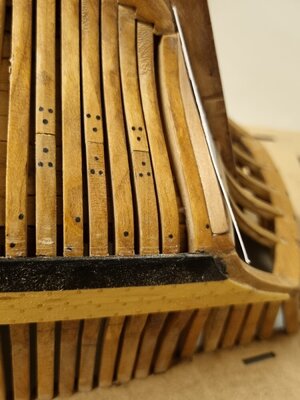
Today I put the final finishing touches on the work on the transom at the stern of the ship (of course to cover the wooden panels).
As some of you mentioned in the last day, the angle of all the parts should be straight and uniform. That's why I done the work carefully and uniform sanding of the parts so that a straight and uniform line is formed between them.
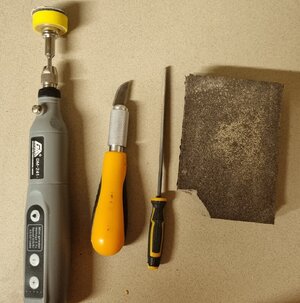
I used a variety of sanding tools as you will see in the pictures. The Third picture is before the makeovers from today.
As you will see I used stiff paper to make sure I did get the required result

I would like to point out that I try to detail in the description and every small step in the creation process so that those who come in line will have the clearest and easiest regarding the steps of creation.
good night dear friends
20221228_192741.jpg20221228_192826.jpg20221228_192905.jpg20221228_192920.jpg20221228_193343.jpg20221228_193411.jpg20221228_193528.jpg20221228_193830.jpg20221228_193908.jpg
 
Your doing great with those improvements. I would choose two first liners over any POF. Huge respect for you
 
Back
Top