HMS ALERT 1777 cutter POF by shota70 [COMPLETED BUILD]

happy new year Explosion:DBeerBottle my dear friend's. I wish for all of us Peace in the whole world and among people, happiness for us and our family members and continued enjoyment of our hobbies.
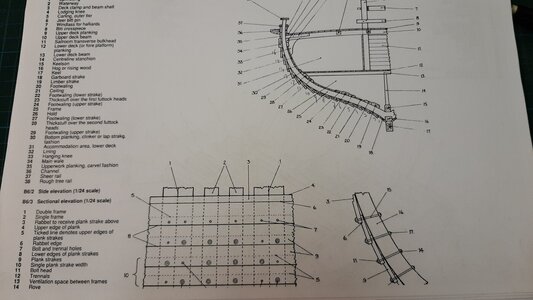
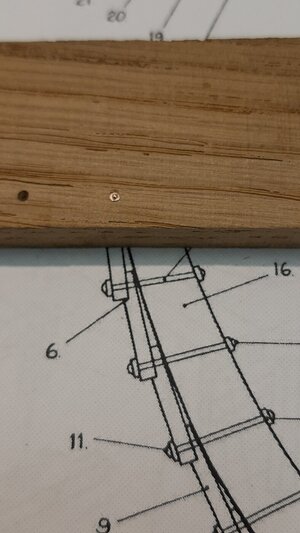
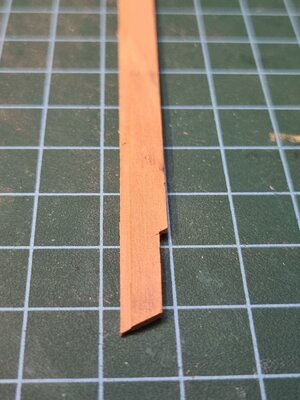
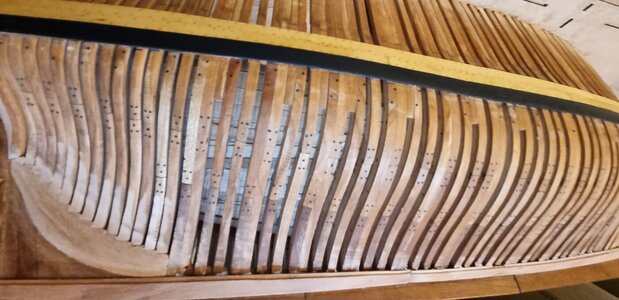
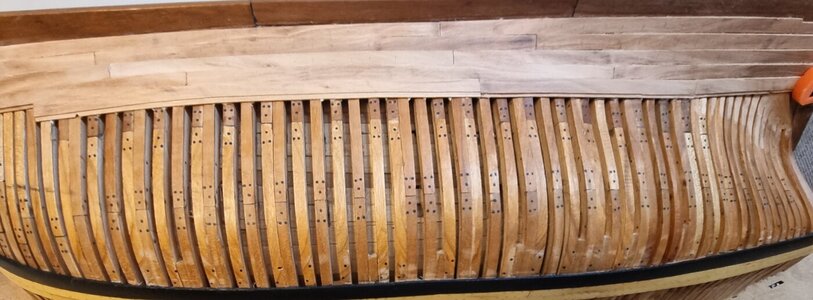
today I started with the planking of the PS side of the hull below the wale. The Alert is clincker build which means the planks are overlaying each other. There are 16 planks below the wale, this means 6,6 mm width per plank at its widest point of the hull. The total width of the plank is calculated by addind the overlay, I kept 2mm for this, taken from the detail drawing.
20210124_135639.jpg
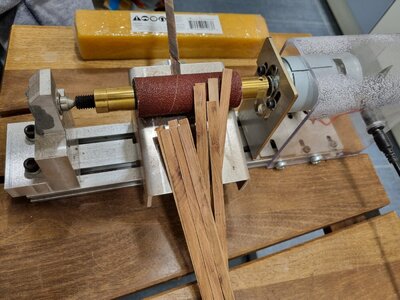
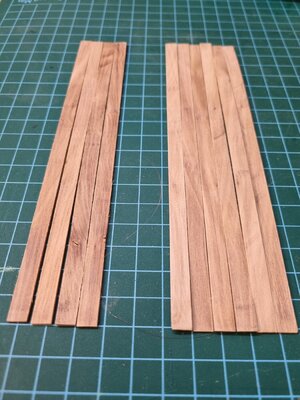
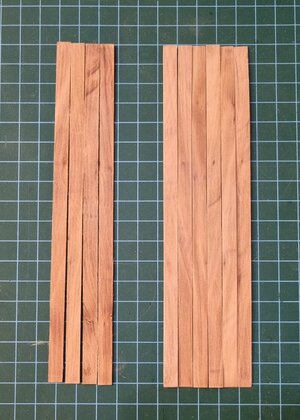
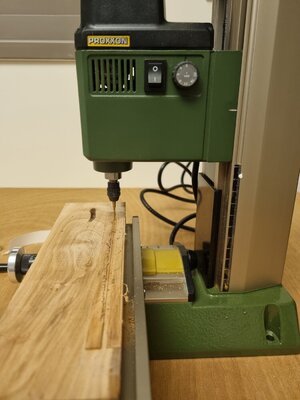
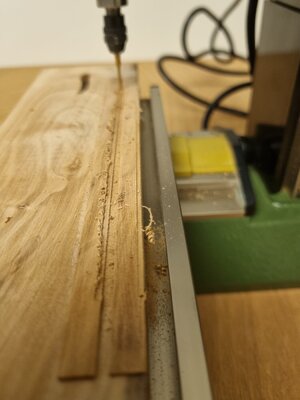
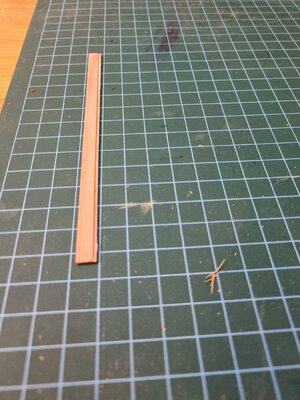
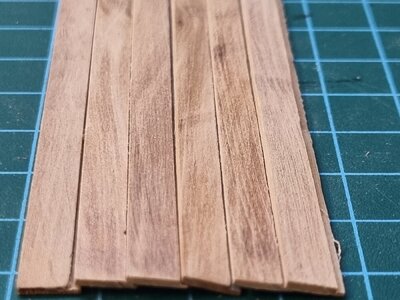
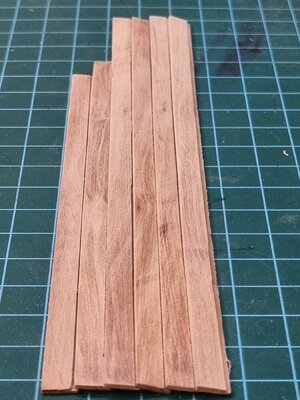
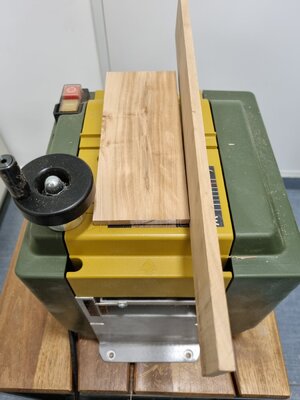
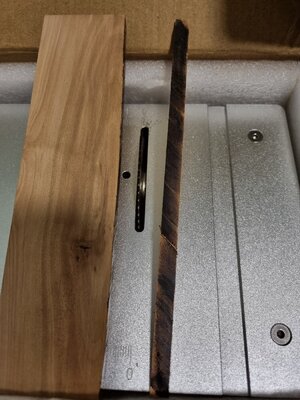
I chose a local pear tree for the production of the wooden boards for planking, it has a different shade than the European one, a little closer to cherry. I reduced the thickness of the board to 8.6 mm using Proxxon's thickness. Then I made 1.6 mm thick boards from it, after sanding the black soot that was created as a result of the saw, the board reached a thickness of about 1.25 mm (I used the thickness I made about a month ago ). Later I created the recess in the 2 mm wide panels using the mf 70. In addition, I performed fine sanding manually to achieve an optimal result of the dimensions and smoothness of the panels. This is an initial set (about 5 hours of work), to test the result (which I think is good) and in the next week or two I will produce several dozen more such panels.
For now, enjoy the photos and the transition to 2023 :)
20221231_173744.jpg20221231_183159.jpg20221231_191002.jpg20221231_194729.jpg20221231_194744.jpg20221231_204600.jpg20221231_204604.jpg20221231_215901.jpg20221231_220050.jpg20221231_220101.jpg
 
Hi Shota. I understand that you used boxwood for the wales, but may I ask why you are not using the kit-supplied pear strips for planking?
 
Hi Shota. I understand that you used boxwood for the wales, but may I ask why you are not using the kit-supplied pear strips for planking?
my dear friend
I used them, but since some of them spoil (when I painted them yellow) I replaced them with boxwood boards, please see post 620 # and 624 #
 
good evening dear friends
Tonight I created about 6 more boards and currently I have a total of about 11, a sufficient amount for the first stage where I will assess the quality of the boards.
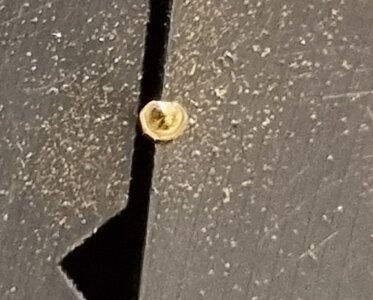
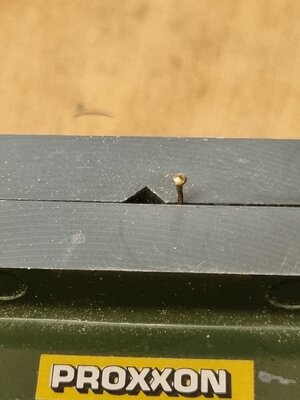
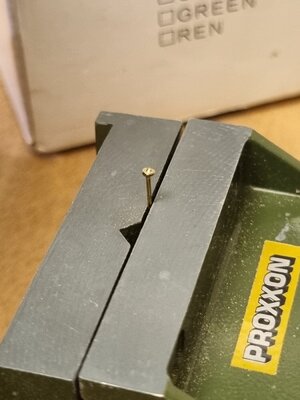
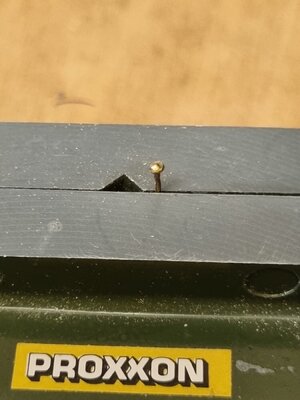
Later I tested my ability to produce the special screws that connected the panels to the frames as you can see in Maarten's build diary

20210124_172740.jpg
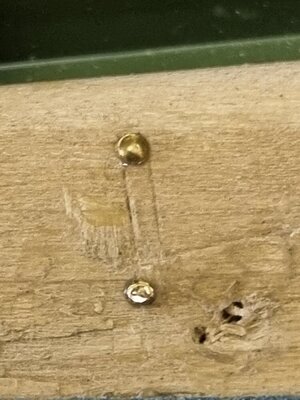
I took the common brass nails in the various kits and with the help of a cup drill to produce the disk effect under the head of the screw.
I still have something to improve on the product , as you can see in photos of the process.
In the last picture I put a regular nail to help distinguish it from the nail that works in the drill 20230101_211052.jpg20230101_212335.jpg20230101_211147.jpg20230101_212337.jpg20230101_213048.jpgI may look for copper wire in the thickness of the cells because brass is a difficult material to drill.
Good night friends
 
Hello dear friends
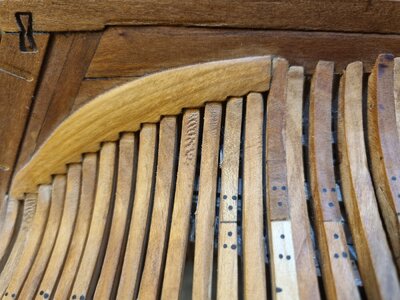
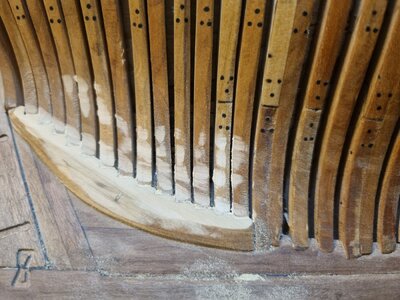
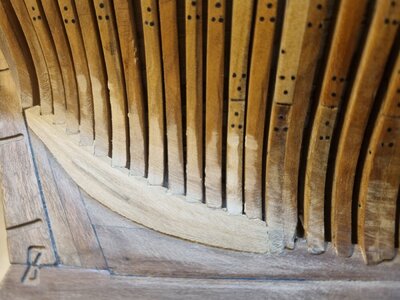
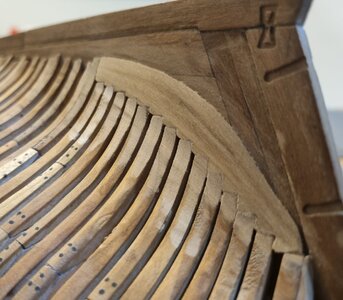
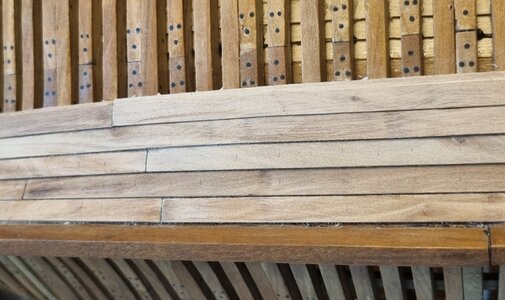
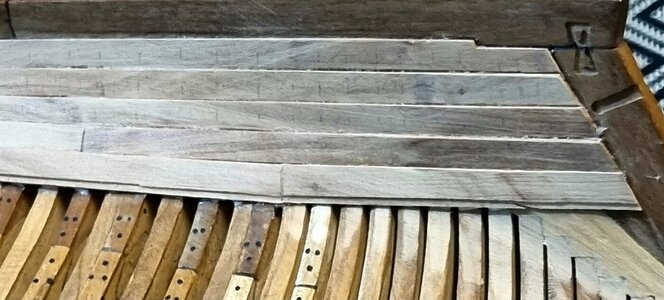
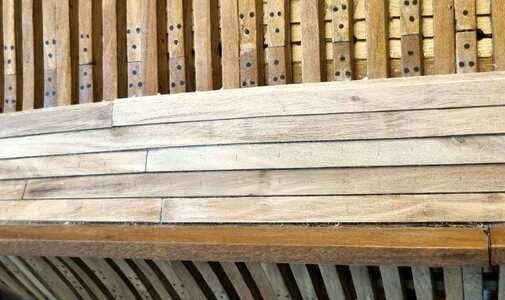
In the last day I installed the first 5 rows of planking on the outer right side of the ship.
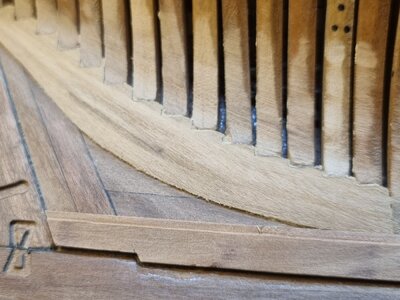
First I sanded the rear support arch to the stern frames. Its angle did not match the outline required for gluing the wooden panels.
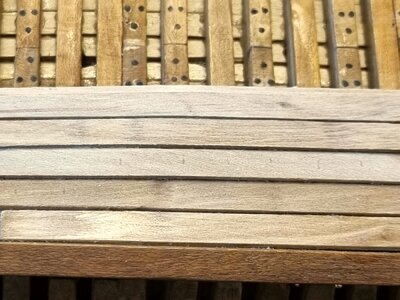
After that, I approached the Sisyphean work of fitting and gluing the boards, this requires patience and making fine adjustments between the boards in order to achieve the gradual look between the boards.
I would like to emphasize that I have not yet finished cleaning the glue residue between and on the boards and I am still planning to do a fine and final sanding of them using steel wool and then apply oil. Since I finished the first group of boards I produced (which served for me as a kind of sample group for the quality of the boards I can produce and I am satisfied with the result mainly because of the gradual created between them). The first lower aft plate has an angle that is required to match the main aft beam of the stern.
I have not yet decided how I will make the nails with the special head, but in the meantime I am making markings on the boards for the holes that will be used for them.
In the coming days I will focus on the production of the boards for the next rows of planking.
20230103_203227.jpg20230103_203215.jpg20230103_204239.jpg20230103_204326.jpg20230103_204509.jpg20230103_204536.jpg20230103_212454.jpg20230104_023844.jpg20230104_024023.jpg

20230104_023844.jpg20230104_024023.jpg20230104_024057.jpg20230104_024222.jpg20230104_024023_remastered.jpg
For now I'll let you get an impression of the photos documenting the process. I would like to appoint that the quality of my smartphone camera is not good enough and in reality the pear tree of the local variety has a rather beautiful shade.
I wish you all a lovely and successful day
 
Great work Shota Wishing you a happy new year Sir, just a hint you may want to make a couple of wider boards for the planking at the stern, it makes life much easier to line the boards as you go higher up. Unless you adding triangular filler planks that is.
 
Great work Shota Wishing you a happy new year Sir, just a hint you may want to make a couple of wider boards for the planking at the stern, it makes life much easier to line the boards as you go higher up. Unless you adding triangular filler planks that is.
Thank you very much for the kind words and the a advice, I have not yet decided which method to use.
 
Hi Shota,

there's a small mistake in your klinker planking. At the stem and stern the planking ends craweel and not klinker.
Dear friend, I would appreciate it if you could show me in the picture what is meant by the mistake in klinker and how to correct it, also here the illustration in the picture will help me correct and learn
 
Dear friend, I would appreciate it if you could show me in the picture what is meant by the mistake in klinker and how to correct it, also here the illustration in the picture will help me correct and learn
Hi Shota,

I hope you and Christian won't mind if I jump in with some help. Just like on my esping the clinker planking fades out at the bow and stern. Here is a link to @Maarten's build report when he was completing this stage.

Start here and then view several postings in succession: https://shipsofscale.com/sosforums/threads/hms-alert-by-maarten.6097/post-152325

I hope this helps!
 
Last edited:
Hi Shota!

View attachment 349290
Here is another picture of the transition of the clinker to the carweell planking at the bow and stern. The transition is difficult to make, especially on the boat of the ship.

Best regards
Thomas
Thank you, Paul. Maarten shows exactly how it should look.
Hi Shota,

I hope you and Christian won't mind if I jump in with some help. Just like on my esping the clinker planking fades out at the bow and stern. Here is a link to @Maarten's build report when he was completing this stage.

Start here and then view several postings in succession: https://shipsofscale.com/sosforums/threads/hms-alert-by-maarten.6097/post-152325

I hope this helps!
my dear friend's
First I would like to thank each of you personally for the effort to help me and teach me what is required on the subject. I would like to make sure that I understood you correctly, the wooden panels in the area connected to the keelson in the bow and stern are not staggered, but uniform/smooth?
 
Back
Top