Hms Alert by Maarten [COMPLETED BUILD]

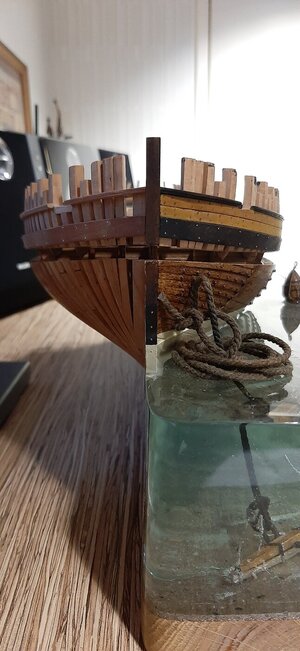
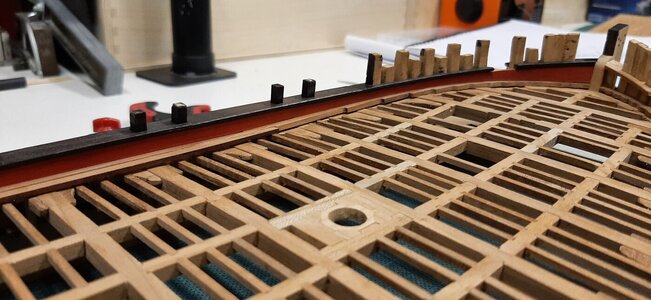
The PS gun wale is now fitted.
I treated it with black ecoline twice and sanded in between with steel wool. Finally I applied a layer of clear coat and sanded again with steel wool. The frame tops which will be visible later I pretreated with ecoline.
View attachment 313245
View attachment 313246
View attachment 313247

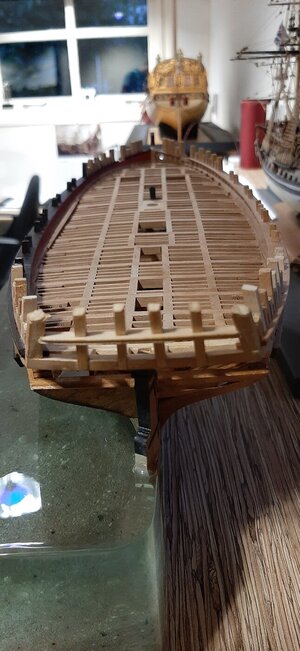
The stern gun wale is made of an outside and inside part. In the manual these are installed in a much earlier stage but as I want to have the correctly lined up with the rest of the gun wale I fit them now. The parts which have to fit between the frames I removed as I will fit also an inner bullwark.
View attachment 313248
View attachment 313242

All are now in place.
View attachment 313244
View attachment 313243

On the isde I now have to make the bullwarks from scratch.
View attachment 313239
View attachment 313240
View attachment 313241

View attachment 313247
Dear Maarten
wonderful work,
I'm always looking on your work to learn how to do it right on my alert :) Okay
 
The PS gun wale is now fitted.
I treated it with black ecoline twice and sanded in between with steel wool. Finally I applied a layer of clear coat and sanded again with steel wool. The frame tops which will be visible later I pretreated with ecoline.
View attachment 313245
View attachment 313246
View attachment 313247

The stern gun wale is made of an outside and inside part. In the manual these are installed in a much earlier stage but as I want to have the correctly lined up with the rest of the gun wale I fit them now. The parts which have to fit between the frames I removed as I will fit also an inner bullwark.
View attachment 313248
View attachment 313242

All are now in place.
View attachment 313244
View attachment 313243

On the isde I now have to make the bullwarks from scratch.
View attachment 313239
View attachment 313240
View attachment 313241

View attachment 313247
So much to read and look at. Magnificent work. I’m on a small holiday with only my iPad mini so I’ll look more carefully on the Mac at home.
 
The PS gun wale is now fitted.
I treated it with black ecoline twice and sanded in between with steel wool. Finally I applied a layer of clear coat and sanded again with steel wool. The frame tops which will be visible later I pretreated with ecoline.
View attachment 313245
View attachment 313246
View attachment 313247

The stern gun wale is made of an outside and inside part. In the manual these are installed in a much earlier stage but as I want to have the correctly lined up with the rest of the gun wale I fit them now. The parts which have to fit between the frames I removed as I will fit also an inner bullwark.
View attachment 313248
View attachment 313242

All are now in place.
View attachment 313244
View attachment 313243

On the isde I now have to make the bullwarks from scratch.
View attachment 313239
View attachment 313240
View attachment 313241

View attachment 313247
It’s looking very nice and tidy, Maarten.
If other builders are not yet convinced of the beautiful application of (black) Ecoline, then I don't know what is.;)
With all the options like steelwool/(clear)coat, polishing/oiling etc etc.
(I didn't forget a few other users of course!)
Regard, Peter
 
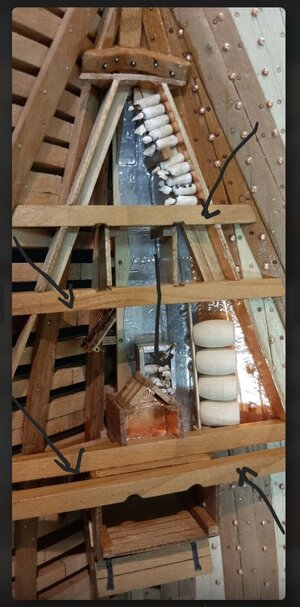
Continueing on the powder room.
As promissed first I made some beams to carry the powder room floor, these are not kit parts but scratch build.
View attachment 230213

On top of the beams the deck is fitted?
View attachment 230214

I leave out one plank to see the construction below.
View attachment 230215

The wing platforms are replaced with just a small bulkhead in the wing, functioning as powderroom wall.
View attachment 230216
View attachment 230217

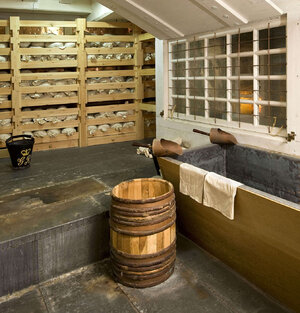
To avoid getting gun powder in any other space then the protected environment of the powder room itself the flooring was covered with lead and the walls with copper.
See below HMS Victory as an example.
View attachment 230219
View attachment 230218

I will create this with aluminium and copper tape.
The floor with aluminium tape which I sanded with fine steel wool before applying to give it a dull apearence.
View attachment 230221

I add additional small strips of tape which I pinch with a point to create the rivets between the lead plates.
View attachment 230222

The upper part is copper plated.
View attachment 230224

The powderroom bulk head gets the same treatment, lead for the lower part, copper for the upper part.
View attachment 230223

Dry fitting the parts.
View attachment 230225
Baby steps on the powder room.
To get in the powder room there is a small companion way from the upper deck.
View attachment 231307

It is locked between two deck beams on which a hatch is fitted in a later stage.
View attachment 231308

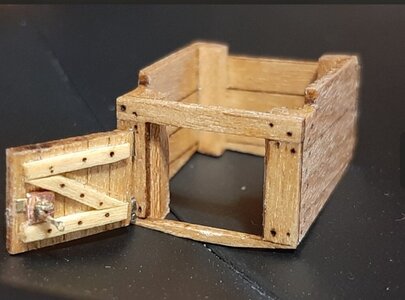
In the powder room entrance a door is fitted.
In the powder room you won t find iron fittings as these could create sparks, so all metal work is bronze or copper.
For my hinges I used copper wire hammered flat.
View attachment 231309
View attachment 231310

The inside of the door is reinforced.
View attachment 231311

And on the outside a brass ring.
View attachment 231312

To lock the powder room I made a copper lock with a brass key.
View attachment 231313

And dry fitting all into place, here you can also see the bar behind which the powder barrels will be stored.
View attachment 231315
View attachment 231316
Dear Maarten
I will ask for your help in locating the various parts in the fire dust room, except for the window I have already built. I'm having a hard time finding the numbering of the parts from the kit you used, I hope I do not bother you. Thanks
 
Dear Maarten
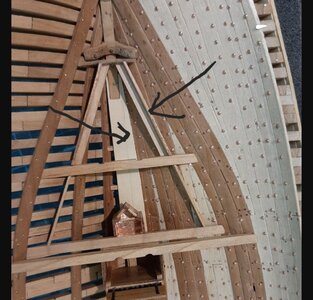
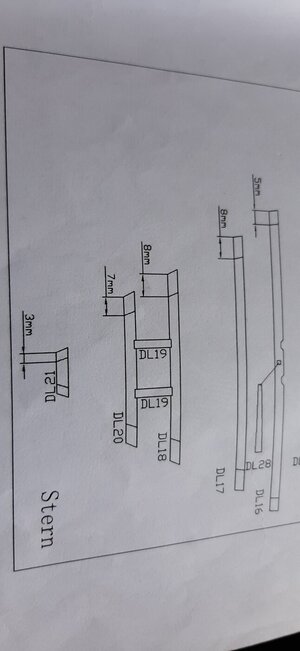
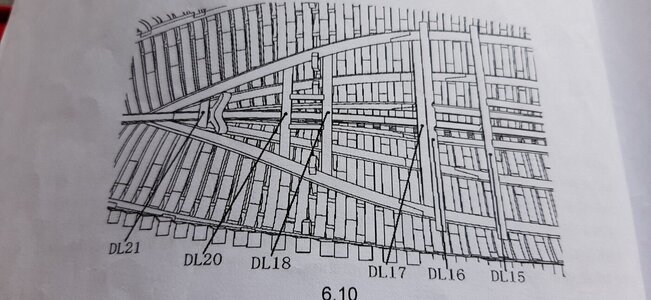
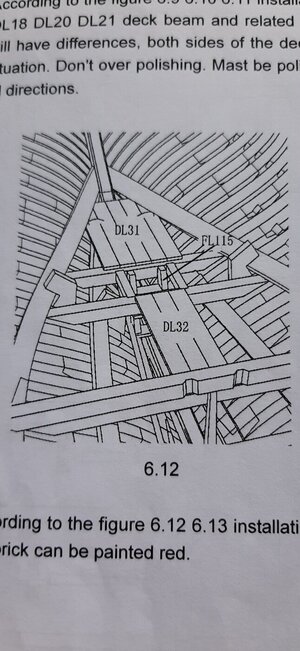
First I would be happy to verify the numbering of the 4 beams

Screenshot_20220623-073724_Chrome.jpg
Also how and to what extent you created the silver "bath" next to or under the window
I do not find this part that looks like a pantry / room / closet in parts of the kit. I would be happy if you would direct me to the right place or you created it yourself

Screenshot_20220623-073309_Chrome.jpg

Screenshot_20220623-071426_Chrome.jpg

And did you create the diagonal walls of the room and the light floor that you covered with copper / aluminum foil from the kit or your materials, what are the right dimensions / lengths and more
thanks a lot shota :):cool:
 
Hi Shota,

These are the beams.
20220623_200351.jpg
20220623_201640.jpg

All the other parts in the powder room are not part of the kit and created from scratch.

In the kit they only provide two platforms and a stairs.
20220623_200732.jpg

You can just use scrap material from the kit.
The bath tub is also made from scrap wood covered with aluminium tape to simulate the lead lined tub to fill the cartridges.
See below the bath tub on board the victory.
2.jpg

The copper and aluminium are tapes.
Regarding measurements it is just tailor making to fit.
 
Hi Shota,

These are the beams.
View attachment 315290
View attachment 315293

All the other parts in the powder room are not part of the kit and created from scratch.

In the kit they only provide two platforms and a stairs.
View attachment 315291

You can just use scrap material from the kit.
The bath tub is also made from scrap wood covered with aluminium tape to simulate the lead lined tub to fill the cartridges.
See below the bath tub on board the victory.
View attachment 315292

The copper and aluminium are tapes.
Regarding measurements it is just tailor making to fit.
thank you very much for your answer and help :D
 
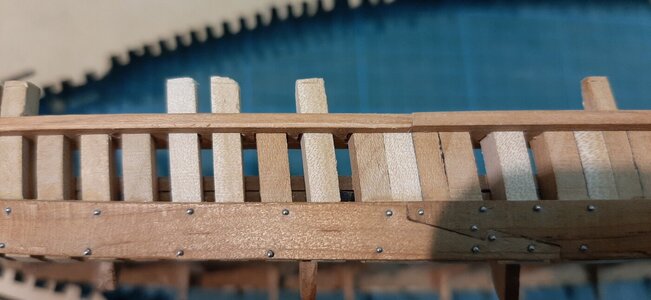
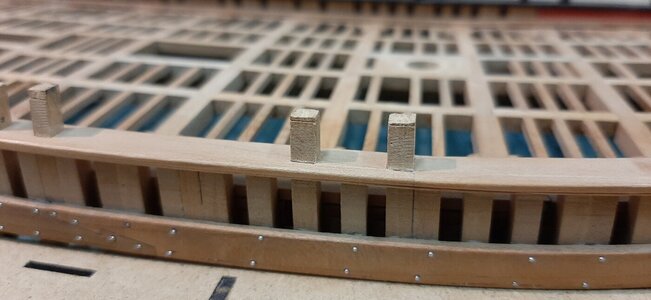
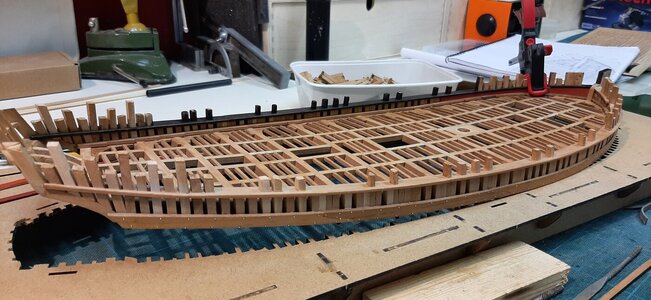
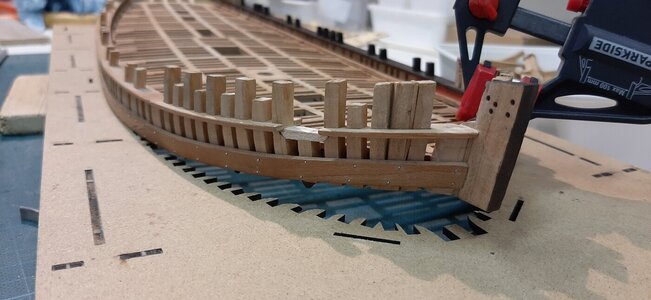
Now also the SB gunwale is fitted. The SB side will be plain wood, the frames will be open without planking.
The gunwale is profiled with a cutout razorblade. On the leftside the profiled gunwale on the right the default.
20220628_202256.jpg

After fitting and finishing you can get a nice fit between the gunwale sections.
20220629_204010.jpg

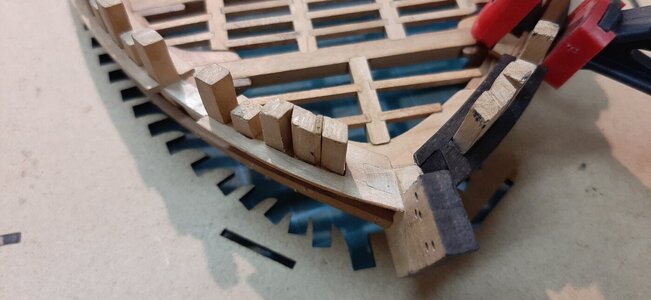
In the bow the frames are protruding the gunwale and are filed flush.
20220629_204115.jpg

The complete SB side fitted.
20220629_203944.jpg
20220629_203953.jpg
20220629_221659.jpg

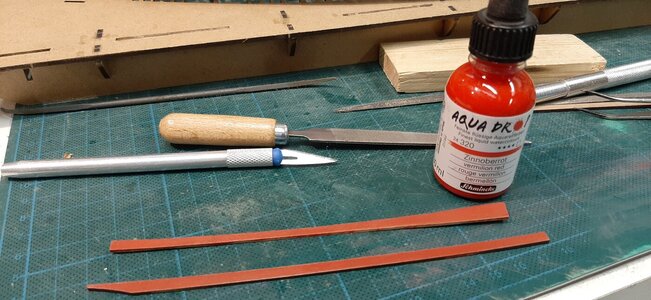
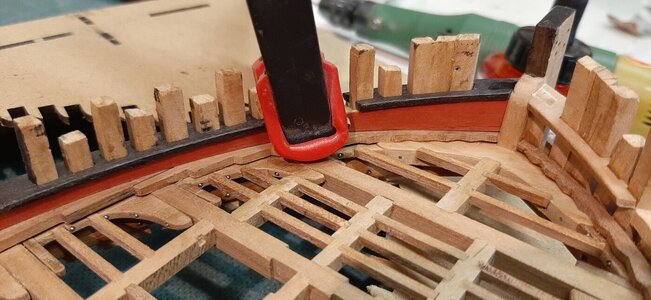
For the inner bullwarks on the SB side I made bulkwark planks which I dyed with schminke which is a pigmented dye.
20220629_202827.jpg

After that I sanded them with steelwool before fitting. Finally I will finish it with a layer of shellack.
20220629_203239.jpg
20220629_221538.jpg
20220629_221717.jpg

Next is the deck planking
 
Now also the SB gunwale is fitted. The SB side will be plain wood, the frames will be open without planking.
The gunwale is profiled with a cutout razorblade. On the leftside the profiled gunwale on the right the default.
View attachment 316184

After fitting and finishing you can get a nice fit between the gunwale sections.
View attachment 316188

In the bow the frames are protruding the gunwale and are filed flush.
View attachment 316189

The complete SB side fitted.
View attachment 316186
View attachment 316187
View attachment 316190

For the inner bullwarks on the SB side I made bulkwark planks which I dyed with schminke which is a pigmented dye.
View attachment 316194

After that I sanded them with steelwool before fitting. Finally I will finish it with a layer of shellack.
View attachment 316193
View attachment 316192
View attachment 316191

Next is the deck planking
coming along very nicely. Looking forward to the deck planking.
 
Back
Top