Good work my friend - I like it very much 

 |
As a way to introduce our brass coins to the community, we will raffle off a free coin during the month of August. Follow link ABOVE for instructions for entering. |
 |
 |
The beloved Ships in Scale Magazine is back and charting a new course for 2026! Discover new skills, new techniques, and new inspirations in every issue. NOTE THAT OUR FIRST ISSUE WILL BE JAN/FEB 2026 |
 |


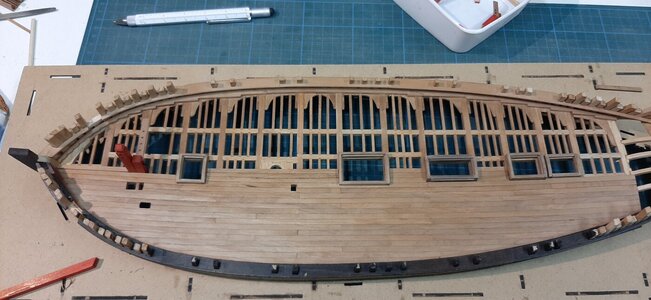
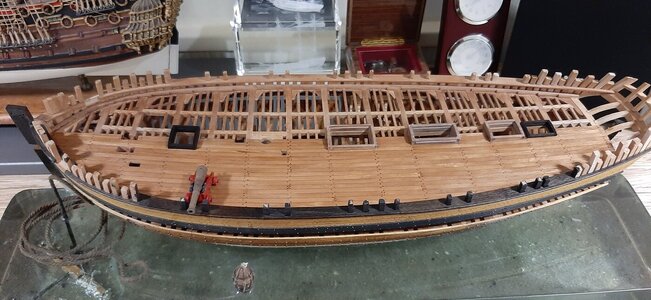
For the inexperienced among us, this build looks immaculate, I mean, look at the floor grid; it looks as if there's no grid member out of place. And we're not even talking about the rest of this build... Definitely setting standards here.Now also the SB gunwale is fitted. The SB side will be plain wood, the frames will be open without planking.
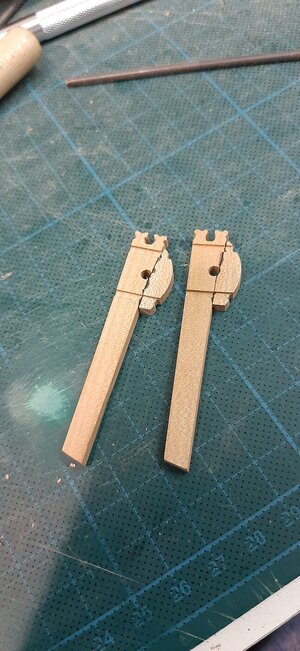
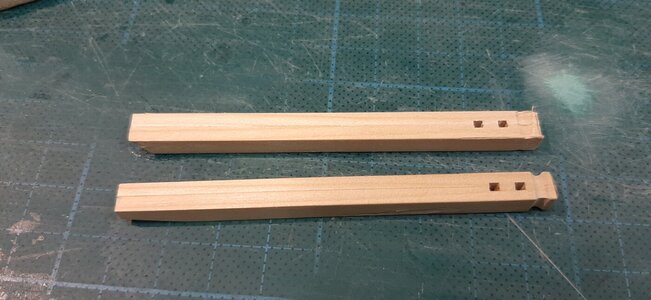
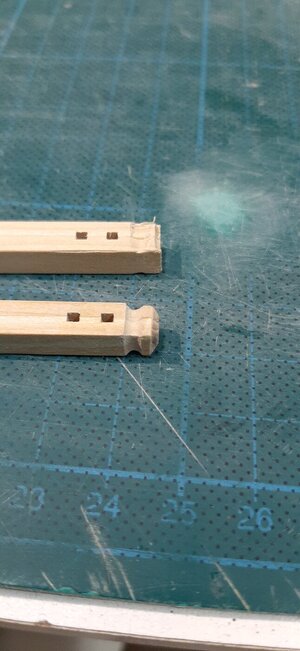
The gunwale is profiled with a cutout razorblade. On the leftside the profiled gunwale on the right the default.
View attachment 316184
After fitting and finishing you can get a nice fit between the gunwale sections.
View attachment 316188
In the bow the frames are protruding the gunwale and are filed flush.
View attachment 316189
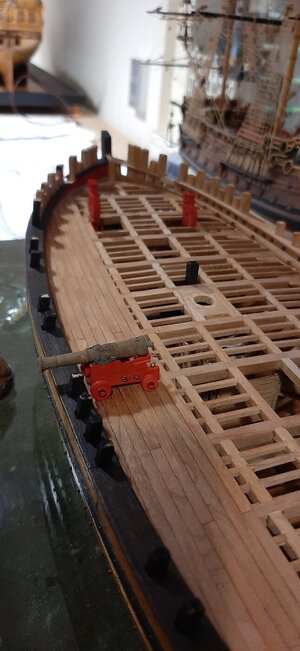
The complete SB side fitted.
View attachment 316186
View attachment 316187
View attachment 316190
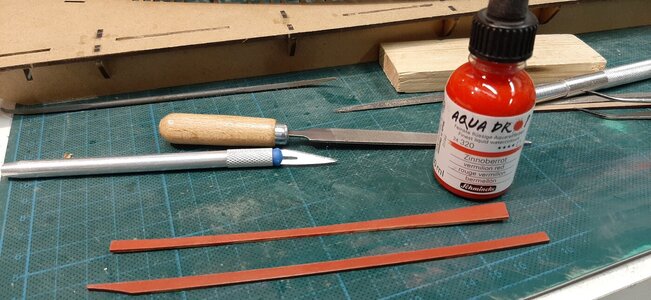
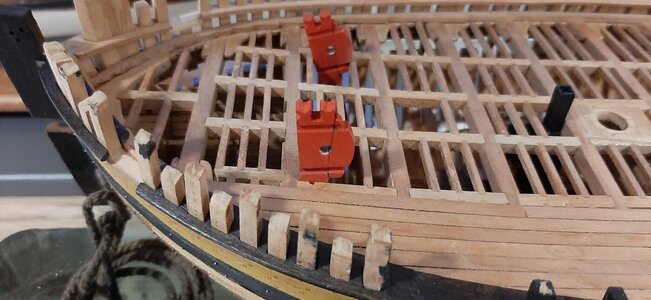
For the inner bullwarks on the SB side I made bulkwark planks which I dyed with schminke which is a pigmented dye.
View attachment 316194
After that I sanded them with steelwool before fitting. Finally I will finish it with a layer of shellack.
View attachment 316193
View attachment 316192
View attachment 316191
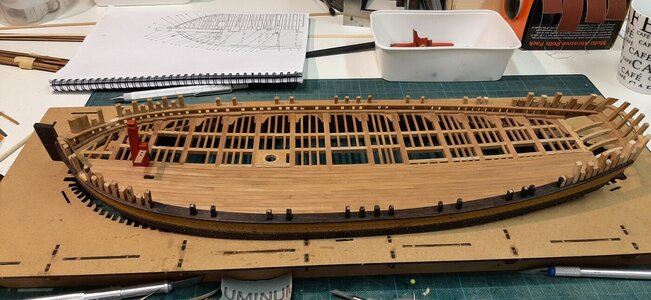
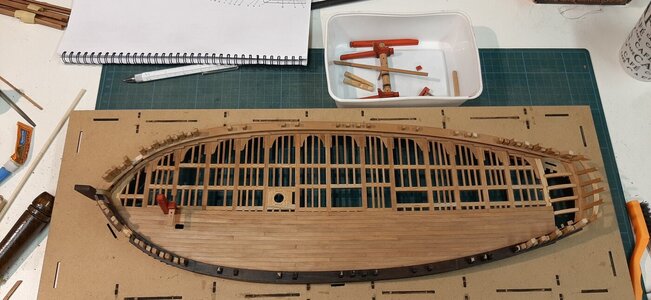
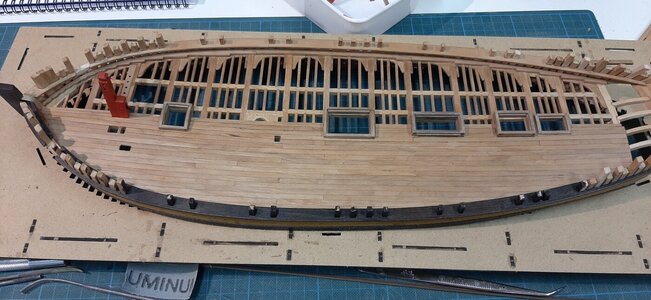
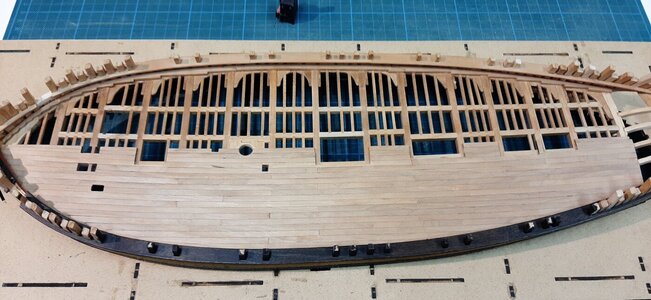
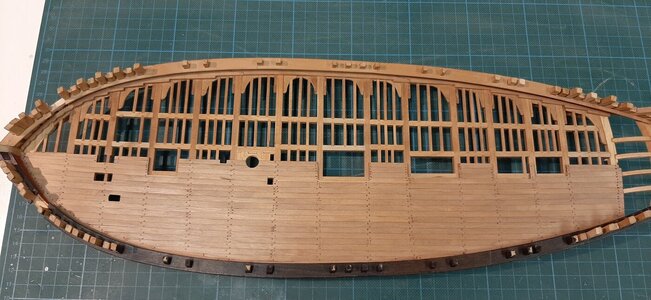
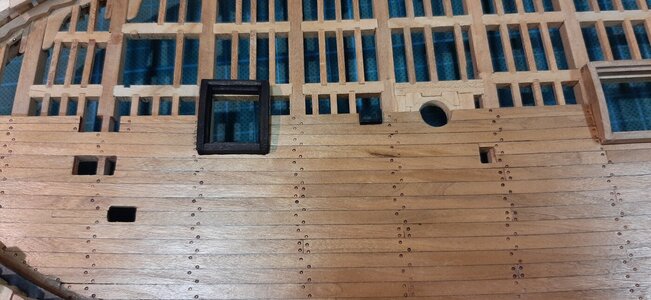
Next is the deck planking


Dear MaartenNow also the SB gunwale is fitted. The SB side will be plain wood, the frames will be open without planking.
The gunwale is profiled with a cutout razorblade. On the leftside the profiled gunwale on the right the default.
View attachment 316184
After fitting and finishing you can get a nice fit between the gunwale sections.
View attachment 316188
In the bow the frames are protruding the gunwale and are filed flush.
View attachment 316189
The complete SB side fitted.
View attachment 316186
View attachment 316187
View attachment 316190
For the inner bullwarks on the SB side I made bulkwark planks which I dyed with schminke which is a pigmented dye.
View attachment 316194
After that I sanded them with steelwool before fitting. Finally I will finish it with a layer of shellack.
View attachment 316193
View attachment 316192
View attachment 316191
Next is the deck planking

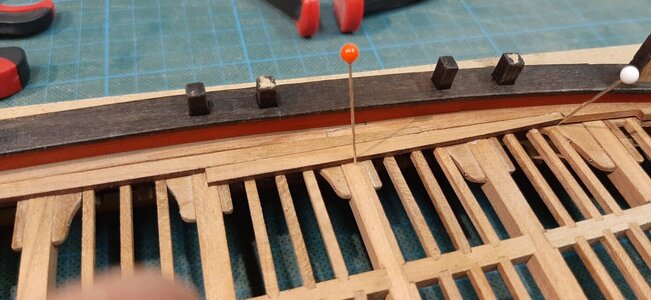
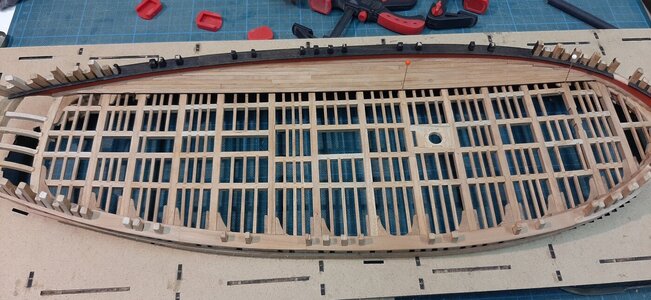
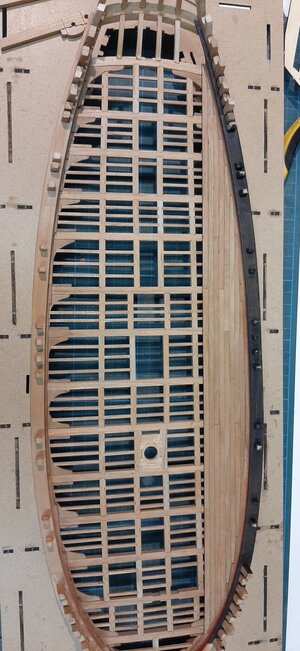
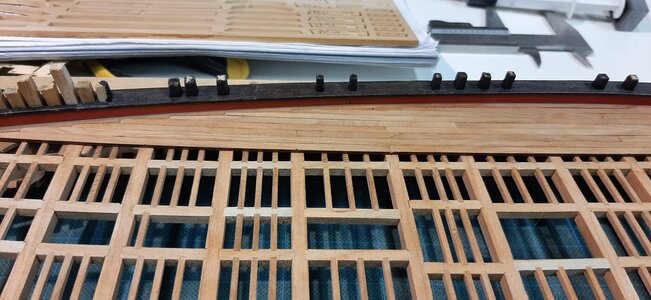
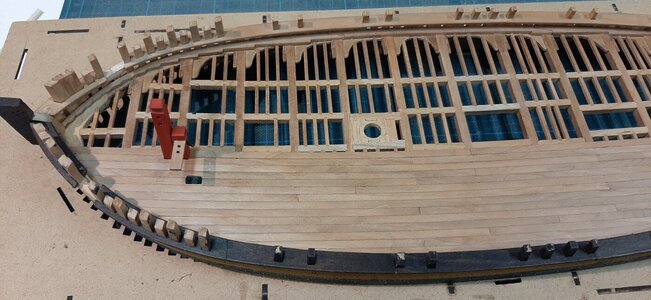
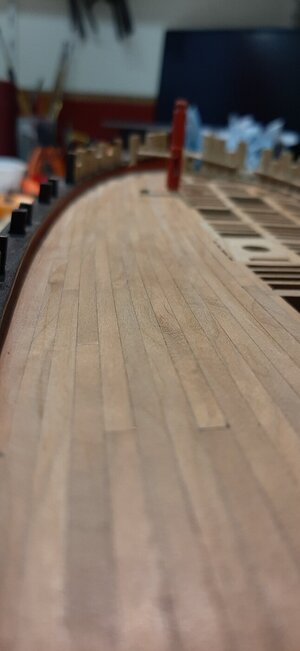
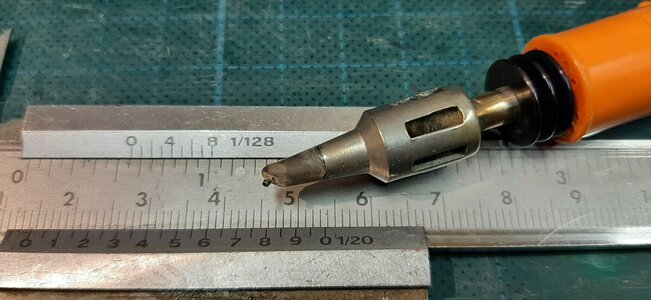
When the deck is finished I will scrape the deck with a razor blade.

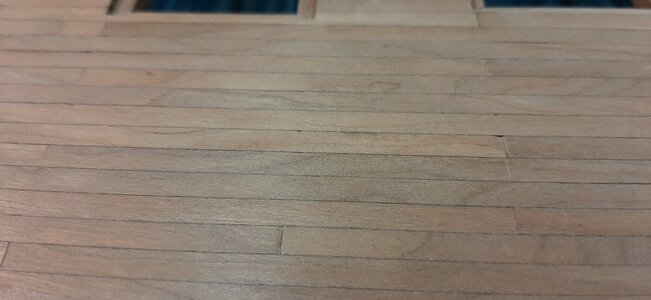
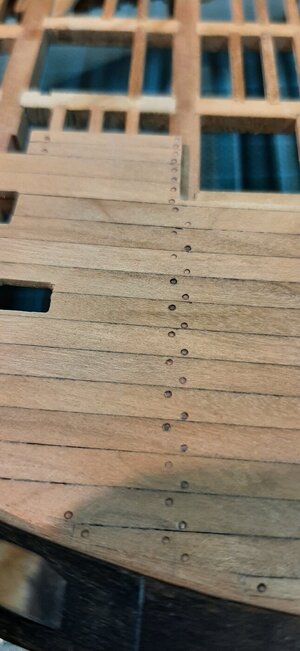
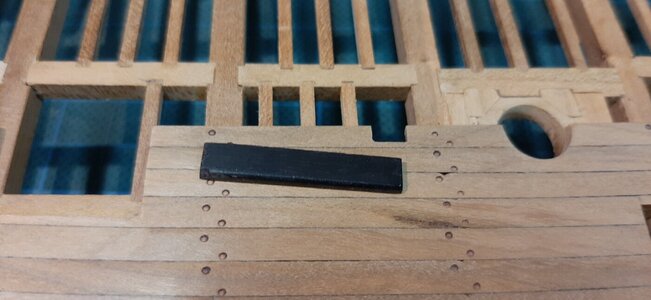
Hello Maarten,I use the kit supplied laser cut cherry strips for this. The laser char edge of the plank I keep inplace
Hi Johan,Hello Maarten,
Does keeping the char on the edges give you the desired result, or is it too much, too little, too irregular?
Johan

Oké, thanks Maarten, we’ll see about your decision in due time.Hi Johan,
Actually I have never used lasered deck planks before bit thought I would give it a go. Think the laser char would simulate a nice caulking and an actual caulking is also not that regular.
I will see after scraping if it was a good decision.
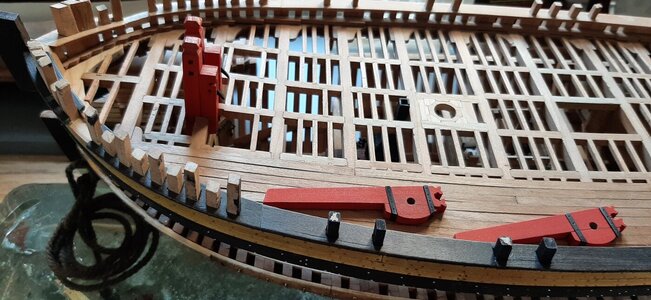
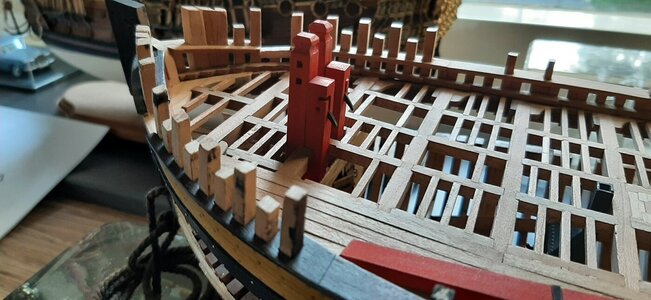
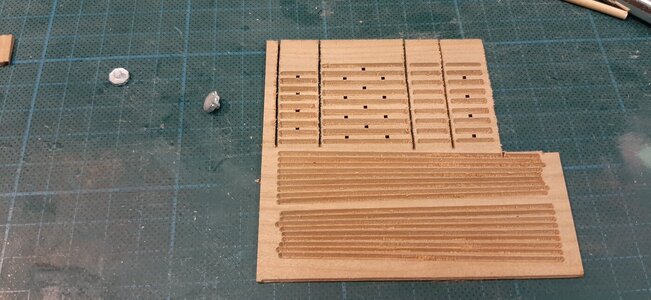
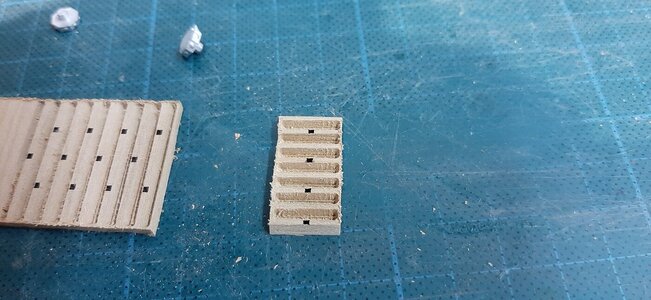
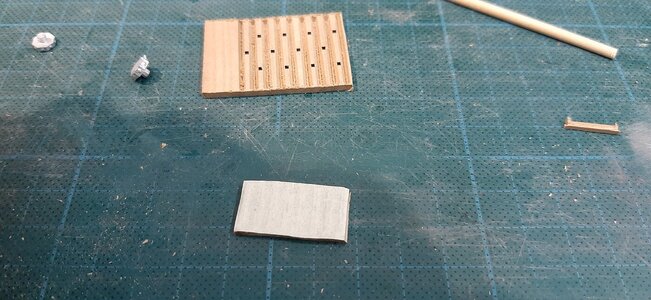
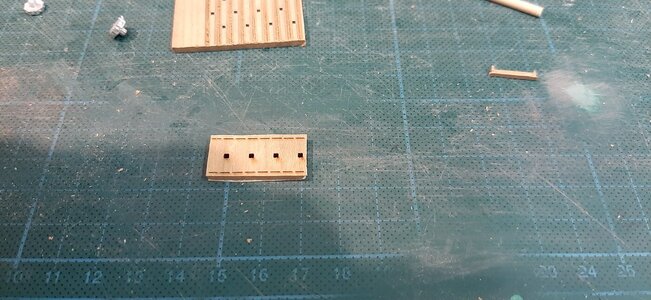
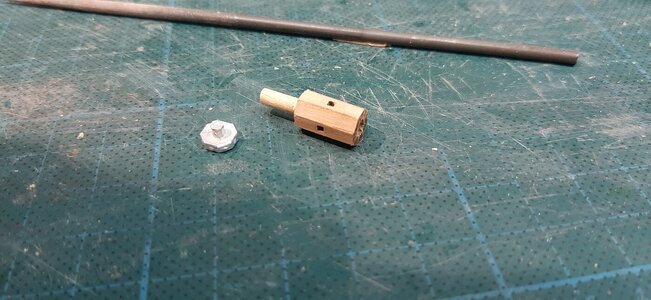
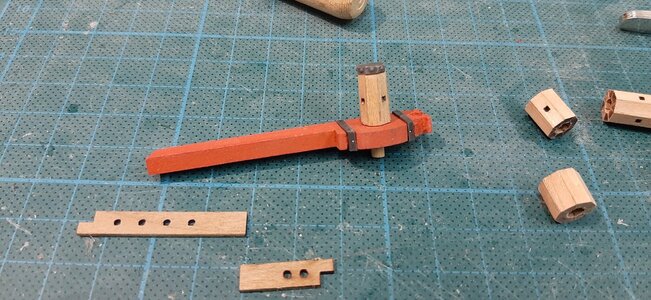
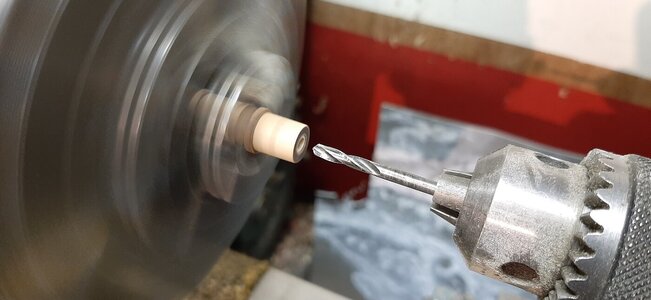
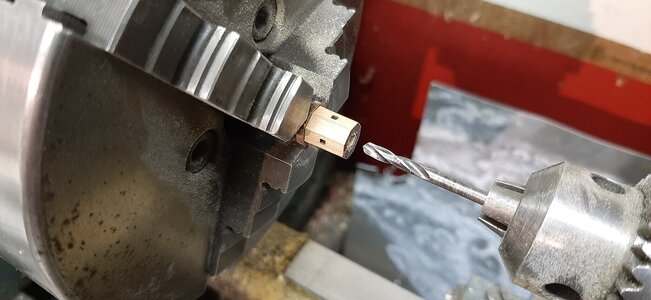
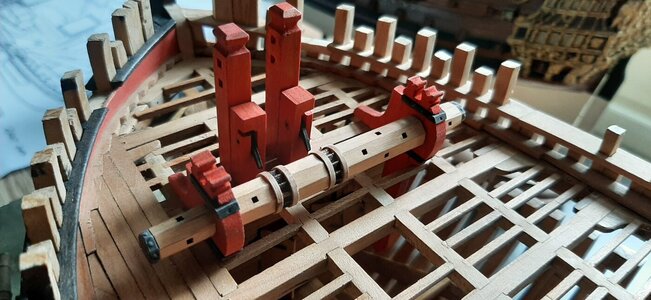
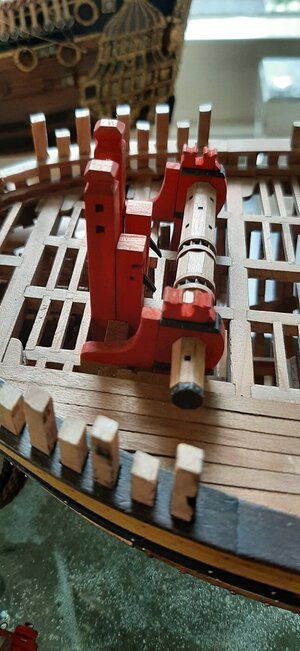
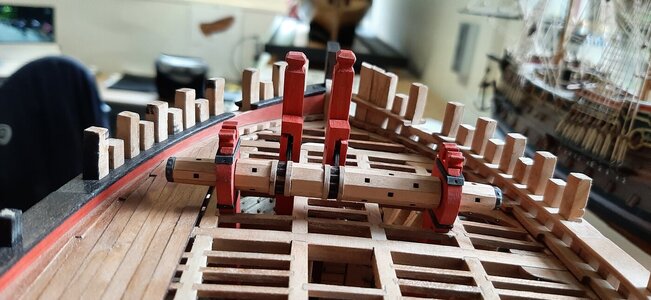

Every time I see the update, I am amazed at your craftsmanship, mon ami. But being an 'Eagle eye' ( your expression to me), I found some of the discrepancies. I hope it is just 'dry' fitted and not permanently glued. The Pawl ring (gears) are far from the Pawl. I guess this could be the reason for our old discussions, back when we started the build. Which way the Carrick bit pin should be facing? But I really hope it is just a dry fit and nothing serious...After assembling the drum dry fitting on the ship.
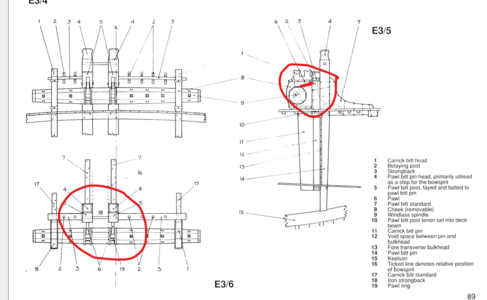
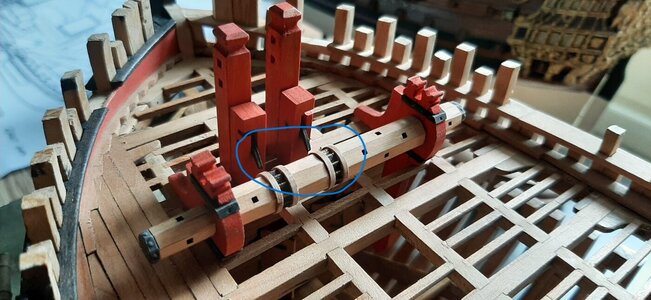
Jim no worries, just loosely positioned for the picture.Every time I see the update, I am amazed at your craftsmanship, mon ami. But being an 'Eagle eye' ( your expression to me), I found some of the discrepancies. I hope it is just 'dry' fitted and not permanently glued. The Pawl ring (gears) are far from the Pawl. I guess this could be the reason for our old discussions, back when we started the build. Which way the Carrick bit pin should be facing? But I really hope it is just a dry fit and nothing serious...
View attachment 320693
View attachment 320694
