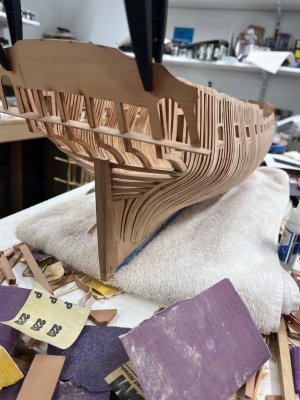
If I may interrupt the framing progression one last time….a continuation of above photo.
As stated to finalize framing process, it lead me to installing counter timbers, last framing/ doorway etc. and simply dry fitting transom after I scratch built the trim piece which locates beneath it ( it is not supplied in the kit).
This lead to some confusion, about all the side/top trim pieces that surround three sides of the transom.
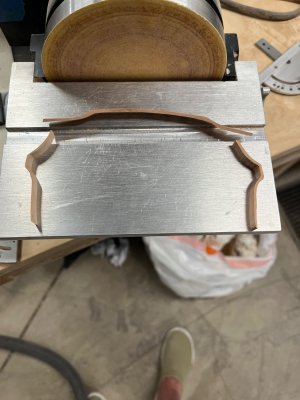
After some head scratching I decided I was not going to undertake all of the heating/bending required to get, what are flat pieces, to fit all those complex curves so I fired up the scroll saw and cut out three pieces, easily traced out using the transom as a form.
Be aware, because the transom fits the timbers on a curve, if you find this approach useful you need to cut the top piece quite wide and then trim it to proper width representing the curve and flow of the transom.
These parts are fresh off the saw and need sanding, final shaping, fitting but I think it’s a decent start.
View attachment 531265
View attachment 531268


