- Joined
- Dec 5, 2022
- Messages
- 1,119
- Points
- 443

Hey folks,
It's finally finished. The little dinghy (cutter) really took it out of me. Especially since the dinghy was completely broken and I was close to tears. "Roll up your sleeves and don't give up" is my family motto! You have to fight for what you believe in!!
With a lot of patience and effort, I hope I made the best of it. Working on this scale was really new to me and, yes, exciting at the same time. The instructions were only of limited help, especially as I didn't know how to tackle the problem of the railing. I thought about how I could use the small UM9 assembly aid to help me. I reinforced the assembly aid with a mini piece of wood (diameter 0.2 mm) and used it as a guide edge for the plank. Then I clamped the hull of the dinghy in between. This created a stabilising aid so that the plank did not constantly slip away. With this aid, I was able to glue the plank at several points and thus glue and dry the plank several times. This involved several gluing steps. I glued it about five times, let it dry and then continued gluing along the railing.
I was really satisfied with the result and happy that it looks good. However, for the next two boats, I will not follow the instructions and will take steps that I think are better and faster so that the result is even better.
I have carried out the following work on the dinghy:
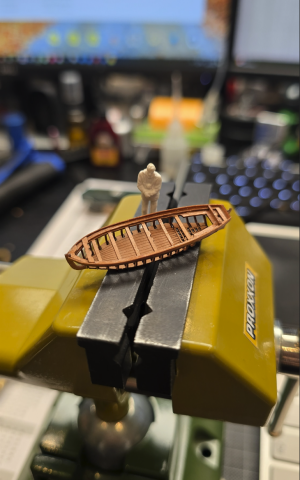
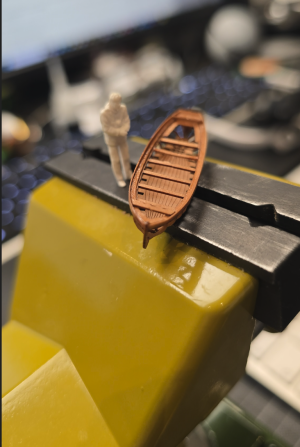
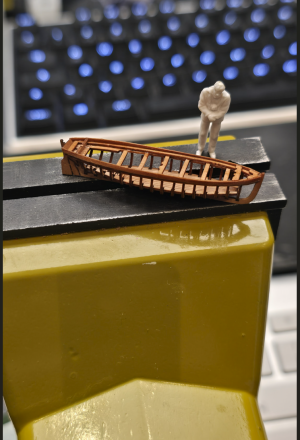
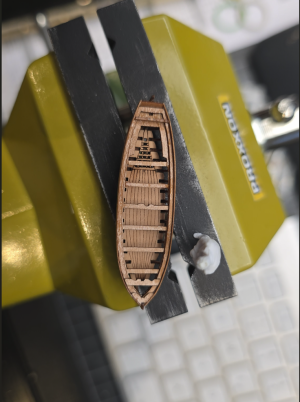
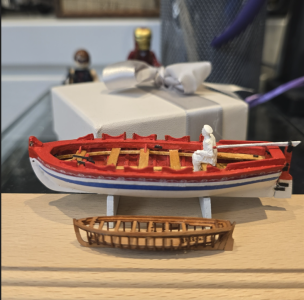
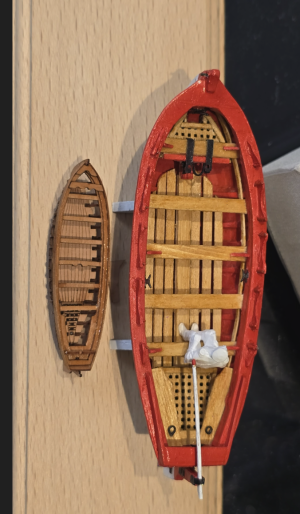
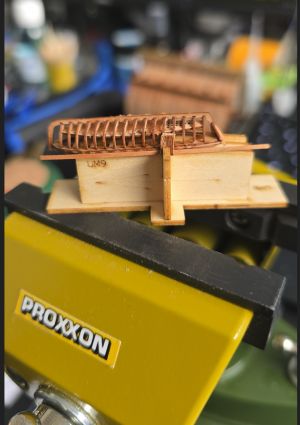
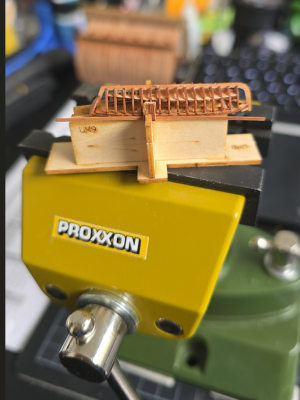
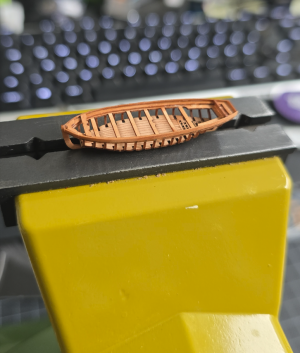
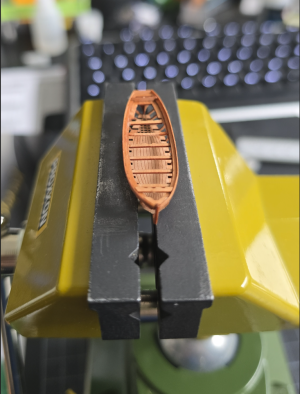
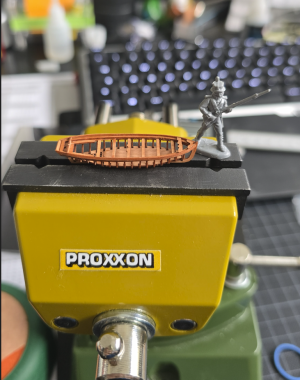
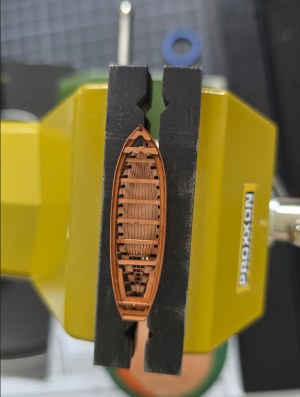
- 1. The transom U5, bow hook U6, jib boom bracket U7 and transom U8 are glued in place, then the railing is sanded down until it is flush with the frames.
- 2. Two outer planks UVW-48 are glued to each side of the boat along the railing, then the rudder U9 is glued to the transom, completing the cutter. Then varnished with clear varnish.



 It's great to chat with you. Thank you for your great expertise! The kit is really beautifully made. But I think it also has its pitfalls. I would say that this kit is not suitable for beginners, as it is so incredibly delicate and can really easily break. I'll be able to say more once I start finishing the interior. Richard is already further along than I am...