HMS Fly 1:64 - Amati/Victory Models by CaptainsCabin

Still following your progress and am getting the itch to start back up on my Pegasus. As too careful measurement not enough can be said. I'll have to start another attempt of the modifications when I get back to her.
 
Still following your progress and am getting the itch to start back up on my Pegasus. As too careful measurement not enough can be said. I'll have to start another attempt of the modifications when I get back to her.
.....thanks Will; yes careful measurement is critical. I will be making a further post later today which I hope will give you more ideas - Lloyd
 
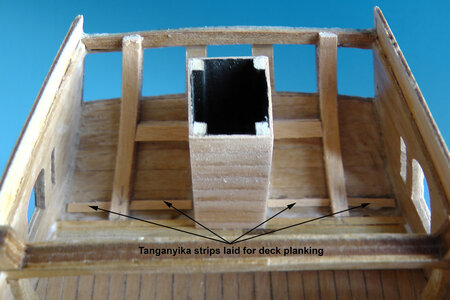
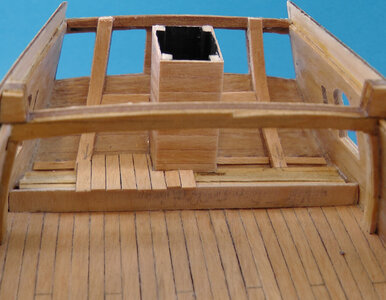
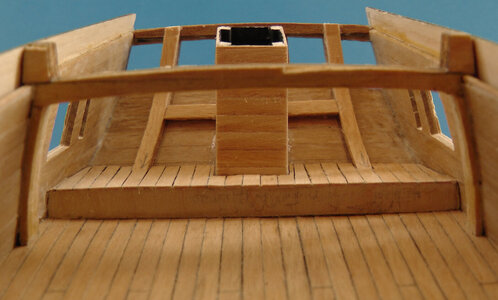
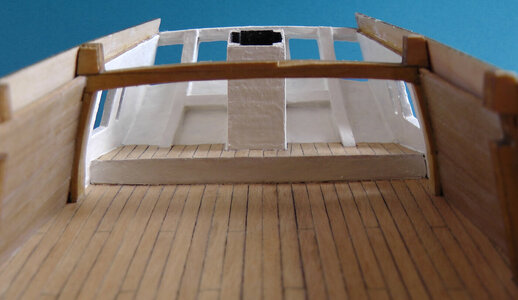
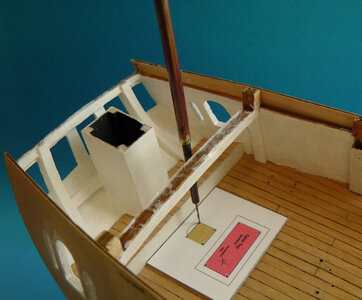
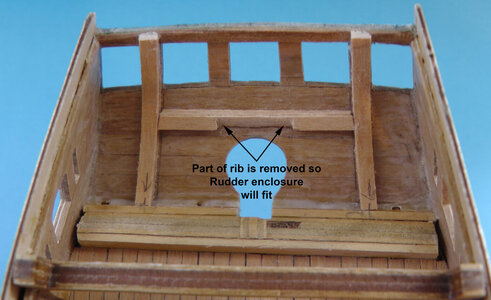
The stern has reinforcing ribs added and within the guidance notes shown below, the Rudder Stock enclosure is shown. How this was constructed was mentioned in a post on SOS dated August 9th 2021. This can be viewed by clicking the link Rudder Assembly and Great Cabin.

Figure AP2.jpgFigure AP3.jpgFigure AP4.jpgFigure AP5.jpgFigure AP9.jpgFigure AP10.jpg
 

Attachments

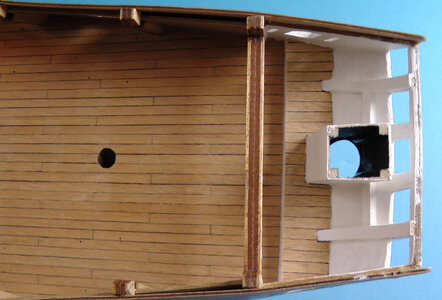
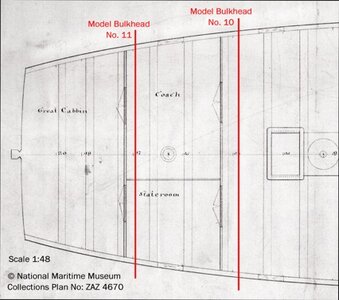
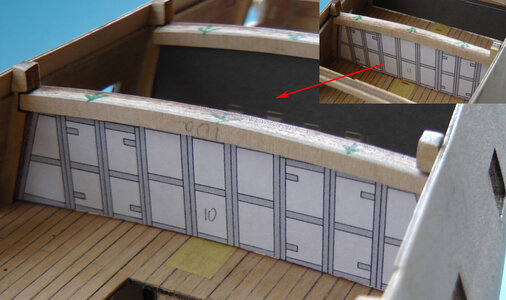
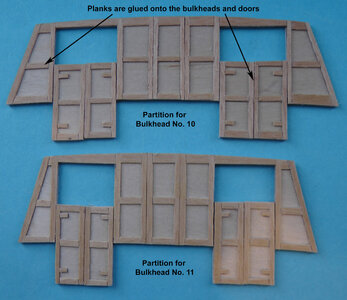
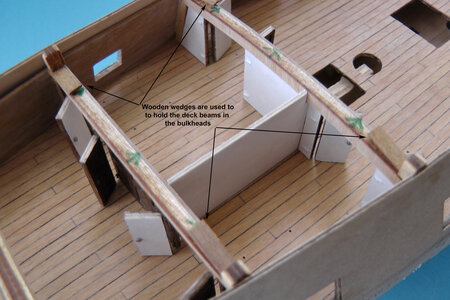
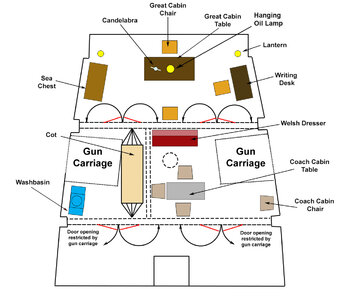
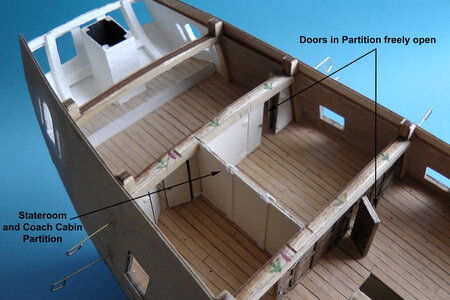
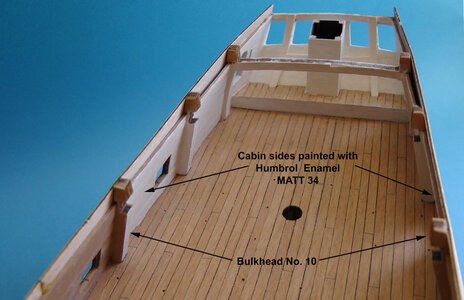
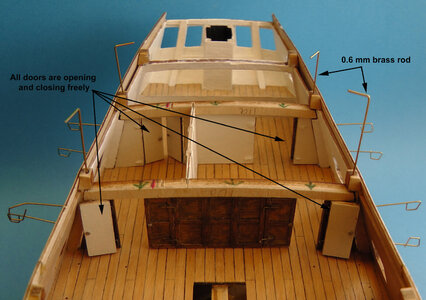
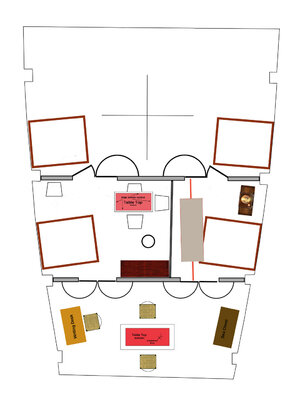
The living quarters at the stern comprise of the Grand Cabin, Coach Cabin and Stateroom and the position of these cabins were determined by looking at the original ship plans of H.M.S Fly obtained from the National Maritime Museum, Greenwich, London. These have been incorporated into the model and how they were made can be seen in the attached notes below. The doors were all made to freely move on hinges as can be seen by clicking the Doors Moving Video.

Figure AD1.jpgFigure AD6.jpgFigure AD16.jpgFigure AD21.jpg
 

Attachments

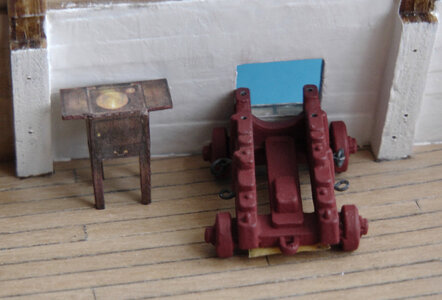
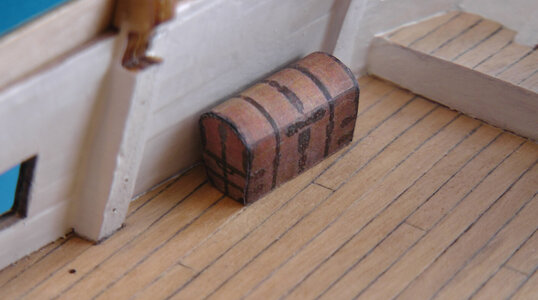
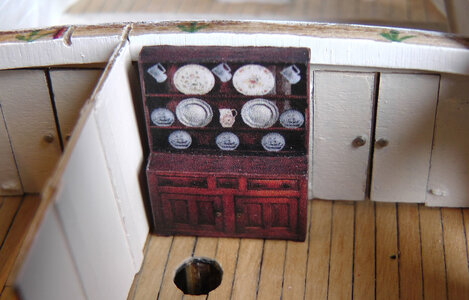
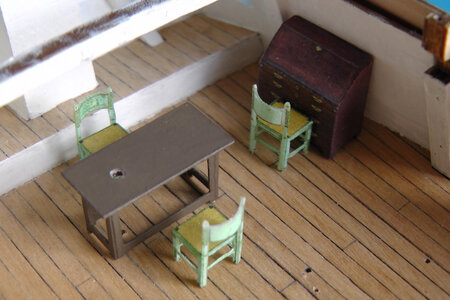
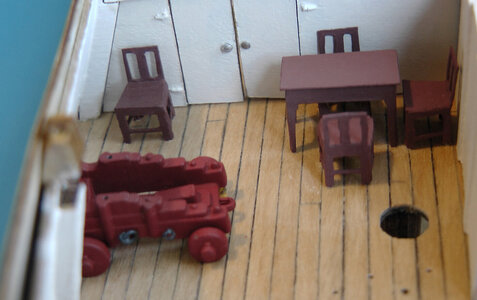
It is not known exactly what furniture would have been found in the cabins, so furniture circa eighteenth century was researched and a ‘modellers discretion’ was used as to what was made. Within the attached guidance notes below, links are provided for the making all the individual pieces of furniture made for the cabins.

Figure AE2.jpg
 

Attachments

Last edited:
When I first started my build of the Fly, Nick Mott (of www.hmsfly.com - currently offline) advised me to ensure my Cannon Carriages were well secured to the deck. In the model he was building one of the Carriages had come loose beneath the poop deck, which had already been fitted!

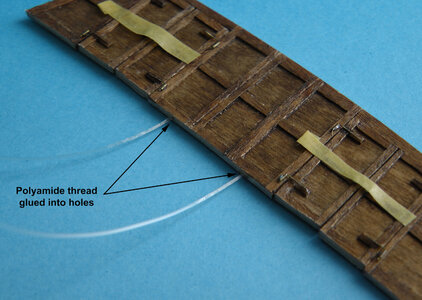
I made a post on June 23rd 2021 concerning Cannon Carriages Fitted to Deck (click link), my solution for this potential problem. Unknown to me at the time, the idea of using Polyamide thread has provided a useful answer for some of the other problems I have encountered in creating the stern cabins in the Fly. The components for the construction of the cabins all need to be precisely planned and fitted, but must be able to be removed prior to permanent fitting. Fixing of the Cabin Partitions is a good example, and this is described in the notes attached to this post.

Figure AR14.jpgFigure AR33.jpg
 

Attachments

The completion of the Great Cabin, Stateroom, Coach Cabin and the 1:64 scale period furniture was a significant milestone in my HMS Fly build. When I started this build in 2011, I could not have imagined the incredible journey it would take me on, and I sense there are still more adventures ahead of me!

My notes on how all the furniture is positioned and fixed is attached to this post, but the photographs below give a flavour of what is being achieved.

There will be a sequence to how the items will be finally assembled and glued into position, and this video illustrates the sequence in which items in the cabins will be assembled – click here (2:03 minutes).


Figure AS1.jpg


Figure AS2.jpg


Figure AS6.jpg


Figure AS20.jpg


Figure AS27.jpg


Figure AS32.jpg


Figure AS34.jpg


Figure AS40.jpg


Figure AS44.jpg


Figure AS45.jpg


Video illustrates the sequence in which items in the cabins will be assembled – click here (2:03 minutes).
 

Attachments

Great idea with these furniture Thumbsup
Thank you Uwe, these were quite a challenge to make, but when completed it gave me a great deal of satisfaction.

When I started to make them I had absolutely no I idea as to how they would turn out, and it was like "following a trail of breadcrumbs" - one idea led to another, but then this is the great fun with modelling! - Lloyd
Hallo @CaptainsCabin
we wish you all the BEST and a HAPPY BIRTHDAY
Birthday-Cake
How is your work on the HMS Fly going? Do you have an update for us?
 
Hallo @CaptainsCabin
we wish you all the BEST and a HAPPY BIRTHDAY
Birthday-Cake
How is your work on the HMS Fly going? Do you have an update for us?
Hello Uwek,

Thank you for your Birthday Greetings, it is very much appreciated.

I have made a little progress on HMS Fly, and I will make a post shortly, and I hope you will find it interesting.

Currently I am now permanently fixing the furniture in the Cabins which, is proving quite challenging! I have discovered a glue called "Bostik Fix & Flash" and I would like to suggest your members should look at it if they have not heard of it before. The disadvantage of this product is it only has an unopened shelf-life of 12 months, then once opened it will last for only two months. Having said this, it creates and extremely strong bond when fixing very small items, and there is time to make sure they are positioned correctly. Once correctly placed UV Light is shined onto the glue and then it hardens within 15 seconds. Unfortunately it is not cheap so its use has got to be planned.

Best wishes,

Lloyd
 
It is my intention to rig the Cannon Carriages as accurately as can be realistically achieved. All the ringbolts and rings on the bulwarks and gun deck would need to be fitted prior to the carriages being permanently fitted to the deck, prior to the hull planking being completed. This part of the build was not without its mistakes, but all is explained in the attached Guidance Notes.

Figure AZ36.jpgFigure AZ37.jpgFigure AZ38.jpg
 

Attachments

Back
Top