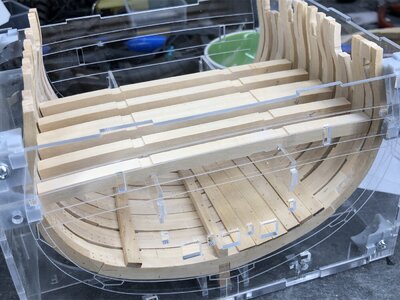
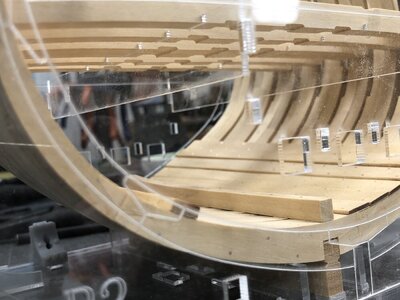
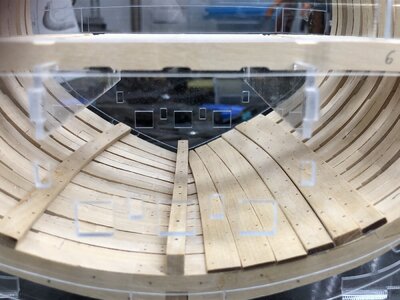
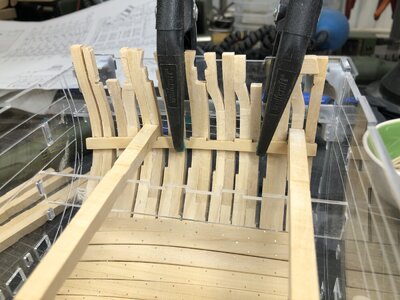
HMS GRANADO (1742) - midship section - POF by CAF in 1:48 - by Uwe

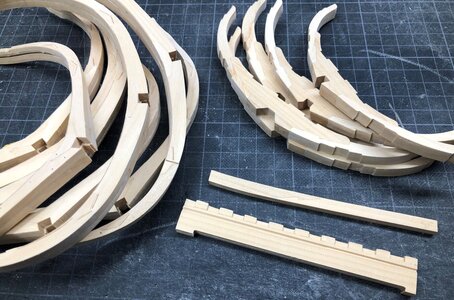
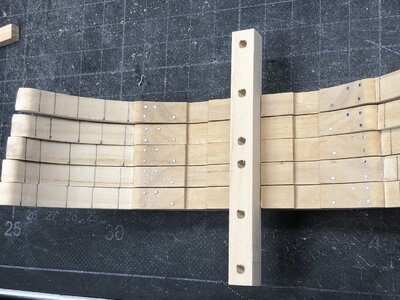
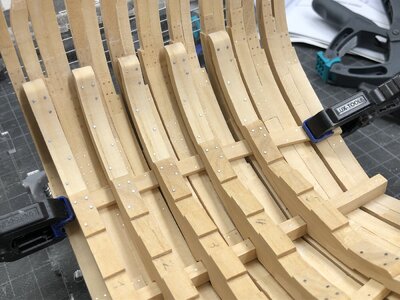
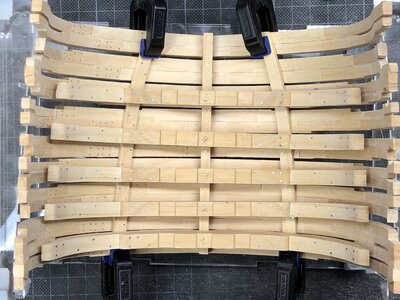
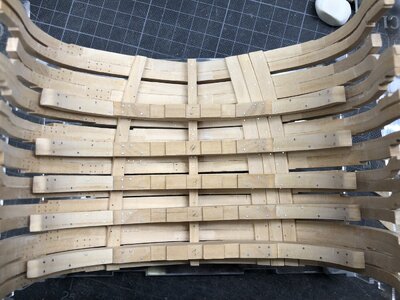
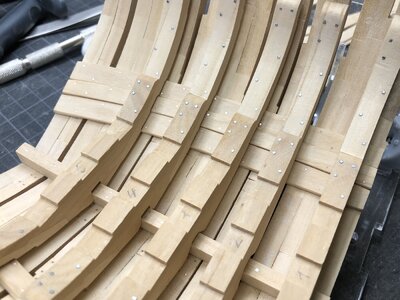
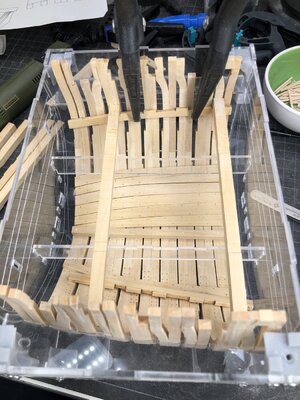
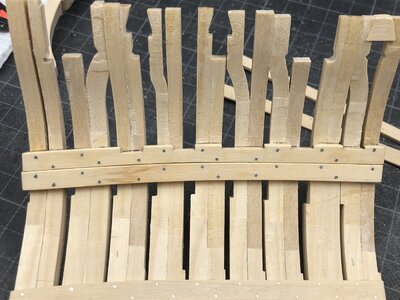
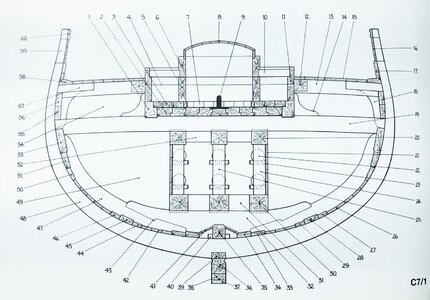
The frames are prepared with all the visible nails now we have to make the riders for the mortar base.
These heavy stiffeners were necessary to take over the weight of the shell room with mortar and also the extreme forces of the bomb during firing
IMG-8025.jpg

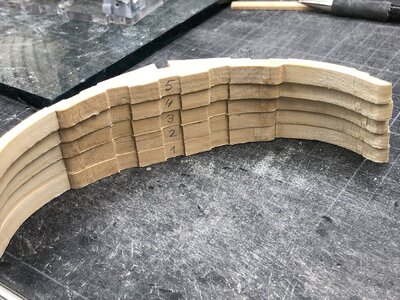
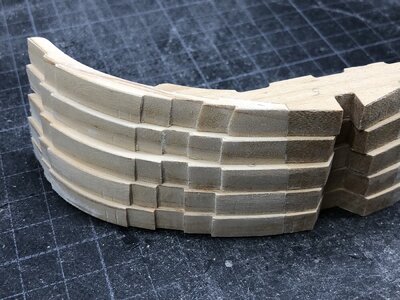
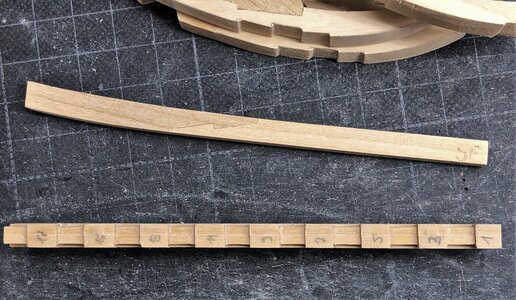
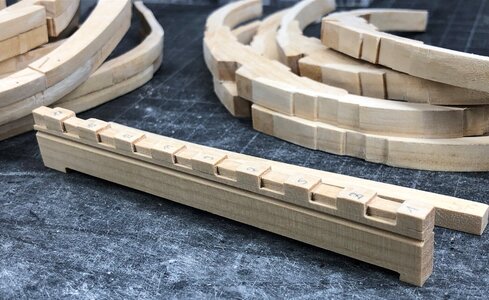
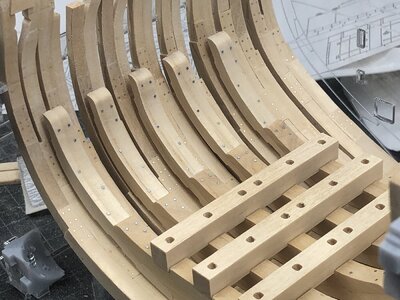
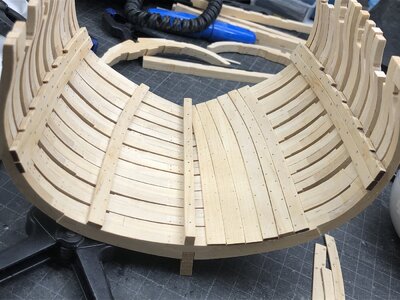
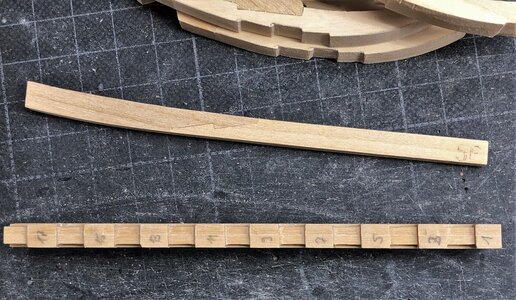
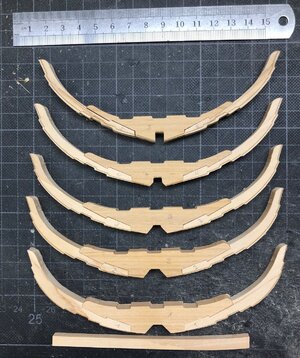
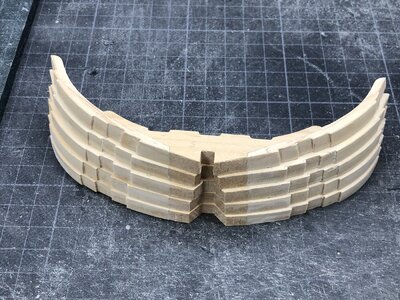
all together 5 riders are under the mortar - here the parts dryfitted, at the bottom the keelson (2 parts connected with a hook scarph joint)
IMG-8055.jpg

IMG-8056.jpg

IMG-8072.jpg

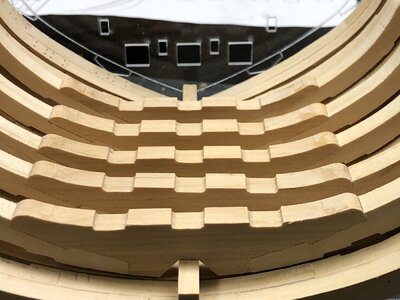
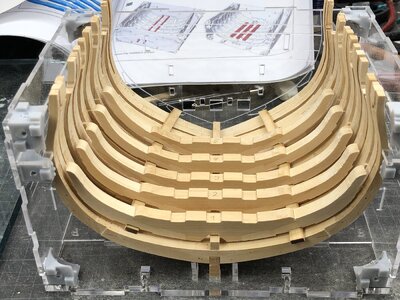
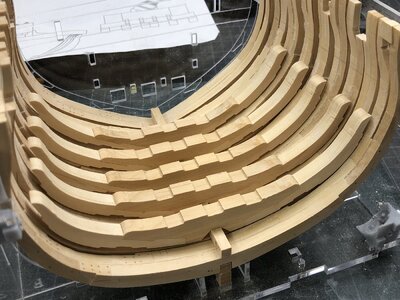
first dry fit of the completed riders inside the hull
IMG-8057.jpg

IMG-8058.jpg

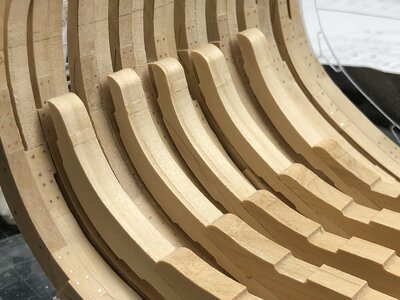
still a lot of cleaning and fairing works to do
IMG-8059.jpg

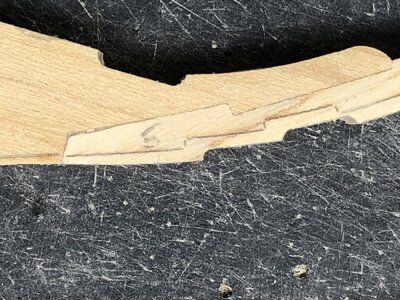
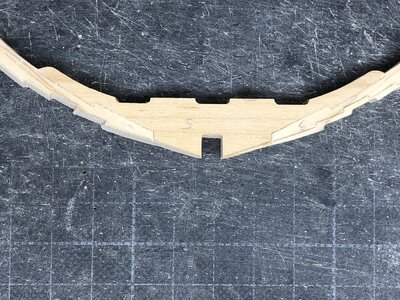
Fairing lines are marked with a fine laser line
IMG-8069.jpg

- on the left side partly done and on the right side original with the lines
IMG-8067.jpg

IMG-8068.jpg

prepared based on the laser marks - final adjustments than with the thickstuff inside the hull
IMG-8070.jpg

IMG-8071.jpg
 
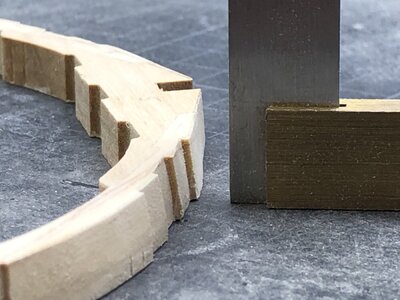
It 's interesting that there are grooves in rider for thickstuff in your kit, and they weren't in mine. It looks like my kit was erlier production, before final adjustment.

Anyway, nice progress and clean work.
 
My friends,
many thanks for the nice comments and all your likes recieved - much appreciated
I can really recommend this kit (like others) from CAF - great prepared and especially here with this kit wonderful timber

The keel and keelson are also prepared - so step by step I am coming closer for final fixing of the structure

IMG-8111.jpg

IMG-8113.jpg


IMG-8112.jpg

after some smaller adjustments all the frames are sitting well on top of the keel - and accuratly fixed inside the jig - here really everything is fitting very well

IMG-8073.jpg

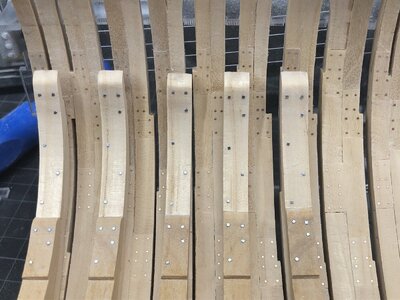
Before I start with the inner planking of the thick stuff, clamps and planks I wanted to finalize the nails and bolt of the riders

IMG-8167.jpg

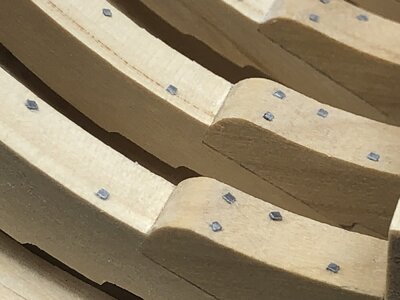
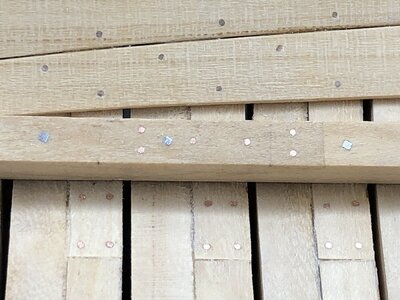
The connection of the riders with the hull structure was done via stronger bolts - I imitated these bolts with available square nails, which were sanded down just above the timber - with this I have an imitation of a square bolt head - over a longer time I wanted to try this solution on a model, and I thought, that these strengthened structure of the mortar bed of the HMS Granado would be a good possibility
IMG-8168.jpg

IMG-8169.jpg

IMG-8170.jpg

Many Thanks for your interest .... to be continued
 
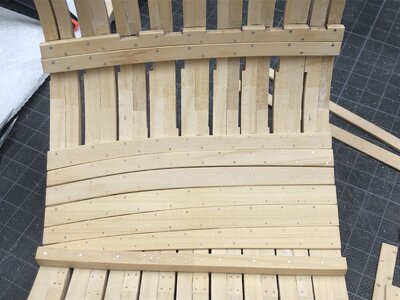
Now it is time to start with adjustment and fixing of the inner planking - necessary before the final fitting of the riders

Fist of all the thick stuff planks - already with bolts (here I used once more my standard copper nails of 0,6mm

IMG-8177.jpg

IMG-8178.jpg

IMG-8179.jpg

IMG-8180.jpg

The kit contents also two plexiglass stripes with notches to align the beams correctly - btw three "normal" internal planks are installed (this time nailed down with wooden treenails)
IMG-8193.jpg

you can see these two strips for alignment directly under the beams

IMG-8194.jpg

IMG-8195.jpg

when the correct location of the beams is defined the deck clamps can be installed

IMG-8196.jpg


IMG-8197.jpg

These clamps are getting stronger forces - so therefore here also fixing with the bigger squared bolts (maybe you recognize, that not everywhere are the boltheads - here the riders will cover them, so no need to install them in the model)

IMG-8199.jpg


IMG-8200.jpg


IMG-8201.jpg
 
Hi Uwek,

Your job is extraordinary to my eyes , as always. I always love to see your details and those square head nails blown my mind.

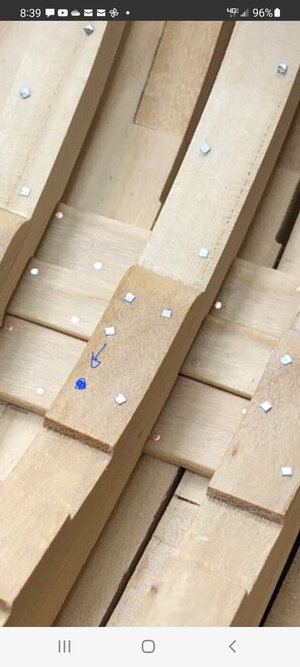
May I ask you a technical question. Why the pattern of the nails is different on this section ? In other words, why you haven't placed both nails , one beside the other, like you did on the other side ?

Not sure if I am clear with my English. Let's see if the below picture explain my question .

Screenshot_20211217-083927_Chrome.jpg

Thanks
Daniel
 
Hi Uwek,

Your job is extraordinary to my eyes , as always. I always love to see your details and those square head nails blown my mind.

May I ask you a technical question. Why the pattern of the nails is different on this section ? In other words, why you haven't placed both nails , one beside the other, like you did on the other side ?

Not sure if I am clear with my English. Let's see if the below picture explain my question .

View attachment 276115

Thanks
Daniel
Hallo Daniel,
many thanks for your kind words (and from all others) and the interest in my building log.
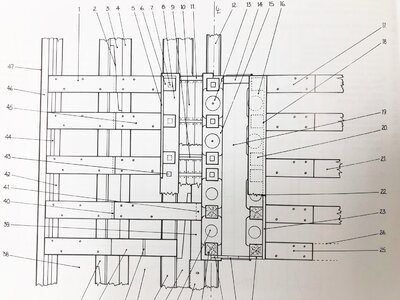
When I remember correctly, I followed here a top view drawing of the riders in the Goodwin book showing this bolting pattern......and if you see it this drawing it will be clear and understandable hwy it is like shown.
I will make asap a photo of this drawing and complete the information here in a post.....
 
In the last photo you can see already the keelson installed on top of the frames.
What I wanted to show also shortly in detail is the scarph joint of the two keelson elements and the used nailing bolting pattern

IMG-8113.jpg

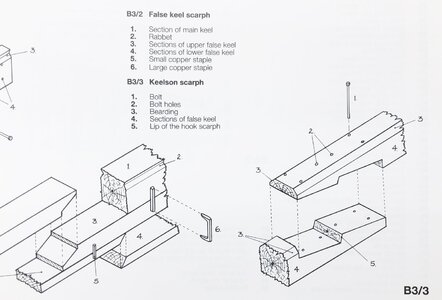
B3/3 is showing the scraph joint of the Granado keelson connected with 6 bolts (2-1-1-2)

IMG-8021.jpg

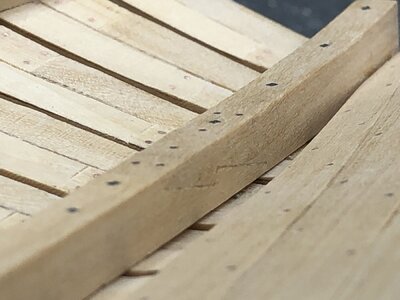
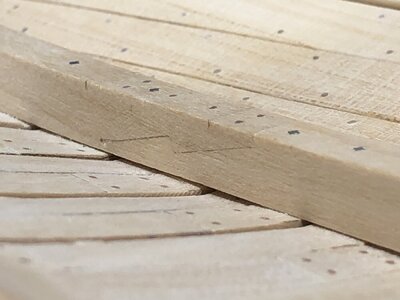
here a close up photo of the joint

IMG-8254.jpg

IMG-8255.jpg

and from top you can see the 6 copper "bolts" and the stronger square bolts for connecting the keelson with the keel through the frames

IMG-8256.jpg

Many Thanks for your interest - to be continued
 
It looks very good. Where did you get the squarehead bolts ?
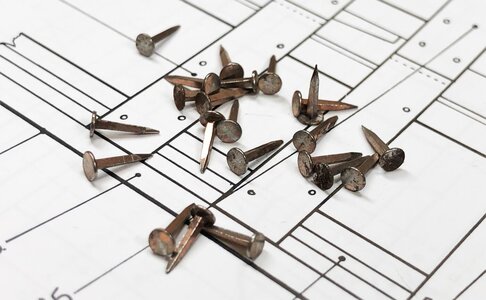
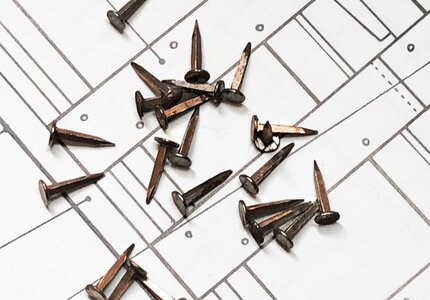
I got a box with several hundred nails by a friend in Croatia (Zeljko) years ago. These are very short shoemaker nails - Schuster / Schuhmacher Nägel
I will make also here some photos, so that you can see the nails original....
 
you have to be careful so that it doesn't rust if it is normal steel nails ! Maybe its good to sand them and paint them with a colorless coating.
One of the ways to protect steel from corrosion is to heat it until it is red, and instantly dip it in a mix of oil and beeswax. ;)
 
Now it is time to start with adjustment and fixing of the inner planking - necessary before the final fitting of the riders

Fist of all the thick stuff planks - already with bolts (here I used once more my standard copper nails of 0,6mm

View attachment 276098

View attachment 276099

View attachment 276100

View attachment 276101

The kit contents also two plexiglass stripes with notches to align the beams correctly - btw three "normal" internal planks are installed (this time nailed down with wooden treenails)

View attachment 276102

you can see these two strips for alignment directly under the beams

View attachment 276103

View attachment 276104

when the correct location of the beams is defined the deck clamps can be installed

View attachment 276105


View attachment 276106

These clamps are getting stronger forces - so therefore here also fixing with the bigger squared bolts (maybe you recognize, that not everywhere are the boltheads - here the riders will cover them, so no need to install them in the model)

View attachment 276107


View attachment 276108


View attachment 276109
No words. “I want to model like this when I’m big”. Excellent.
 
Hi Uwek,

Your job is extraordinary to my eyes , as always. I always love to see your details and those square head nails blown my mind.

May I ask you a technical question. Why the pattern of the nails is different on this section ? In other words, why you haven't placed both nails , one beside the other, like you did on the other side ?

Not sure if I am clear with my English. Let's see if the below picture explain my question .

View attachment 276115

Thanks
Daniel
Hallo Daniel,

I made a photo of the top view drawing in the Anatomy book showing of the riders of the mortar bed - I followed the bolt pattern shown here

IMG-8375.jpg
 
@Uwek
you have to be careful so that it doesn't rust if it is normal steel nails ! Maybe its good to sand them and paint them with a colorless coating.
Hallo Oliver
here are two photos of these iron nails (not steel) which I used for the bigger bolts - mine are 0,8mm in square, relatively soft so easy to cut and sand

IMG-8377.jpg

IMG-8379.jpg

These nails are not realy rosting, they got somehow a patina over the years ..... I am still think about if and how I protect them, because I do not like fully the actual shiny appearance of the "bolt-head" - maybe I treat them with blackening..... but I did not make a final decision here
 
Hallo Oliver
here are two photos of these iron nails (not steel) which I used for the bigger bolts - mine are 0,8mm in square, relatively soft so easy to cut and sand

View attachment 277191

View attachment 277192

These nails are not realy rosting, they got somehow a patina over the years ..... I am still think about if and how I protect them, because I do not like fully the actual shiny appearance of the "bolt-head" - maybe I treat them with blackening..... but I did not make a final decision here

Thank you Uwek for answering my bolt pattern question.

Here goes another one. Those shoemaker nails: You just took out the head or you squared the head ?

Thanks !!
Daniel
 
Back
Top