HMS GRANADO - full hull - POF kit by CAF in 1:48 - by Uwe

Hello Uwe,
as I am on vacation today, I have time to view some logs. Your Granado is exceptional. I love the treenails using the draw plate. Your workmanship and craftsmanship have always been admired.
 
Uwe,

Just catching up - as always your work's superlative quality is awe inspiring. I won't ever reach your skill level. - the delight is in just enjoying looking
through your log. And I always learn something new; such as the toothpick treenail method (also just saw that in Donnie's current log as well)

Cheers,
 
Many Thanks to @Mirek , @shota70 , @xander898 , @Maarten , @Dean62 , @Kurt Konrath , @Ptèr , @Donnie and @oldflyer
for the comments and all the likes received - a real motivation

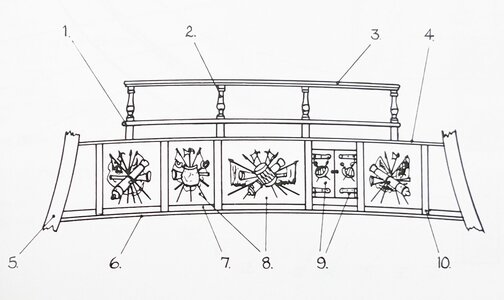
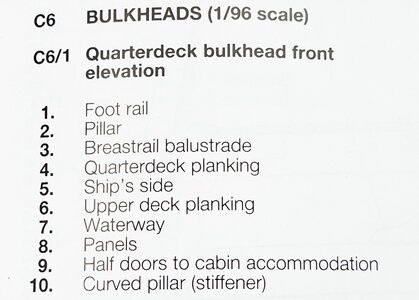
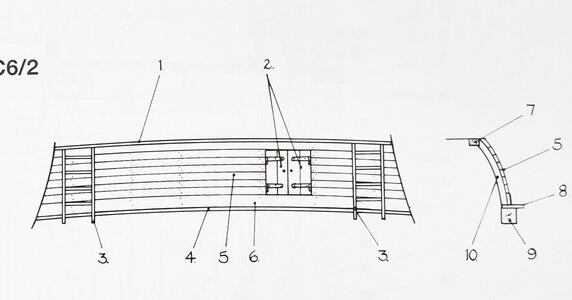
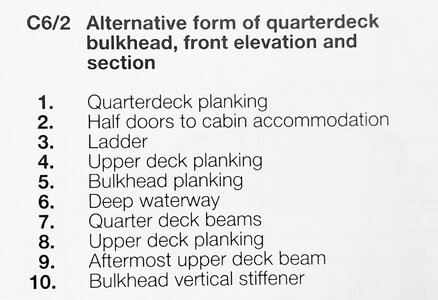
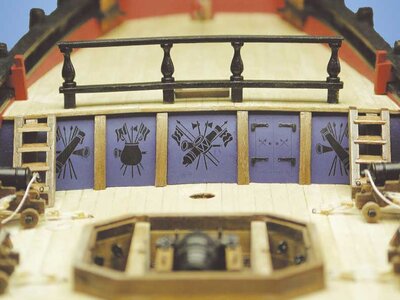
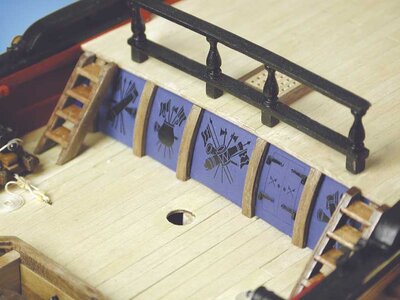
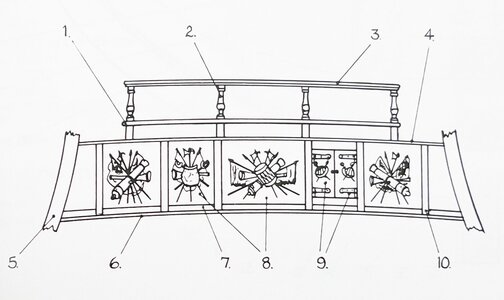
The next working step was the preparation for the main quarterdeck bulkhead which is shown in Goodwins book in two different variants

Variant 1)
IMG_1894.jpg IMG_1897.jpg

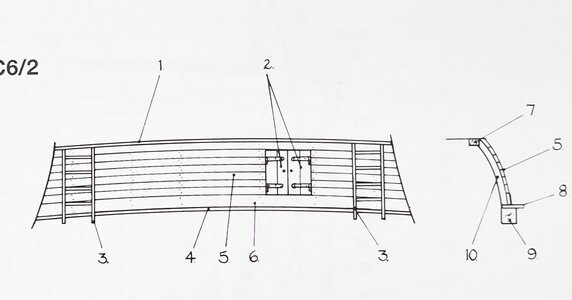
Variant 2)
IMG_1895.jpg IMG_1896.jpg

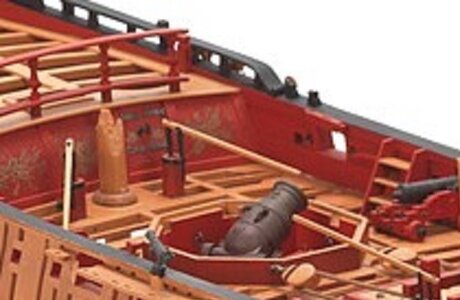
More or less all models, f.e. the Jotika Granado, and also the Lightley model in the NMM is showing the Variant 1

Jotika / Caldercraft

Granado_Const041_lrg.jpg Granado_Const042_lrg.jpg

Lightley

Screenshot 2022-12-01 164037.png l5780_003aa.jpg

The kit contents the "paintings", so in principle this version could be done relatively easily

IMG_0637.jpg

I did not decide yet, which version I will build - I am open for suggestions and opinions

But first of all the elements of the structure

IMG_1898.jpg

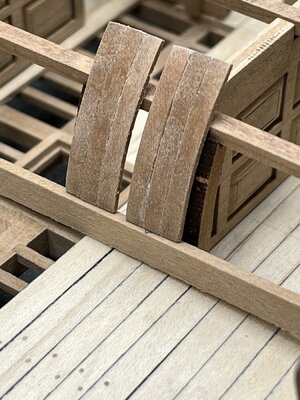
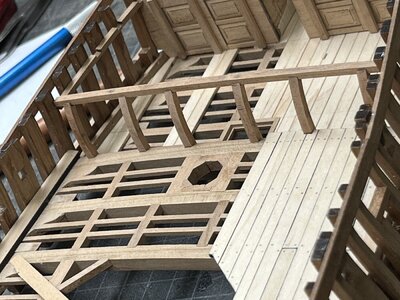
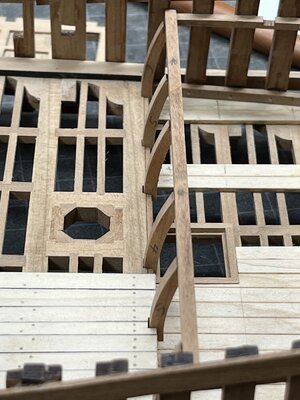
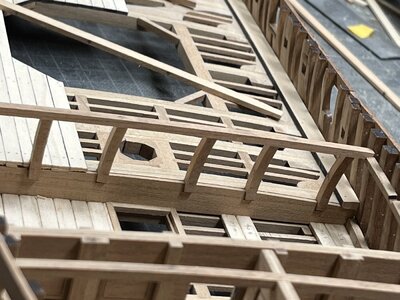
The laser cut curved pillars are based in notches and the deck beam is laying on these pillars

IMG_1899.jpg

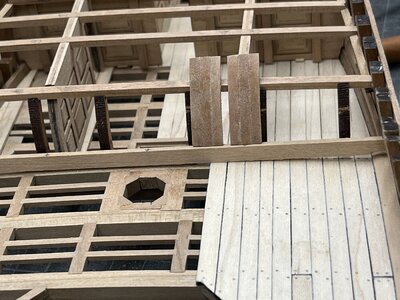
preparation of the curved door

IMG_1900.jpg

at the end the door will be higher than the deck, here the so called "deep waterway" board has to be installed

IMG_1901.jpg

IMG_1902.jpg

after removal of the char

IMG_1934.jpg

IMG_1933.jpg

IMG_1935.jpg

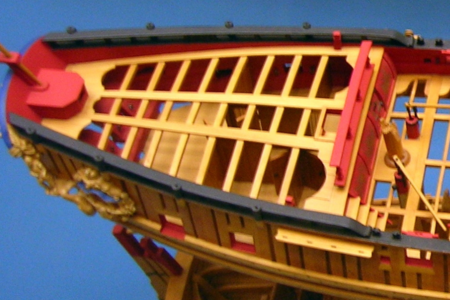
But before I can fix these elements, I have to finish the inner planking of the after cabin

Many Thanks for your interest .... to be continued .....
 
Super progress and very cleanly prepared. It's hard for me to give you any advice about the two variants because I find both very appealing. Variant 1 is very decorative, variant 2 plain and simple but with charm. Since you said yes, variant 1 is the variant that is often shown (I would do it as a little rebel), then number 2. ;)
 
Many Thanks to @Mirek , @shota70 , @xander898 , @Maarten , @Dean62 , @Kurt Konrath , @Ptèr , @Donnie and @oldflyer
for the comments and all the likes received - a real motivation

The next working step was the preparation for the main quarterdeck bulkhead which is shown in Goodwins book in two different variants

Variant 1)
View attachment 359175 View attachment 359178

Variant 2)
View attachment 359176 View attachment 359177

More or less all models, f.e. the Jotika Granado, and also the Lightley model in the NMM is showing the Variant 1

Jotika / Caldercraft

View attachment 359181 View attachment 359182

Lightley

View attachment 359184 View attachment 359185

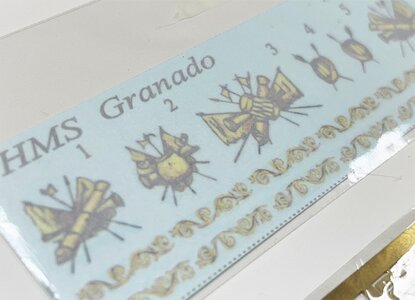
The kit contents the "paintings", so in principle this version could be done relatively easily

View attachment 359183

I did not decide yet, which version I will build - I am open for suggestions and opinions

But first of all the elements of the structure

View attachment 359195

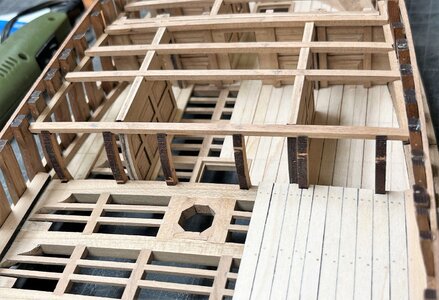
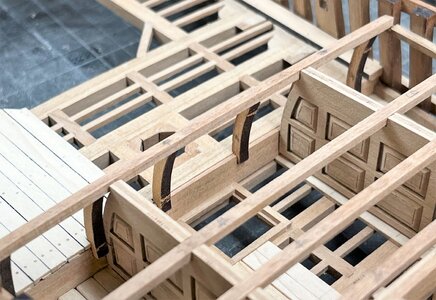
The laser cut curved pillars are based in notches and the deck beam is laying on these pillars

View attachment 359196

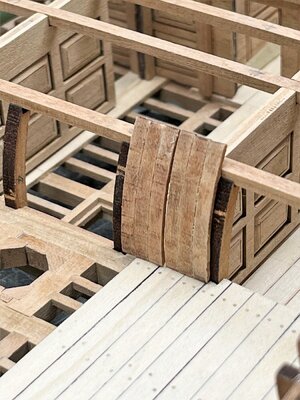
preparation of the curved door

View attachment 359189

at the end the door will be higher than the deck, here the so called "deep waterway" board has to be installed

View attachment 359190

View attachment 359191

after removal of the char

View attachment 359193

View attachment 359192

View attachment 359194

But before I can fix these elements, I have to finish the inner planking of the after cabin

Many Thanks for your interest .... to be continued .....

Definately variant 1. The more bling the better the thing. :)
 
Many Thanks to @Mirek , @shota70 , @xander898 , @Maarten , @Dean62 , @Kurt Konrath , @Ptèr , @Donnie and @oldflyer
for the comments and all the likes received - a real motivation

The next working step was the preparation for the main quarterdeck bulkhead which is shown in Goodwins book in two different variants

Variant 1)
View attachment 359175 View attachment 359178

Variant 2)
View attachment 359176 View attachment 359177

More or less all models, f.e. the Jotika Granado, and also the Lightley model in the NMM is showing the Variant 1

Jotika / Caldercraft

View attachment 359181 View attachment 359182

Lightley

View attachment 359184 View attachment 359185

The kit contents the "paintings", so in principle this version could be done relatively easily

View attachment 359183

I did not decide yet, which version I will build - I am open for suggestions and opinions

But first of all the elements of the structure

View attachment 359195

The laser cut curved pillars are based in notches and the deck beam is laying on these pillars

View attachment 359196

preparation of the curved door

View attachment 359189

at the end the door will be higher than the deck, here the so called "deep waterway" board has to be installed

View attachment 359190

View attachment 359191

after removal of the char

View attachment 359193

View attachment 359192

View attachment 359194

But before I can fix these elements, I have to finish the inner planking of the after cabin

Many Thanks for your interest .... to be continued .....
Good afternoon Uwek. I prefer the decorative no 1 option. Wonderful progress as always. Cheers Grant
 
And now the minority report...

IMHO the decorative version 1 seems a bit exuberant for this vessel??? But version 2 is understated in light of all the other detailing. How about including the panels depicted in version 1 but hold off on adding the fancy bits until later when you have a fuller sense of the overall look?

Of course, you're the captain so I'm confident you'll make the right choice for YOU!
 
Last edited:
Dear Uwek
I prefer the decorative no 1 option. Wonderful progress as usual Okay :)
 
Many Many thanks to all (@Steef66 , @Tobias , @Maarten , @Jimsky , @Bryian , @GrantTyler , @dockattner , @shota70 , @Don Case , @Dean62 and @Peter Voogt ) your suggestions and opinions - all your comments are helping me to find at the end the final touch.

In moment I think it will be really somehow a mixture of the two variants

Thinking more in detail about the variant 1 - there is another smaller technical woodworking problem which has to be solved and which is not shown in the Goodwin drawings

for reminding these are the Goodwin drawings - a cross section is done only for the Variant 2

IMG_1894.jpg IMG_1895.jpg

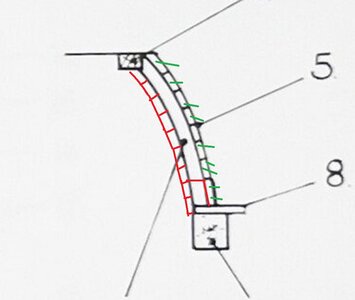
The cros section of Variant 1 would look somehow like this - red are the horizontal planks, and green would be deleted

IMG_1895aa.jpg

I can not imagine, that they would have these curved pillars on both sides of the wall - but maybe, inside at the captains room there are also on both sides ths pillars ......

This is a typical problem of such stripped POF models - with POB you close and finalize only the outside - here the view is possible on both sides, so somehow it should be also from the carpenter knowledge more or less correct

Good, that I have still some time to think about
 
Many Many thanks to all (@Steef66 , @Tobias , @Maarten , @Jimsky , @Bryian , @GrantTyler , @dockattner , @shota70 , @Don Case , @Dean62 and @Peter Voogt ) your suggestions and opinions - all your comments are helping me to find at the end the final touch.

In moment I think it will be really somehow a mixture of the two variants

Thinking more in detail about the variant 1 - there is another smaller technical woodworking problem which has to be solved and which is not shown in the Goodwin drawings

for reminding these are the Goodwin drawings - a cross section is done only for the Variant 2

View attachment 359938 View attachment 359939

The cros section of Variant 1 would look somehow like this - red are the horizontal planks, and green would be deleted

View attachment 359940

I can not imagine, that they would have these curved pillars on both sides of the wall - but maybe, inside at the captains room there are also on both sides ths pillars ......

This is a typical problem of such stripped POF models - with POB you close and finalize only the outside - here the view is possible on both sides, so somehow it should be also from the carpenter knowledge more or less correct

Good, that I have still some time to think about
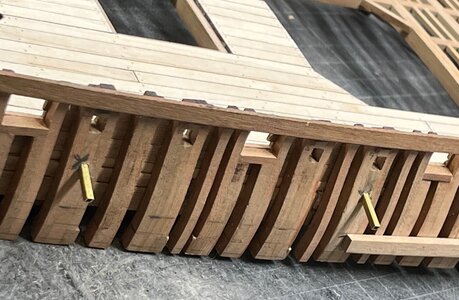
It seems variant 1 has the support beams exposed, and variant 2 the beams are cover with planks. You could however still put the art on variant 2, because either way it is on a curved surface. :)
So now its a matter of if you want the beams exposed, and if you want the art work on it. So there are actually 4 ways you could build it, with either variant 1 or 2 and with or without the art.
 
Last edited:
Many thanks for the reply @Dean62
I will ply a little bit with the solutions or variants, especially the waterway of the quarter deck bulkhead as to be solved correctly.
but definitely I will use horizontal separate boards and not one plane painted sheet for the bulkhead. The Granado was a working ship, so the structure and the construction should be visible..... I will keep you all informed.
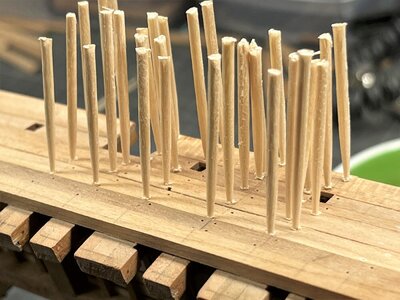
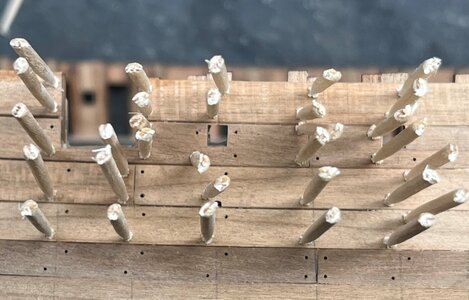
As described the next necessary step is the inner planking

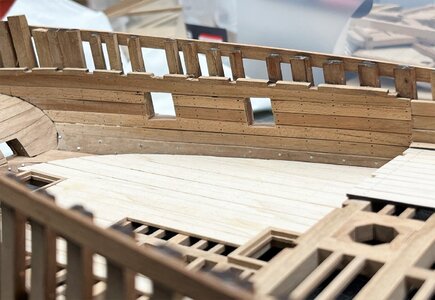
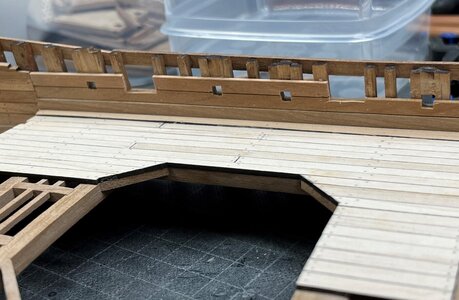
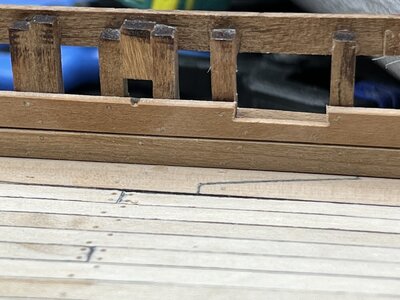
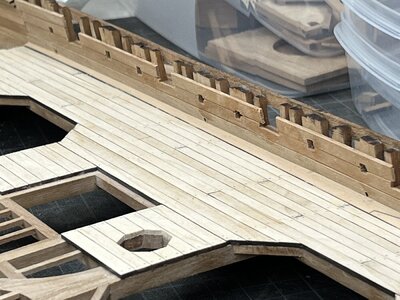
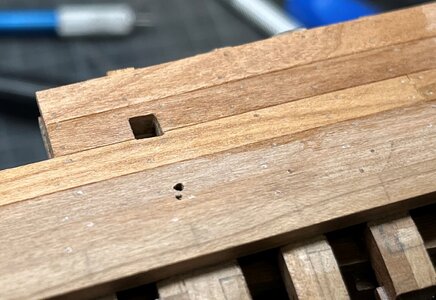
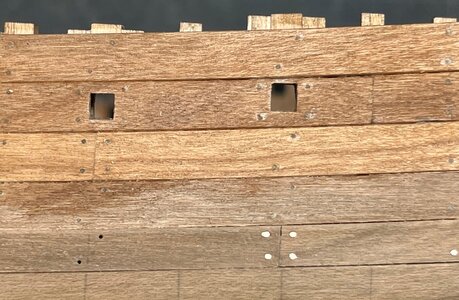
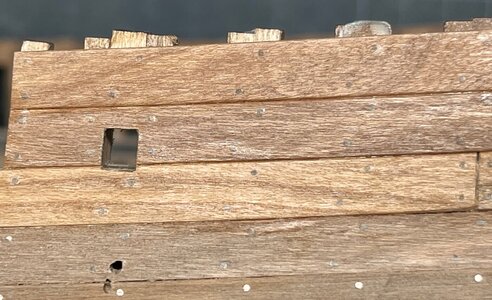
The inner planking of the quarter deck after cabin - here I made no treenailing, but imitated the nails only with a small dott with a scriber (similar to the deck planking in this area - also the two gunports are cut out - some final sanding will be still necessary

IMG_1979.jpg

starting with the inner planking on tha main deck - here also the gunports and the sweeü ports are roughly cut out

IMG_1980.jpg

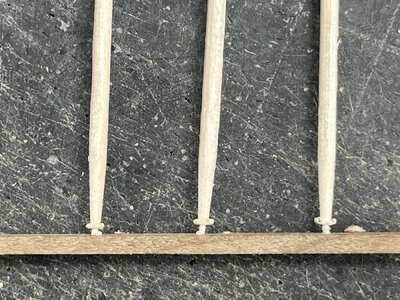
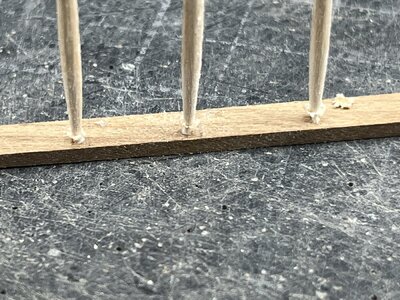
Before I fix the boards I prepared also the treenailing in the already known method with adjusted toothpicks

IMG_1936.jpg

IMG_1937.jpg

IMG_1981.jpg

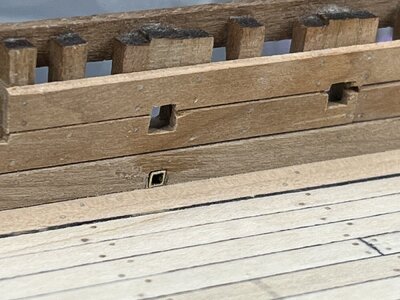
This is (in my opinion) also the best time to prepare already the scuppers - made out of square brass tubes with 2mm

IMG_1994.jpg

IMG_1996.jpg

The (still) unplanked side - in the moment the brass tubes are much longer and removable

IMG_1997.jpg

Many Thanks for your interest .... to be continued
 
also the outer planking has do be done in parallel
I made not so many photos - it is in priciple the repeating of the normal planking job

I started upwards from the wales

IMG_2011.jpg


IMG_2016.jpg

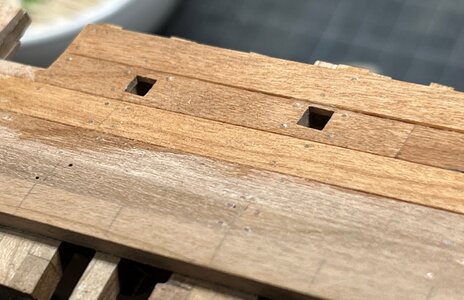
The result after a first sanding and first treatment with CLOU

IMG_2012.jpg

IMG_2013.jpg

the wales will get the copper bolts - all other planks the typical tooth-pick treenailing

IMG_2014.jpg

some more sanding will be necessary - also more accurate sanding of the gunports and the sweep-ports

IMG_2015.jpg

Many Thanks for your interest .... to be continued
 
Back
Top