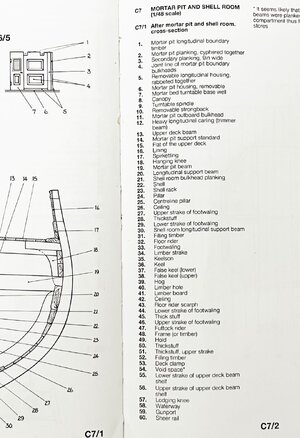
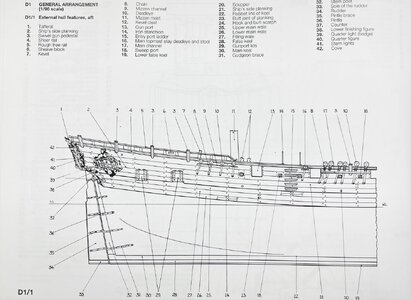
I'm looking at using some of the 1.5x5mm strips provided to fill that area, on the "completed" side of the model, but to be honest, I'm not sure they will be visible there, and I don't want more closure on the "open" side. Not that what I do or don't do will change Uwe's fabulous build - in which I cannot see those areas, so there you go!I think he is asking about where #55 is on your C7/1 image, but I could be wrong too.
-

Win a Free Custom Engraved Brass Coin!!!
As a way to introduce our brass coins to the community, we will raffle off a free coin during the month of August. Follow link ABOVE for instructions for entering.
-

PRE-ORDER SHIPS IN SCALE TODAY!
The beloved Ships in Scale Magazine is back and charting a new course for 2026!
Discover new skills, new techniques, and new inspirations in every issue.
NOTE THAT OUR FIRST ISSUE WILL BE JAN/FEB 2026
You are using an out of date browser. It may not display this or other websites correctly.
You should upgrade or use an alternative browser.
You should upgrade or use an alternative browser.
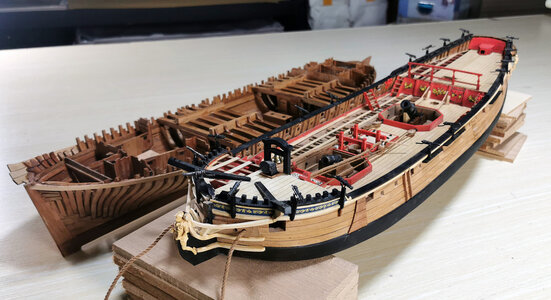
HMS GRANADO - full hull - POF kit by CAF in 1:48 - by Uwe
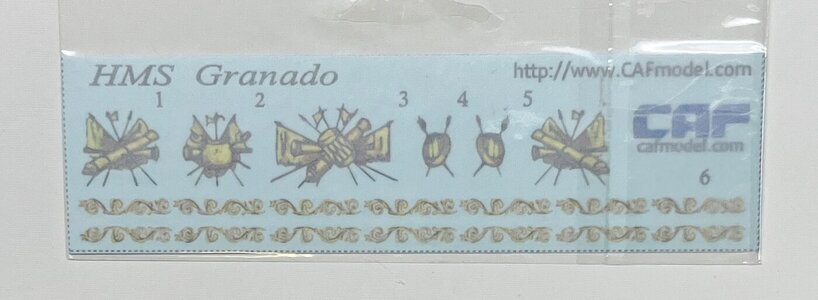
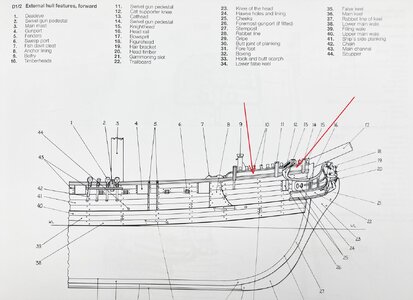
Do you plan on using the decals provided for this area? And do you know where the additional "scroll" decals would go? I've not seen them documented.Unfortunately I did not make any photos during the production, but I have some nice of the finished balustrade
These are Goodwins interpretation
View attachment 453263 View attachment 453264
Yes understood - Goodwin name this #55 "Lower strake of upper deck beam shelf"I think he is asking about where #55 is on your C7/1 image, but I could be wrong too.
It is a part of the "thick stuff" - it is this
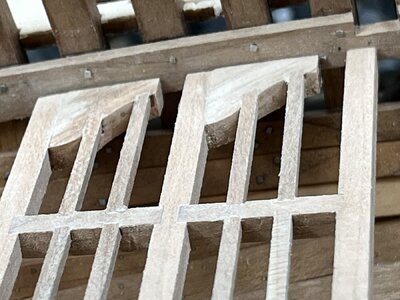
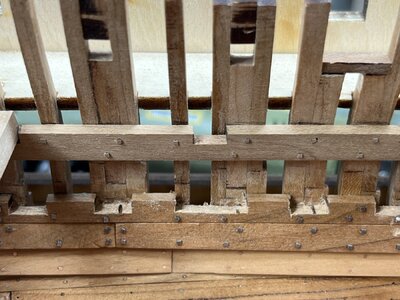
What I wanted to say, that there is definitely a smaller gap shown, where no inner planking or strakes are installed and the frames are visible
To add a second strake under the upper strake #56 you would need additional thick material (I think these are 3 mm thick)
Yes - it would be more accurate compared to the Goodwin drawing to add a second strake!
But - it would the height of the second lower strake would be much smaller than of the upper strake of the model - see especially this strake towards the stern

At the end a personal decision - on my model - caused of the cut - not really visible (or better obvious)
Where it would be correct to close maybe the inner planking around the bread room and the powder room with some normal inner planking
Honestly I am not sure, if I will use these decals - not because of the quality - only because of the personal tasteDo you plan on using the decals provided for this area? And do you know where the additional "scroll" decals would go? I've not seen them documented.
1) Bulkhead
Goodwin is showing two versions - because nobody knows exactly how the bulkhead was decorated
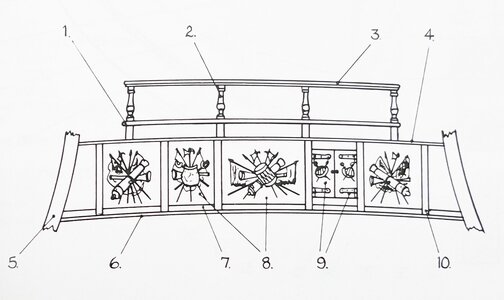
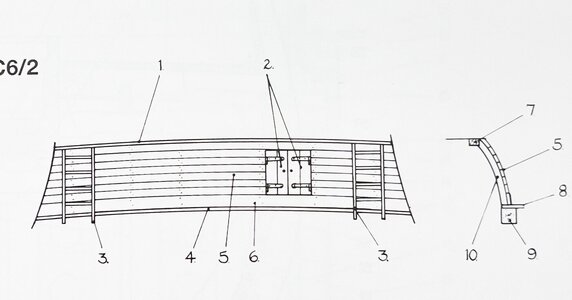
I prepared the bulkhead somehow likea combination of both versions
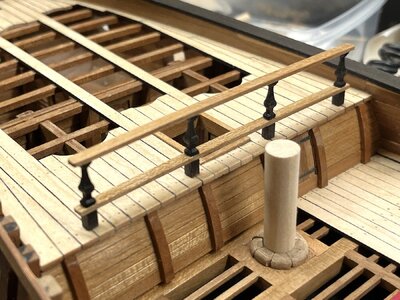
but did not painted it red , like shown in the museum model
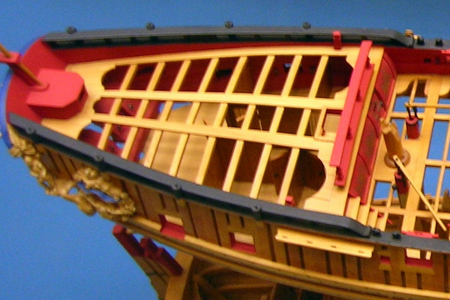
I think I will not use them, because each board is visible and I have no smooth surface . and in addition they would be not very visible - No
The other scroll decals are planned for the bow
I like this blue paint here (I think I will paint it also like on the museum model
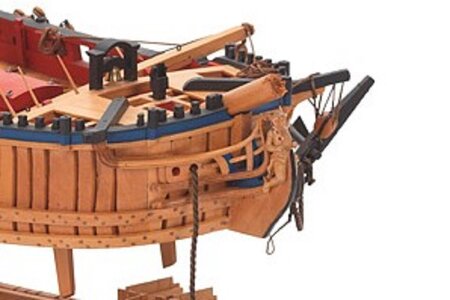
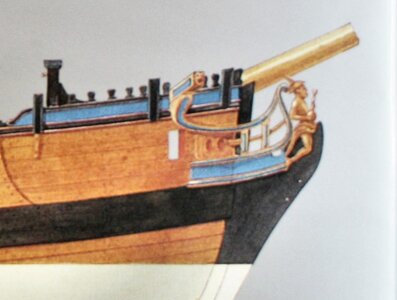
installed you can see these decals at the CAF-model made by Tom
Can you give me the topic or address of Tom's build? I've seen a number of these photos and would like to see them all for reference.
Take a look at the topic related the development of the model:Can you give me the topic or address of Tom's build? I've seen a number of these photos and would like to see them all for reference.
Thanks. I've gotten 2 dozen links relating to this build on my PC. Don't know how I missed that one!Take a look at the topic related the development of the model:
Looks very, very good. Nice covers
Those covers look perfect.
I'm with Roger - the new covers look just perfect.
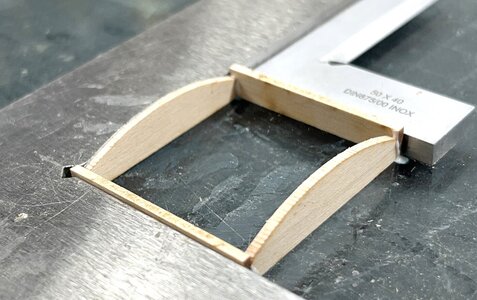
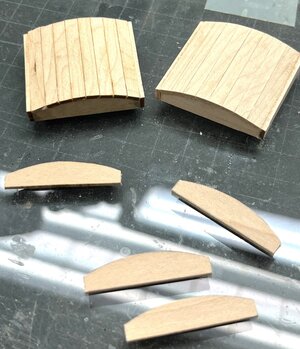
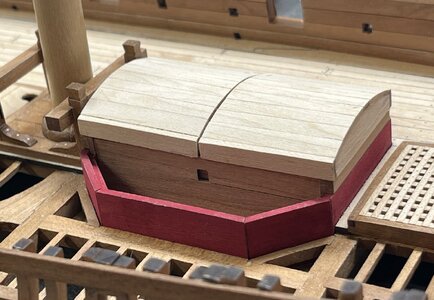
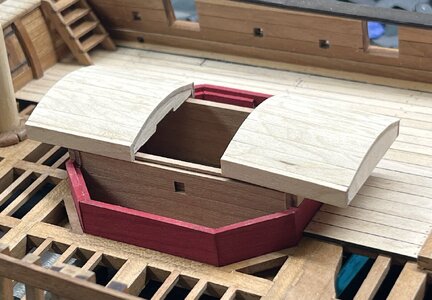
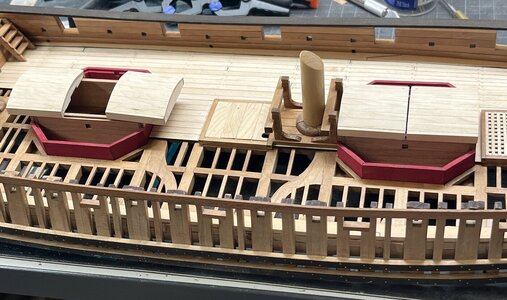
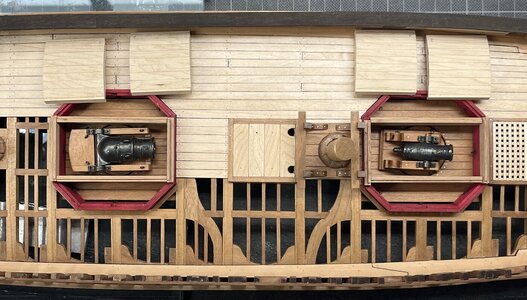
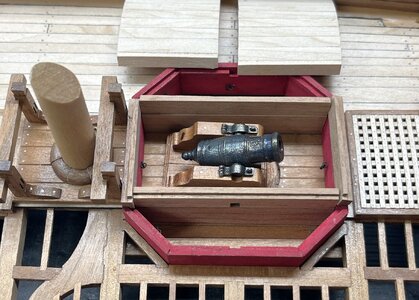
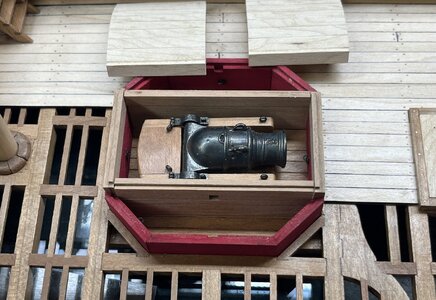
Beautiful covers, Uwe. With the nicely connecting planks in the arch.The next working step was the four movable covers over the mortars
View attachment 455481
one pair is fixed
View attachment 455482
View attachment 455483
View attachment 455484
View attachment 455485
the small bulkheads where the covers are sliding are only dry fitted - only a first check - and they will stay removable also later on
View attachment 455488
View attachment 455486
View attachment 455487
Many Thanks for your interest in my building log
Regards, Peter
I wonder if the nails will be implemented for the covers, but they look really nice without them.
I suppose the covers, as well as the supports for same on either side of the mortars, were all completely removed and placed elsewhere on the deck for firing? That seems like a lot of work and clutter during critical loading fand firing of the mortars. Of course, the fore 13" mortar could be fire straight ahead, if the ship's bearing was correct, without pivoting, but otherwise...The next working step was the four movable covers over the mortars
Many Thanks to @pianoforte , @RogerD , @dockattner , @Peter Voogt , @Jimsky , @shota70 and @Signet for your kind comments and all the likes received
The date of our meeting in Evian is coming fast, so I need all motivations to keep working on the model
The date of our meeting in Evian is coming fast, so I need all motivations to keep working on the model
ANNOUNCEMENT: International Meeting of Model Ship and arsenal model making - October 19 and 20, 2024 in Evian les Bains
I am very happy to make this announcement of a future meeting - based on a personal invitation I received shortly ago by the organisator Hubert Flatrès International Meeting of Model Ship and model making arsenal lake heritage of alpine lakes. October 19 and 20, 2024 in Evian les Bains (Haute...
shipsofscale.com
I was thinking about immitationg nails on these covers and also the bulkheads etc. - I am still not sure, but if yes, than only the small dotts like I do often at the internal walls. In my opinion such elements were only nailed and not treenailed or boltedI wonder if the nails will be implemented for the covers, but they look really nice without them.
The covers still need some final sanding and at the end they have to be painted red.
In one of the books I was reading something about the procedures which were necessary that such a mortar is ready for a bombing.I suppose the covers, as well as the supports for same on either side of the mortars, were all completely removed and placed elsewhere on the deck for firing? That seems like a lot of work and clutter during critical loading fand firing of the mortars. Of course, the fore 13" mortar could be fire straight ahead, if the ship's bearing was correct, without pivoting, but otherwise...
Defintely it was not a fast activity in a hurry!
In order to place the ship at the correct location for firing the bombs they had to install the anchors at a correct place - minimum two or maybe up to four anchors had to be placed. This will take already some hours of work.
Than the mortars - these covers were heavy and I am not sure that the seamen were able to lift them by hand - they are 2m *2m -> I calculated appr. 0,35 m³ wood - when the cover was made by oak it would weigh appr. 200kg - with some nails plus iron rings let us talk about 250kg
So I guess they had to handle these covers by lifting tackles with their spars.
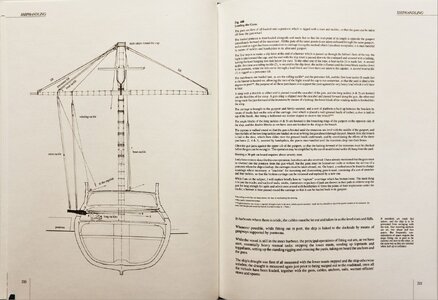
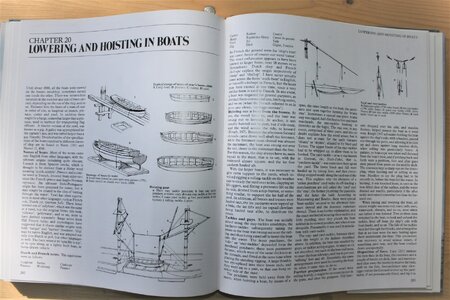
A bombardement lasted several weeks or also months, so I think they also stored these covers and all other stuff they did not need on the storeship which was also responsible for transporting the additional shells, the powder etc.
I think they dismantled these parts and brought them to the other ship....... I will try to find the book in which the procedure is described..... somewhere it is written
Too bad your model doesn't have a (lower) mast. A cover in a lifted position would give it a nice dynamic look.In one of the books I was reading something about the procedures which were necessary that such a mortar is ready for a bombing.
Defintely it was not a fast activity in a hurry!
In order to place the ship at the correct location for firing the bombs they had to install the anchors at a correct place - minimum two or maybe up to four anchors had to be placed. This will take already some hours of work.
Than the mortars - these covers were heavy and I am not sure that the seamen were able to lift them by hand - they are 2m *2m -> I calculated appr. 0,35 m³ wood - when the cover was made by oak it would weigh appr. 200kg - with some nails plus iron rings let us talk about 250kg
So I guess they had to handle these covers by lifting tackles with their spars.
View attachment 455621 View attachment 455622
A bombardement lasted several weeks or also months, so I think they also stored these covers and all other stuff they did not need on the storeship which was also responsible for transporting the additional shells, the powder etc.
I think they dismantled these parts and brought them to the other ship....... I will try to find the book in which the procedure is described..... somewhere it is written
Regards, Peter


