HMS Ontario 1780 Cross Section scale 1:32 1.0(Version 1)

Frame Installation:
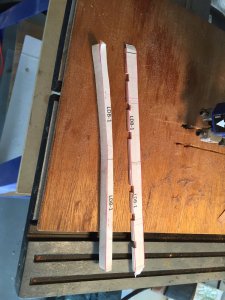
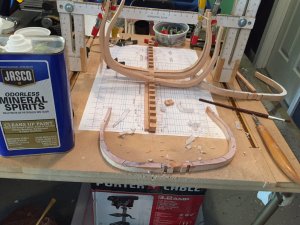
I use a spray re-positional adhesive to attach the patterns to the wood, and most of the time I use too much, and it is difficult to remove the pattern. I use mineral spirits to break the bond, and the paper comes off easily, the mineral spirits doesn’t stain or leave residue on the wood.
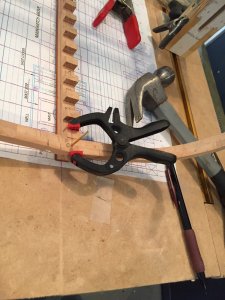
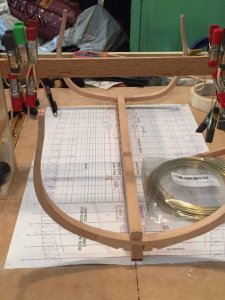
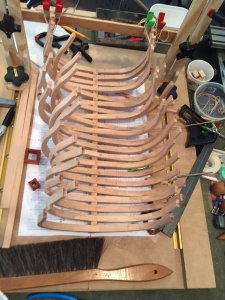
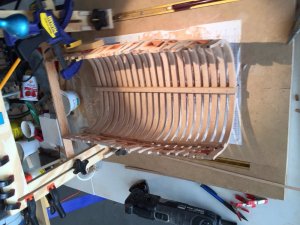
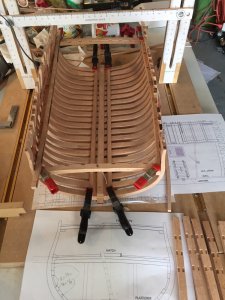
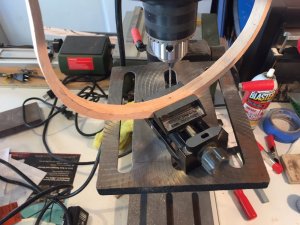
After removing the patterns, I drill holes in the frames directly above the keel notch for an 18-gauge brass pin, clamp the two end frames in place on the build board and drill holes for the pins into the top of the keel, glue and pin the frames in place using a square and the gantry cross bar to check the alignment.
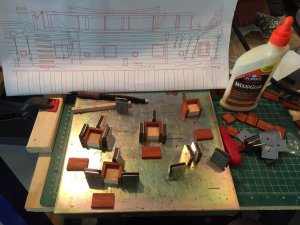
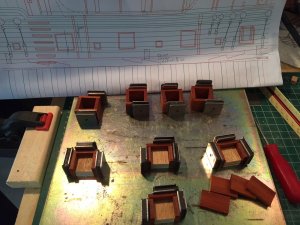
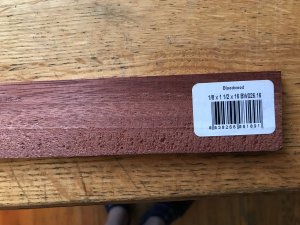
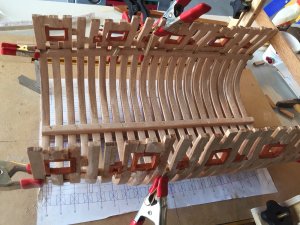
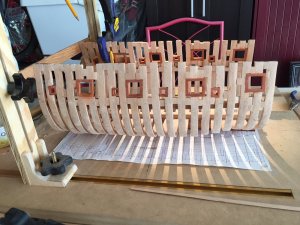
I used some 1/8” thick bloodwood to box in the gun and sweep ports, 1/16” material would have worked just as well the ends will be covered with planking. By cutting blocks the same size as the interior of the ports assembling the port frames with magnets on a steel plate is fast and easy.
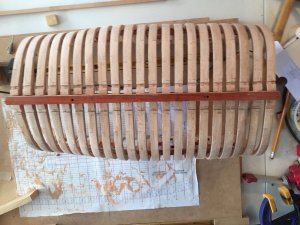
Four small spacer blocks need to be glued to the aft side of each frame excluding the aft most frame before gluing the hull together. I usually start at the bow and work my way back to the stern.
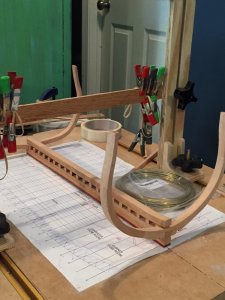
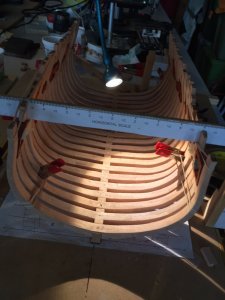
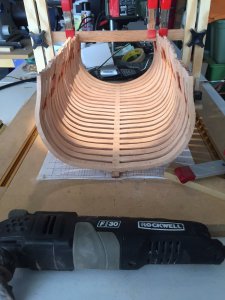
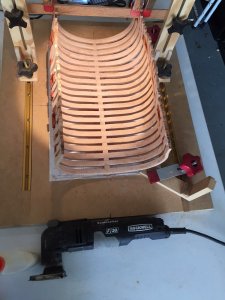
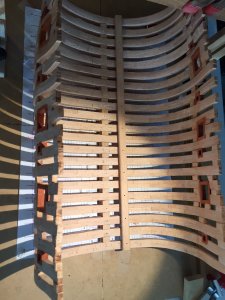
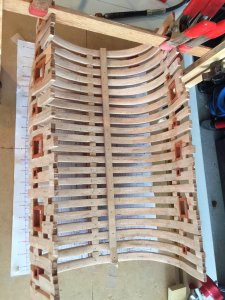
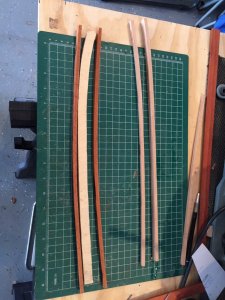
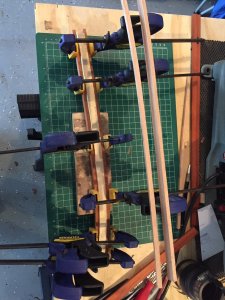
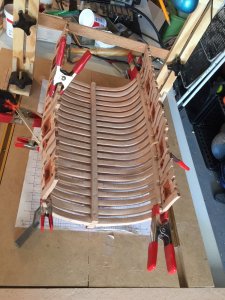
This set of photos shows the frame installation.
IMG_1889.JPGIMG_1890.JPGIMG_1891.JPGIMG_1892.JPGIMG_1893.JPGIMG_1895.JPGIMG_1896.JPGIMG_1898.JPGIMG_1950.JPGIMG_1955.JPGIMG_1956.JPG
 
Great progress and very nice photos, Mike! I've considered using bloodwood for gunport stills, and even for internal planking (I like the colour!!) However, when received wood, I realise that wood is not fine grain. What do you think? Perhaps. Padauk will suffice, as a substitution? Didn't have experience with either wood.
Best regards,
Jim
 
Mike and Zoly, My question on the Bom was not trying to push the finish, AFTER THE DRAWINGS ARE COMPLETE IS WHAT I WAS TALKING ABOUT WORKING WITH DAVE SO HE CAN PRODUCE, a material timbering product including the jig if possible,, not pushing anyone, take all the time you need to get the drawings correct. Don PS AGAIN THANK YOU FOR WHAT BOTH OF YOU ARE DOING FOR THE HOBBY
 
Hi Jim,
I buy my bloodwood from Woodcraft and it is not an open grained wood, I use it for internal planking (Spirketting) and the ports interior to match the colors. You can use Padauk, but it does have a more open grain and is softer.
I like to try different woods I buy pen turning blanks to see what the wood is like before large boards of expensive lumber.
Mike
 
Hi Don,
No problem, I was just explaining what needs to be done before generating a BOM.
Mike
 
Thanks for the quick response, Mike. I bought my bloodwood from Woodcraft (online) as well. However, they do show opened grains. :(

IMG_2305.jpeg
 
Hi Jim,
That piece does look a little rough, I am fortune enough to have one of their stores about five miles from home and can hand pick my boards. I think if you thy cutting a thin plank and sanding it with some fine sandpaper the grain will not be as pronounced as it is in your photo. Most rosewood I have used has a closed grain you could try that.
Mike
Thanks a bunch, Mike. Really appreciated.
 
The gantry style building board I am using on this project was built for cross section work, the T-track is 18” long and overall length of the board is 24”. The width of the gantry is the same as my full-size board, so the accessories are interchangeable, when the weather is nice, I like to work outside in the fresh air and the smaller board is easier to move in and out of the shop. If you are planning on building multiple cross sections, battle stations and various ship details it would be advisable to start with a small gantry style building board and if that works for you build a large one for full size model ships.
Mike
 
Keelson and Lower Deck Clamps:
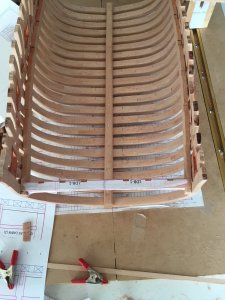
Since the frames were pinned to the keel at the center of the frame, I predrilled holes in the keelson in the center of the aft side of the double frames at every other frame, that seamed enough to hold the keelson in place.
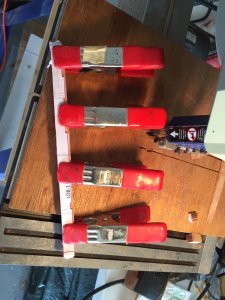
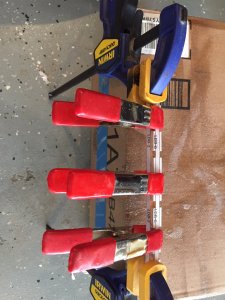
The lower deck clamps are quite large, I made a form out of plywood and after soaking the clamps and waterways in hot water clamped them until they dried. I used clamps and rubber bands to glue them in place.
I included a photo to show the notches in bottom of the frames, so the water can run to the sump in the well room. It also shows the location of the mounting holes in the false keel.

IMG_1958.JPGIMG_1959.JPGIMG_1960.JPGIMG_1961.JPGIMG_1967.JPGIMG_1968.JPGIMG_1969.JPGIMG_1970.JPGIMG_1972.JPG
 
Lower Deck Beams:
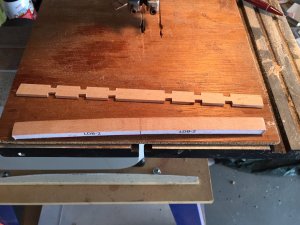
The lower deck has 8 very substantial beams to support the cannons. They consist of two separate parts; the lower part uses a pattern for the deck curve and the top is flat with a pattern for the deck carlings. After the beam is notched for the carlings the two pieces are glued together. The fore and aft beams are installed, and a centerline string is temporarily tied between them to help with alignment.IMG_1973.JPGIMG_1974.JPGIMG_1975.JPGIMG_1976.JPGIMG_1977.JPGIMG_1983.JPG
 
Hi Mike, can this method be used on the Blanford MAIN DECK BEAMS, and cut the notches in the top part only, and what thickness would the top part be. THANKS Don PS hope I put this in the right place
 
Back
Top