05.2023
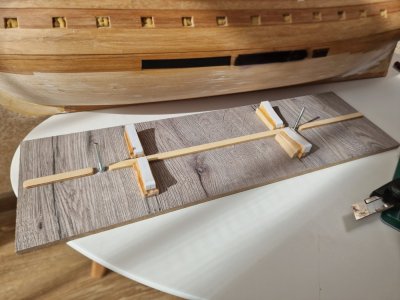
To take a break from the planking, I decided to work on the mast steps. First, I checked the angle of the bowsprit for accuracy.
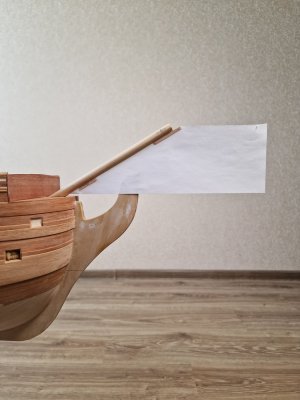
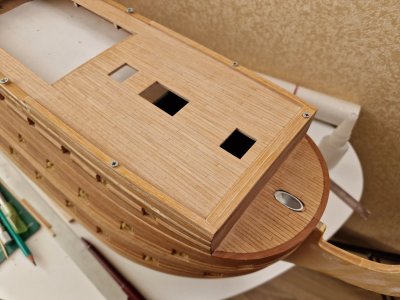
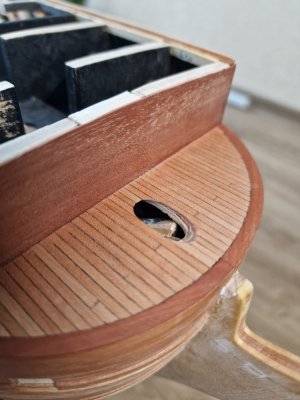
The angle was 30 degrees, and I shaped the hole for the bowsprit in the small forward deck.
And now, the interesting part.
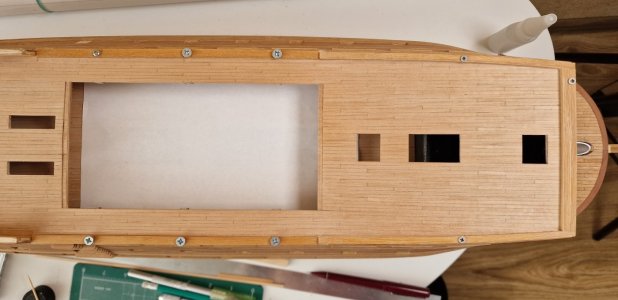
I made the mast sockets from aluminum tubes. The entire principle of how the masts are connected to the hull will become clearer later on. But briefly, the tubes with a diameter of 10 mm were glued into the hull for the bowsprit and the two forward masts, and 8 mm for the mizzenmast. The masts themselves will have tubes with a diameter 2 mm smaller, which will fit into the tubes in the hull.
This will ensure a perfect fit for all the masts (since each has a different angle), and more importantly, it allows me to remove the masts easily without gluing them. This greatly increases the repairability in case of any damage.
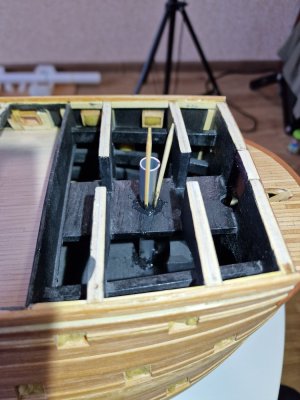
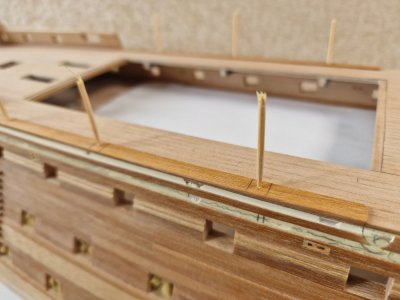
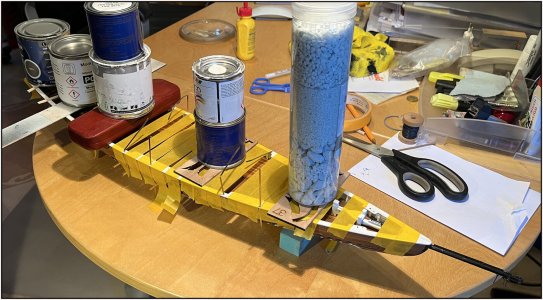
I fitted all the tubes at once, with the inner tubes (mast imitations) inserted, which stuck up about 30 cm. By adjusting these protruding parts, I was able to set the correct angle for each mast. I glued everything using 5-minute epoxy, fine-tuning the angle by inserting toothpicks into the holes.
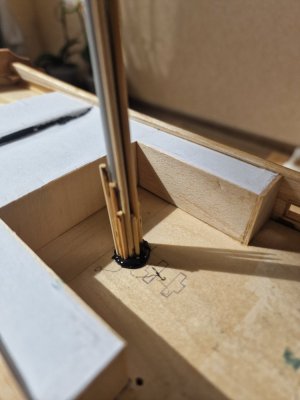
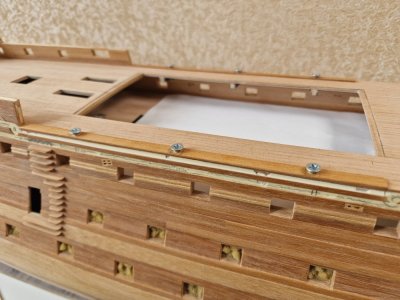
Then, the toothpicks and glue were sanded down to the level of the deck. As a result, the tubes are firmly glued into the hull, into which smaller diameter tubes will later be inserted. This will ensure a perfect fit, without the need for glue.
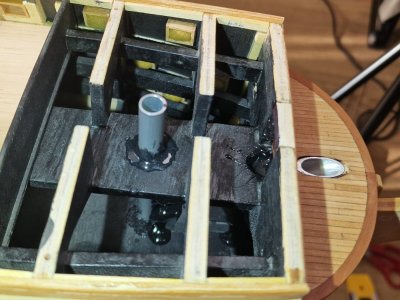
For the bowsprit, the profile of the inner tube ended up looking like a needle tip)))
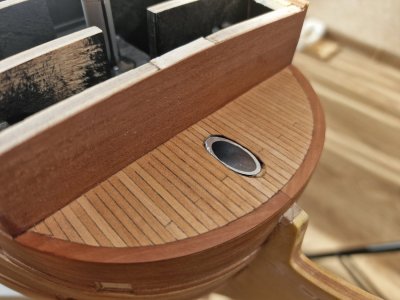
I'll repeat, I'll explain how this mechanism will work in the next parts. Don't miss it
...
To take a break from the planking, I decided to work on the mast steps. First, I checked the angle of the bowsprit for accuracy.

The angle was 30 degrees, and I shaped the hole for the bowsprit in the small forward deck.

And now, the interesting part.
I made the mast sockets from aluminum tubes. The entire principle of how the masts are connected to the hull will become clearer later on. But briefly, the tubes with a diameter of 10 mm were glued into the hull for the bowsprit and the two forward masts, and 8 mm for the mizzenmast. The masts themselves will have tubes with a diameter 2 mm smaller, which will fit into the tubes in the hull.
This will ensure a perfect fit for all the masts (since each has a different angle), and more importantly, it allows me to remove the masts easily without gluing them. This greatly increases the repairability in case of any damage.

I fitted all the tubes at once, with the inner tubes (mast imitations) inserted, which stuck up about 30 cm. By adjusting these protruding parts, I was able to set the correct angle for each mast. I glued everything using 5-minute epoxy, fine-tuning the angle by inserting toothpicks into the holes.

Then, the toothpicks and glue were sanded down to the level of the deck. As a result, the tubes are firmly glued into the hull, into which smaller diameter tubes will later be inserted. This will ensure a perfect fit, without the need for glue.

For the bowsprit, the profile of the inner tube ended up looking like a needle tip)))

I'll repeat, I'll explain how this mechanism will work in the next parts. Don't miss it
...


