Part 11
06.2023
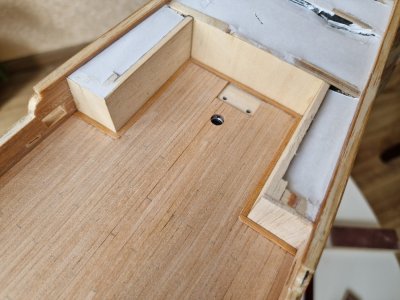
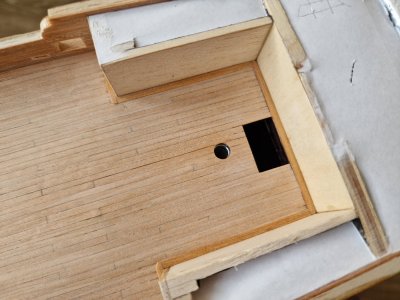
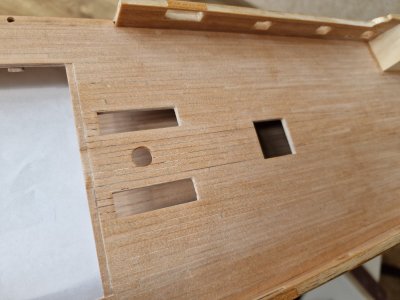
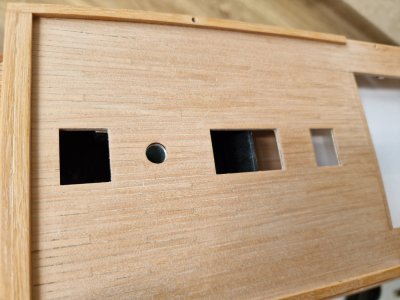
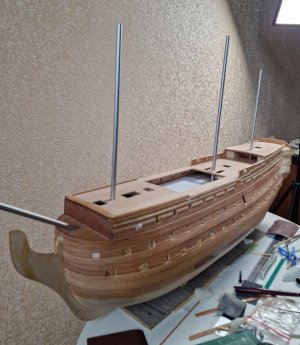
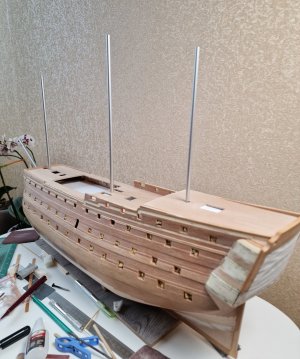
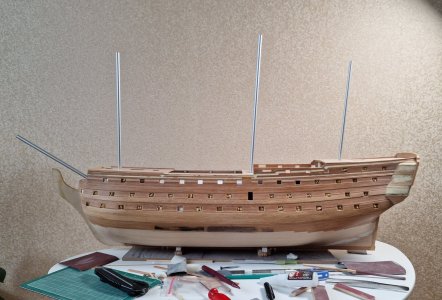
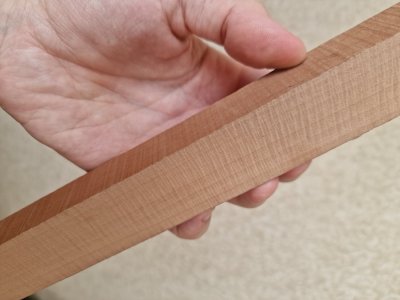
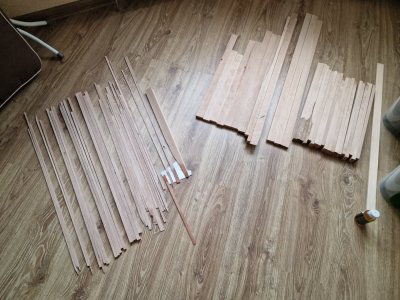
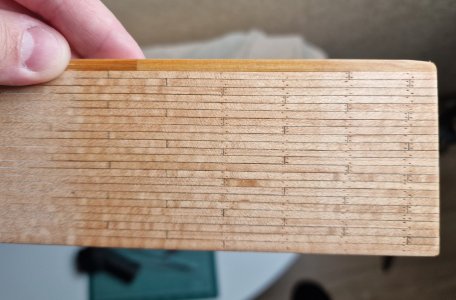
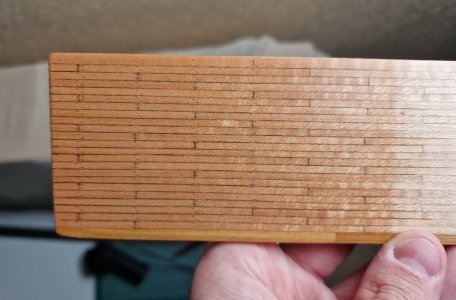
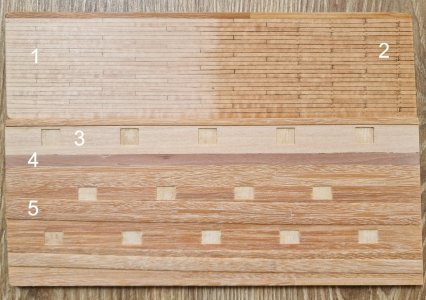
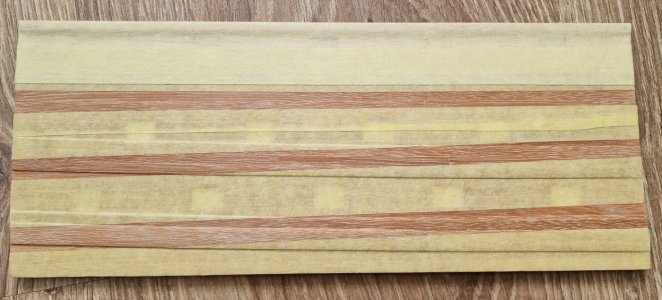
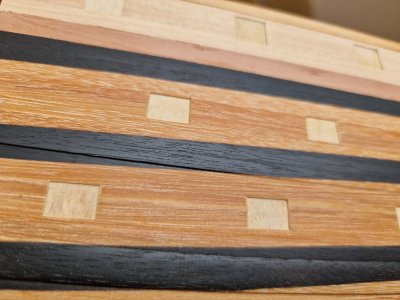
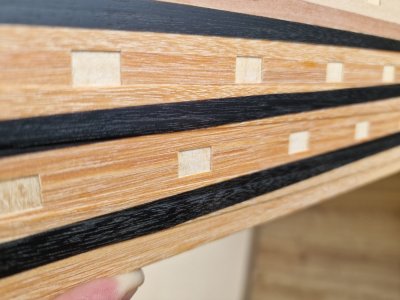
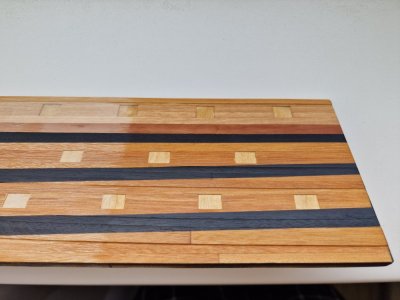
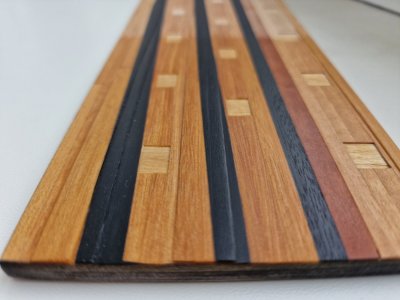
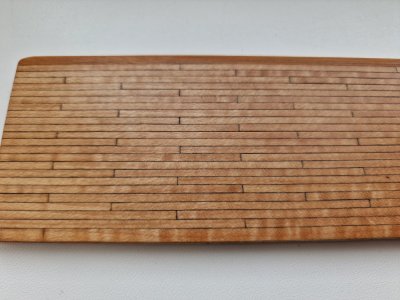
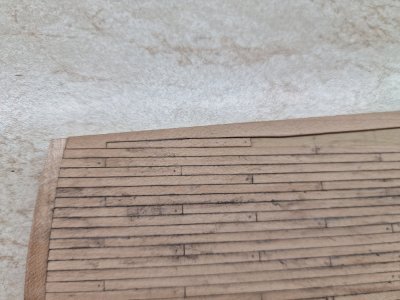
And finally, I planked the uppermost small deck, the poop deck. Starting from the center, I laid down the first plank to ensure the straight line didn’t shift. Then I worked outward in both directions, following a stepped pattern. The side planks were done with some loss. Afterward, everything was sanded down. I glued the planks using PVA, securing them with an iron. The plank ends were colored with a charcoal pencil to imitate caulking.
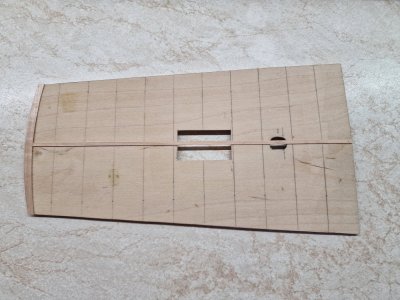
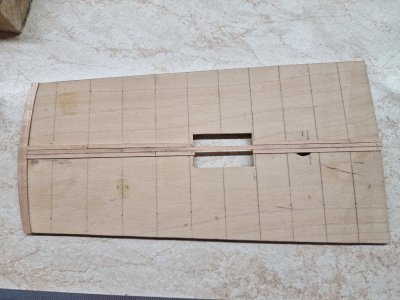
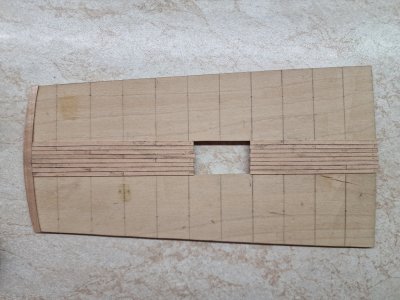
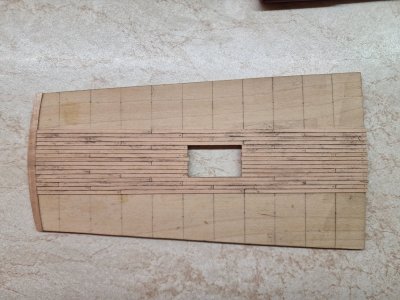
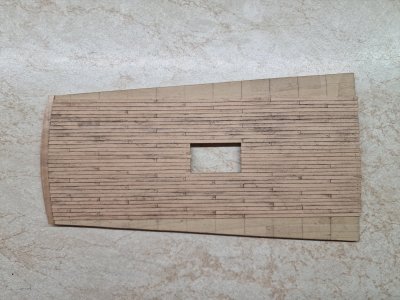
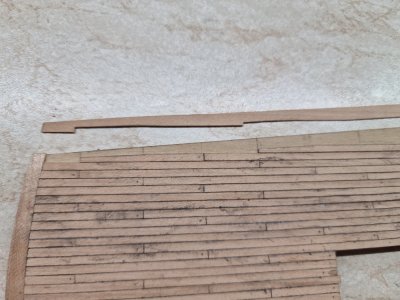
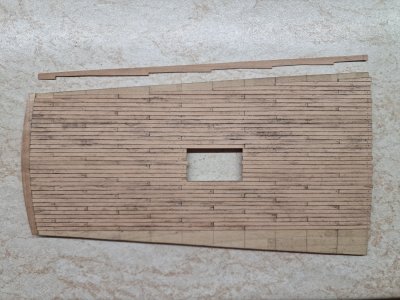
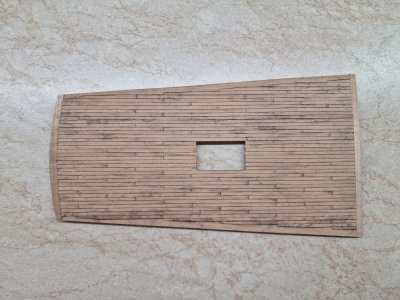
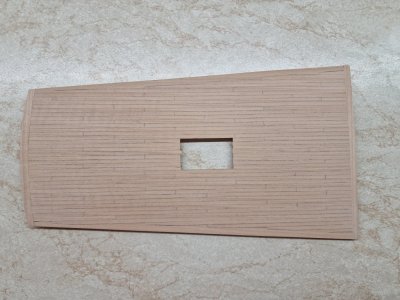
I made the finished deck so that it would fit between the beams and small bulwarks, sliding into this space from front to back.
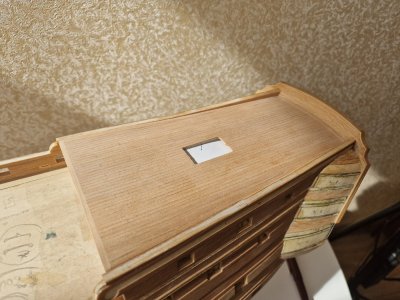
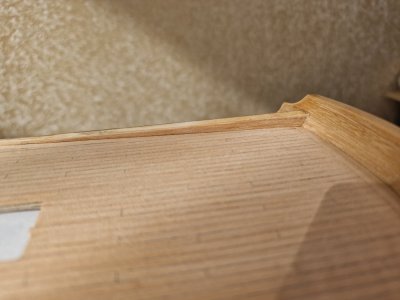
Recommendation for beginners!
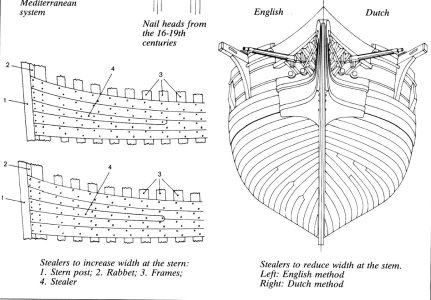
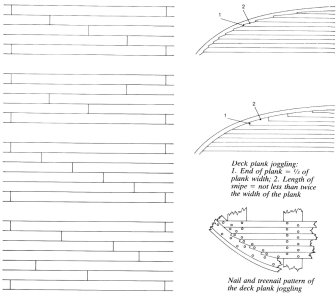
The main recommendation for all beginners, especially those building models from kits, is to check the size of the deck planks. Kits often simplify things, and the plank width can be two or even three times wider than it should be, which stands out a lot. So, don’t hesitate to either replace the kit’s planks with ones that match your scale or cut them down so they aren’t too wide. The same goes for the length of the planks. Additionally, if you are simulating nails, remember that planks aren’t just nailed at the ends. Nails are driven into every beam along the length of the plank, and plank joints should only occur above the beams.
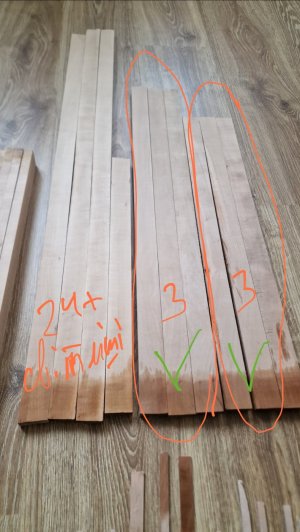
Also, pay attention to where the planks connect with each other. Different ships and periods have their own specific patterns. For example, on my battleship, the joints are positioned over three straight planks, creating a step-like pattern of a certain shape. To understand how this should be done on your particular ship, it’s a good idea to find the anatomy of your vessel or a detailed guide. At the very least, try to gather information about ships from the same era and country as yours.
Good luck!

...
06.2023
And finally, I planked the uppermost small deck, the poop deck. Starting from the center, I laid down the first plank to ensure the straight line didn’t shift. Then I worked outward in both directions, following a stepped pattern. The side planks were done with some loss. Afterward, everything was sanded down. I glued the planks using PVA, securing them with an iron. The plank ends were colored with a charcoal pencil to imitate caulking.


I made the finished deck so that it would fit between the beams and small bulwarks, sliding into this space from front to back.


Recommendation for beginners!
The main recommendation for all beginners, especially those building models from kits, is to check the size of the deck planks. Kits often simplify things, and the plank width can be two or even three times wider than it should be, which stands out a lot. So, don’t hesitate to either replace the kit’s planks with ones that match your scale or cut them down so they aren’t too wide. The same goes for the length of the planks. Additionally, if you are simulating nails, remember that planks aren’t just nailed at the ends. Nails are driven into every beam along the length of the plank, and plank joints should only occur above the beams.
Also, pay attention to where the planks connect with each other. Different ships and periods have their own specific patterns. For example, on my battleship, the joints are positioned over three straight planks, creating a step-like pattern of a certain shape. To understand how this should be done on your particular ship, it’s a good idea to find the anatomy of your vessel or a detailed guide. At the very least, try to gather information about ships from the same era and country as yours.
Good luck!


...
Last edited:


