HMS Victory - by Mantua Sergal - 1:78 scale

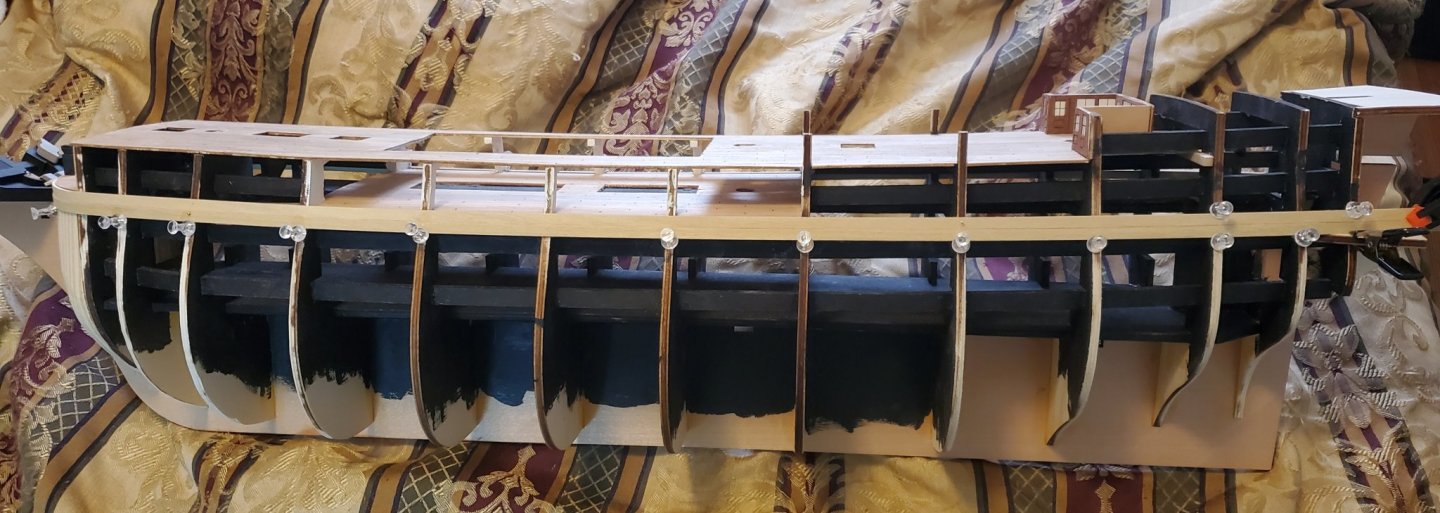
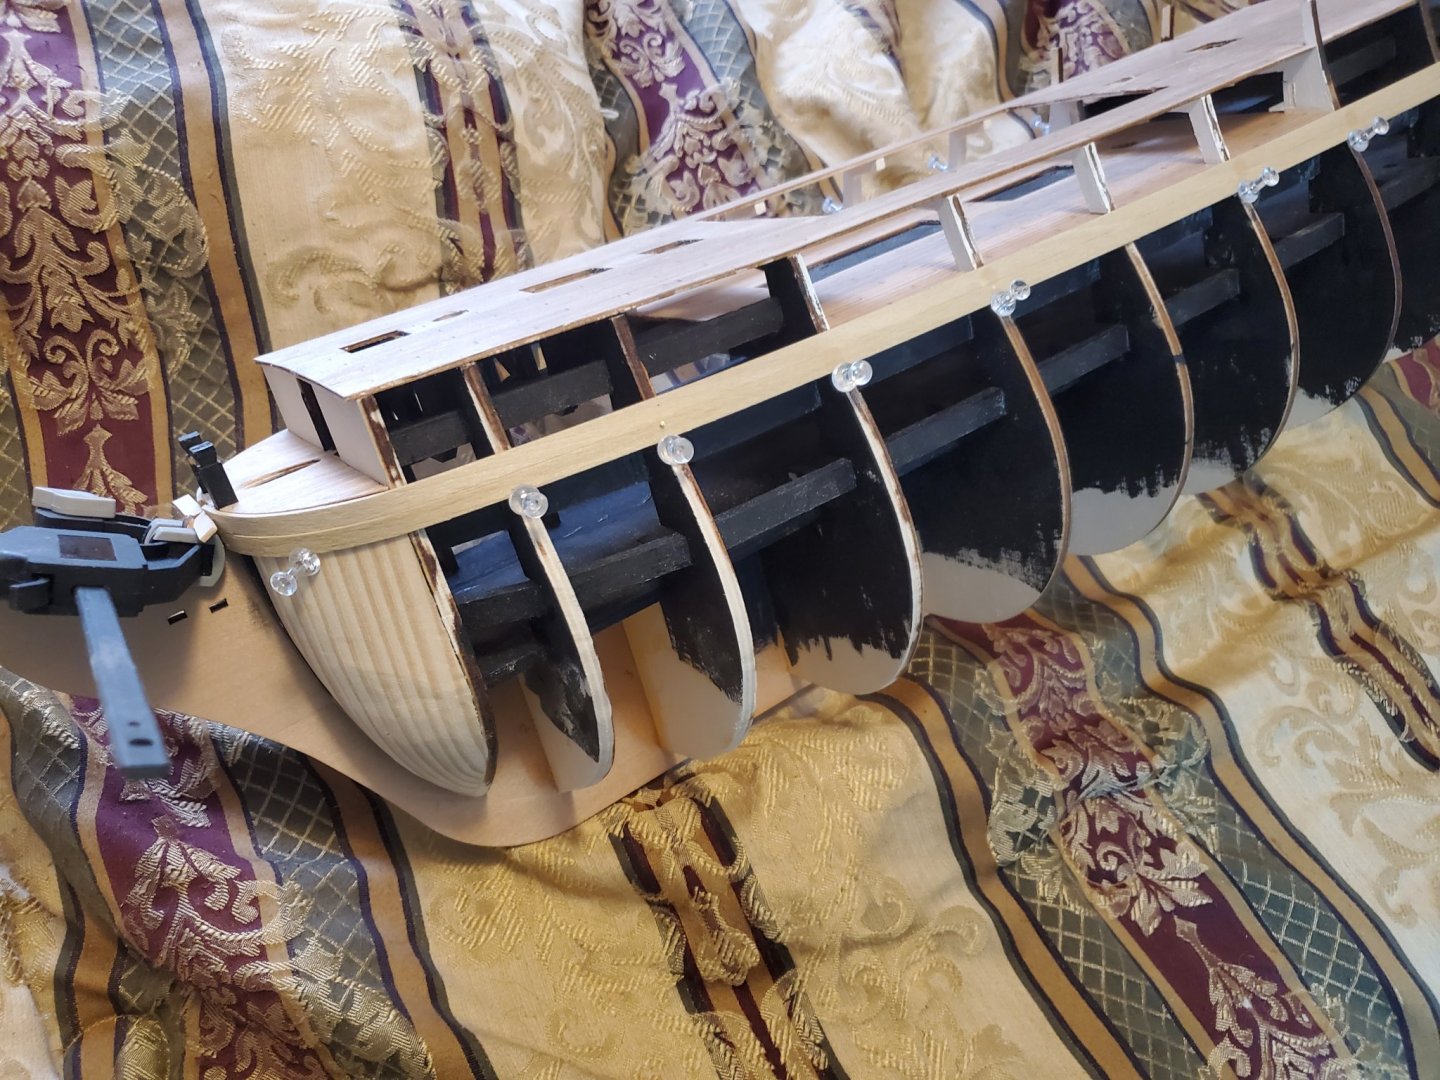
I have started planking. 20200414_144414.thumb.jpg.02b22df0ea0ec3568560bada858aa6df.jpg
20200414_144301.thumb.jpg.1f0f2b4d47d4e2242e954a61cd4b6e18.jpg
This is going to be a long process. The wood is so dry and brittle, I have to wet every plank and let it dry. To bend the ends at the bow, I have to soak the end of the plank. This dry limewood snaps so easily because it is so dry. I don't know if it is because it was sitting a long time or it is just more poor quality on Mantua's part. I laid the first plank on each side mostly to the instructions. They said to follow the gun port line, but that was forcing the plank to curve upward some at the rear, so I let it relax some to lay almost naturally. If I force the first plank, I would have to force every plank into position and that doesn't seem right. This is going to be hard enough, working with brittle wood. I don't want to make it anymore difficult. The walnut for the second planking is very dry and brittle also and the edges are not very smooth. I now this is just crappy wood. I would like to replace it, but don't know yet. That would be a big expense.

Mark Frazier
 
I have had the same problem with the limewood found in european kits. On my Virginia build I let everything sit wrapped in a wet towel for a couple of days to get some moisture back into it. Of course my kit was over 30 years old, so I'm sure that had something to do with it. The second layer of planking was basically crap so I ordered replacement mahogany for it which was well worth the price. It really wasn't that expensive - but the shipping pretty much doubled the cost.
 
I have ordered the caldercraft figure head. I also had to order cannon bags as the kit has nice cannon ball racks but no cannon balls.
 
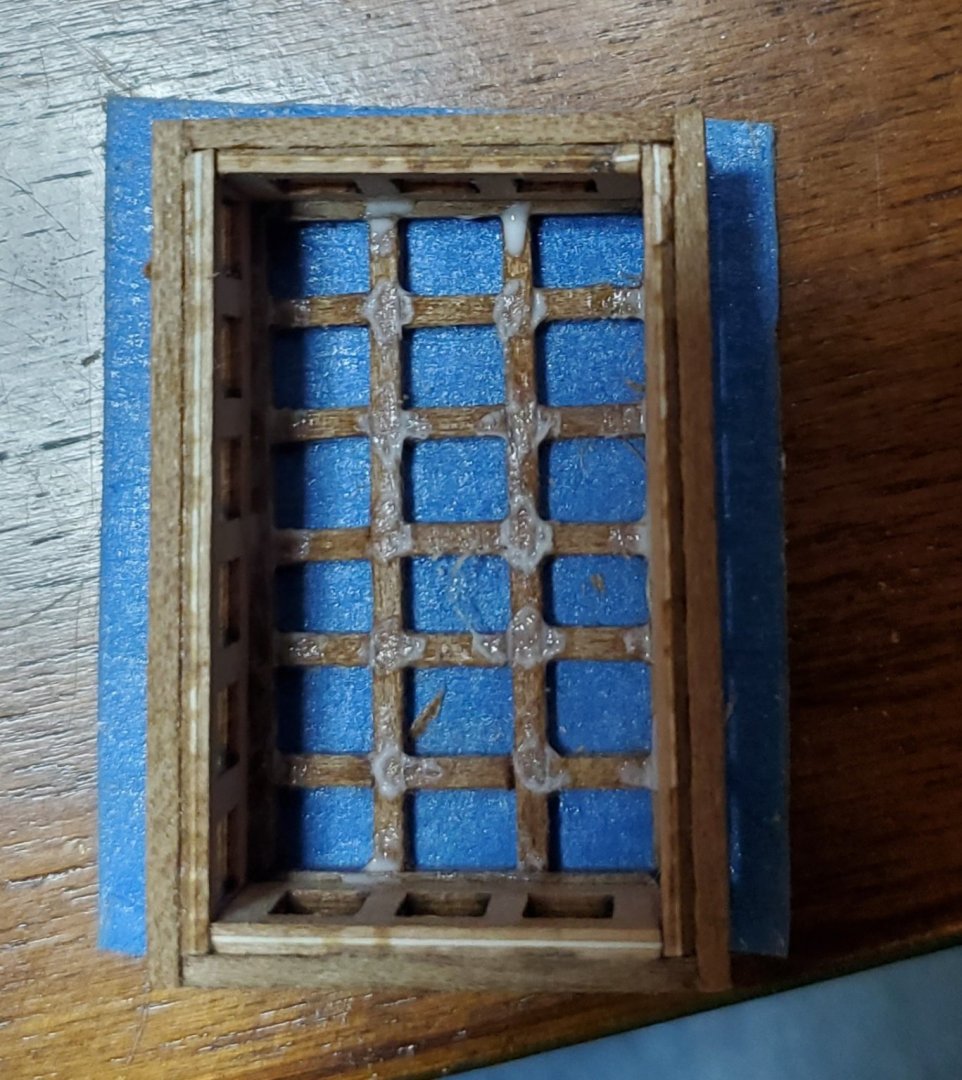
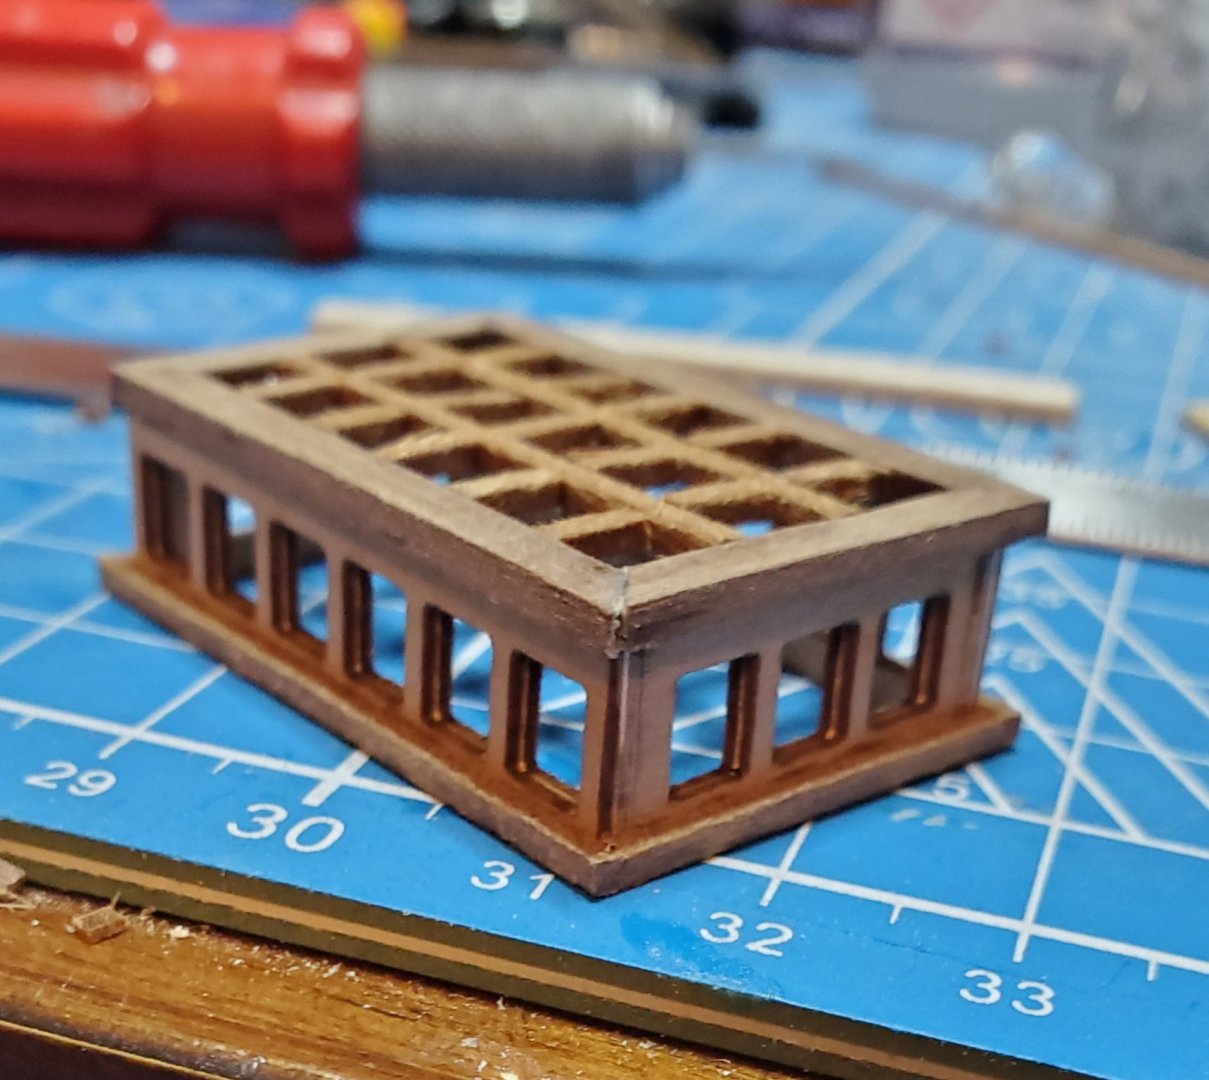
While I wait for the glue to dry on the 4 planks I put on the hull, I figured why not make something else. So, I decided to make the poop deck skylight. Of course the kit version is no good, but I figured I could use some of the parts and build from there. The kit say to put grating on the top. This is both wrong and ugly. I used the kit sides and ends, put a 1.5 mm frame around the bottom, put a 1.5 mm X 3 mm frame around the top. I mitered the corners for good looks. Then I turned it upside down on a piece of painters tape.
20200414_195506.thumb.jpg.367bb80ab7049548814e5a4dc97c3c86.jpg
This will hold all the little 5 mm long window stiles that were installed and glued together on the bottom side.
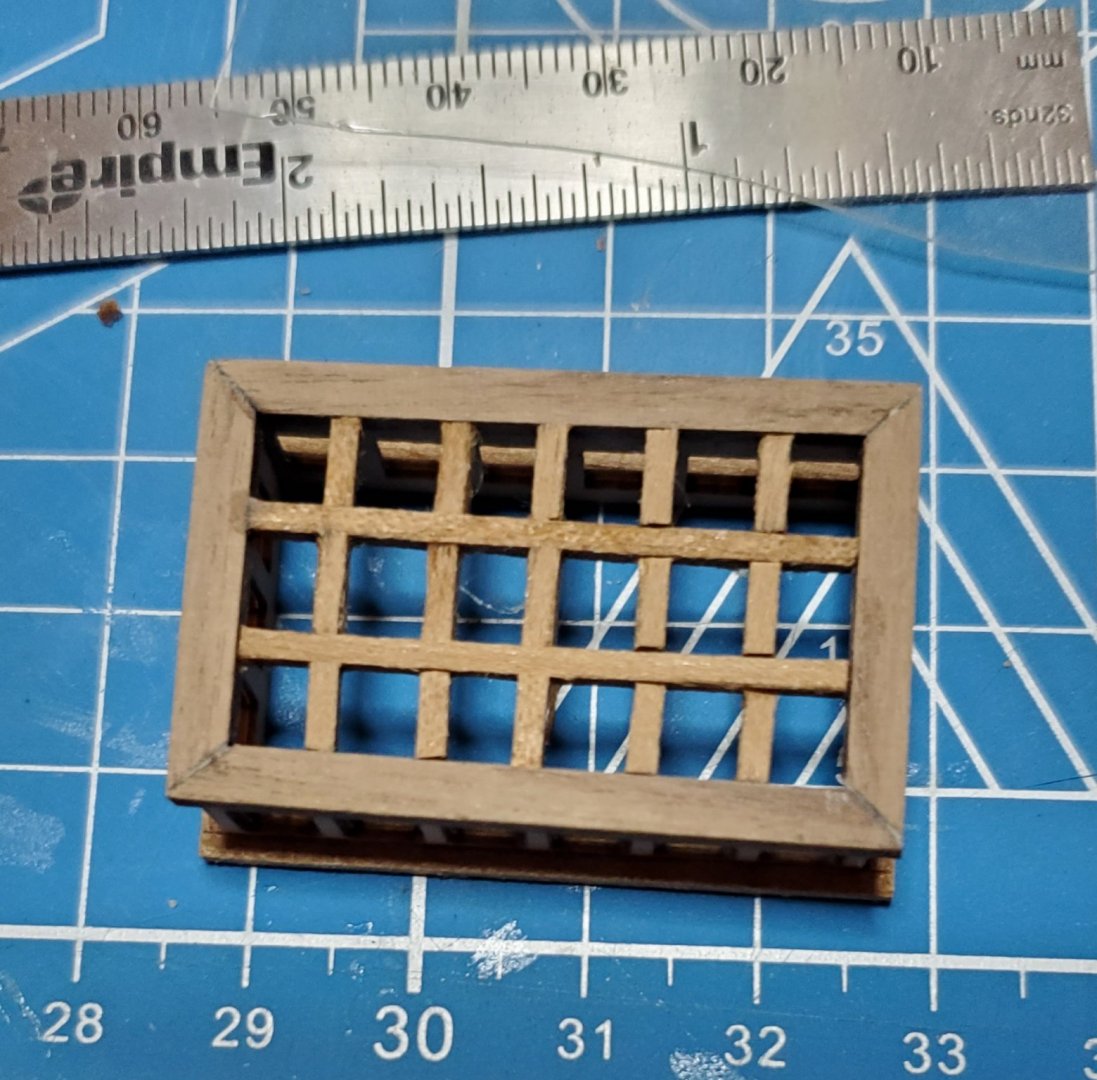
This is the finished skylight. I am very pleased with it.
20200414_200346.thumb.jpg.3933611f486b96ee27c9e8b647f4f868.jpg20200414_195930.thumb.jpg.b835be5188eb2333a71bda8c4f8da1dc.jpg
I have acetate sheet to cut windows from and will glue it inside the top and sides. I am thinking about no finish on this as it kind of looks a little weathered which I think is a good thing. I will sand it just a little more after the glue has cured. ( I would hate to get in a hurry and knock it apart).

Mark Frazier
 
The planking is coming along. It is slow because I can only do 4 planks a day. I am edge gluing them and gluing to the bulkheads with wood glue and it has to mostly cure before adding more planks.
20200417_191420.thumb.jpg.0942c5cdacfde446317f1dc87db653cd.jpg
But this let's me work on other parts and breaks up the planking job.

20200417_200631.thumb.jpg.05fa784e8908e8e8bc5e226b9f46b066.jpg
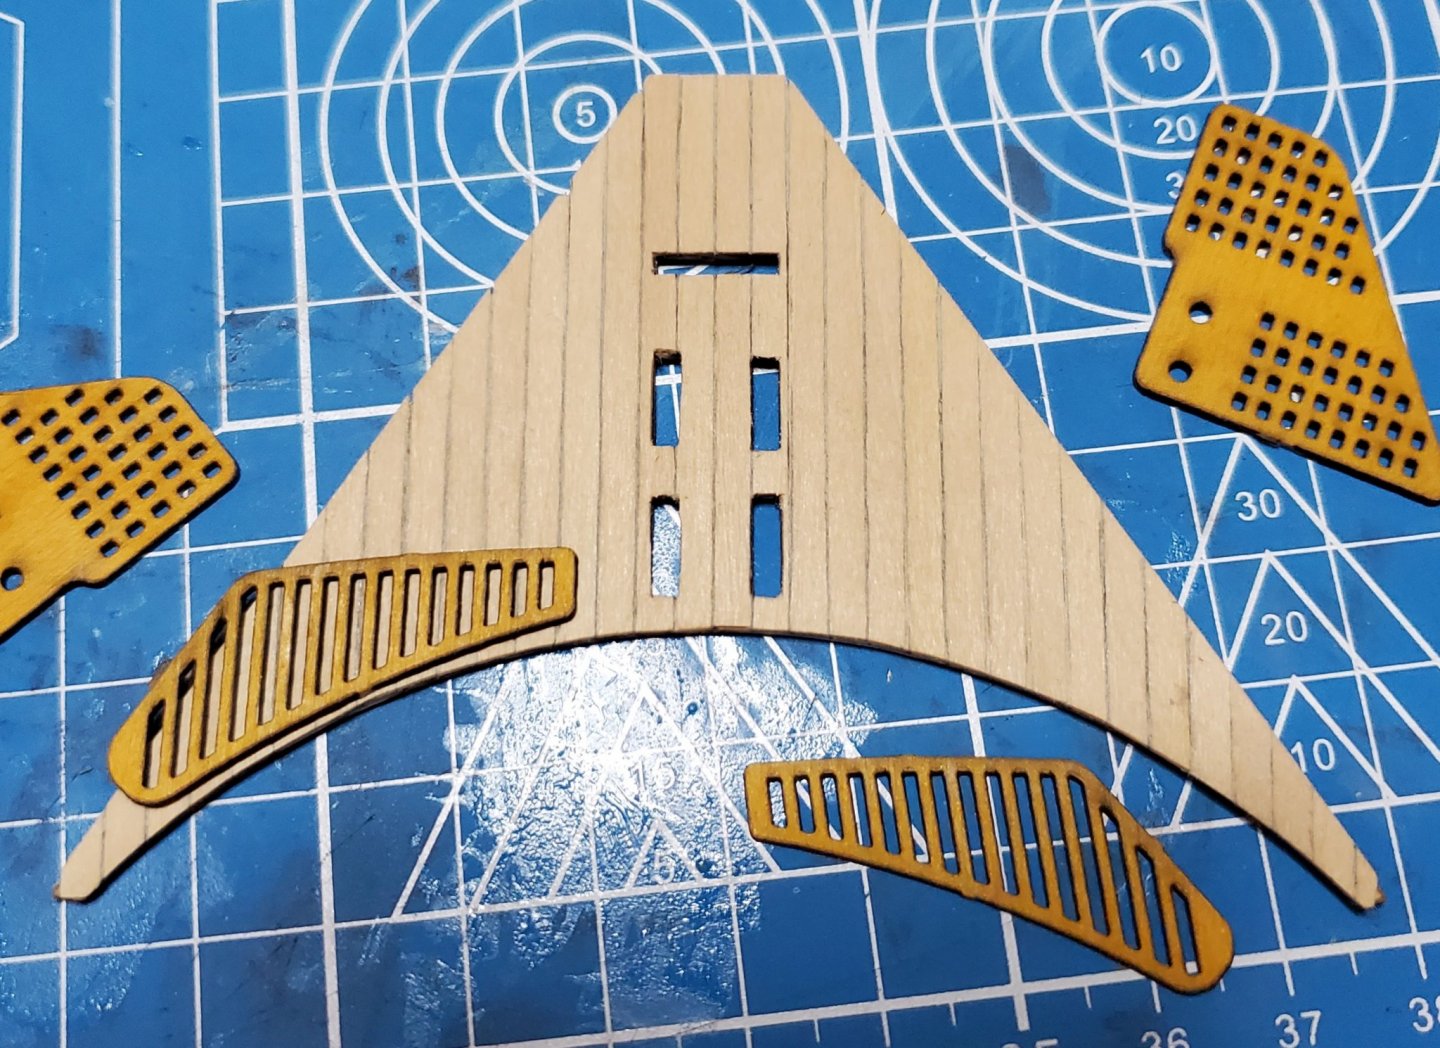
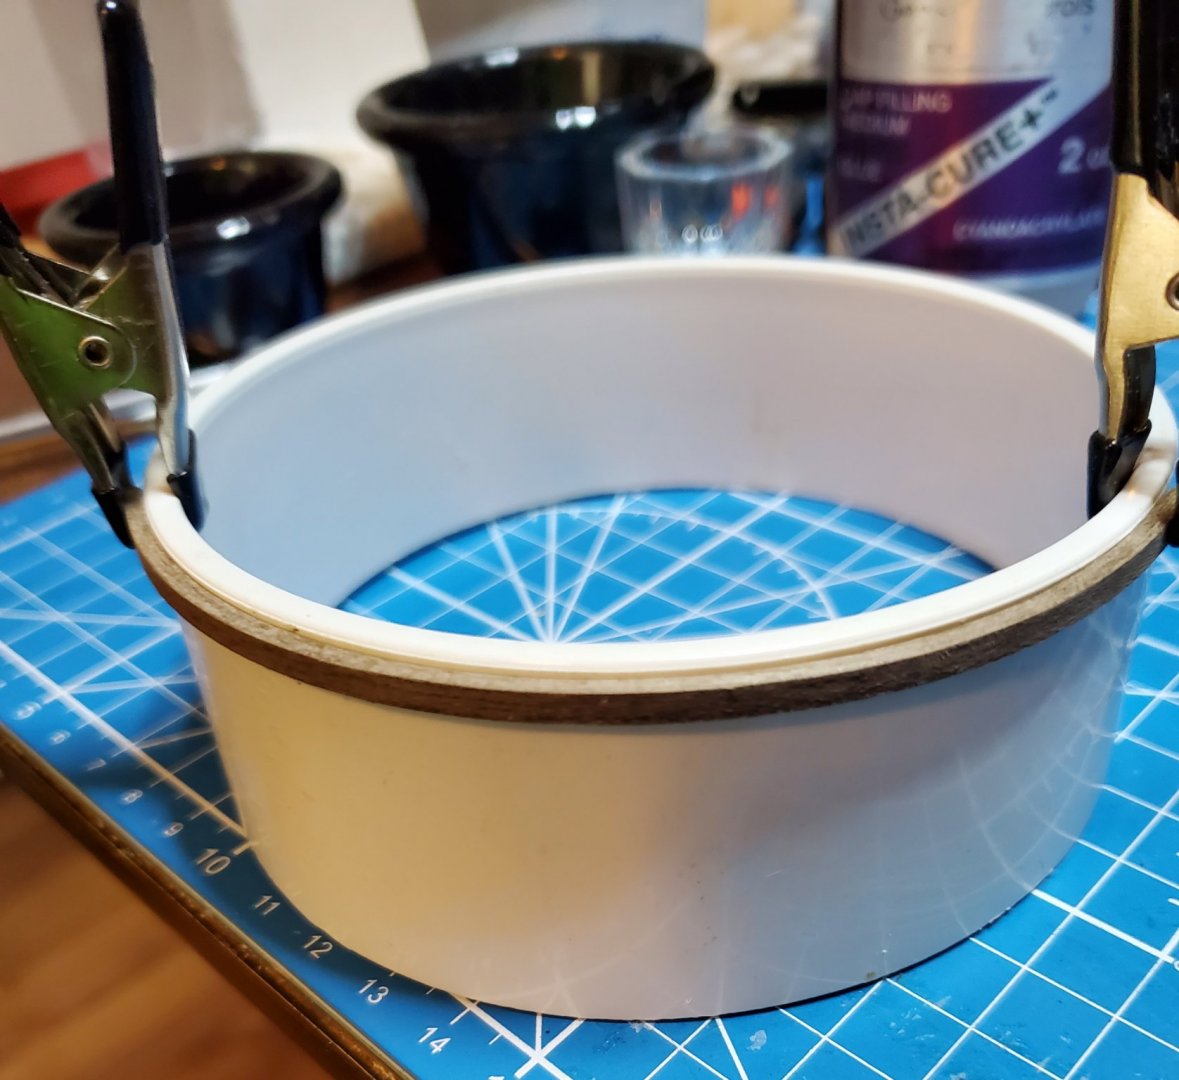
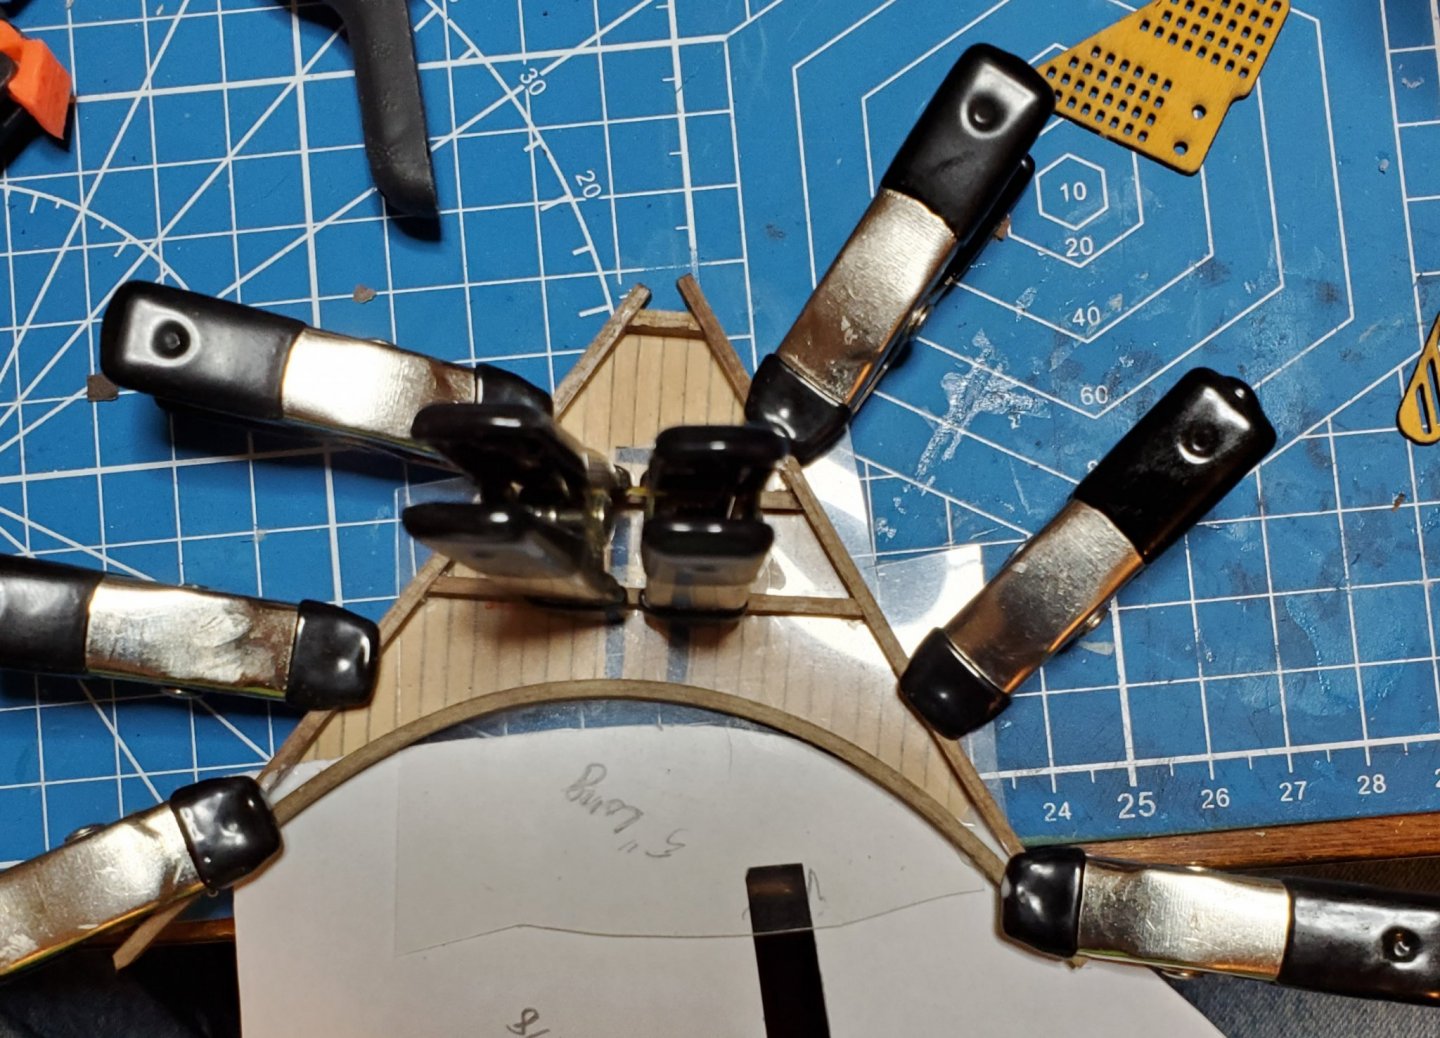
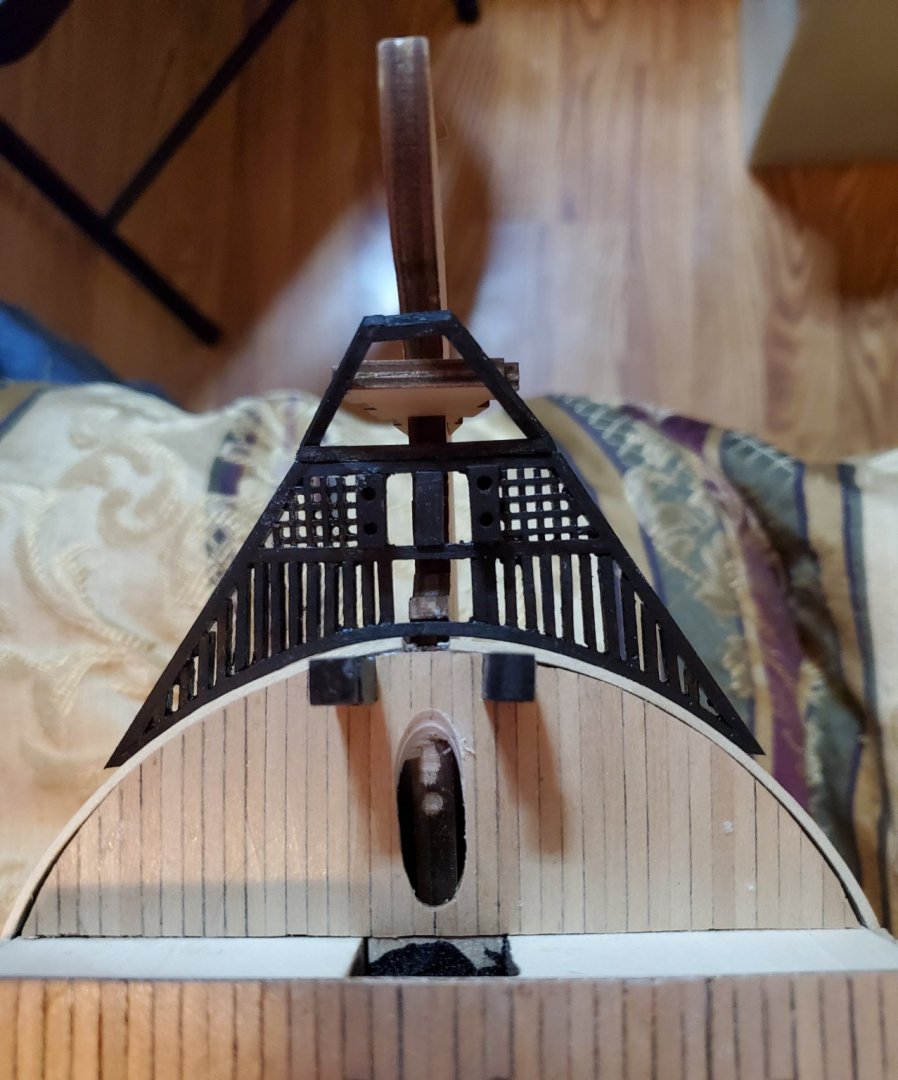
The above photo is Mantua idea of the bow grating. It is all wrong. They want the gratings glued on a deck and the deck placed on the bow. The photos I downloaded of the real ship does not have a deck under the grates. I am building a frame the size and shape of this false deck and will place the grates in the frame. It will be much closer to what it should be. The next photo is how I curved the walnut strip for this frame. I hope it doesn't spring back after drying.
20200417_202633.thumb.jpg.82df71daece286d6120c94510fe3804f.jpg
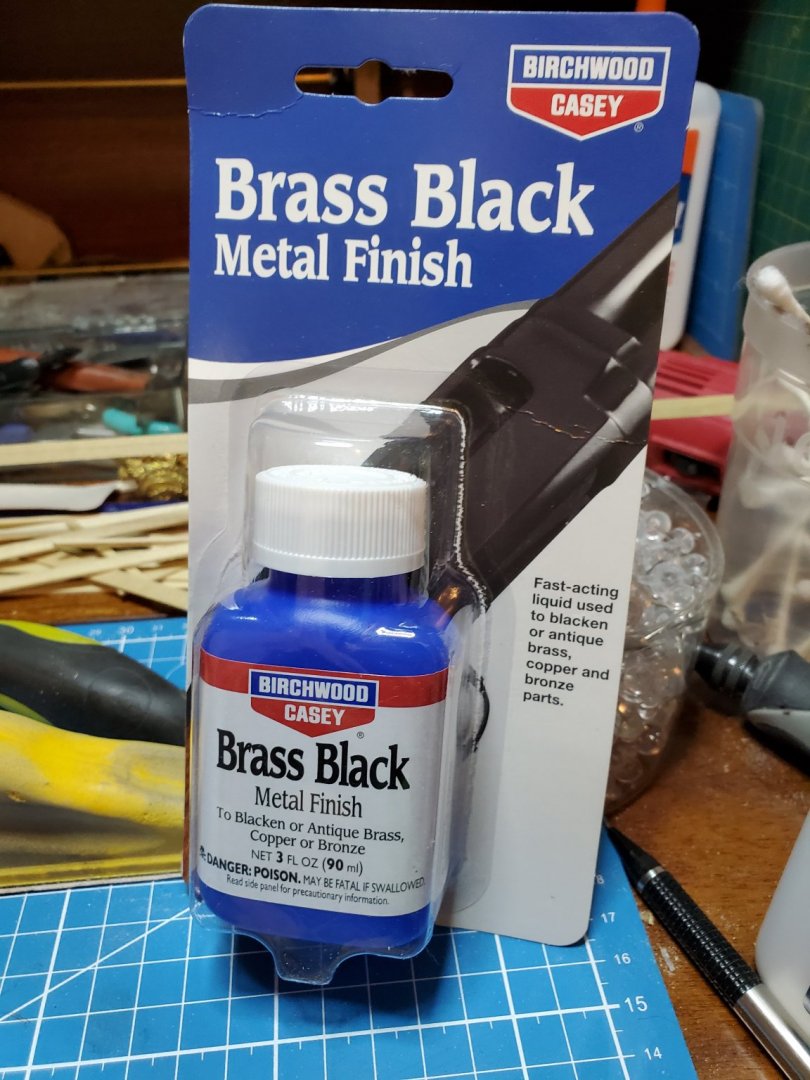
My brass black came today. I can start working on cannons and hardware and hinges .
20200417_202743.thumb.jpg.c684f7fa355e01dc3cdc8ee221ce1cb7.jpg
so far I am enjoying this project despite Mantua shortcomings.


Mark Frazier
 
I did some work on the bow grating. I made the frame using the false deck as a pattern.
20200417_214501.thumb.jpg.46ad2e752943e0baf77fbac87fad8c64.jpg
I got the frame made, and even got the heads on.
20200417_222119.thumb.jpg.aa6bfab07b229cb439940dbcf5353c80.jpg
I made a mistake on the curve. I think I can fix it without having to make this piece over again. But it isn't difficult if I have to. I will have to stop here on this piece until the hull is finished and it is time to fit it.

Mark Frazier
 
Great build so far. I whole hardily agree. Mantua plans and instructions are terrible at best. I’m building 1:98 HMSVictory and I can only imagine what your going thru with your model. Only 4 sheets of plans and they are dbl sided with outlines of keel, ribs and misc parts so only 2 sheets of plans to use that were in my opinion create by a child.. I am following Genesis victory build by John Harwood. He’s really good at explaining how to make this model although mine is a different scale but I improvise. So far things are going good have a look at my build log. Also same on stern and bow. I’ll use their etchings and make mine out of wood. I also used needlepoint canvas for windows and spindles (in my blog) I’m thinking of asking my old neighbor if he still does CNC wood carving. if so I’ll have him do my fancy stern trim.
 
20200418_105242.thumb.jpg.d6948d4f899a6891be585d0096c4c2c9.jpg
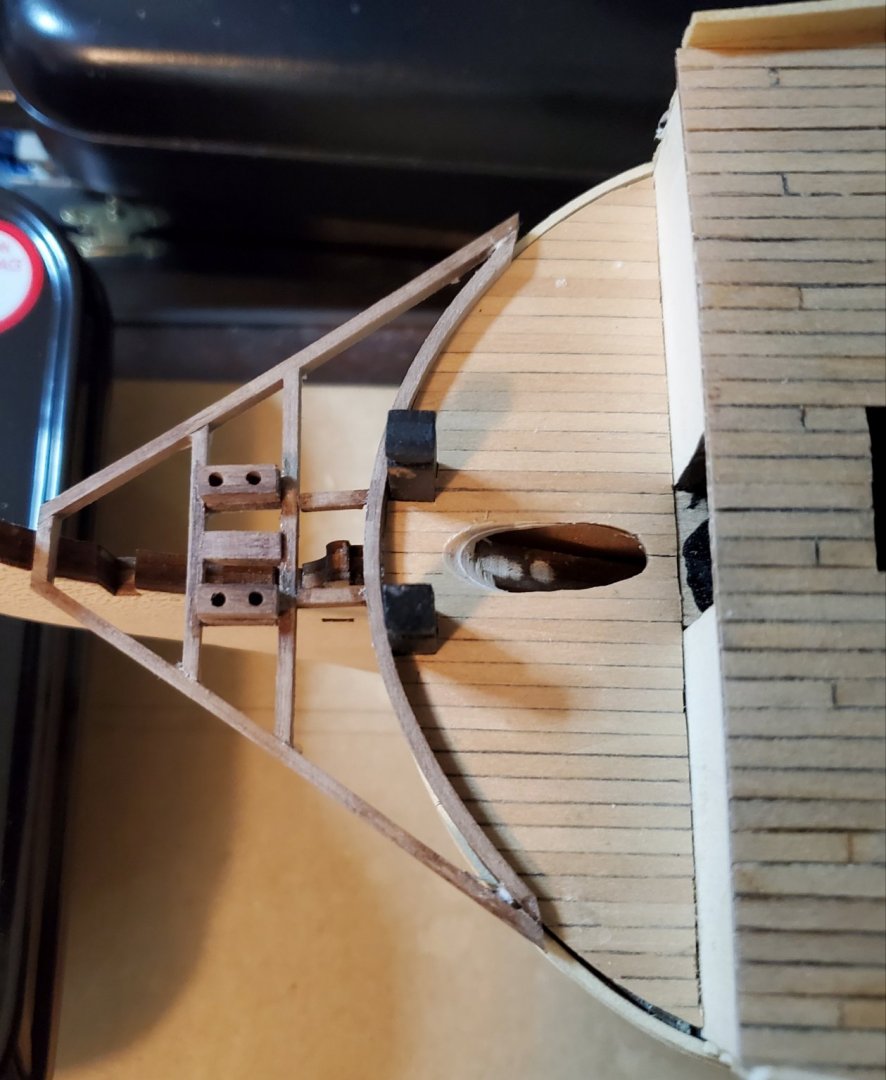
I fixed the curve to match the hull front. I angled the front more like the photo in the post above. The side trim matches pretty well. It is hard to tell exactly until it is cut to fit. I think this is about as close as I can get. I need to make the grating for this piece.

Mark Frazier
 
P1010288.thumb.JPG.d7796254c4ed072830ce66e8eef547fd.jpg.6b074e1ea7a2c5f2ccbb3a7e7655aa3c.jpg
the grating on the real ship frame appears flat but the front section is tilted up. I don't know if there is grating under that panel or not. I think I will remake the grating like this. i will make this first and make the framing underneath to fit. it seems backwards, but I think it will be easier
 
20200418_173059.thumb.jpg.2e6bfc7b90b69747151feccc938d9130.jpg
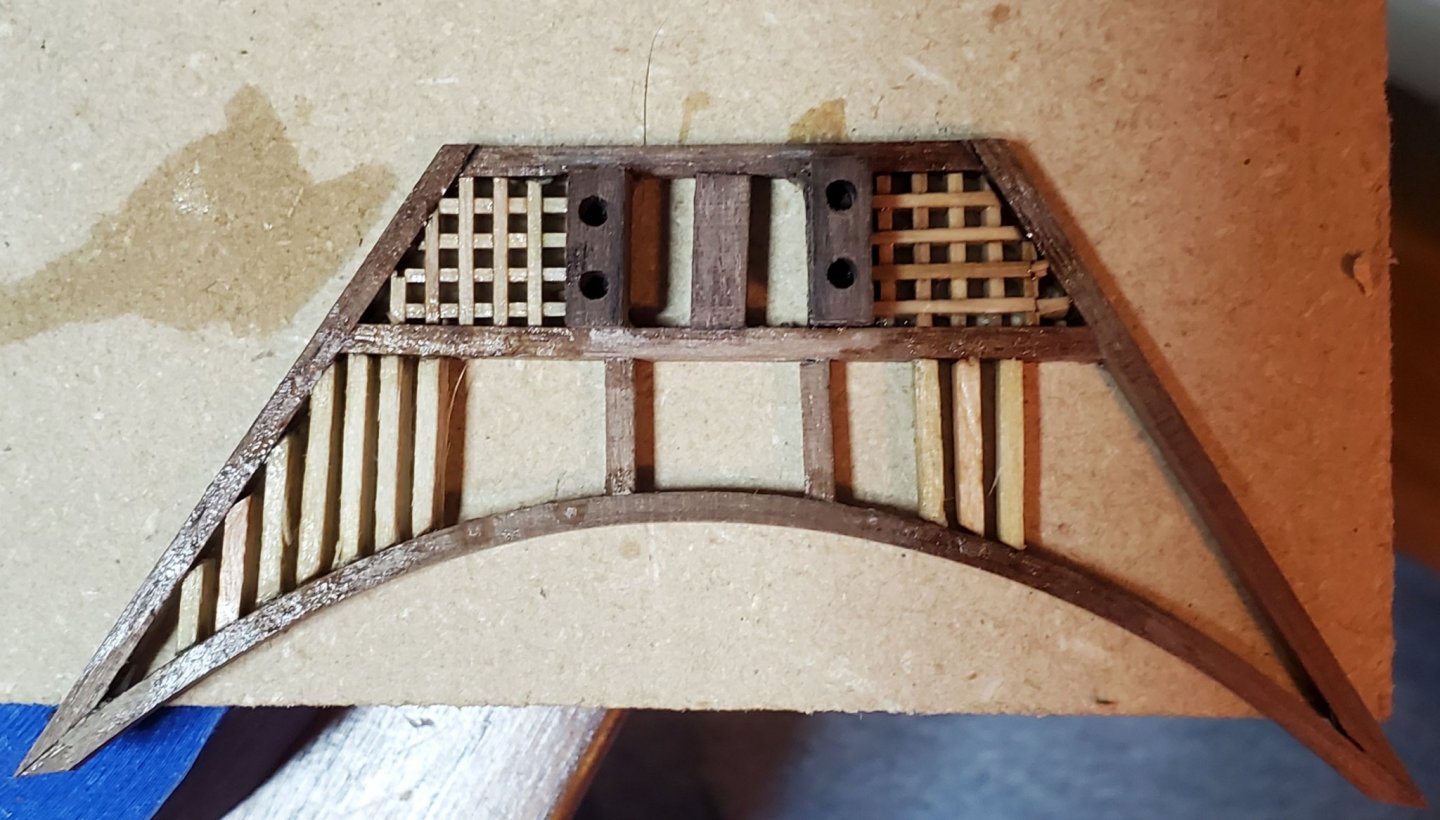
I am filling in the lower section of grate for the bow. It has taken 8 hours to put these few pieces in. They are sooooo tiny and they are difficult to fit. It looks like I am almost half way. I sure hope all this effort works out. When this is done, I will paint it flat black and see how it looks. The front piece that is tilted up at the end will probably get a panel on it like the photo, because I don't have anymore grating this small. It looks a little rough right now, but after sanding and painting, I think it will look good.

Mark Frazier
 
Basically the bow grates are done. I have left the front piece empty until I see if I can find grating for it. If not, I will make a panel for it. I'm not going to order grating in the mail because it will cost several times the price of the grate for shipping and the hobby shops are closed.
20200418_194343.thumb.jpg.4652740f859f5a817aa90641a1723b62.jpg
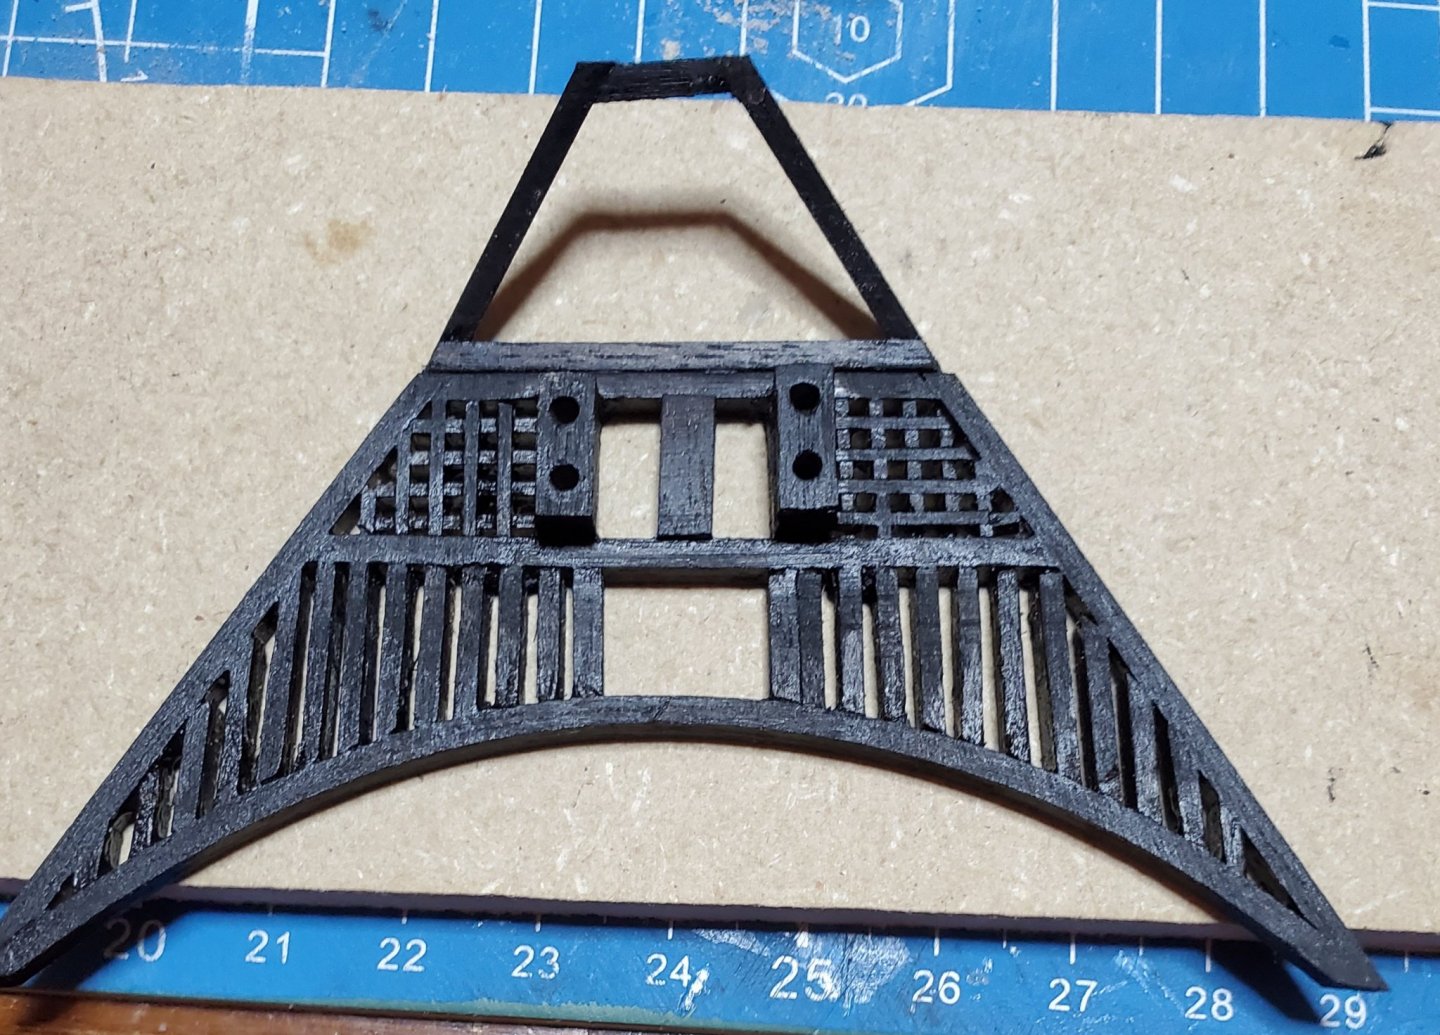
I have one coat of flat black paint on it. It will get several more coats dry brushed. Dry brushing is more work but adds color without losing any detail. It just takes many coats this way.

20200418_194246.thumb.jpg.d4ce2595ea419368cbdbf0ac2c937abb.jpg
I set it on the hull to check fit and see how it looks. I like it a lot. Much better than the kit. When I get to the point in my build , I will make new framing for the bow to hold this deck.

Mark Frazier
 
20200419_212251.thumb.jpg.50fcf7ed257fd06cbf050705f3110aa2.jpg
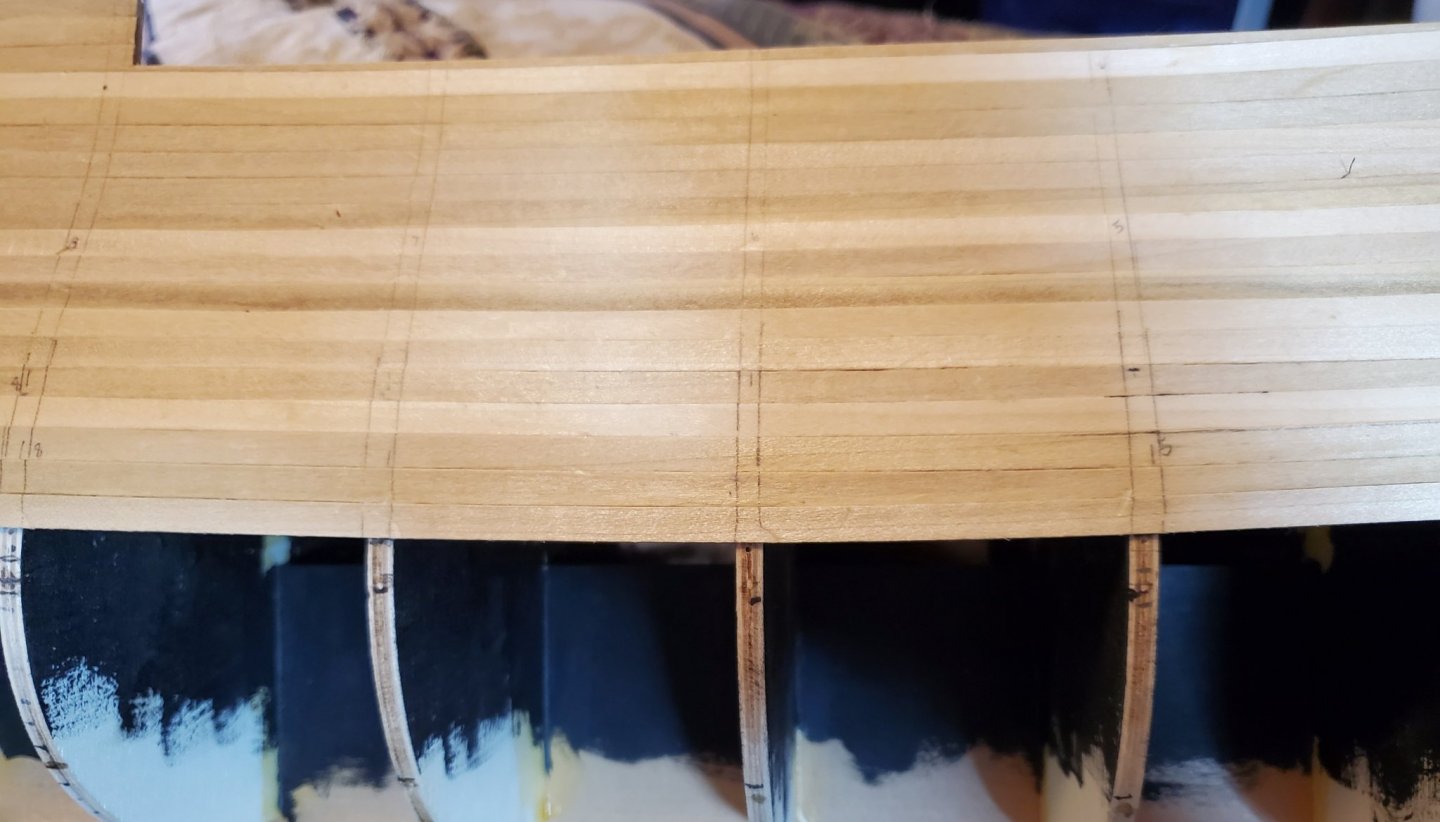
The planking is slow going. I can only do 2 to 4 planks in a day as the glue has to cure after installing each plank. And I am edge gluing each plank. I now have to line off the hull before going any farther as I need to start tapering planks.

Mark Frazier
 
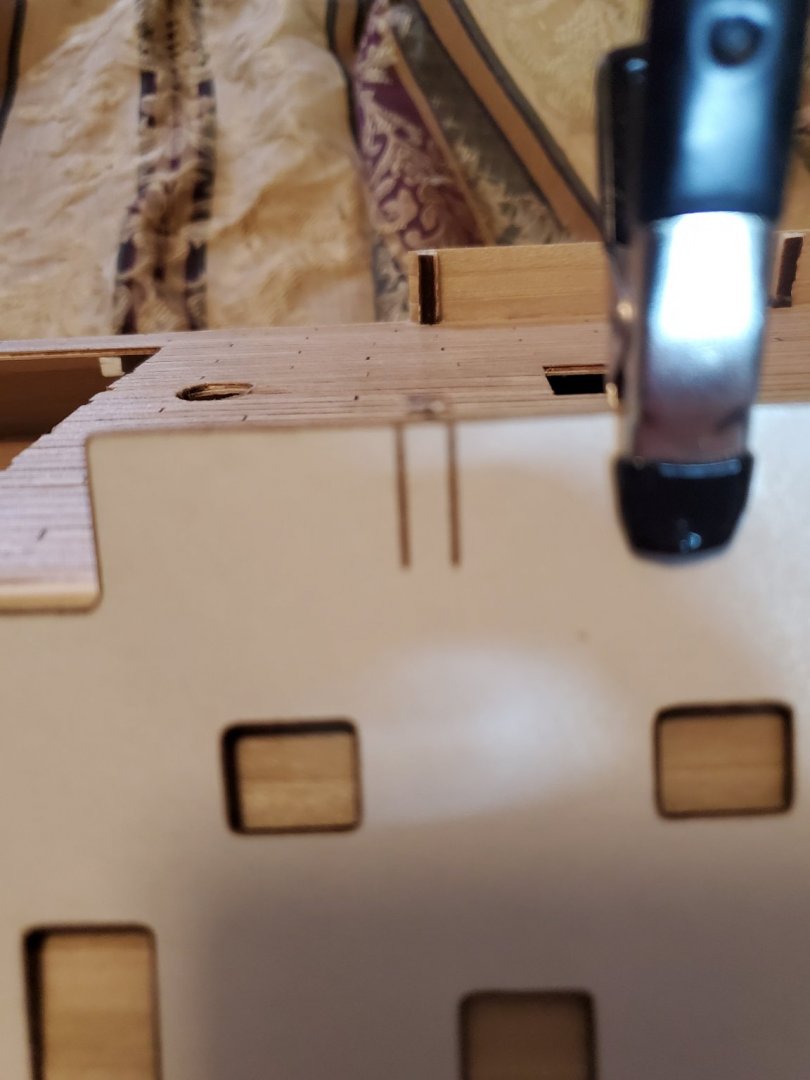
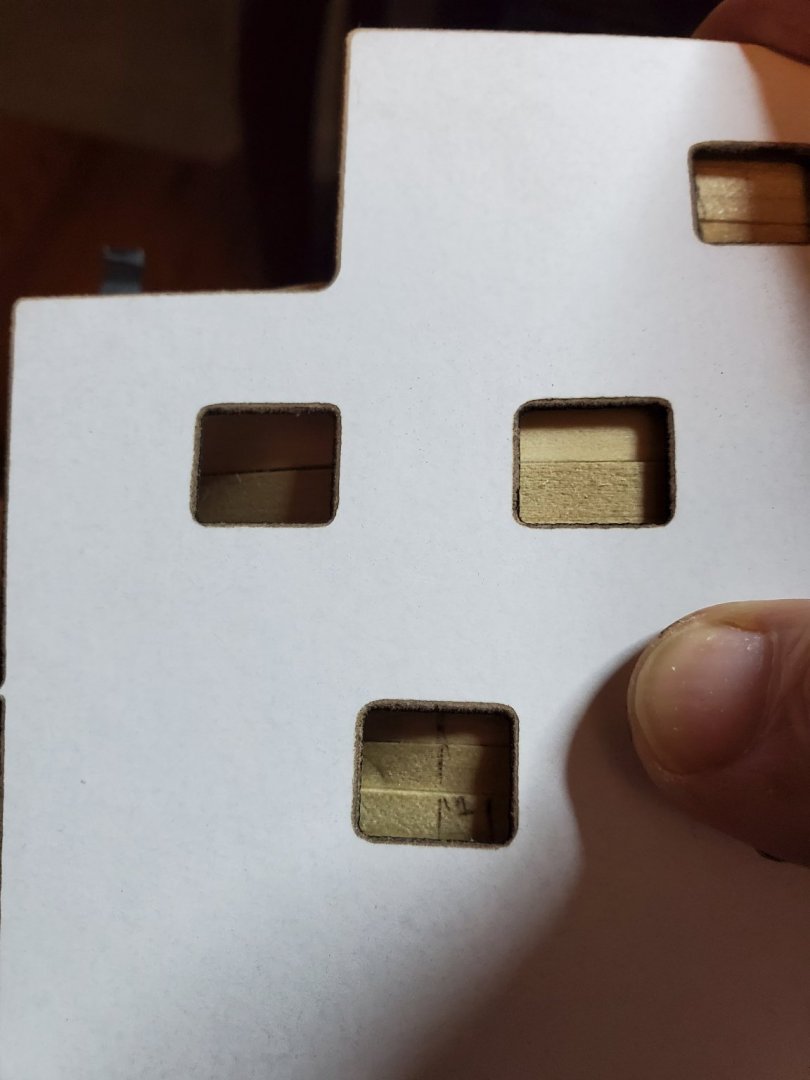
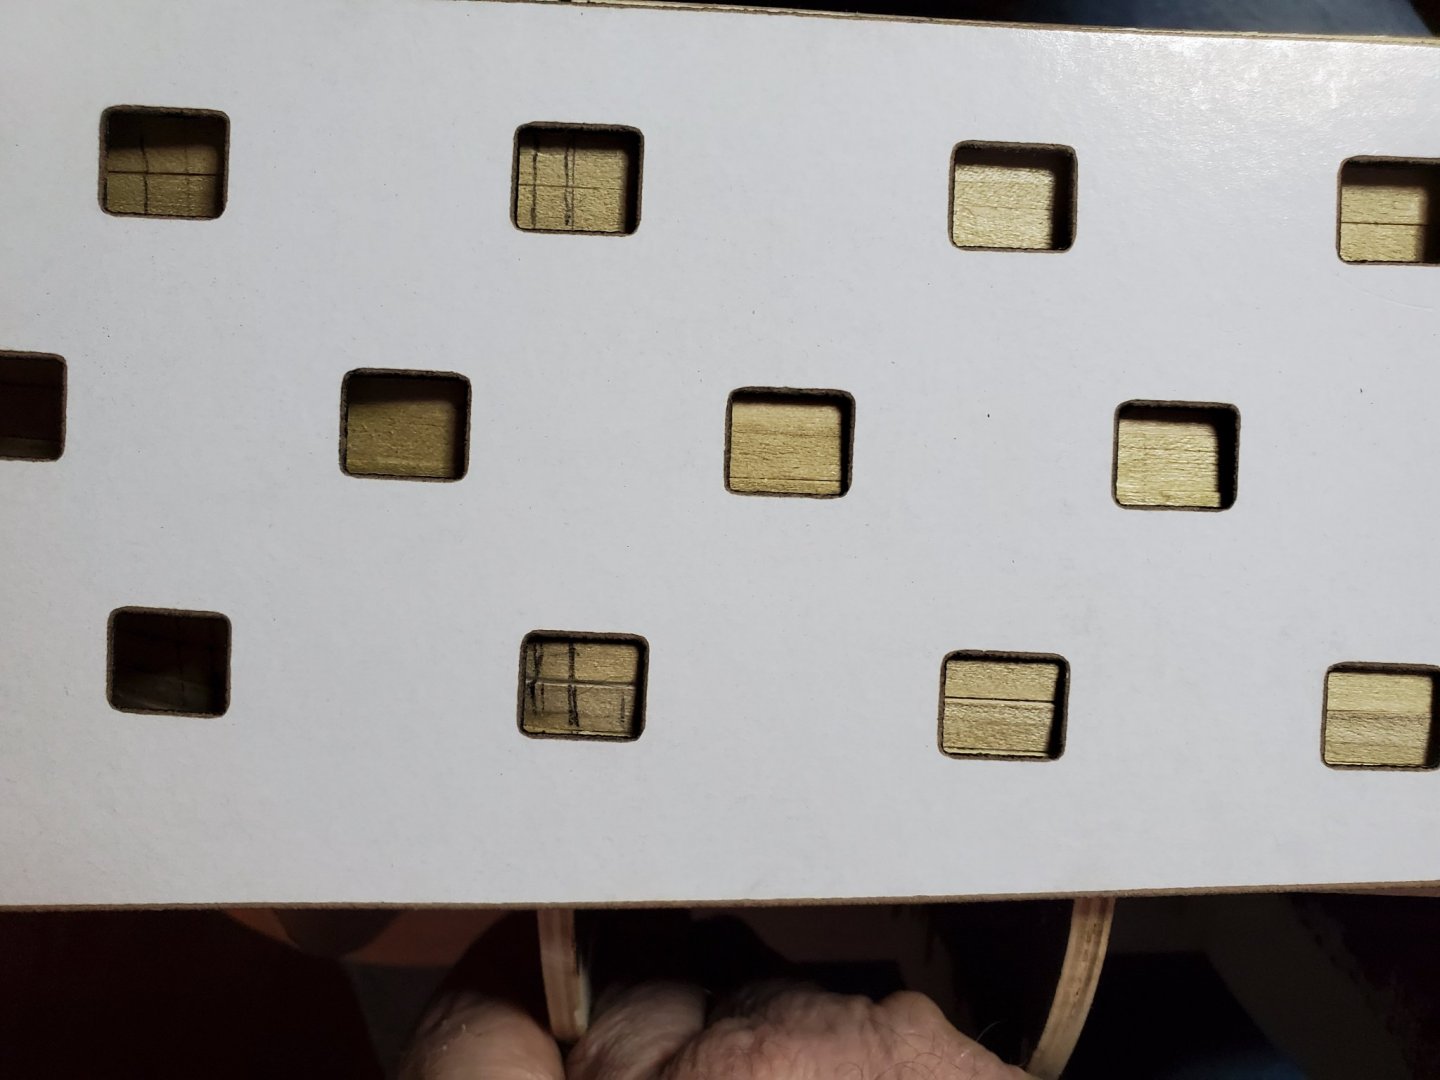
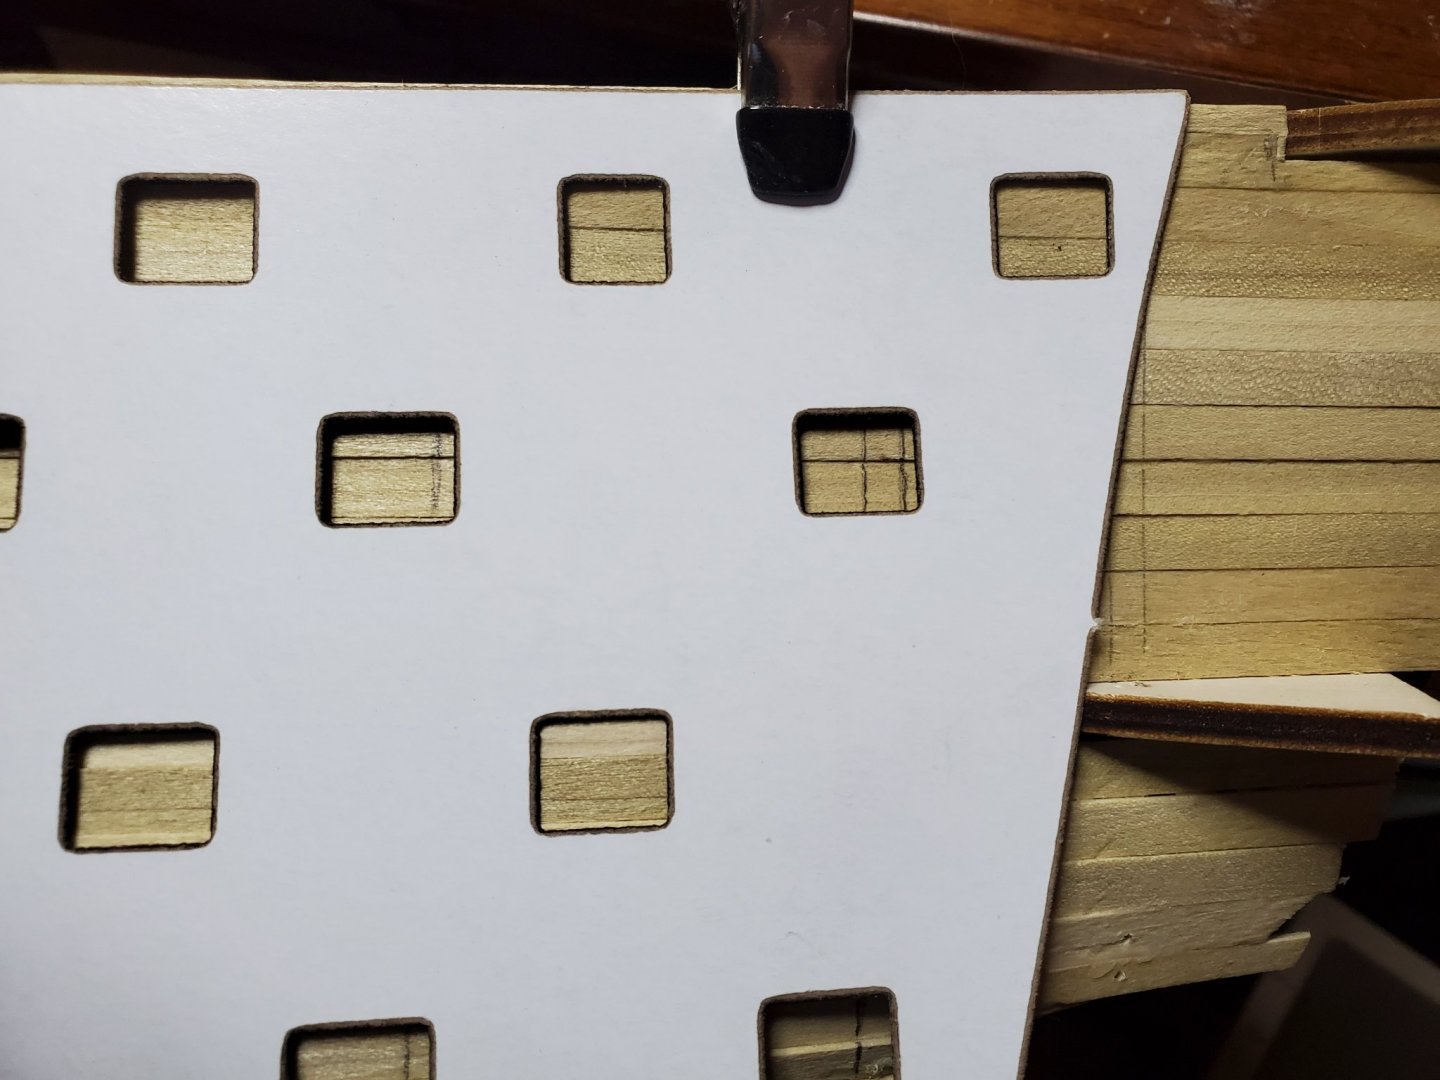
I have planked below the gun ports and stopped for an issue. I knew this problem was coming .... and now it is here. This is the poor planning on Mantua's part with this kit. The gun ports are interfered with by the bulkheads. I would have thought they would consider this in the design.
20200422_155516.thumb.jpg.255639def1f767ae8bd226c436a5b52c.jpg
There is marks on the gun port template to line up with a bulkhead. The ports look good in this location .... BUT.... several of the gun ports are badly obstructed by bulkheads, about 6 total.
20200422_155500.thumb.jpg.9073be18a8a44a55514ee48841844d14.jpg
20200422_155444.thumb.jpg.983881b8cd85debc9969b8280868b7b1.jpg
20200422_155419.thumb.jpg.dcdb2f3720c84d0258eec78f5306dd75.jpg
This was my reason for marking the bulkheads on the outside of the planking.
20200422_155213.thumb.jpg.5807a86188a244a65c3e6eeec9da4c6e.jpg
My first thought was to shift a few of the gun ports, but this makes everything look odd. I can't shift the pattern far enough to move them all as it will look very wrong. The worst one has a bulkhead in the center of a gun port opening. This is a problem and will have to be sorted out before proceeding. I am open to suggestions. My first thought is to cut the gun port openings and then cut the bulkhead back. This will have to be done through the small gun port opening on most of them. I may be able to shift a couple but I am doubtful as it will throw the spacing off too much and look weird. I shall think on this for a while to explore all options before cutting anything.

Mark Frazier
 
Back
Top