HMS Victory - CalderCraft 1:72

Joined
Jul 7, 2015
Messages
1,252
Points
443

Location
Berwick, Australia
And so it begins:

I purchased this kit back in 2014 ( 8 YEARS AGO) for $1,400 Australian. After finishing 4 previous models ( CC Endeavour, Occre Albatros, Amaiti Stage Coach & Occre Stephensons Rocket) I was hooked on wood kits. I had a windfall and invested in the kit.

I was keeping it till I had enough skill to to do it justice. Well 8 years and 4 more ships later and being 64 this year its time to begin.

I will not go through an unboxing, as this is in an old video here:


I purchased the obligatory ref books along the way as well as the CC Victory Admiralty Paint set. I have used Admiralty paint before and they are great to use.

So without rambing on here bigginith the adventure.

I will be doing both a pictural & Video log of this adventure. ( I'd supply the drinks & popcorn, but given the time that this log is likely to go on for, I will be in serious debt. Gifts of popcorn & beer gladly accepted.

Take care see you soon.
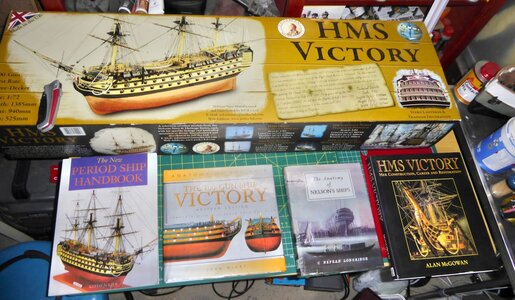
P1010200.jpeg
 
You are very well prepared for the Jotika Victory.
Your experience in kit models, the documentations you have about the ship and also the high quality material of the kit will make this project successfull.
Enjoy the work on this model - I will follow your building log with big interest...
 
Just spent 6 hours doing inventory . All present and accounted for . Rubber bands around strip wood has deteriorated, so it was all mixed up. ( Hence the 6 hours re sorting, labling & re banding). FYI the parts list is a separate document 43 page in length. Off to bed.

Next up the Base board & keel prep. ( plus some PVA tubing for stripwood filing.)
 
Thanks all

Well we have 2 videos and the basic skeleton is complete. So far its been a breeze, with ho hickups. The parts are very clean and requried very little sanding to assemble. It has been a dream to work with quality wood & parts. The instructions are straight forward and together with the plans ( only sheet 1 & 2 so far) make it relatively easy. Having said that I unless you are an experienced modeller, I would not recommend this as a beginners kit due to its complexity and size.

Okay so I will break this up into two entries.

If I make it too dumbed down please let me know.

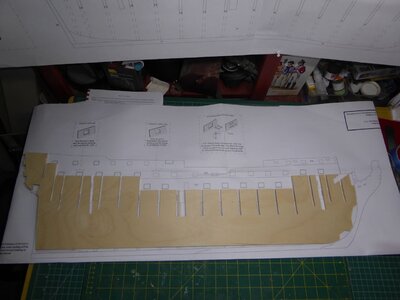
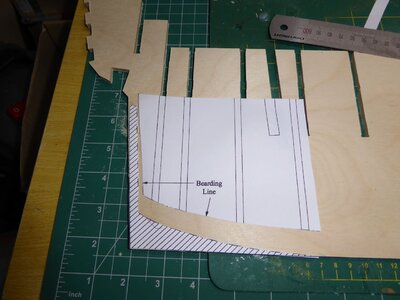
After removing the false keel form the 5mm sheet I laid it down on the 1:1 plan sheet two and then photocopied & printed the beading line area.
P1010202.jpeg
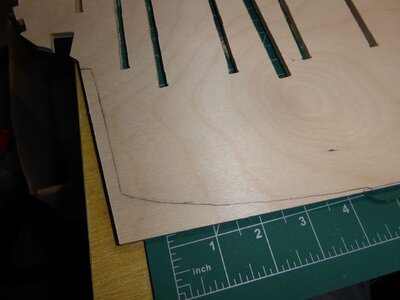
This was then laid on the keel and mark according.
P1010203.jpeg
P1010205.jpeg
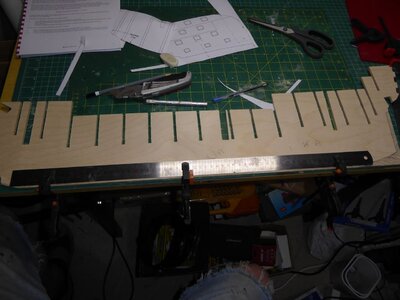
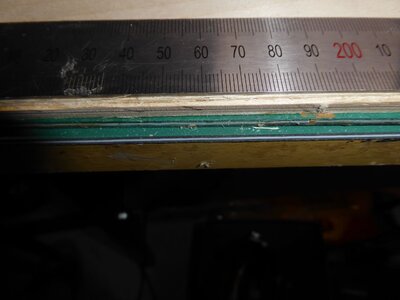
The keel was them clamped to the desk as was a 600mm ruler and a 2mm ( Plank thickness )Rabbit line for the garboard plank was cut away on both sides.
P1010207.jpeg
P1010208.jpeg
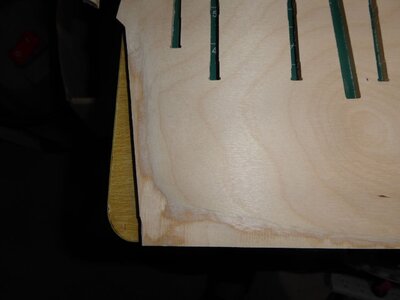
The keel beading line and deadwood aread was then tapered down with a dremel from 5mm to 2mm ( 1 plank each side) so that 1st planking makes up the 5mm thickness of the keel base.
P1010209.jpeg
P1010210.jpeg
The walnut keel parts were then cleaned, clamped to the false keel, glued with wood glue and allowed to set overnight.
P1010213.jpeg
P1010217.jpeg
The rear stem is not glued in place and was removed to allow sanding and final cleaning of the 1 & second layer planking prior to re fitting.
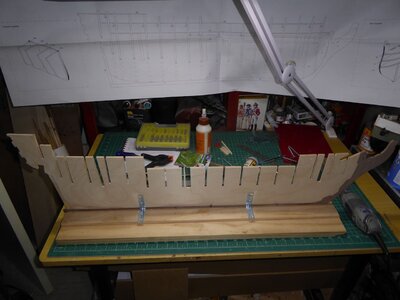
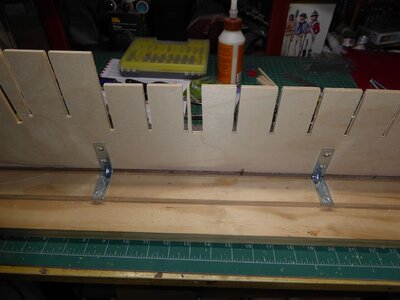
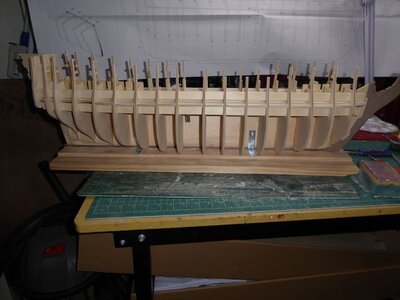
Te following day the keel was then fitted and screwed to a 25mm pine baseboard. The keel was locked in with wood beading either side of the keel and 4 right angle steel brackets. This made for a straight and sturdily held keel.
P1010218.jpegP1010219.jpeg

Video of stage 1 here:

 
Part 2

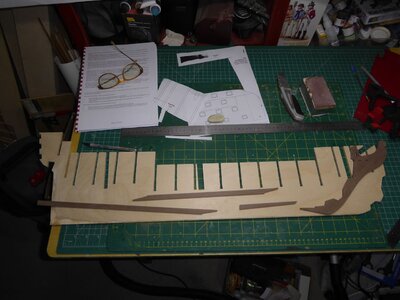
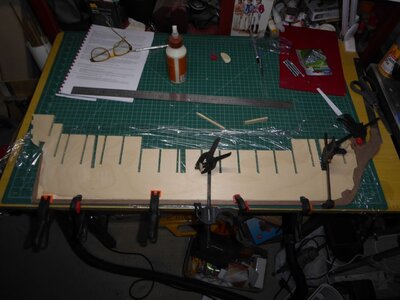
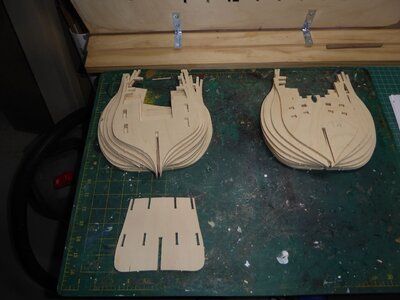
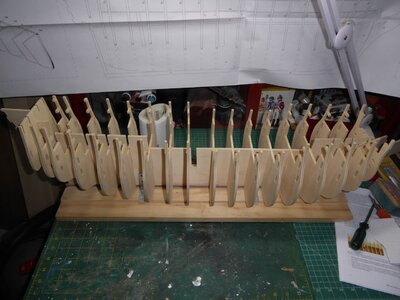
The bulkheads were cut from their sheets ( Wrist killer due to thickness). and cleaned up ( CNC Tags removed.) There are 18 in total.
P1010220.jpeg
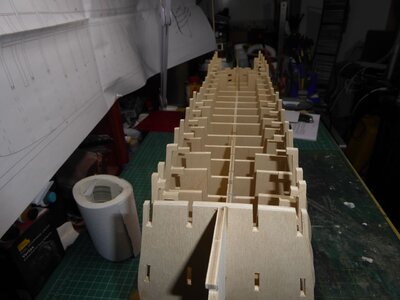
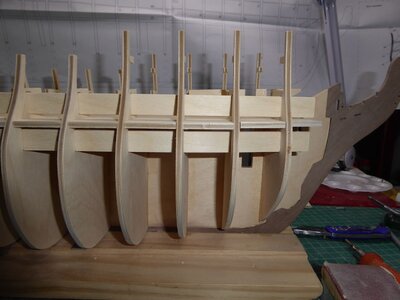
They were then test fitted to the keel and only minimal sanding of the joint cuts where needed to allow a tight fit. The lower deck (Also 5mm Ply) was then tested fitted and required NO adjustment or sanding. It fitted perfectly. After making sure eveything was square, the parts were removed glued and re added and allowed to set. Bulkhead 1 is left off till the gunport strips are added.
P1010221.jpeg
P1010222.jpeg
P1010225.jpeg
The gun port strips were then inserted through the builkheads above and below the lower deck. These were lightly sanded and the edges tapered slightly. The strips went in easily and only required minimal force and bending to fit. No soaking or pre bending was required.
P1010228.jpeg
P1010229.jpeg
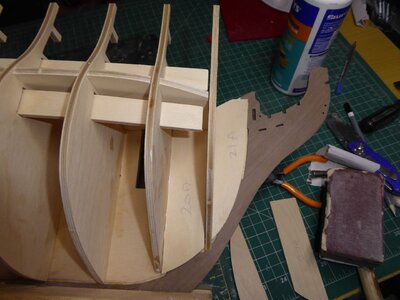
The stern supports were then added to bulkhead 18.
P1010230.jpeg

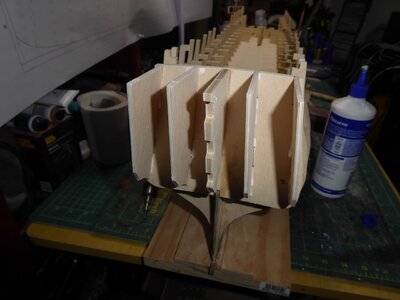
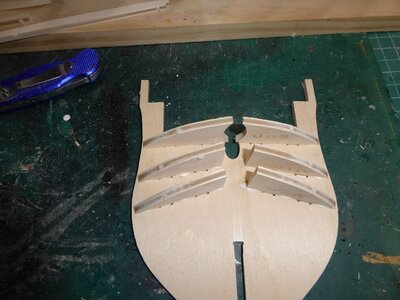
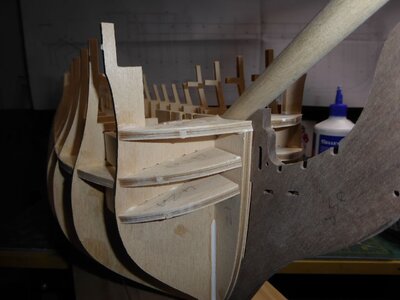
Bulkhead 1 was then added and the bow planking supports were added
P1010232.jpeg

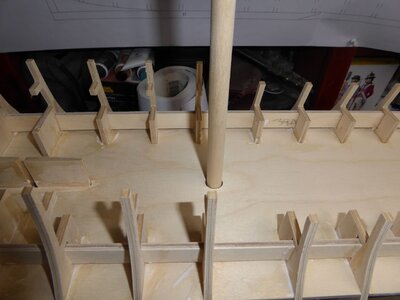
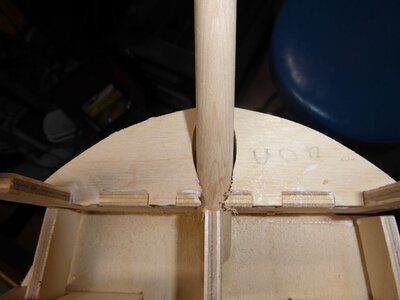
At this point the masts( uncut ) & bowsprit was test fitted to ensure alignment.

P1010233.jpeg
P1010234.jpeg
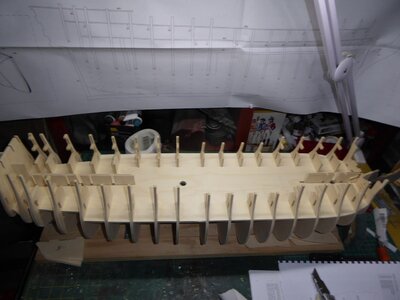
The bow upper formers were added and the bowsprit hole was adjusted to allow fit. ( This was warned of in another log.) In this fashion no modification needs to be done later or possible damage adjusting bowsprit entry later.
P1010236.jpeg
P1010237.jpeg
P1010238.jpeg
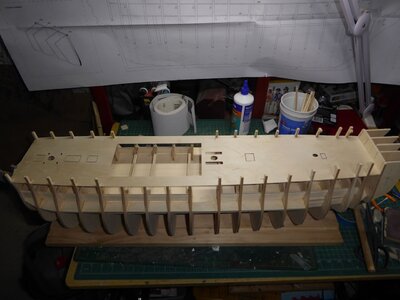
Finally the upper deck ( minus the middle) was pinned in place to allow the false gun port templates to be aligned correctly. ( A cannon and truck will need to be set up ( as well as adding the thickness of the deck planking) to ensure proper port alignment.
P1010239.jpeg

This will be in the next entry ( yet to be done or thought about.)

Its going to be a hot weekend, so any work may be delayed due to beer and BBQ's

Video build 2

Take care.
 
Part 2

The bulkheads were cut from their sheets ( Wrist killer due to thickness). and cleaned up ( CNC Tags removed.) There are 18 in total.
View attachment 288441
They were then test fitted to the keel and only minimal sanding of the joint cuts where needed to allow a tight fit. The lower deck (Also 5mm Ply) was then tested fitted and required NO adjustment or sanding. It fitted perfectly. After making sure eveything was square, the parts were removed glued and re added and allowed to set. Bulkhead 1 is left off till the gunport strips are added.
View attachment 288442
View attachment 288443
View attachment 288444
The gun port strips were then inserted through the builkheads above and below the lower deck. These were lightly sanded and the edges tapered slightly. The strips went in easily and only required minimal force and bending to fit. No soaking or pre bending was required.
View attachment 288445
View attachment 288446
The stern supports were then added to bulkhead 18.
View attachment 288447

Bulkhead 1 was then added and the bow planking supports were added
View attachment 288448

At this point the masts( uncut ) & bowsprit was test fitted to ensure alignment.

View attachment 288449
View attachment 288450
The bow upper formers were added and the bowsprit hole was adjusted to allow fit. ( This was warned of in another log.) In this fashion no modification needs to be done later or possible damage adjusting bowsprit entry later.
View attachment 288451
View attachment 288452
View attachment 288453
Finally the upper deck ( minus the middle) was pinned in place to allow the false gun port templates to be aligned correctly. ( A cannon and truck will need to be set up ( as well as adding the thickness of the deck planking) to ensure proper port alignment.
View attachment 288454

This will be in the next entry ( yet to be done or thought about.)

Its going to be a hot weekend, so any work may be delayed due to beer and BBQ's

Video build 2

Take care.
Good afternoon Pauvl, sure that there is work, good adventure of commitment
 
And so it begins:

I purchased this kit back in 2014 ( 8 YEARS AGO) for $1,400 Australian. After finishing 4 previous models ( CC Endeavour, Occre Albatros, Amaiti Stage Coach & Occre Stephensons Rocket) I was hooked on wood kits. I had a windfall and invested in the kit.

I was keeping it till I had enough skill to to do it justice. Well 8 years and 4 more ships later and being 64 this year its time to begin.

I will not go through an unboxing, as this is in an old video here:


I purchased the obligatory ref books along the way as well as the CC Victory Admiralty Paint set. I have used Admiralty paint before and they are great to use.

So without rambing on here bigginith the adventure.

I will be doing both a pictural & Video log of this adventure. ( I'd supply the drinks & popcorn, but given the time that this log is likely to go on for, I will be in serious debt. Gifts of popcorn & beer gladly accepted.

Take care see you soon.
View attachment 287820
Looks like a beautiful model, looking forward to its stages ,
 
Hello Paul. I'll pull up a chair to watch your build. This kit made my list of finalists and I'm glad I opted for another build as this one would have been too much for me. But I will cheer you on with enthusiasm!
 
Tks Frank, Chuck,Dock,Jim, Tony and all those with likes.

The initial frame was very fast due to the accuracy of the parts. It fitted perfectly with no issues. The actual assembly, not including the cutout, minor cleaning of parts & Glue Drying. is about 2-3 hours in total.

The next steps are a little more complex in terms of alignment & bending. I will need to take significant care with these.

IT weights in at about 7Kg at present, so its not a light beast to move around.
 
I shall be watching and consuming my popcorn as you go. A Victory is on my bucket list, but far down the road.

Maybe one day I will get to travel to England and visit the grand ship and get inspired to buy and build one.

I have obtain a Victory Cross Section kit, that will do for a while.
 
Back
Top