- Joined
- Jul 17, 2024
- Messages
- 75
- Points
- 113

30 Making Mast Components
Meanwhile, I’ve started looking into the masts and rigging. There are still quite a few challenges here, like the mizzen topgallant yard, which needs to taper over 49.5 mm from 2.3 mm to 1 mm, with the diameter reduced in proper proportions. I wonder if this will work and stay intact, it’s so thin. But we’ll see.
This week, I started making the wooden mast components. Months ago, I bought a small Proxxon lathe for a bargain. However, the lathe is too short to make some mast parts at full length. Additionally, the 10 mm feed diameter limits me in making the lower sections of the bowsprit, mainmast, and foremast, as these are 12.7 mm at their thickest.
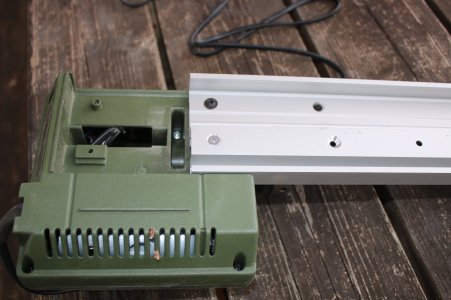
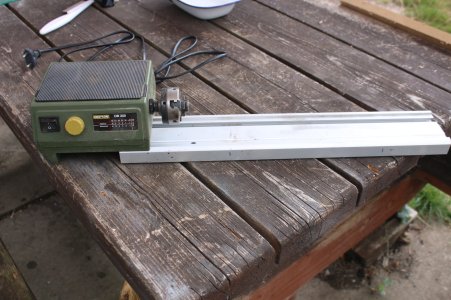
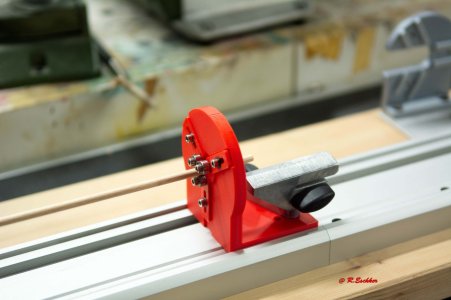
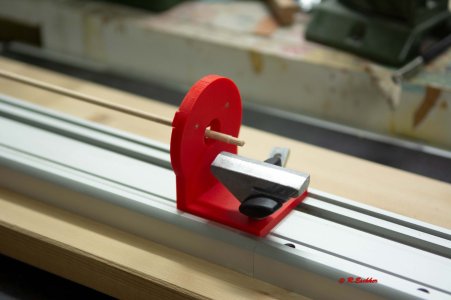
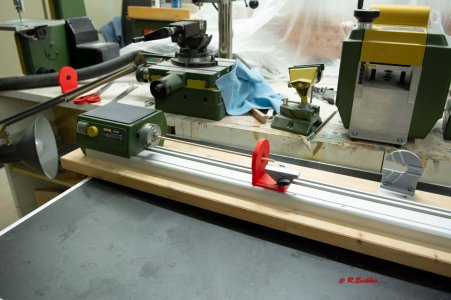
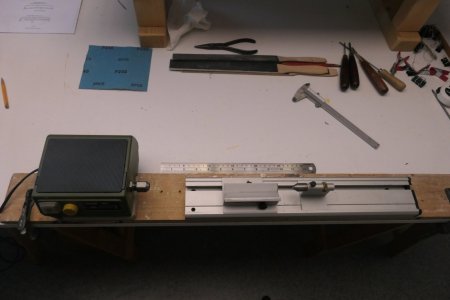
So I disassembled the lathe and mounted the drive and carriage separately on a plank. By moving only the carriage, I can now adapt the machine to any desired length.
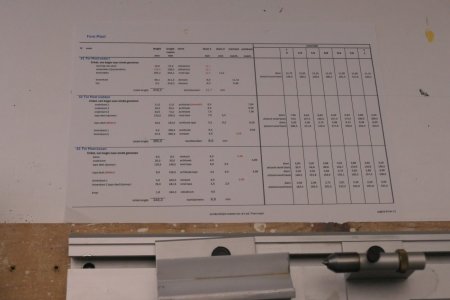
For the masts, I created a kind of production sheet, in which I recorded the modeling and measurements. This makes things easier than working from large drawing sheets.
The 12.7 mm dowels from the kit turned out to be slightly warped. Luckily, I still had some old dowels of that size that were straight. After tapering the ends, they were ready to use.
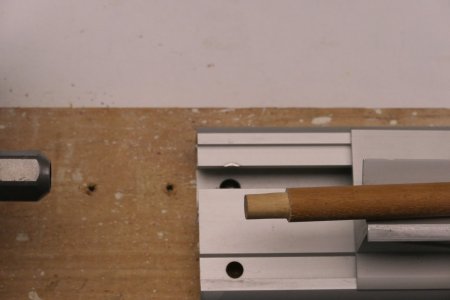
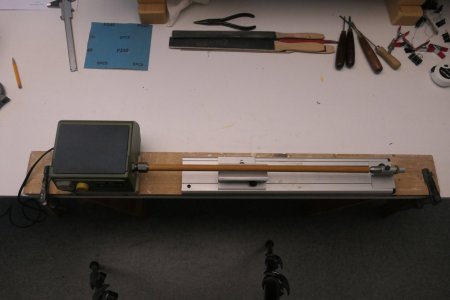
First, all relevant measurements are marked on the dowel, such as transitions from cylindrical to tapered and square. The taper is measured using a standard division.
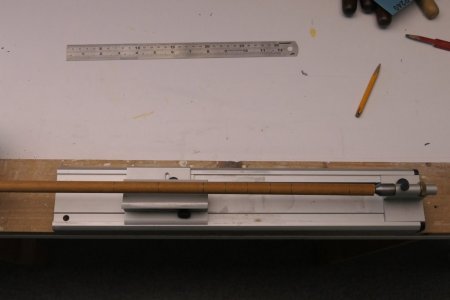
Next, the wood is tapered with a narrow gouge near the reference marks until nearly the desired thickness. The bottom of this tapered area is darkened with a pencil to remain visible during turning.
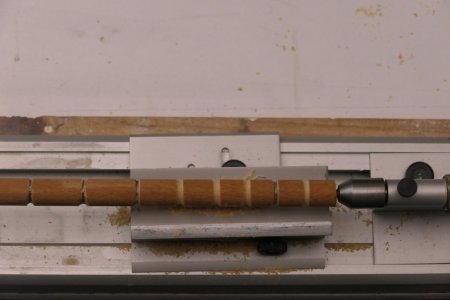
After approaching the black lines with chisels and gouges, sanding blocks are used in grits from 80 to 220.
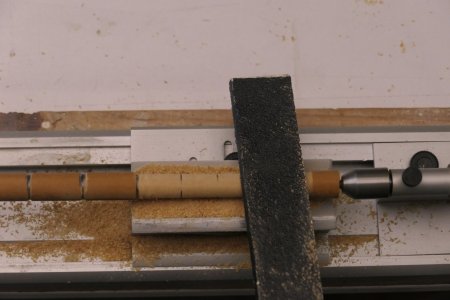
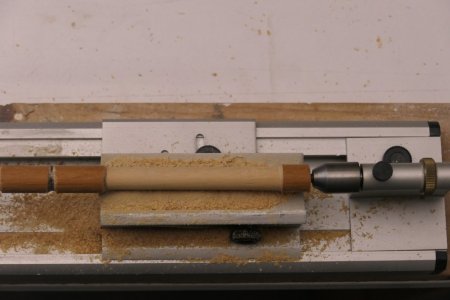
Once the entire dowel is tapered, it’s finished with 240 grit sandpaper. That completes the turning for this mast part.
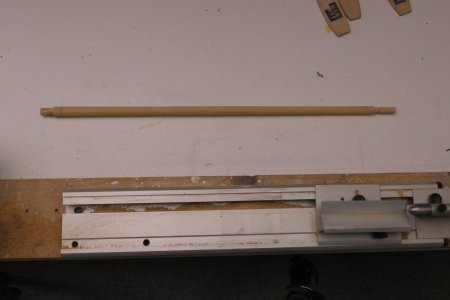
Above, I showed how I tackle the round tapering of masts. But mast parts also include sections that are square or even octagonal. Here's how I addressed that:
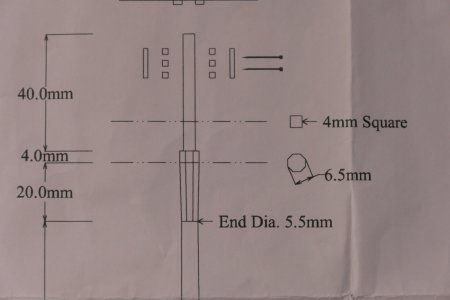
It seemed easiest to perform this while the workpiece is still in the lathe. The key is the position of the nut that drives the chuck. I filed a notch in one corner of the nut, which becomes the reference point to keep track of the rotation.
I made a small template that fits the lathe’s nut, allowing me to rotate the workpiece 90 degrees at a time. In each position, a flat side can be sanded onto the workpiece with a sanding board.
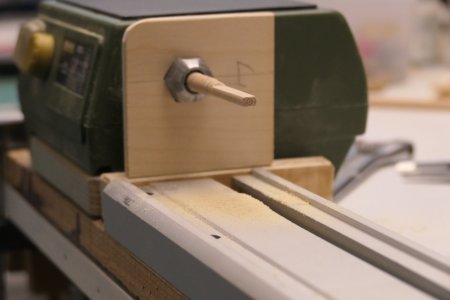
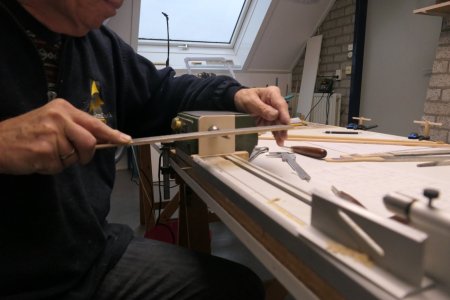
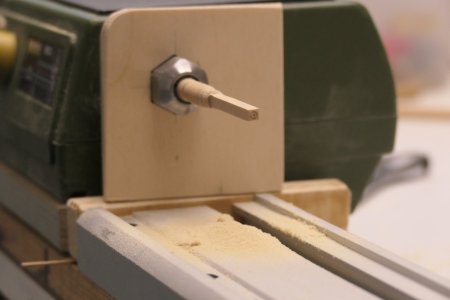
Next, the tapered section where the octagon is needed is turned.
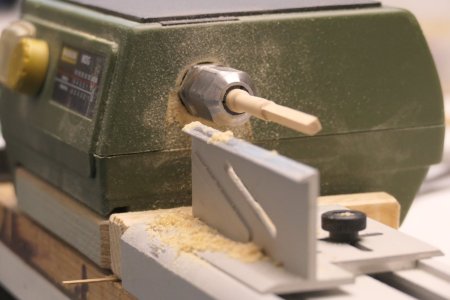
To add the octagonal shape, I made a similar template, but with the nut’s hole rotated 45 degrees.
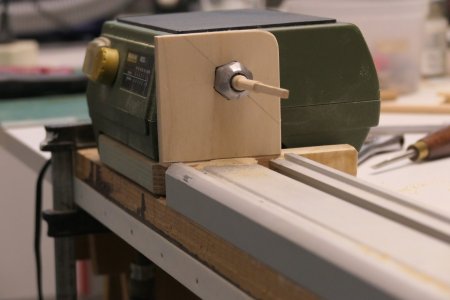
With the final result:
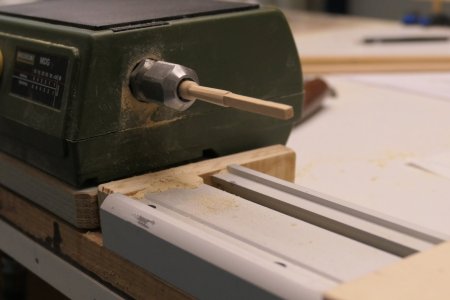
Yesterday, I turned the last parts on the lathe. I really enjoy this work, but the topgallant masts presented some issues. They’re very thin compared to other parts, and unsurprisingly, I had to remake several of them. They keep breaking just before they're done. Grrr…
True turning with a chisel is limited, it’s more filing and sanding while the piece spins. That causes a lot of wobbling with such long, thin rods. A fixed tailstock isn’t a solution either, because the workpiece is often too thin (about 2 mm) to handle sideways forces.
The best option, in my opinion, is to gently support the end by hand so it can flex slightly. And don’t apply too much pressure with tools. You learn that naturally after starting over a few times.
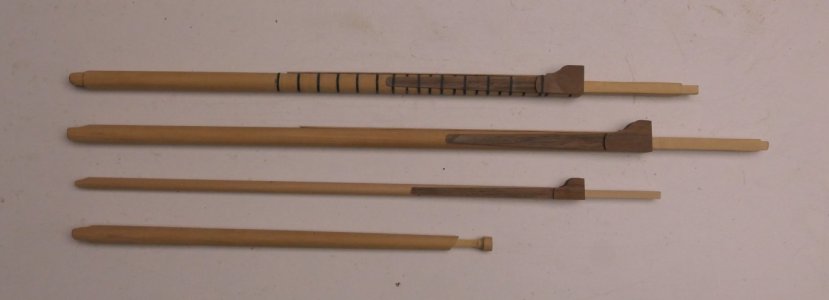
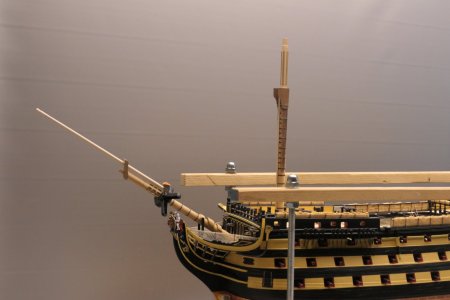
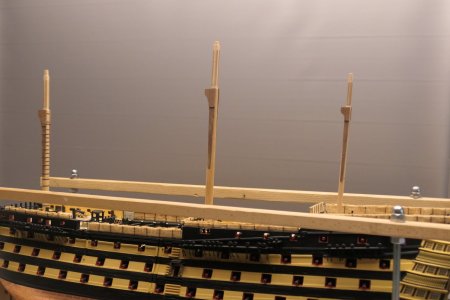
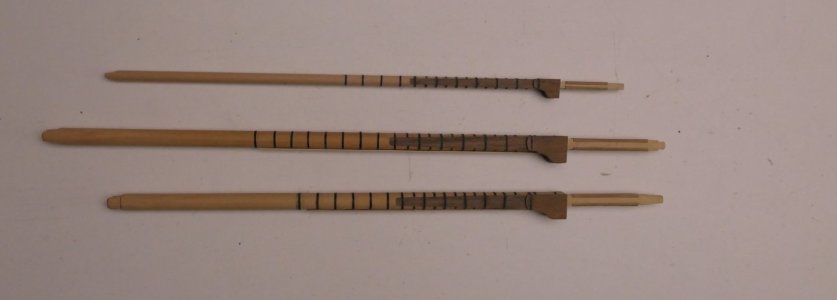
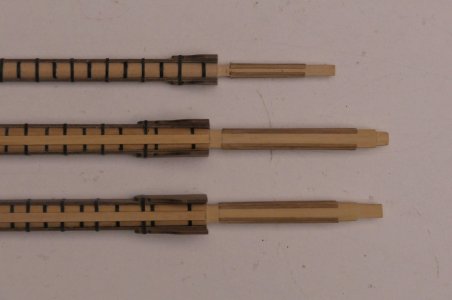
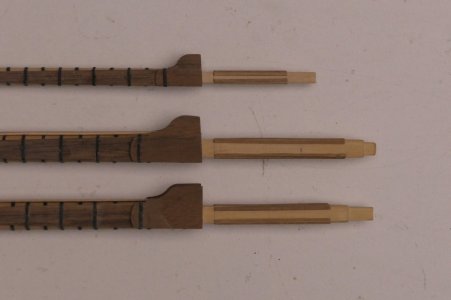
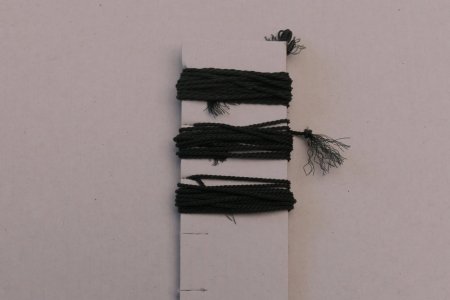
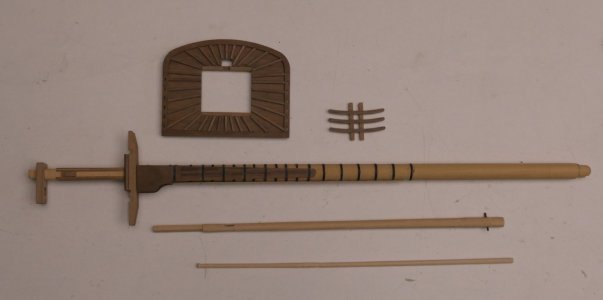
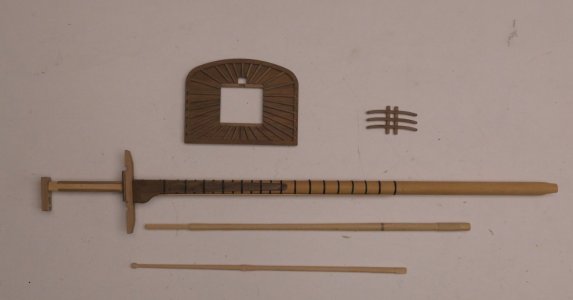
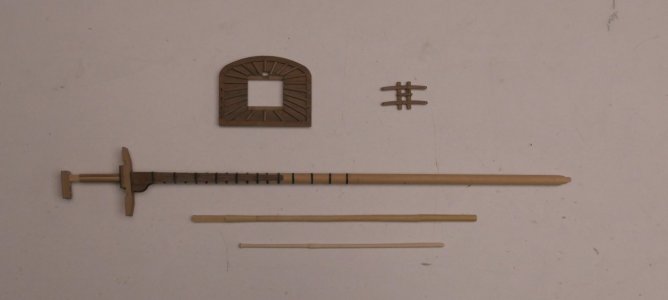
The photos below give a nice overview of the mast parts that are “finished” so far. From top to bottom: foremast, mainmast, and mizzen.
Meanwhile, I’ve started looking into the masts and rigging. There are still quite a few challenges here, like the mizzen topgallant yard, which needs to taper over 49.5 mm from 2.3 mm to 1 mm, with the diameter reduced in proper proportions. I wonder if this will work and stay intact, it’s so thin. But we’ll see.
This week, I started making the wooden mast components. Months ago, I bought a small Proxxon lathe for a bargain. However, the lathe is too short to make some mast parts at full length. Additionally, the 10 mm feed diameter limits me in making the lower sections of the bowsprit, mainmast, and foremast, as these are 12.7 mm at their thickest.
So I disassembled the lathe and mounted the drive and carriage separately on a plank. By moving only the carriage, I can now adapt the machine to any desired length.

For the masts, I created a kind of production sheet, in which I recorded the modeling and measurements. This makes things easier than working from large drawing sheets.

The 12.7 mm dowels from the kit turned out to be slightly warped. Luckily, I still had some old dowels of that size that were straight. After tapering the ends, they were ready to use.


First, all relevant measurements are marked on the dowel, such as transitions from cylindrical to tapered and square. The taper is measured using a standard division.

Next, the wood is tapered with a narrow gouge near the reference marks until nearly the desired thickness. The bottom of this tapered area is darkened with a pencil to remain visible during turning.

After approaching the black lines with chisels and gouges, sanding blocks are used in grits from 80 to 220.


Once the entire dowel is tapered, it’s finished with 240 grit sandpaper. That completes the turning for this mast part.

Above, I showed how I tackle the round tapering of masts. But mast parts also include sections that are square or even octagonal. Here's how I addressed that:

It seemed easiest to perform this while the workpiece is still in the lathe. The key is the position of the nut that drives the chuck. I filed a notch in one corner of the nut, which becomes the reference point to keep track of the rotation.
I made a small template that fits the lathe’s nut, allowing me to rotate the workpiece 90 degrees at a time. In each position, a flat side can be sanded onto the workpiece with a sanding board.


Next, the tapered section where the octagon is needed is turned.

To add the octagonal shape, I made a similar template, but with the nut’s hole rotated 45 degrees.

With the final result:

Yesterday, I turned the last parts on the lathe. I really enjoy this work, but the topgallant masts presented some issues. They’re very thin compared to other parts, and unsurprisingly, I had to remake several of them. They keep breaking just before they're done. Grrr…
True turning with a chisel is limited, it’s more filing and sanding while the piece spins. That causes a lot of wobbling with such long, thin rods. A fixed tailstock isn’t a solution either, because the workpiece is often too thin (about 2 mm) to handle sideways forces.
The best option, in my opinion, is to gently support the end by hand so it can flex slightly. And don’t apply too much pressure with tools. You learn that naturally after starting over a few times.
The photos below give a nice overview of the mast parts that are “finished” so far. From top to bottom: foremast, mainmast, and mizzen.


