- Joined
- Aug 8, 2019
- Messages
- 5,568
- Points
- 738

Thanks Tobias. And next time don't drink and writeLooks fantastic, Stephan. The reddish wood of the cherry comes across really well. (edit)

Last edited:
 |
As a way to introduce our brass coins to the community, we will raffle off a free coin during the month of August. Follow link ABOVE for instructions for entering. |
 |
 |
The beloved Ships in Scale Magazine is back and charting a new course for 2026! Discover new skills, new techniques, and new inspirations in every issue. NOTE THAT OUR FIRST ISSUE WILL BE JAN/FEB 2026 |
 |

Thanks Tobias. And next time don't drink and writeLooks fantastic, Stephan. The reddish wood of the cherry comes across really well. (edit)

 . Get well soon with the broken hand.
Thanks Paul, I can appreciate a compliment from a co-builder with high accuracy though.Such nice work Stephan! Your joinery is excellent and the sanding effort paid dividends!

Thanks Maarten, yes one of the things to do. But by hand because the keel is so curved. Have to be focus for that and I'll practise this first.Excellent Stephan, guess next will be the rabbet? Looking forward to that.
Thanks Shota for the interestwonderful work Stephan

Thanks Uwe.very good result -

Thanks for the kind words and joining this build.Impressive work there Steef. Looking forward to following your build.
Cherry is a lovely wood, it steambends also very nicely.

Thanks Kurt. Difficult to do, but the result is the price of the effordBeautiful joinery!
Thanks Peter, sure it is. Throwing into the deep is the best way to learn to slim. I have all the time in the world. And I love to do this. And I hope that this blok will also a little educatief about Dutch ship build.Unbelievable difficult task your getting yourself into Stephan. Take my hat off for you undertaking this task. Much respect!

Thanks for joining in, have funStephan, I love the beautiful cherry wood! You are off to a great start. I will enjoy your progress! Magic mike

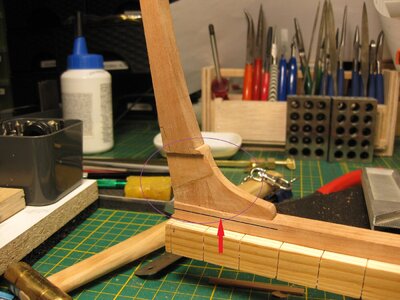
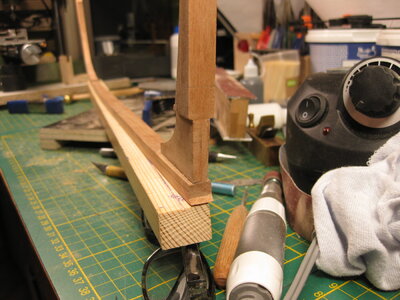


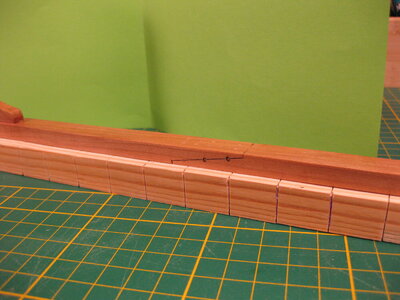

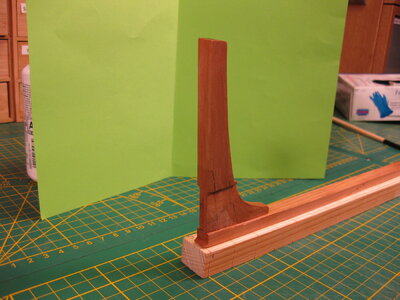
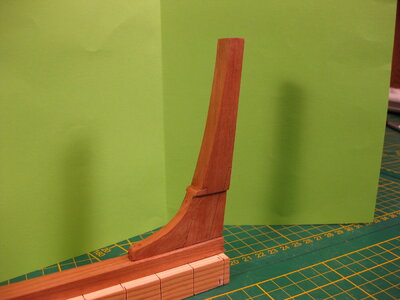


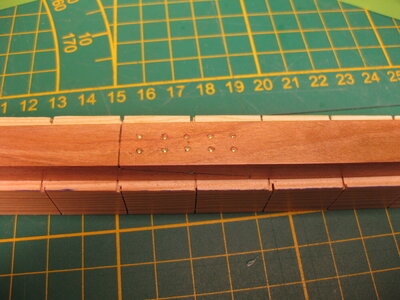
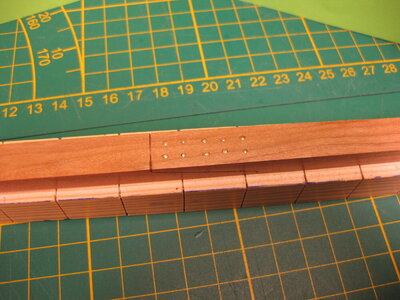


Yes, I found them. Roman markings. Looks good.Great - just looking great
Watermarks -> take a look at @Maarten building log of his Alert - he made some very good looking
