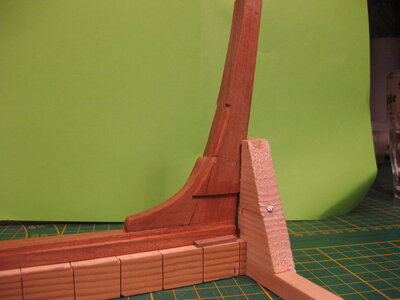
Hohenzollernmodell 1660-1670 Scale 1/75 POF build by Stephan Kertész (Steef66)

Looking very good - I do not know exactly, if the Hohenzollern had this also, but usually the width of the rudders was reduced from top to down and also from the stern post towards aft
View attachment 360284
maybe the lines are shown here wrong - I can not exactly see, which side of the rudder we can see, but I think you know, what I mean

as an example here my Coureur rudder - on the Boudriot drawing you can see it well
Interesting point, I will research this one. My feeling says you're right because I was thinking the same when I was made this part. I already made it a bit smaller then the keel.

I'm sure that won't be the last 'correction' Stephan. I'm building from a KIT and my build is already loaded with them...

The cherry looks fabulous (I know, I said it before)!
Thanks Paul, that makes my feeling about it a lot better. There is so much you have to think about in this stage of the proces. The calipers is almost a part of my body at this moment together with the square
 
The calipers is almost a part of my body at this moment together with the square
TRUE! On my Vasa the caliper was safely in its case on the shelf. Now it sits on my worktable and there is no dust on it even though there is dust everywhere - constantly in use.

BTW - check to see if your sternpost is centered on the keel...might be the photo, but...
 
BTW - check to see if your sternpost is centered on the keel...might be the photo, but...
correct, there is on 1 side max. 0,5 to 1 mm to much. After the planks are in place I correct this. I'm waiting on an order of Jimbo. I ordered cherry planks for the hull. To make all these planks in my home is a little to much. I live in a small apartment between a lot of very old people. ( looks like a retirement complex) :cool: That makes me feel young.
 
@all thanks for visiting my log and the likes and comments you gave me. I appreciate this very much.

I have respect for the shipbuilders in that day. There is so much to think about.
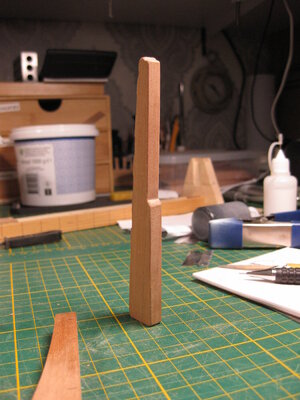
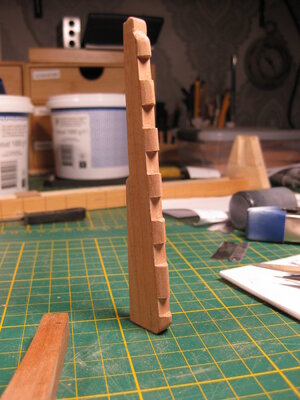
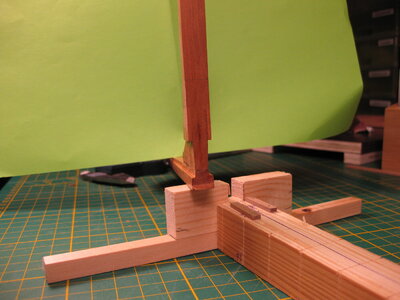
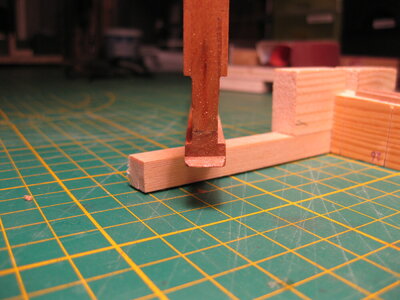
I made a big mistake on the achtersteven (stern beam). The first 3 layers of planks on the keel go to the back of the stern beam. We call these "zandstroken" I think the English word is sand strips. That is why I make a notch on the beam. But I cut way to much wood. So it needed a correction. Or I had to make a new stern beam.
I choose for a correction. Because the correction will not be visible in a later phase of the build. The connection between the the piece of wood and the beam will not be visible because the rudder Irons will hide this. Also comes on the beam a rabbet on the inside.

View attachment 360279
View attachment 360280
View attachment 360282
The Rudder iron will come in place of the green circle and the rabbet on the blue line

on the back it look like this

View attachment 360281

There is also a lot of adjustment needed on the keel when the planks are attached.

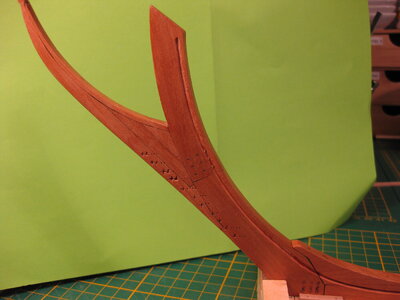
Further on the rudder, made of 2 beams glued together

View attachment 360276
View attachment 360277
View attachment 360278

Thanks for watching
It’s looking nice, Stephan. 3 points which are normal for scratch building are adjust, adjust and adjust……. ;)
The 1st plank which fits to and/or slides into the rabbet of the keel (zandstrook) is the ‘garboard strake’.
Regards, Peter
 
@ all thanks for visiting my build log and likes, this is appreciated.

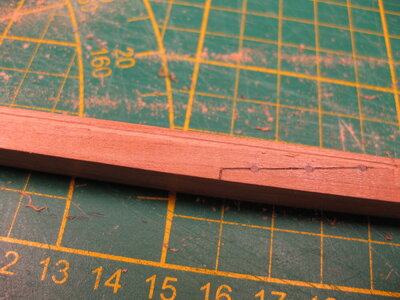
Today I finished all the treenails and joints in the keel. And give it a second layer of Clou sand grounding
What is still on the list?
  • Water markings on the keel.. (need some research how this will look. INPUT IS WELCOME)
  • The rabbet.. (First I have to find out the average size of the planking)
  • Sand it for a last time and give it a finishing layer of shellac.. (Stil waiting on the order).
Enjoy the pictures, I think the cherry looks superb.

View attachment 359161View attachment 359162View attachment 359163View attachment 359164View attachment 359165View attachment 359166View attachment 359167View attachment 359168View attachment 359169View attachment 359170View attachment 359171View attachment 359172
That cherry wood has such a deep rich hue with the Clou. I've tried so hard to get Clou in the U.S. as so many builders outside the U.S. use it with excellent results. Just great work and results, on all the timbers, joinery, geometry, finish. Wonderful work Stephan!
Wow, your axle timbers look great Stephan. The cherry wood has such a deep rich color with the Clou. I've tried very hard to get Clou in the U.S., but alas. I agree with every comment before mine. You work and results are wonderful, joinery, geometry, finish. Just super work!
 
Last edited:
Wow, your axle timbers look great Stephan. The cherry wood has such a deep rich color with the Clou. I've tried very hard to get Clou in the U.S., but alas. I agree with every comment before mine. You work and results are wonderful, joinery, geometry, finish. Just super work!
Thanks Ken for your nice compliment. For me, it's still a learning moment how to handle it all. Too bad it didn't work out to get CLOU in America. It is difficult in itself to get it in the Netherlands. The stores are rather difficult to deliver. In that respect, Germany is not quite modernized as far as store orders are concerned.

Perhaps this one would be willing to send it to the USA.

 
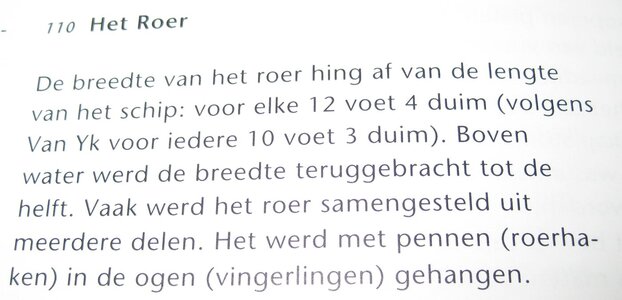
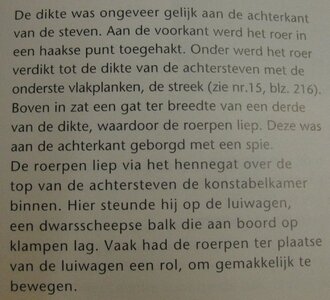
@Uwek I did a little research about the Rudder.

I took some pictures from Hoving his book.
IMG_3180.JPGIMG_3181.JPGIMG_3183.JPG

Short answer to the question. The rudder has the same thickness along its entire length from top to bottom and front to back. See also the first photo. The thickness is slightly less than the thickness of the stern. And below, the rudder was even thickened with the planks and the garboard strake which actually run from the stern through.

But looking to the picture there is still a lot of work to do on the rudder. Maybe there is a RE-DO on this one. But My repairs are sometimes invisible.
 
@Uwek I did a little research about the Rudder.

I took some pictures from Hoving his book.
View attachment 360306View attachment 360307View attachment 360308

Short answer to the question. The rudder has the same thickness along its entire length from top to bottom and front to back. See also the first photo. The thickness is slightly less than the thickness of the stern. And below, the rudder was even thickened with the planks and the garboard strake which actually run from the stern through.

But looking to the picture there is still a lot of work to do on the rudder. Maybe there is a RE-DO on this one. But My repairs are sometimes invisible.
many thanks for the info - good to know, also that every ship and period is different :cool:
 
I think it's something typical Dutch @Uwek

Everybody thanks again

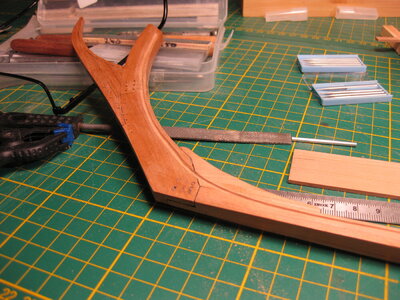
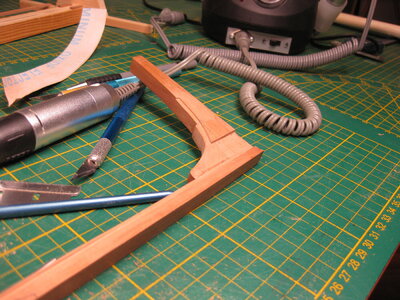
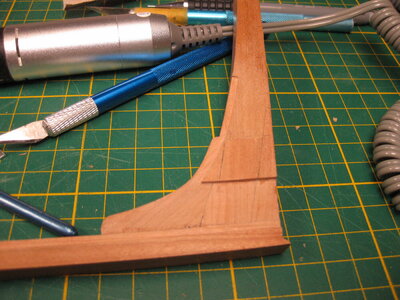
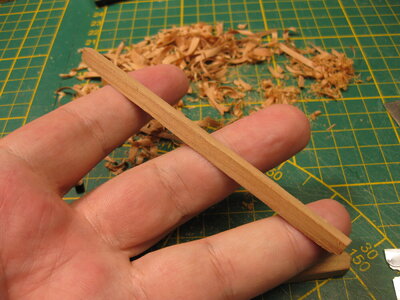
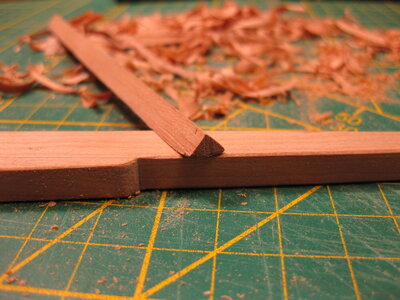
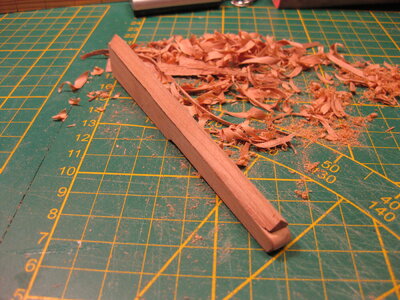
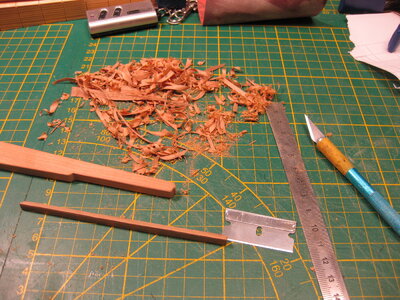
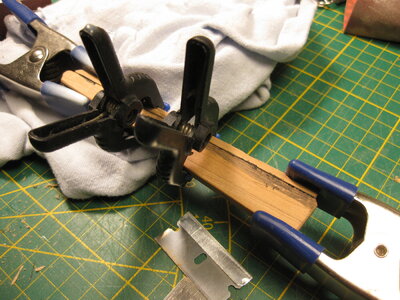
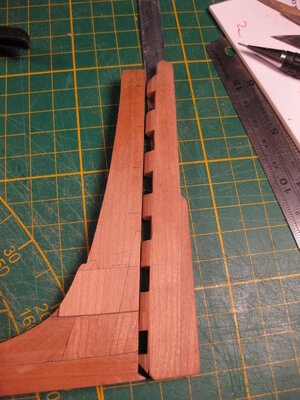
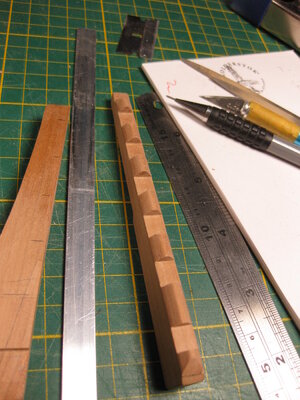
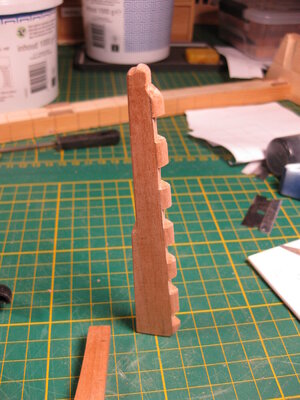
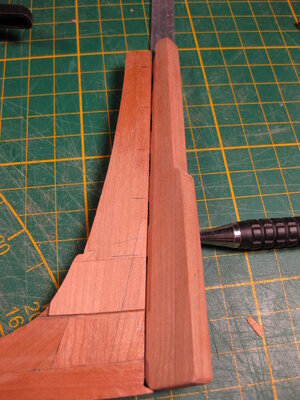
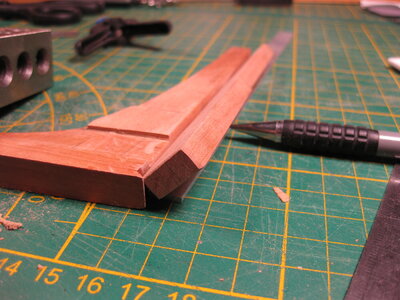
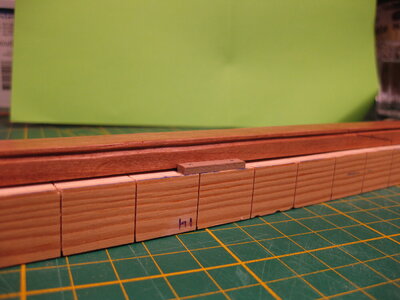
The rudder is still going on. No re-do or repair. But an upgrade. Just the pictures to show how I did this by hand.

first I cut a piece of wood and make it triangle shape. X-acto and a small scraper are perfect for the job.

IMG_3184.JPGIMG_3185.JPGIMG_3186.JPGIMG_3187.JPG

Then glue it on the rudder and after drying a lot of sanding the result, like I showed before in the drawing of the book.

IMG_3188.JPGIMG_3189.JPGIMG_3191.JPGIMG_3192.JPGIMG_3195.JPGIMG_3196.JPG

There is also the possibility to use the rudder

IMG_3197.JPG
IMG_3198.JPG

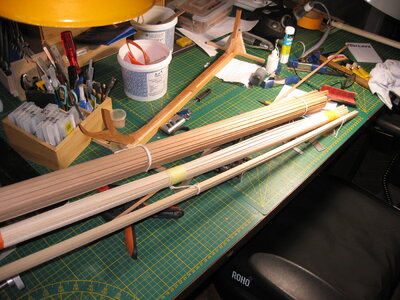
Today also my wood from Jimdo arrived.


IMG_3199.JPG

Fast delivery. The order came on monday and today, Thursday, it was delivered.

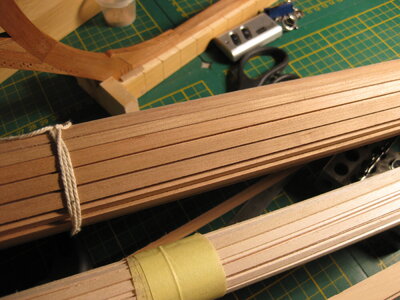
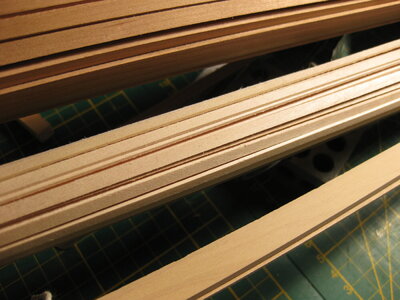
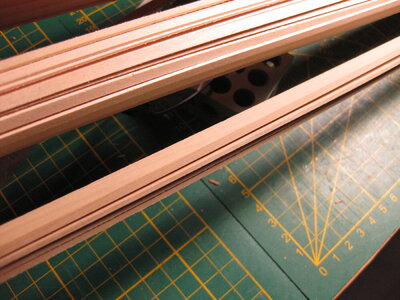
IMG_3200.JPG100 piece of cherry 2x6x1000 mm. (6 piece extra)

IMG_3201.JPG90 piece lime 1x4x1000 mm (6 spare)

IMG_3202.JPG
and some castello strips 3x12 and 2x2 mm

The reason why I buy strips is like I mentioned before, I live in an appartment on the second floor. No outside to do the job by myself.
Thanks for the visit.
 
I am sure you are having a blast while building your model. I can see it from your photos and the way you were telling us about it. ;) The scratch build is a different breed of animals, and it requires passion & patience you have.
 
I am sure you are having a blast while building your model. I can see it from your photos and the way you were telling us about it. ;) The scratch build is a different breed of animals, and it requires passion & patience you have.
Thanks, kind words Jim. Yes, it's so much fun. And I'm thinking on nothing else all day then how to do this and how to do that. And still looking to the other 2 models on the plank, they need attention to, but they have to wait.
At this moment I'm working on the rabbet. Just taking a short break. This part of construction is not easy.
 
I think it's something typical Dutch @Uwek

Everybody thanks again

The rudder is still going on. No re-do or repair. But an upgrade. Just the pictures to show how I did this by hand.

first I cut a piece of wood and make it triangle shape. X-acto and a small scraper are perfect for the job.

View attachment 360443View attachment 360444View attachment 360445View attachment 360446

Then glue it on the rudder and after drying a lot of sanding the result, like I showed before in the drawing of the book.

View attachment 360447View attachment 360448View attachment 360449View attachment 360450View attachment 360451View attachment 360452

There is also the possibility to use the rudder

View attachment 360453
View attachment 360454

Today also my wood from Jimdo arrived.


View attachment 360455

Fast delivery. The order came on monday and today, Thursday, it was delivered.

View attachment 360456100 piece of cherry 2x6x1000 mm. (6 piece extra)

View attachment 36045790 piece lime 1x4x1000 mm (6 spare)

View attachment 360458
and some castello strips 3x12 and 2x2 mm

The reason why I buy strips is like I mentioned before, I live in an appartment on the second floor. No outside to do the job by myself.
Thanks for the visit.
A nice start of making te rudder, Stephan. The color of the wood is beautiful. And some nice bundles of planks. Nothing can stop you now for completing te hull …………. Uh ……… ;)
Regards, Peter
 
@Peter Voogt Thanks, nice to see you around here. No nothing to stop me.

And everybody else thanks for the likes and visit.

Today the rabbet.
Little tutorial how I do it.

First, I mark the rabbet line with pencil and for that I use a piece of wood along a board. The piece of wood indicates where the pencil line will be.
Note! This is a keel of a Dutch ship. It is not straightforward. So to make a construction in my Proxxon milling machine is not possible. It has to be done by hand and this is also a nice tutorial for those who do not have a milling machine.
So back to the line, see picture how this looks.
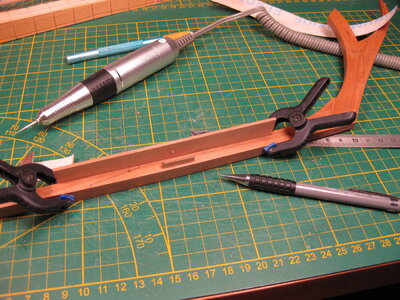
IMG_3204.JPG

After applying the pencil line, I go over this pencil line to cut one in with a knife. Sometimes I can use a ruler, but in the curves I have to do this freehand.
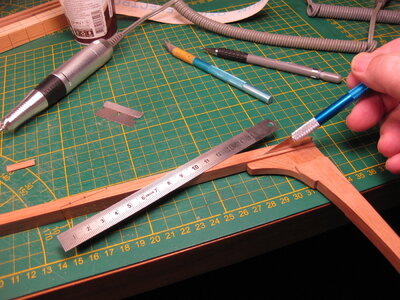
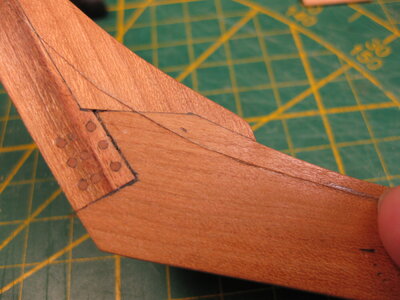
IMG_3205.JPG
IMG_3206.JPG

Do not cut too deep, it is only meant as a mark and as a guide for the cutter.

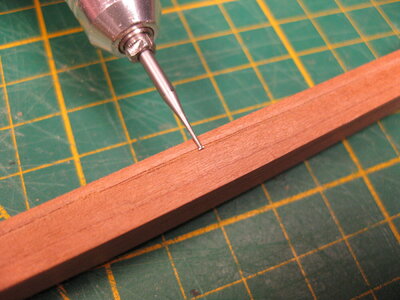
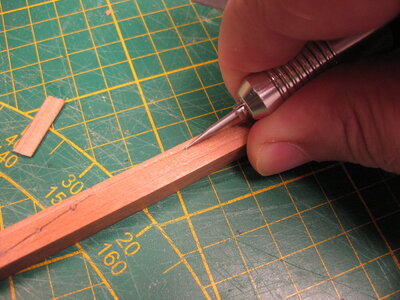
In my handdril I use this cutter. That I can hold along the keel with my finger and cut a small line in the keel on the place of the line I cut before.
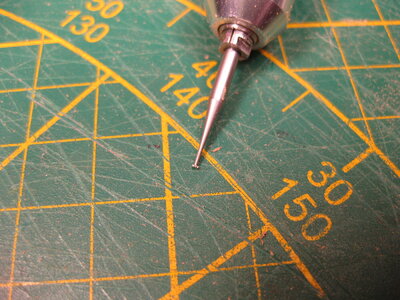
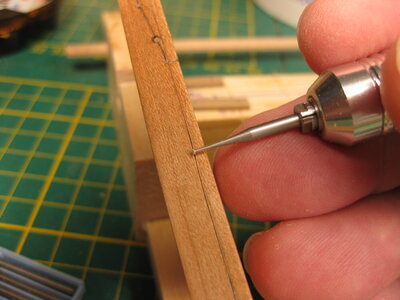
IMG_3207.JPG
IMG_3208.JPG
IMG_3209.JPG

When this is done, I take another cutter, a cone shape.
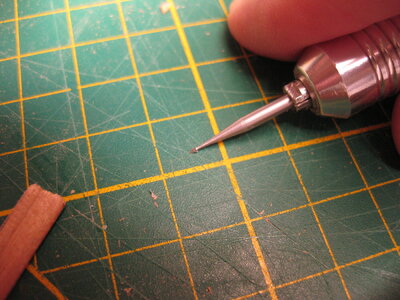
IMG_3211.JPG
IMG_3210.JPG

I use this to go deeper in the rabbet line.
BUT TAKE ATTENTION
Only move the cutter in forward movement. Don't pull it back in the wood. And don't let the tip go in the wood. Only thit way makes a smooth slot. Pulling it back it will change direction and don't follow the line you make first.
Here a picture with an arrow how to move
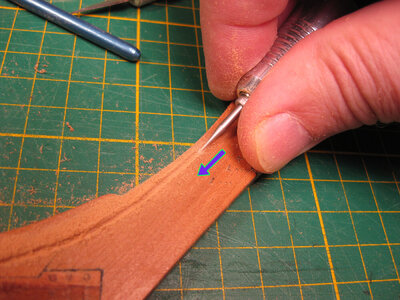
IMG_3214.JPG

I always start with the smallest cutters I have. 0,9 mm tip is the best for this job. On a high speed it won't catch in the wood. And keep in mind, don't use force, just let the cutter do the job.
0,9 mm is some times to small for the rabbet, if you need a wider rabbet you take the next cone shape cutter. like a 1,2 mm.
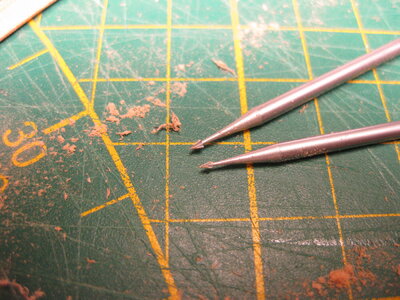
IMG_3213.JPG

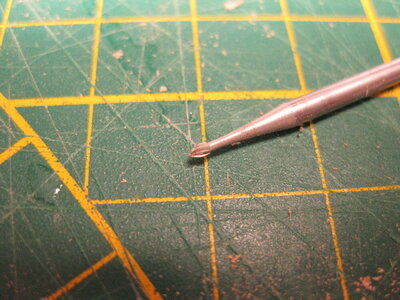
Take small steps with the cutters till you get the width you need on your rabbet. After that is done you go for the max. depth and smoothing the cut. I use the drop shape cutter for this. Note use the thickness of the last use cone for this job. In my case a 1,2 mm. drop shape cutter.
IMG_3215.JPG

And this one is one of my favourite cutters, you can move this one for and backwards in the rabbet line.
Finish of with a piece of sandpaper to smooth it out.

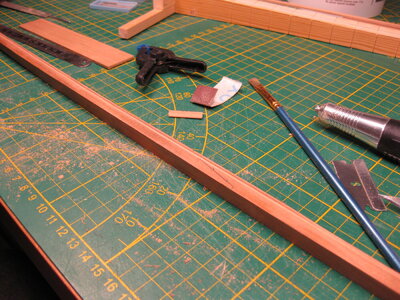
End result:
IMG_3216.JPGIMG_3217.JPGIMG_3218.JPGIMG_3219.JPG

When I'm done on both sides I show you the end result.
Thanks for visiting my build report. :)

IMG_3212.JPG
 
Back
Top