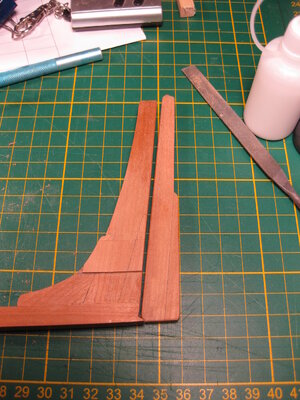
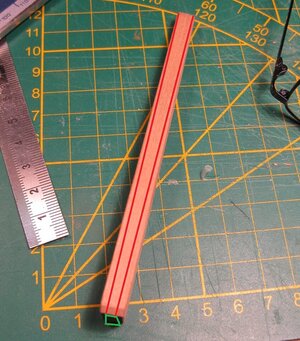
Hohenzollernmodell 1660-1670 Scale 1/75 POF build by Stephan Kertész (Steef66)

Watermarking on bow beam or and stern beam.

In the drawings of Winter I couldn't make sence out of these marking.
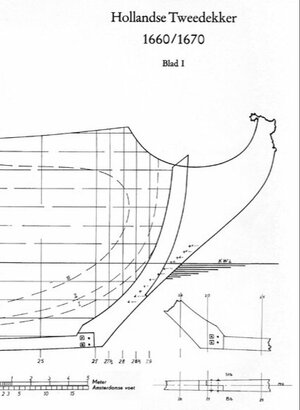
20230224_141337.jpg
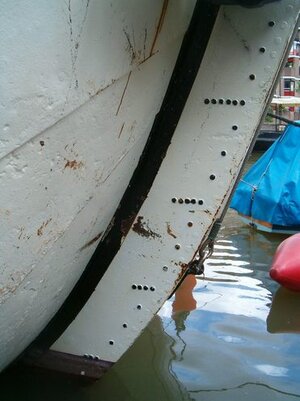
Something that looks like the capital letter L following with a few dots. Then I remember a picture @Maarten shared with me.
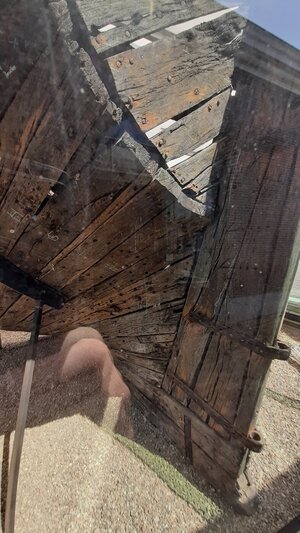
20190727_125606.jpg

Know it makes sence to me.
The other side the Roman letters
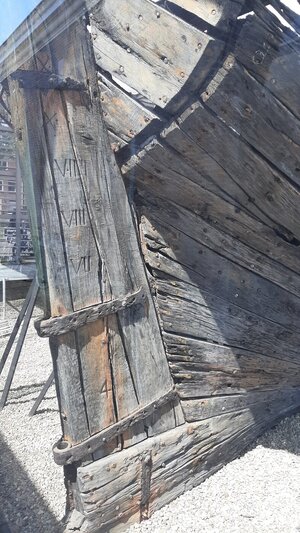
20190727_125730.jpg

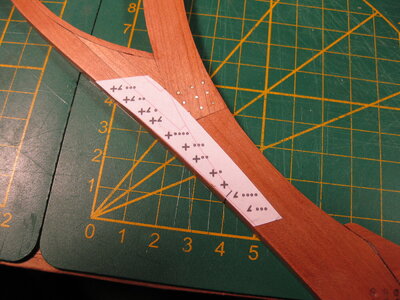
So I go and make an example how het should be.
 
Hi Stephan. Was not in your log for some days. What a progress have you made! It’s looking nice with already beautiful details. But still a lot to find out. That’s the beauty of scratch building.
Regards, Peter
Thanks Peter, just like your build. Take time for every detail and it will end up looking good. And indeed a lot to discover.
 
Watermarking on bow beam or and stern beam.

In the drawings of Winter I couldn't make sence out of these marking.
View attachment 359207
Something that looks like the capital letter L following with a few dots. Then I remember a picture @Maarten shared with me.
View attachment 359208

Know it makes sence to me.
The other side the Roman letters
View attachment 359209

So I go and make an example how het should be.
Hi Stephan,
The L is not an L but a 90 deg rotated V (Roman numeral 5) the horizontal part is the line of the depht marking. The dots are the roman numeral I.
 
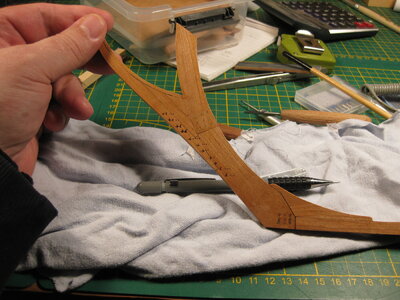
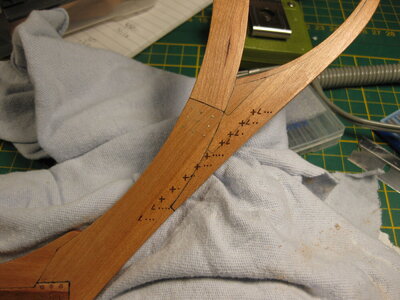
The waterline marking on the bow beam are done
The difficult part on this was, I had to carve in cherry, cherry wood is not always consistence in hardness. Especially nearby the saw line. There could be hard pieces in the wood on places where the wood was a little burned during sawing or sanding. It's like digging in the ground and you hit a rock. That makes you come of the straight line you working on. But I'm satisfy about the result. It's very small and I used a mill and cutter to make these markers.

IMG_3167.JPG

on this side the 3th and 4th from above went a little wrong
IMG_3169.JPG

this side went perfect
IMG_3170.JPG

@Maarten thanks for the info you gave me, it helps me to understand these drawings of winter in the back of the book. The markings where not perfectly to read but with your info I could identify them.
 
The waterline marking on the bow beam are done
The difficult part on this was, I had to carve in cherry, cherry wood is not always consistence in hardness. Especially nearby the saw line. There could be hard pieces in the wood on places where the wood was a little burned during sawing or sanding. It's like digging in the ground and you hit a rock. That makes you come of the straight line you working on. But I'm satisfy about the result. It's very small and I used a mill and cutter to make these markers.

View attachment 359592

on this side the 3th and 4th from above went a little wrong
View attachment 359593

this side went perfect
View attachment 359594

@Maarten thanks for the info you gave me, it helps me to understand these drawings of winter in the back of the book. The markings where not perfectly to read but with your info I could identify them.
Great little details, Stephan.
Regards, Peter
 
@all thanks for visiting my log and the likes and comments you gave me. I appreciate this very much.

I have respect for the shipbuilders in that day. There is so much to think about.
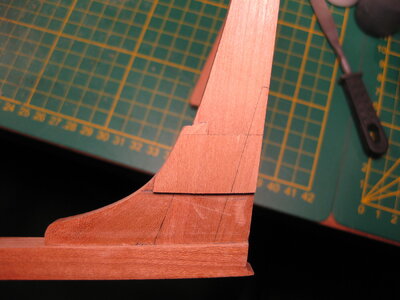
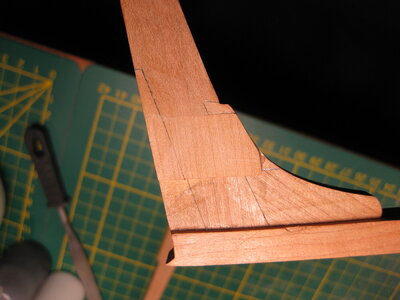
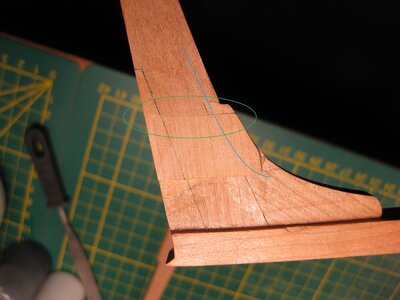
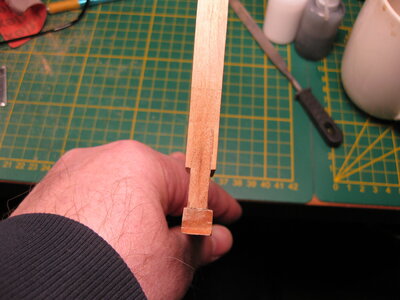
I made a big mistake on the achtersteven (stern beam). The first 3 layers of planks on the keel go to the back of the stern beam. We call these "zandstroken" I think the English word is sand strips (edit garboard strake). That is why I make a notch on the beam. But I cut way to much wood. So it needed a correction. Or I had to make a new stern beam.
I choose for a correction. Because the correction will not be visible in a later phase of the build. The connection between the the piece of wood and the beam will not be visible because the rudder Irons will hide this. Also comes on the beam a rabbet on the inside.

IMG_3177.JPG
IMG_3178.JPG
IMG_3175.jpg
The Rudder iron will come in place of the green circle and the rabbet on the blue line

on the back it look like this

IMG_3179.JPG

There is also a lot of adjustment needed on the keel when the planks are attached.

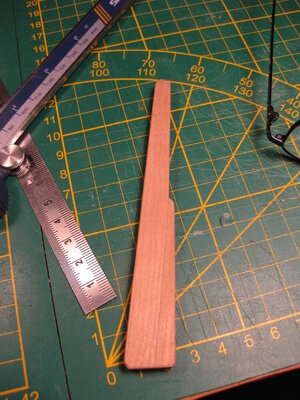
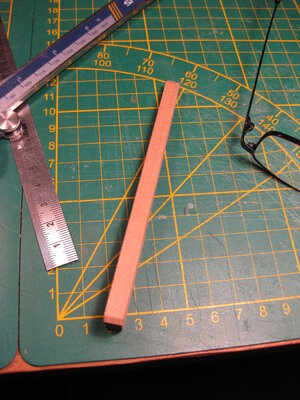
Further on the rudder, made of 2 beams glued together

IMG_3173.JPG
IMG_3174.JPG
IMG_3176.JPG

Thanks for watching
 
Last edited:
Looking very good - I do not know exactly, if the Hohenzollern had this also, but usually the width of the rudders was reduced from top to down and also from the stern post towards aft
IMG_3174.jpg
maybe the lines are shown here wrong - I can not exactly see, which side of the rudder we can see, but I think you know, what I mean

as an example here my Coureur rudder - on the Boudriot drawing you can see it well
 
Last edited:
Back
Top