My thanks to all as she is proceeding one day at a time as that is all that I have.Heinrich is right, she is processing swiftly and starts promising soon to be a looker!
-

Win a Free Custom Engraved Brass Coin!!!
As a way to introduce our brass coins to the community, we will raffle off a free coin during the month of August. Follow link ABOVE for instructions for entering.
-

PRE-ORDER SHIPS IN SCALE TODAY!
The beloved Ships in Scale Magazine is back and charting a new course for 2026!
Discover new skills, new techniques, and new inspirations in every issue.
NOTE THAT OUR FIRST ISSUE WILL BE JAN/FEB 2026
You are using an out of date browser. It may not display this or other websites correctly.
You should upgrade or use an alternative browser.
You should upgrade or use an alternative browser.
Kyrenia Ship, 290 BCE Reconstruction POF Build Log PT-2 [COMPLETED BUILD]
- Thread starter PT-2
- Start date
- Watchers 23
-
- Tags
- completed build
While waiting for the glue to set on the second inner wale piece I went back to rough out an anchor for the boat:My thanks to all as she is proceeding one day at a time as that is all that I have.Rich
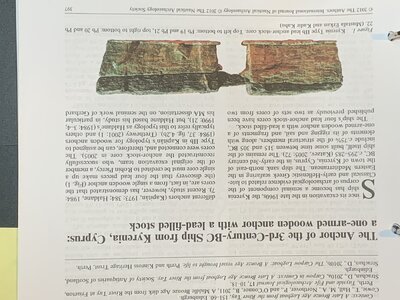
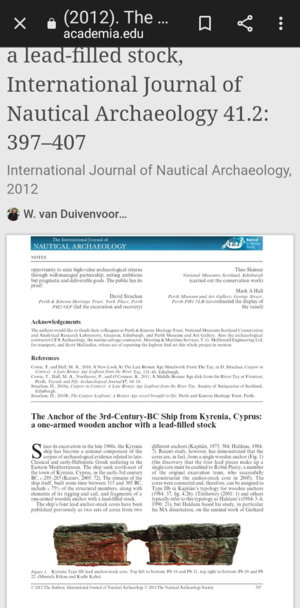
Sorry for the inverted research paper head.
Now I'll try for the anchor diagram taking those scaled dimensions in cm down to the 1:43 scale model size with the roughed out piece.
Now the recovered anchor tip piece:
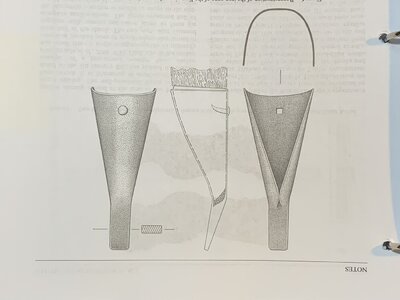
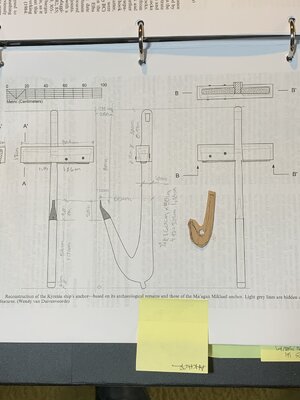
They also recovered the lead weights which were in the cross arm but I will not include those.
Rich
Adhesive set on both wide lower wales today:While waiting for the glue to set on the second inner wale piece I went back to rough out an anchor for the boat:
View attachment 265550
Sorry for the inverted research paper head.
Now I'll try for the anchor diagram taking those scaled dimensions in cm down to the 1:43 scale model size with the roughed out piece.
Now the recovered anchor tip piece:
View attachment 265552
View attachment 265551
They also recovered the lead weights which were in the cross arm but I will not include those.
Rich
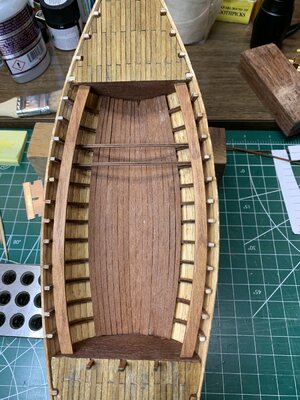
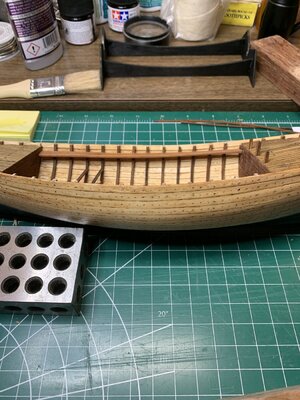
One side view of the Stbd.
Nwale curvature:
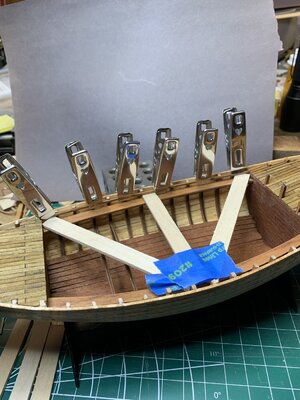
Now setting the thin upper wale with a spacer shim:
And followed by the Port after Stbd was set:
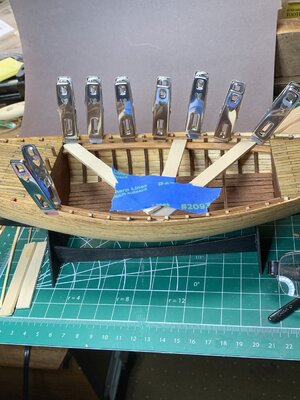 Same procedure with a fix on the Port aft end which was not engaged with the frame.
Tomorrow will be a break to do some shaping of the anchor.
RIch
No assembly today, just cutting out parts associated with the instruction illustration for sanding and prep with stain.Adhesive set on both wide lower wales today:
View attachment 265603
One side view of the Stbd.
Nwale curvature:
View attachment 265604
Now setting the thin upper wale with a spacer shim:
View attachment 265606
And followed by the Port after Stbd was set:
View attachment 265607 Same procedure with a fix on the Port aft end which was not engaged with the frame.
Tomorrow will be a break to do some shaping of the anchor.
RIch
First the morning's plan
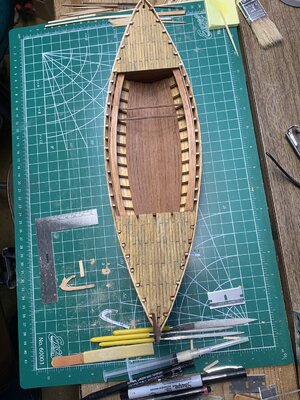 view of both interior wales:
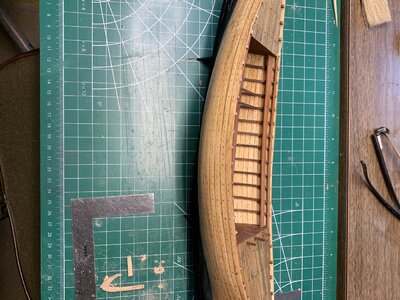
And the interior side view of them:
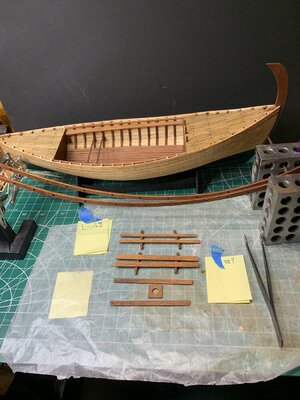
And after cutting out most parts I sanded and prepped the interior ones as noted with numbers on the instruction illustration. There are no other details about placement and the color illustration is small, dark, and the arrows to the parts not distinguishable. So the parts are drying after the stain waiting for tomorrow's call to action station:
So now it is off to pick up my Irish Tin Whistle for practice in learning how to coordinate my fingers on those holes.
After prepping the interior "structural" parts I have set them in place.She is looking very good Rich! When the rails go on, it will do wonders for the overall integrity of the look.
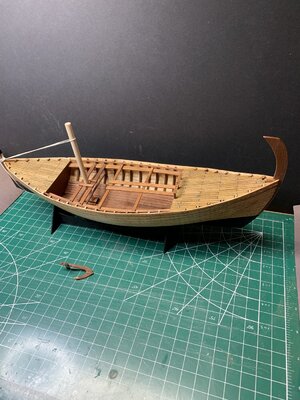
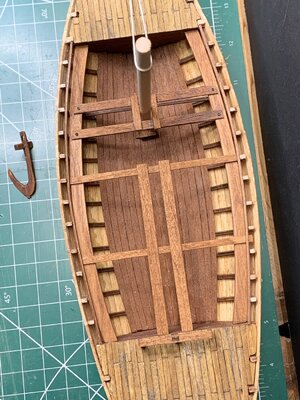
As none of these were existing when the wreck was recovered they are speculative but generally as on the contemporary Kyrenia experimental full sized sailing vessels. The dowel is to establish positioning the parts around the mast. And the anchor scaled down from the research paper assumption of what it was gives some sense of scale to that of the ship.
An overhead view:
The "hook" anchor was an evolution from stone "dead weights" to early curd arms and then this which had lead inside of the lower portion of the cross arms and a metal beak on the hook:
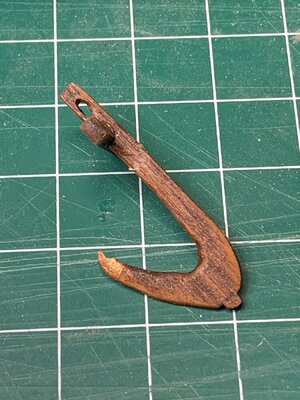
There was a cable hole in the top for deployment and recovery but I have not idea what the nose on the bottom was.
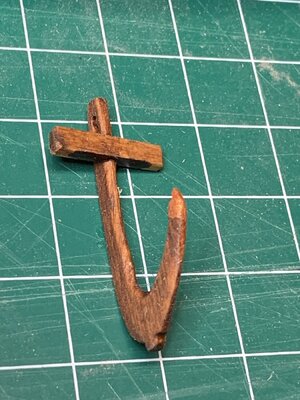
That metal beak was encrusted forming a mold to determine the shape of the metal plate that was formed around the wood and also preserved that part of the anchor.
In deployment, the cable would keep the weighted top up and when the hook engaged the bottom the lead weights in the cross arm would bring down assisting the hook to dig in.
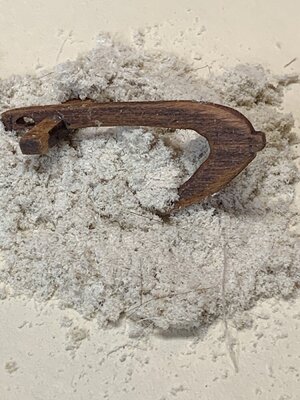
Next will be the more touchy stancheons and the kit designed railings as I am getting closer to the masting itself with the required fittings.
Thanks. It would be interesting to do a trial in seawater to see if the hook would be downwards or up when the cable would be slowly pulling it forward. Possibly there is enough wood in the main stock to have it floating above the lesser amount in the hook.I like your anchor!
Looking great Rich! I love the wood colors! 
Well, in my mind my log should reflect the realities of the days as to what actually occurs and not only the show pieces of my progress. Today shows little as on the side I had to scratch make a broken rail part where the kit did not cut out the small stantions squares which are very close to the edges and ends of the rail part. I used that as a template to trace onto some of the "spaces" between the laser cutouts to make a new one which shows the crude first cut on the bench in front of my placement of the first/stbd rail which was tied down and tensioned in place for the day to set:Looking great Rich! I love the wood colors!
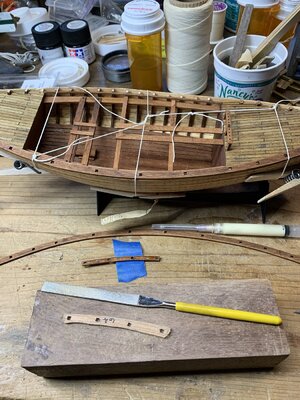
On the replacement part I learned the lesson to do the holes and then work back toward them.
Tonight's Port railing is on the bench. Now to get it set and held to the shear curve:
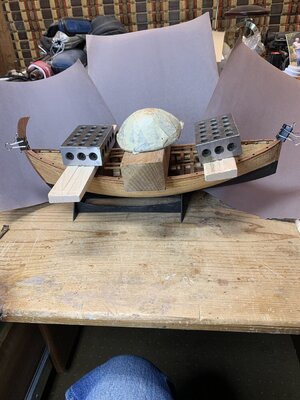 1-2-3 blocks with a lead piece provide the gravity which for this need is better than the morning tie-around which displaced the midships rail inwards.
Prepped and stained the rest of the railings pieces for their placement next.
Still I think that you should consider the lead weigh which was found in the boat, which is regarded as a part of the anchor specifically to hold the anchor down.Thanks. It would be interesting to do a trial in seawater to see if the hook would be downwards or up when the cable would be slowly pulling it forward. Possibly there is enough wood in the main stock to have it floating above the lesser amount in the hook.
Last edited:
Yes, that paper was the one that I used and had posted upsidedown. My question is if the lead weight would have the beak pointing up or down during the descent. As I specuate more wood on the stock may float it above the beak holding it in the engaging position beak down. Once there the lead weight would certainly keep the cable end down and the cross arm holding it in most instances from rolling over. . . beak up. RichStill I think that you should consider the lead weigh which was found in the boat, which is regarded as a part of the anchor specifically to hold the anchor down.View attachment 266193
- Joined
- Jan 9, 2020
- Messages
- 10,566
- Points
- 938

THAT was the railing I was waiting for to go on! It is a major improvement and once the starboard side goes on, you will have a very nice integrated model - both in structure and as far as visual appeal goes.
To satisfy Heinrich's interest in how the rails came our from under their setting load I found:THAT was the railing I was waiting for to go on! It is a major improvement and once the starboard side goes on, you will have a very nice integrated model - both in structure and as far as visual appeal goes.
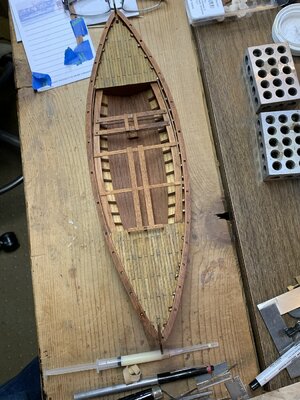
Next to the four sets of rectangular holes through the hull for some cross members bow and stern:
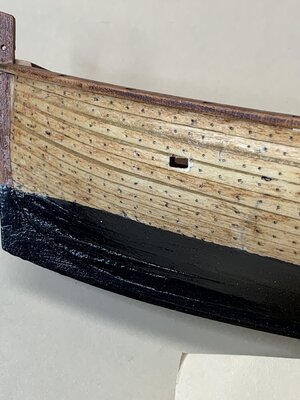
This bow port side was first located on each side and then started with small drill holes to check the alignment for enlargement to the member's size. I use a squaring tool that I made for earlier models which is secured onto one side of the stem and stern risers to slide the cross arms into position for view testing;
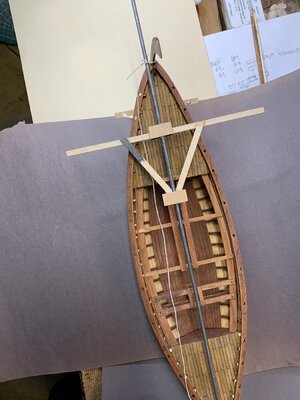
This was for a check of the rudder crossing member and after much testing and filing to get it into position:
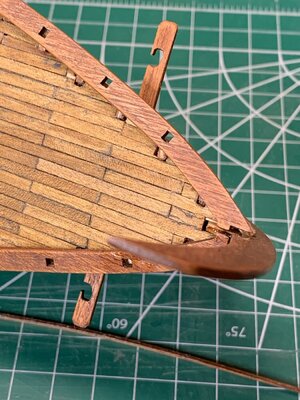
This view is off of a center so it looks like the member is not centered. The thin strips on the cutting board are the hull wales which will pass on the bottom sides of the cross members fore and aft to the stem and stern pieces.
So if I don't have other pieces to prep or need break here are a couple of my diversions:
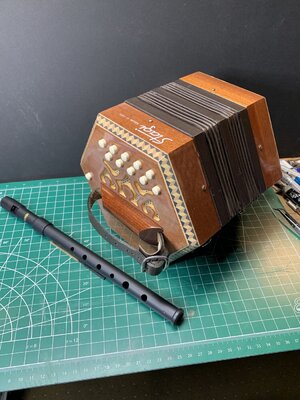
The concertina ties back to my mother's side of the family, full Swedes, where I like to play songs and dance tunes that would have been familiar to my "mormormor" (maternal great grandmother); and the Irish Tin Whistle (low cost for learning to play) and for which I have ordered two of higher quality from Ireland (real metal and not synthetic like this one), Keys of D and C, which should produce a much better tones and octave changes than this leaner one in D does but the fingering will be the same.
Sweden to Scotland and centering on a wreck from Cyprus!!!
Rich
- Joined
- Jan 9, 2020
- Messages
- 10,566
- Points
- 938

Oh WOW! Now you have taken me back with the concertina. My father was an excellent concertina player who made many records. And to the topic of the Kyrenia - now doesn't she look pretty with her hat on! Well done Rich! 

- Joined
- Jan 9, 2020
- Messages
- 10,566
- Points
- 938

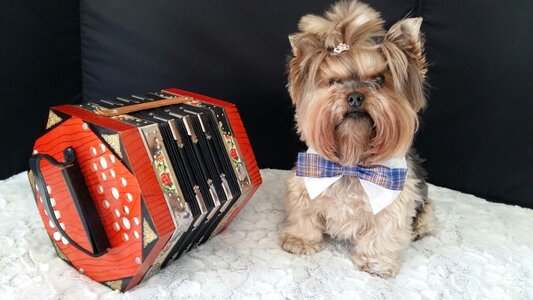
Your father's concertina looks like a twenty button which is what mine is. I am only a stumbler and bumbler and not an expert but there is always hope in the futureMy father's concertina was an East German Gallotte. This today is one of my most prized possessions - it is with my son and looks and functions like the day it was made. Posing with it is my late Yorkshire Terrier, Rota.
View attachment 266340
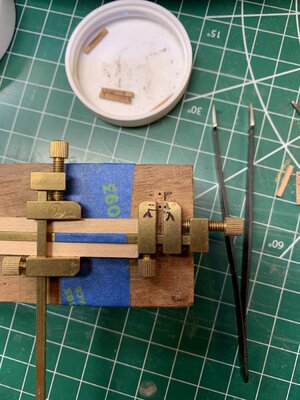
Following setting of the first wale I prepped the stantions and had to drill two holes into the midships set for two lines passing between the fixed wood rails fore and aft. Here is the mini-vise jig to hold each for drilling:Your father's concertina looks like a twenty button which is what mine is. I am only a stumbler and bumbler and not an expert but there is always hope in the futureRich
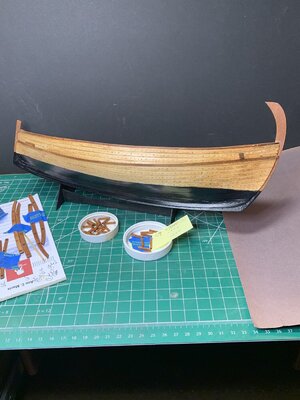
Now we have the Port Wale in place completing that step along with the Stantions and wood rail pieces:
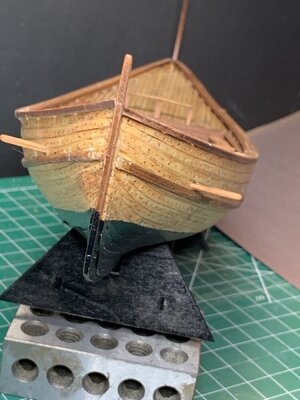
Next are bow and stern views of the wales alignments:
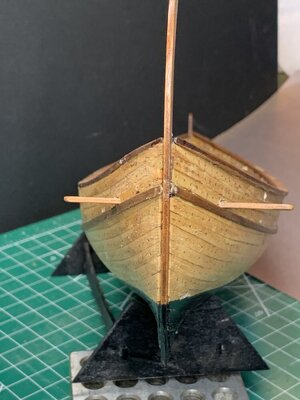
and on to a clear Stbd. elevation of the boat before setting the Stantions:
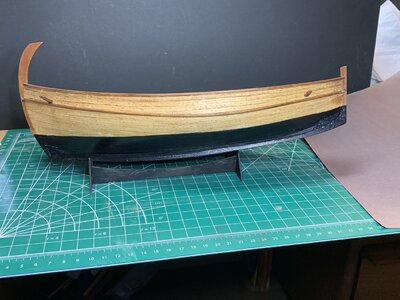
Today was a lot of filing and aligning the fore deck stantions and railings so that the holes were aligned. Typically with kit laser cuts and build variations on the computerized perfect fit there were numerous adjustments needed. Once done I installed the port side first using spaces for the railings:Following setting of the first wale I prepped the stantions and had to drill two holes into the midships set for two lines passing between the fixed wood rails fore and aft. Here is the mini-vise jig to hold each for drilling:
View attachment 266552
Now we have the Port Wale in place completing that step along with the Stantions and wood rail pieces:
View attachment 266553
Next are bow and stern views of the wales alignments:
View attachment 266554
View attachment 266555
and on to a clear Stbd. elevation of the boat before setting the Stantions:
View attachment 266556
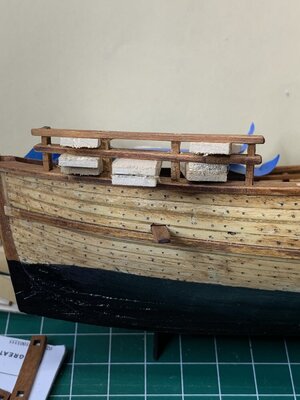
The same combinations will be used for all:
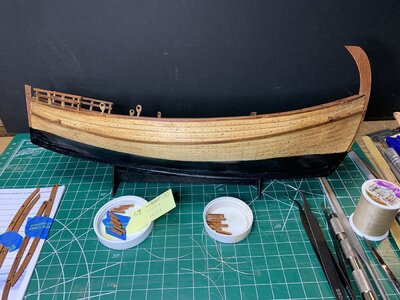
Going out of kit instructions sequence I made the thimbles for the shrouds and fed the lines through the main cap railing to be tied off below:
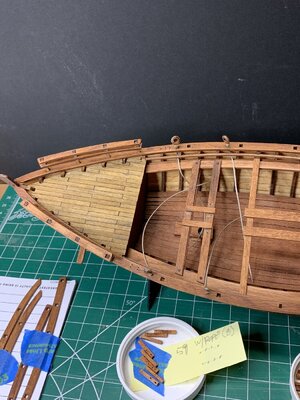 The lines wrap around the small inside longitudinal piece under the main railing (tomorrow)
So here will be what I walk upon tomorrow:
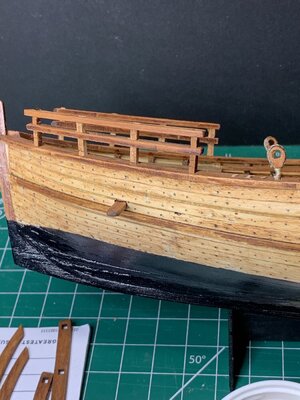 Similar to the fore deck railings will be the longer aft railings with additional stantions and need to align everything.


