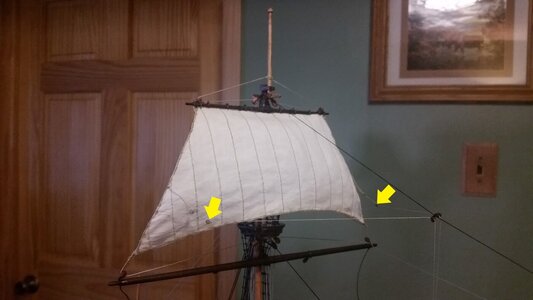
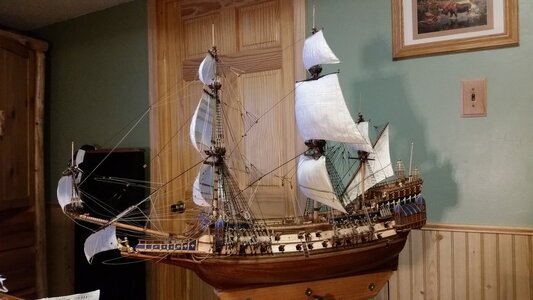
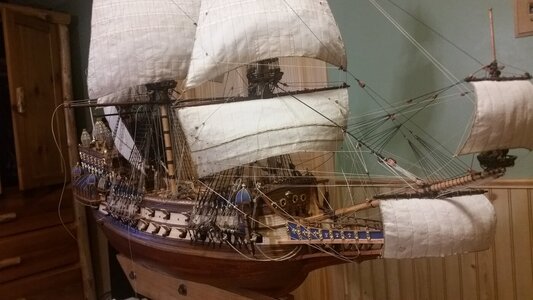
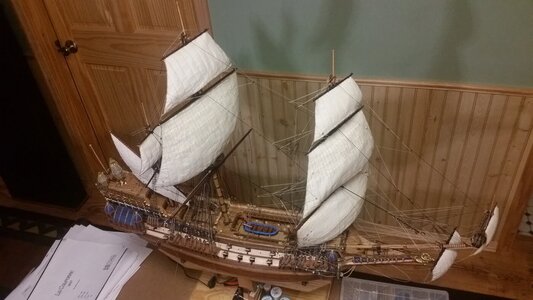
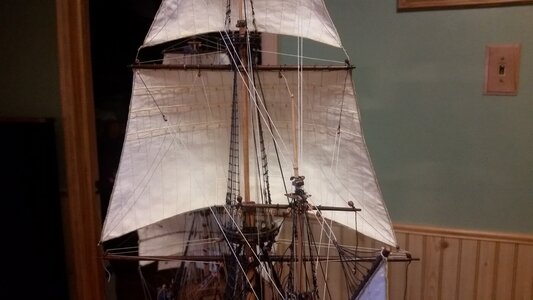
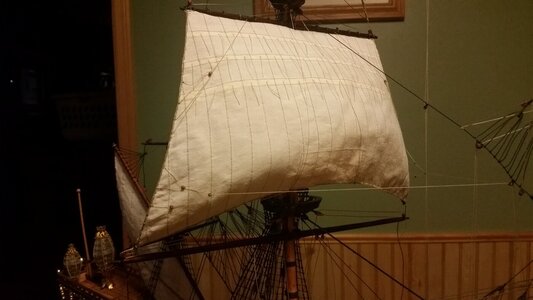
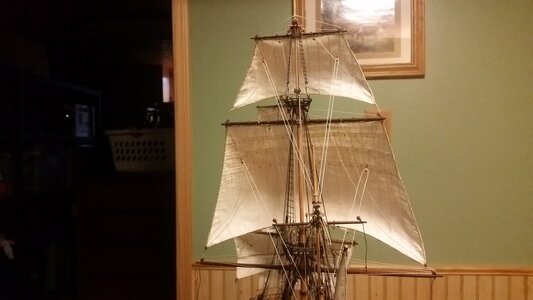
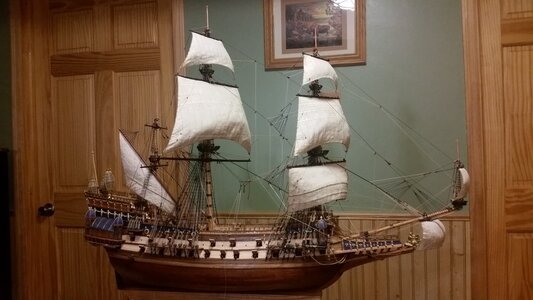
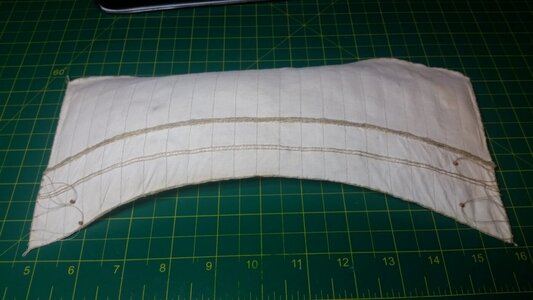
The main topgallant sail was completed today. Sound simple, but rigging one sail often sidetracks you onto other details to work on, usually something you forgot to install earlier, and now it's really hard to access.
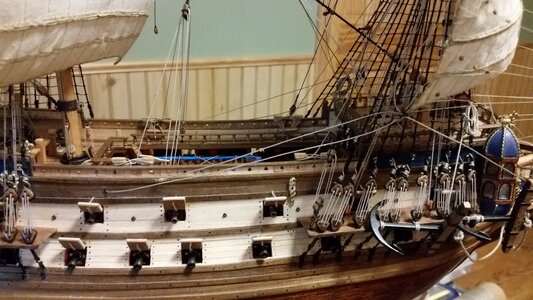
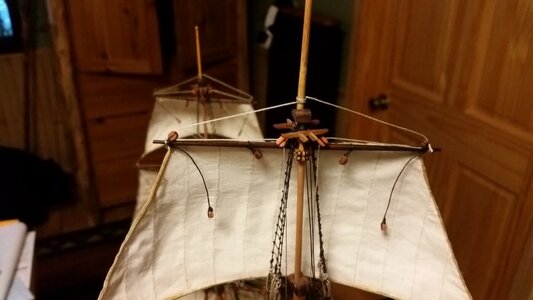
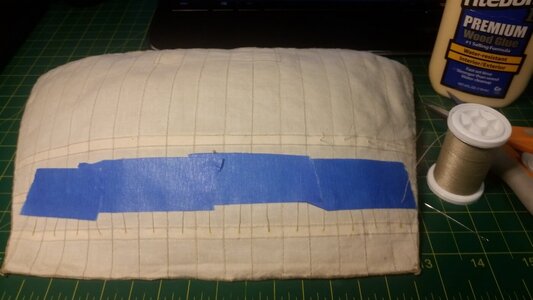
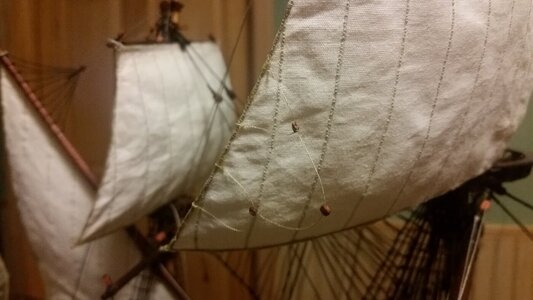
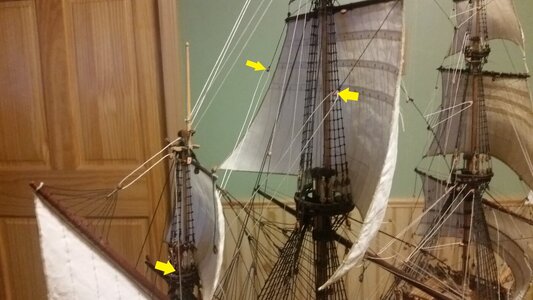
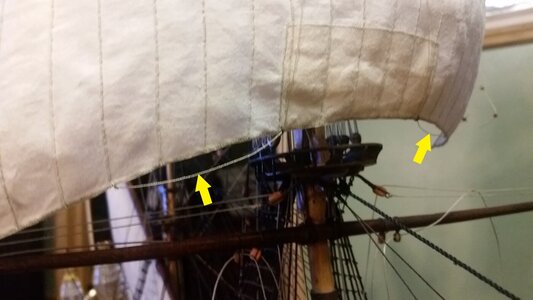
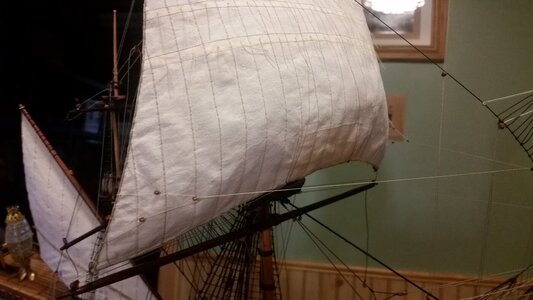
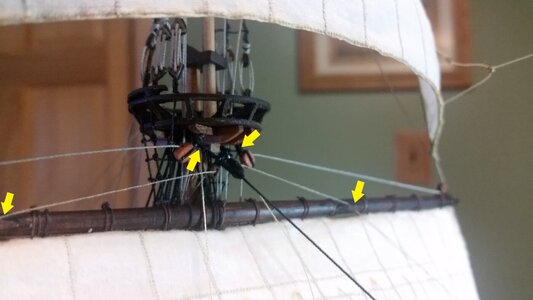
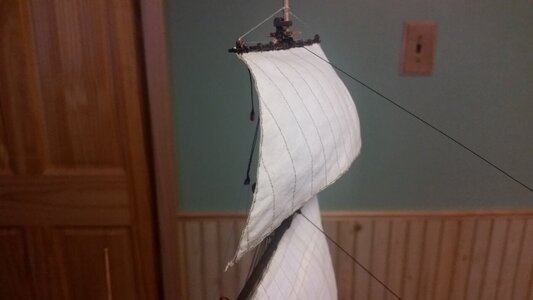
Starting off, the sail was bent to the yardarm with individual double looped gaskets tied at the top with a square knot, just like the other sails. The stiffness of the sail, combined with the tightness of the gasket loops, tends to flip the foot of the sail forward, because the head of the sail wants to lay flat against the bottom surface of the yardarm. You can take advantage of this because the sail wants to move forward, thus creating the illusion of wind blowing the sail forward. Since the sail is stiff with starch, bowlines also draw the sail forward, and thus the sail sheets stay taut, completing the effect of a sail billowing in the wind.
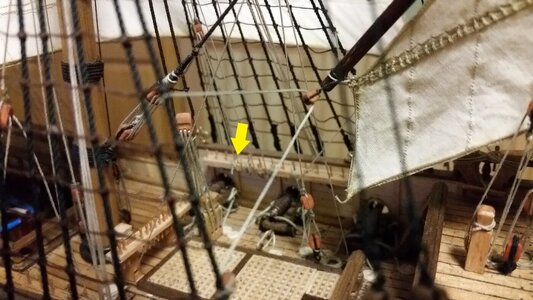
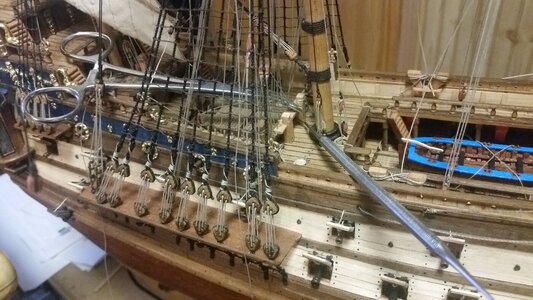
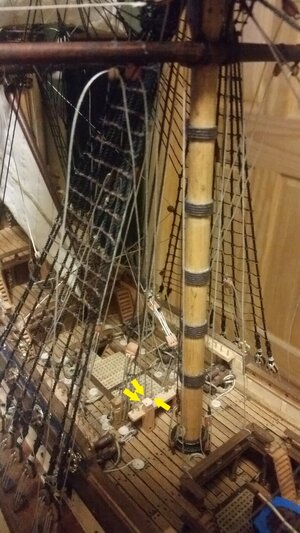
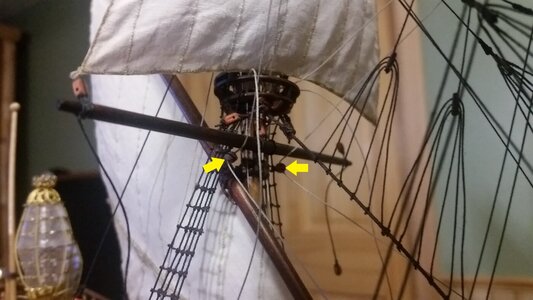
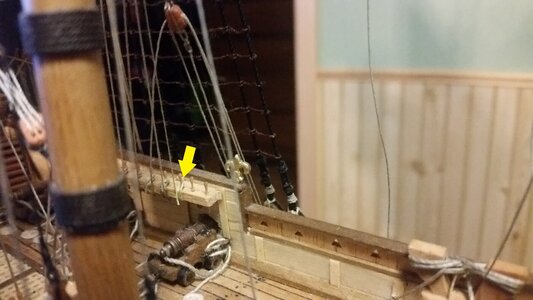
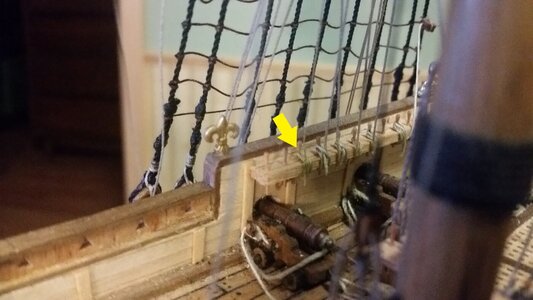
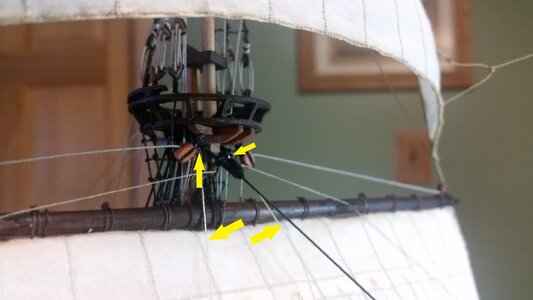
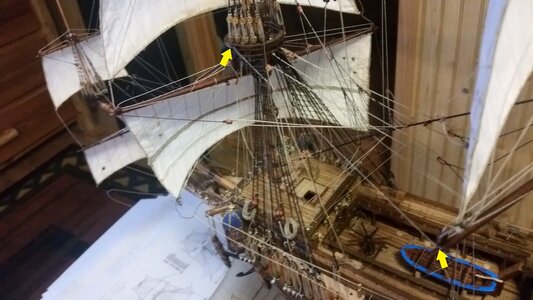
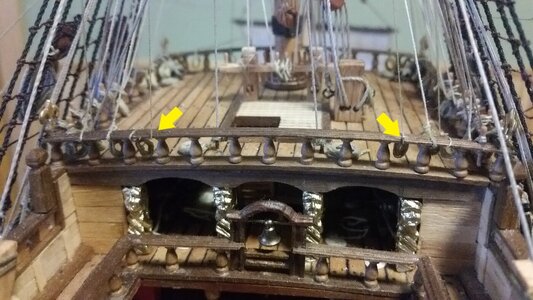
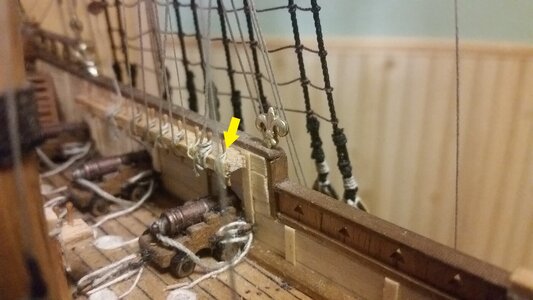
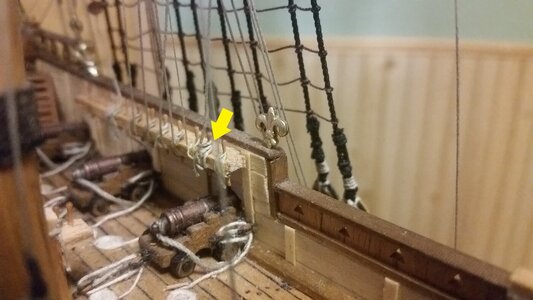
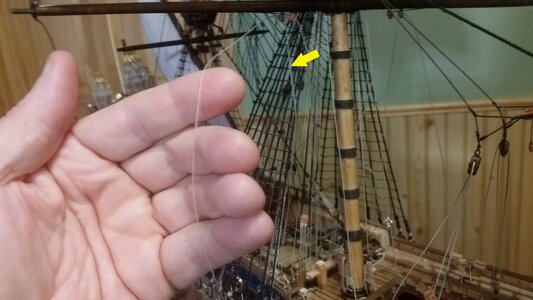
The lift lines needed to be rigged next. A measured length of line for each lift line was tied, starting at the bottom, to the belaying pin on the fiferail behind the mainmast, second pin in from outboard on each side of the rail. The lines were then run up through both tops, through blocks tied to the topgallant mast below the masthead and above the crosstrees, outboard and through blocks on the ends of the topgallant yardarm, then back inboard and tied off to the flagstaff above the masthead.
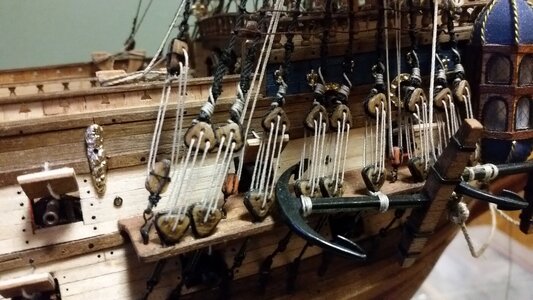
The clewlines are rigged next. Starting at the bottom again, measured lengths of line are attached to the fourth pin from the front end of each pin rail on the bulwark, under the main shrouds. A coil of rope is made at this end of each line to simulate excess coiled rope hanging from the rail, as described earlier in this build log. The lines are run up through both tops, through blocks tied to the topgallant yard, and tied off at the clews. In many vessels, the line would pass through a clew block and tie off back up at the yardarm, but I opted for the single clew design, also used during this time period.
Next are the sheet lines. Starting from second pins in from outboard, on the rail directly in front of the main mast, a measured length of line is belayed to the pins. The lines were then run up through the lower top to blocks topgallant masthead above the crosstrees, outboard through blocks on the topsail yard, and attached to the clews of the topgallant sail. The lift lines double as sheet lines for the topgallant sail, supporting the outer ends of the topgallant yard while simultaneously drawing the sail clew down toward the ends of the topsail yardarm.
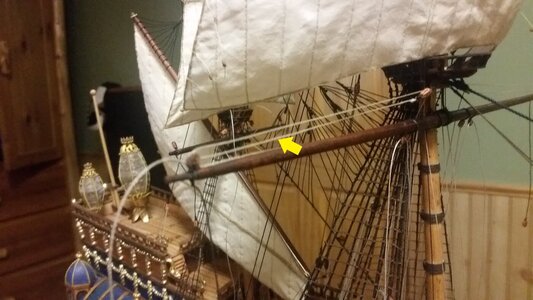
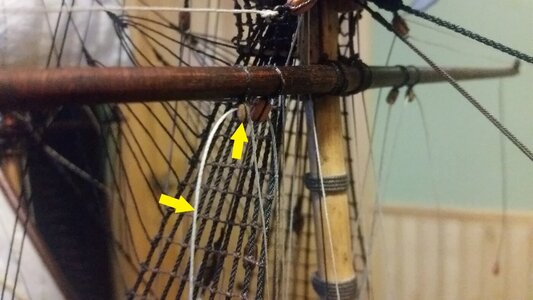
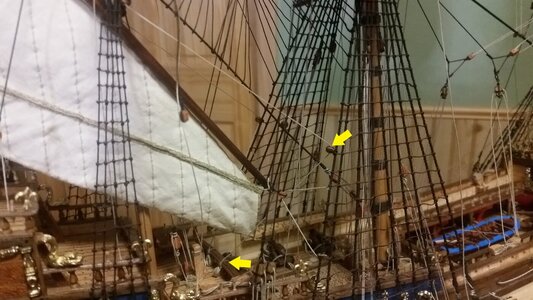
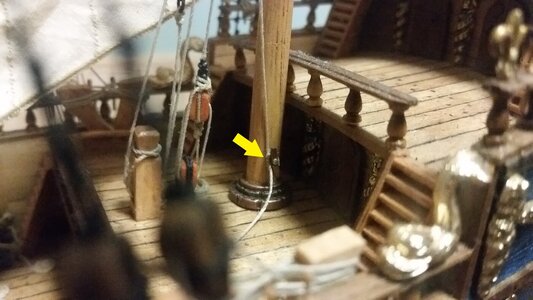
The main topgallant brace lines were rigged. Starting at the bottom, where the belaying point is, I had the option of belaying the line to the side rail on the poop deck per the Corel instructions or tying the lines to cleats on the mizzen mast according to Lusci. Of course I opted for the difficult method and had to install 5mm cleats bear the base of the mizzen mast and pin them for strength. The Archimedes drill actually reach the mizzen mast and two holes were drilled to accept the brass pins. The cleats were made by Falkonet, and are the smallest ones I could find. They are very high quality. After gluing the cleats in place, I tied a pre-measured length of line to each cleat. I will install rope hanks on the cleats later for extra detail. The lines were run up through the mizzen top, through blocks tied to the flagstaff above the masthead, up to each brace pendant block, then back down where they are tied off on a point just a little higher on the flagstaff.
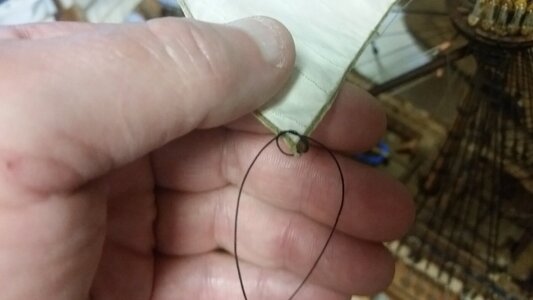
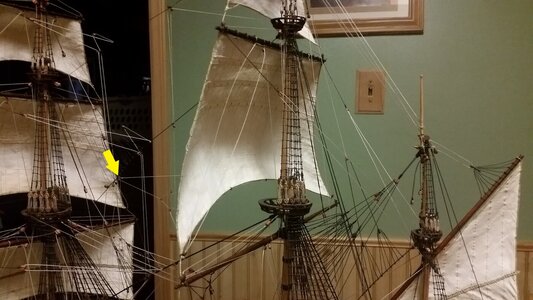
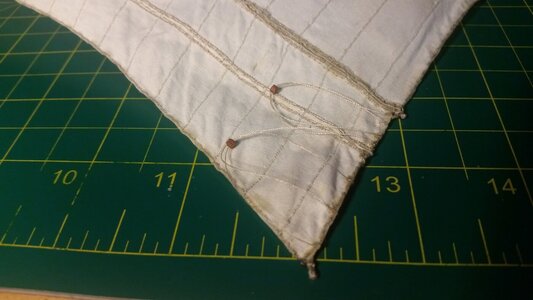
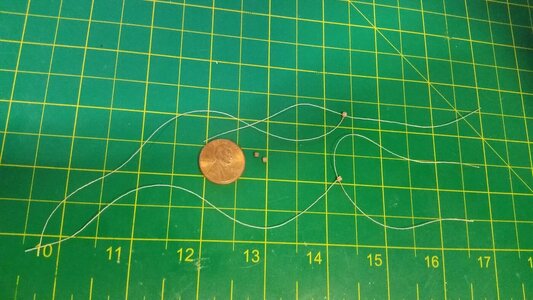
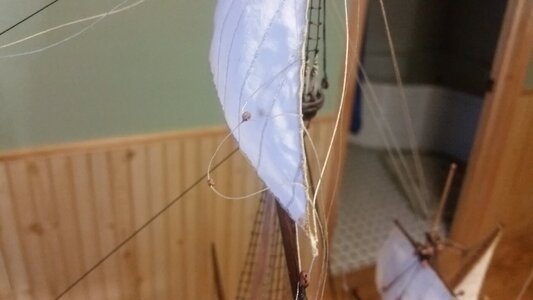
Lastly, the bowlines were rigged. Measure lengths of line, with coils fashioned near the end as before, are tied to the after forecastle railing, second location in from the sides of the ship. The lines were run up through three sets of two blocks each, located on the main stay, main topsail stay, and main topgallant stay, all positioned roughly halfway between the main and fore masts. The lines ends were left loose for the time being. Starting at the other end of where the bowlines will be attached, bridals made with thin thread were fashioned using 2mm blocks (made by Falkonet) and were rigged to leeches of the sail. The bitter ends of the bowlines previously rigged was then tied to the outermost blocks of each bridal. While tying the lines to the blocks, The tension of each line properly set such that there is enough tension to draw the sail forward to keep the sheets taut while not pulling the topgallant stay out of position.
This completes the main topgallant sail rigging, except for the flag on the flagstaff, which will come later.
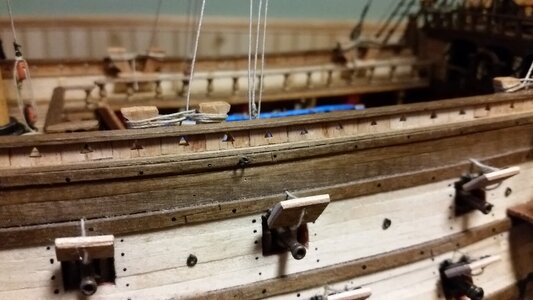
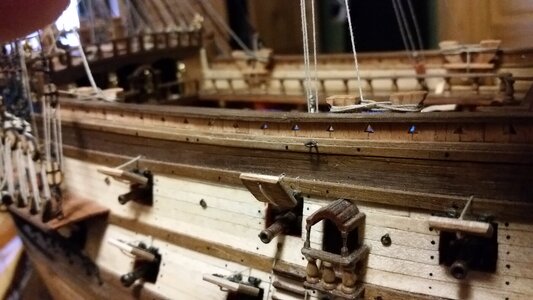
Lift line belaying pin on starboard side
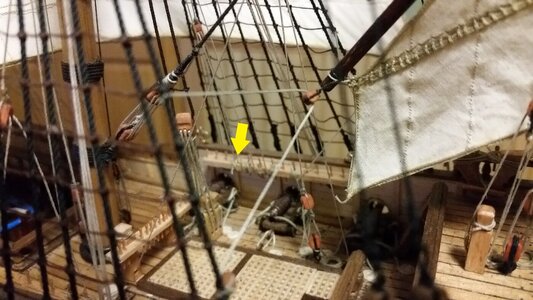
Lift lines tied to flagstaff
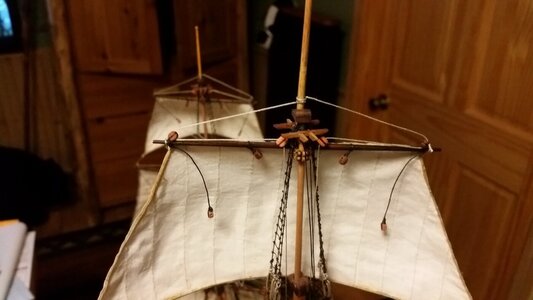
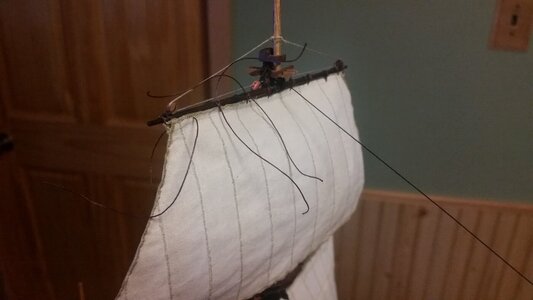
Tight gaskets draw the sail forward.
Brace lines belayed to cleats on mizzenmast
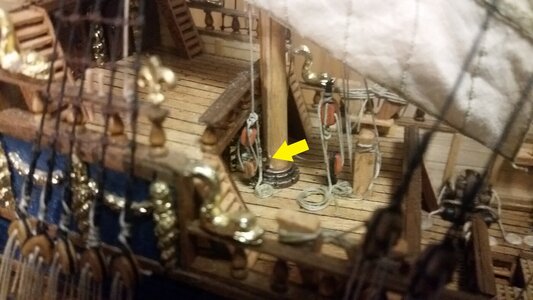
Brace lines
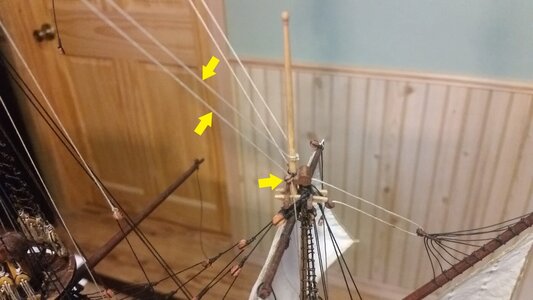
Brace lines run through pendant blocks
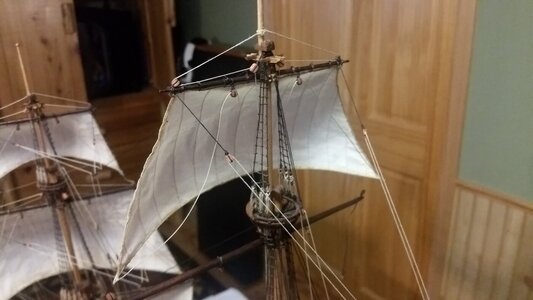
Brace lines tied off on flagstaff
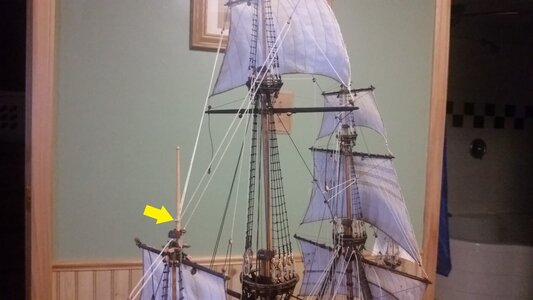
Bowlines belayed to railing and run up to meet topgallant leech bridals
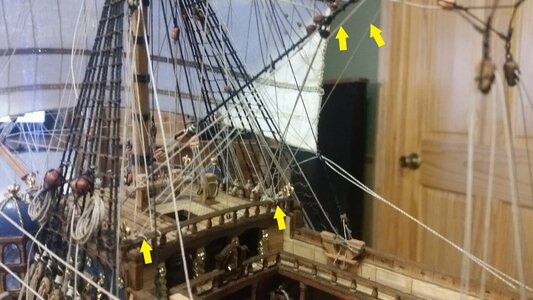
Bowlines run up through blocks on stay lines.
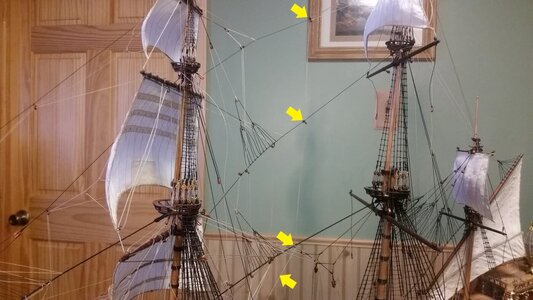
Prepare bridals
Tying bridals to sail leech
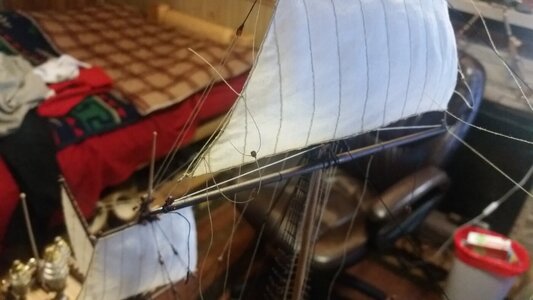
Final tying of bowlines to bridals
