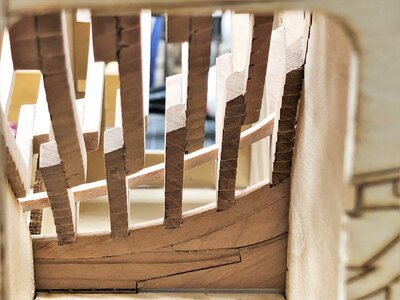
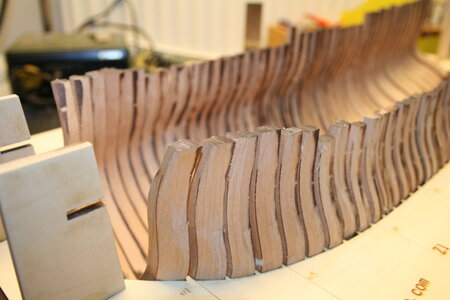
La Salamandre 1:96 - Miniature Arts by xander898

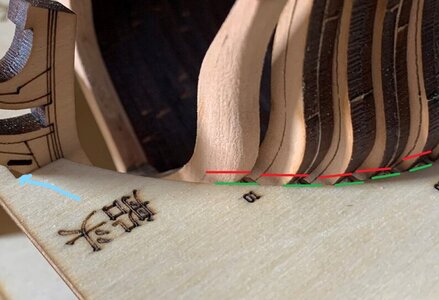
A good start, but I think you should fair the frames more with straight lines - in the moment it just too round

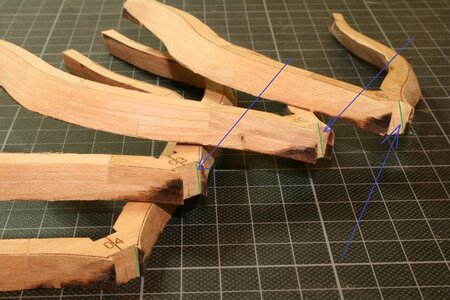
In the moment you have them still too round - red (marked with red arrow) are the status in moment of your first frame
and they sghould be faired m,ore or less along the blue line
Unbenannt (1) a.jpg

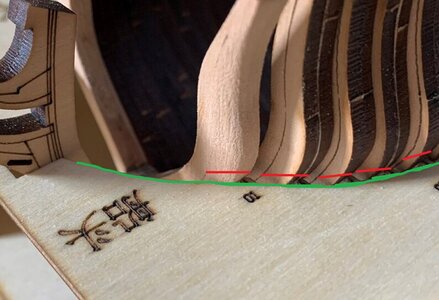
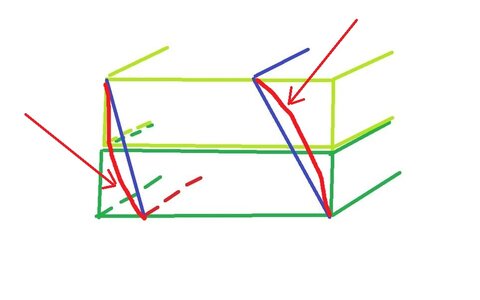
in the following photo are in red the faired line of the frames - green is the touching area of the final faired frame with the jig
so all frames should have contact with the jig along the green lines
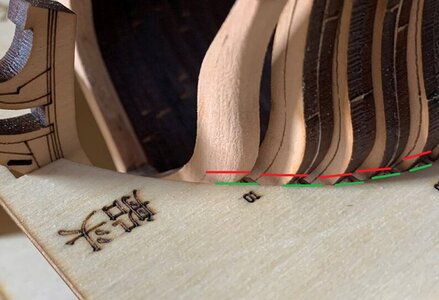
IMG_6690.JPG
 
Thank you Uwek, but if i sand more, the frame will no longer touch the jig, or else i have to remove underneath too, so that the whole piece goes down and touch the jig at the green line
 
Thank you Uwek, but if i sand more, the frame will no longer touch the jig, or else i have to remove underneath too, so that the whole piece goes down and touch the jig at the green line
I do not know, how the foot of the frame is looking like, and also the keel
 
Hi Uwek,

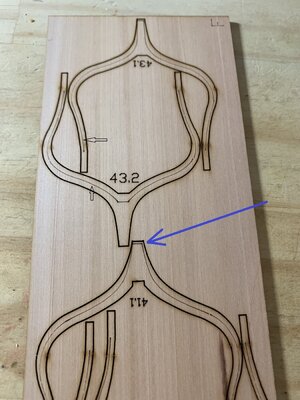
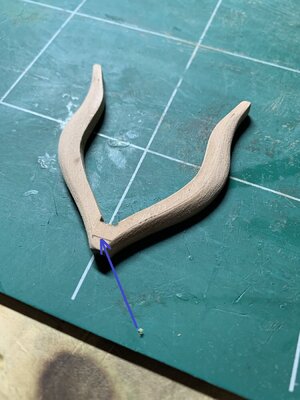
So, after the recommended fairing, the front of the bow (good term?) should touch the jig at the blue arrow jonction point ?

View attachment 336295
also for this it has to be checked, if the keel with the stem (front of the bow) is sitting correctly inside the jig.
If this is correct, than you have to take care about the connections between the keel and the individual frames.
If everything is correct, than the outside of the faired and sanded frames should have contact along the green line
This is the outside form of the hull before the planking
IMG_6690.JPG
 
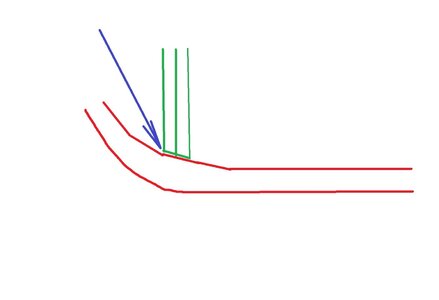
Take a look at this sketch

Unbenannt.jpg

In red the keel and stem. green your (double)frame -> also here you have to fair and adjust the foot of the frames so that the frame has a proper contact over the complete width to the keel

You can find these lines also on your frames
IMG_6642.JPG IMG_6691.JPG

Check it with looking from the side into your jig looking at the contact point of your frames with the keel

you can see this principle on th eframes of my Le Coureur build

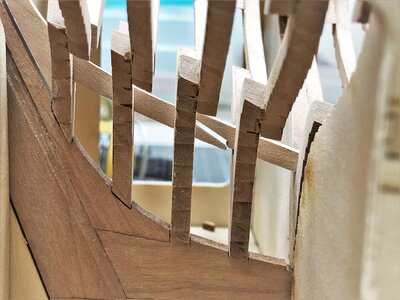
at the stern
IMG-4768.jpg IMG-4769.jpg

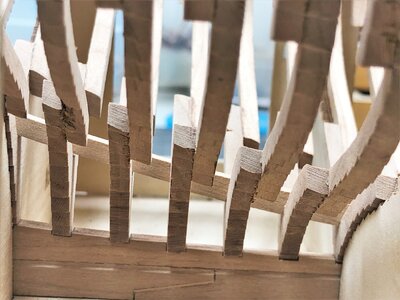
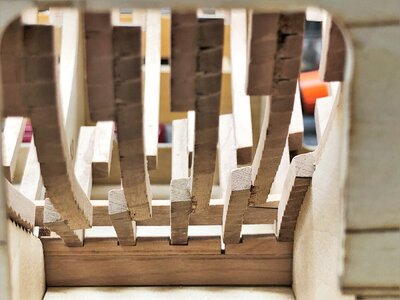
and at the bow
IMG-4772.jpg IMG-4773.jpg
 
maybe these photos can also help a little bit, showing my Salamandre build from a CAF kit in scale 1:48

IMG_1794.JPG remember the green line


and with very fine green lines I showq you here the faiting of the foot of the frames
IMG_1841.JPG

 
Thanx Uwe Thumbsup . I see you sanded the frames above the line, way up
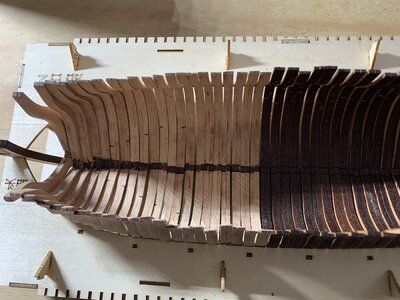
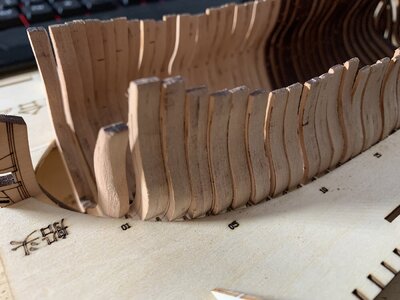
Also with the example of your Salamandre it is very clear
 
Thanx Uwe Thumbsup . I see you sanded the frames above the line, way up
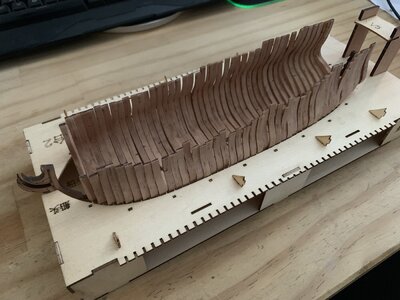
Also with the example of your Salamandre it is very clear
Be aware, that my Salamandre is a completely different kit, so you can not copy this directly.
It showing only the principles of reading the laser-lines on the frames etc.....
 
This gives a good idea, especially on the method to make a POF model, because it's my first one. That's why i have so my many questions ;) . Thanx again
 
This gives a good idea, especially on the method to make a POF model, because it's my first one. That's why i have so my many questions ;) . Thanx again
We are here to help and assist when ever necessary and requested
BTW: My Salamandre was also for me my first POF, so I know very well your situation
Most important: Have fun with the model
 
Hi
Not much at the moment. I finished sanding the frames. Now I have to sand in the direction of the hull and it's not that easy because of the size of the elements ;)By the way La Licorne took me a lot of time
Hallo @xander898
we wish you all the BEST and a HAPPY BIRTHDAY
Birthday-Cake
How is your project with the Salamandre going?
 
Back
Top