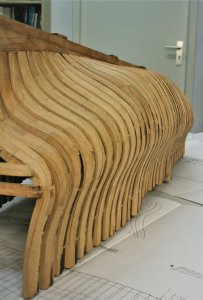
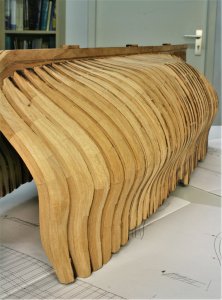
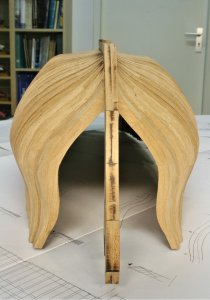
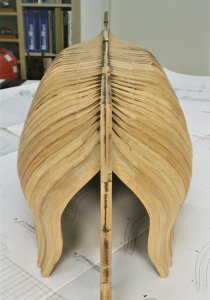
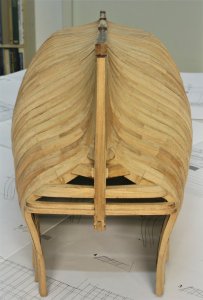
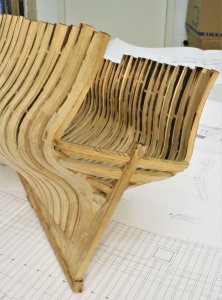
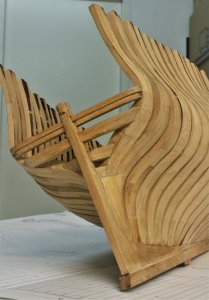
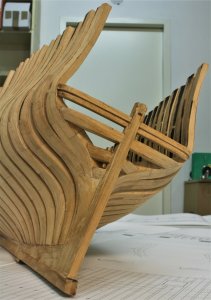
LA SALAMANDRE, bomb ketch - POF - (CAF-models, 1/48)

Good day Uwe, could you not weld that drill you need on an iron bar to make it longer ?
groetjes
willy
Theoretically yes......although I am not sure, if I could it weld in such a way, that it is than so exact in centrum, that I could use it in a electric drill, maybe in a hand-drill.
I have to say, that I did not try it until now....... It worked very well how I did it for this necessity. I made in the meantime 5 frames in this way and it is very strong connection. Thanks for the hint :cool:
 
Hallo @Donnie and @ADC ,
many thanks for your kind words about my log......I am trying my best to show as much as possible and most important things which could be of interest for some other modelers building this or similar kits. For others it is sometimes maybe a little bit boring, sorry for this.
I also searched in the beginning in the existing chinese and russian foren for building logs of the La Salamandre, in order to see photos of some details which are helping often.
Therefore my intention was from the beginning, to prepare a detailed log for the "western" part of the world in (somehow) english ......
...... Once more many thanks for your interest
 
Some progress with the installation of the frames of the La Salamandre.

Frames 39 to 43 were fixed with a peg from the front side and not from the top, reason were already discussed in posts before.
Frames 36 to 38 with one vertical and the other with two.
Now are only missing the frames 1 to 5 at the bow......hopefully tomorrow evening

IMG_33801.jpg IMG_33811.jpg

Many thanks for your interest ..... to be continued.......
 
I did something a little different for ribs 38-44. I attached 1.5cm pegs to hole drilled into base of ribs then drilled another hole into keel and attached pegged rib. A little tricky as holes had to match precisely to line up rib with keel.
 
I did something a little different for ribs 38-44. I attached 1.5cm pegs to hole drilled into base of ribs then drilled another hole into keel and attached pegged rib. A little tricky as holes had to match precisely to line up rib with keel.
Tricky way, but seems that it worked for you.
I drilled the holes first through the frame and than afterwards from the top I used the drilled hole in the frame as a guidance for the drill drilling into the keel. Afterwards I pushed the peg from the the top into the hole....
 
Very Impressive Uwek - I love it !!
 
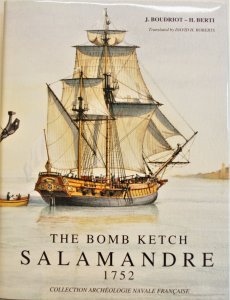
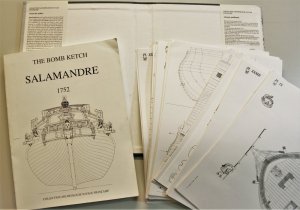
Two days ago I made a detailed review of the planset of the Bomb ketch La Salamandre draught by Jean Boudriot in 1:48 with Look Inside photos of the monographie as well as of the drawings which are included in this drawing set.

IMG_33141.jpg IMG_33171.jpg

I can fully recommend this planset to everybody planning to build the CAF kit or off course the La Salamandre in scratch!

Please click on the title and you will be redirected directly to the Review:

Planset "The bomb ketch LA SALAMANDRE - 1752" Monograph with 34 plans in 1:48 by Jean Boudriot - Hubert Berti
 
Last edited:
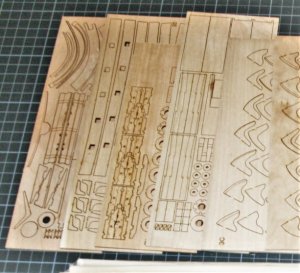
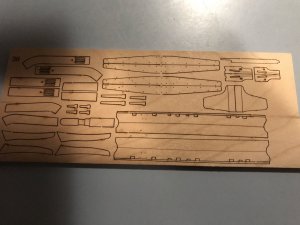
I was going through the parts list and found that sheet 2-H only has carriage sides for 6 cannons rather than for the required 8. There seems to be the correct cannon wheels, axles and other components to complete the 8 cannons in sheets 2-G and 3-I. This looks like a design/production error as the sheet diagram and wood sheet have too few cannon sides. I willl have to scratch build these missing 2. They seem simple enough.
 
I was going through the parts list and found that sheet 2-H only has carriage sides for 6 cannons rather than for the required 8. There seems to be the correct cannon wheels, axles and other components to complete the 8 cannons in sheets 2-G and 3-I. This looks like a design/production error as the sheet diagram and wood sheet have too few cannon sides. I willl have to scratch build these missing 2. They seem simple enough.

Many thanks for the info......I searched for the old photos with the content:
Is it this sheet in the center pf the photo?

IMG_16161.jpg

Here also in my kit only three are visible......I will check later on at home
 
Yes, the cannon sides are one piece so there is only enough to make 6 cannons on the sheet.
 
Yes, the cannon sides are one piece so there is only enough to make 6 cannons on the sheet.
I checked it and it is the same with my kit......
only to clarify for the other members following our building logs of the Salamandre:
There are 8 muzzles in the kit, but only 6 carriages.
Maybe it was the idea of the manufacturer, that we have to install the two guns in the aft, which are inside the cabin (and only visible through the gunport, if you do not leave the deck planking open over the cabin) on dummies, like often made in POB kits.....we should check with Max
 
Hi Uwek, there are all the components including axles, quoins, wheels and photo etched parts to build 8 guns. So the intention is there to place complete guns in rear cabin. Instructions also show 8 complete guns. There are missing sides for 2 carriages from the sheet. There should be 16 and not 12 pieces. Strange why these parts are missing from a pre prepared laser cut wood sheet. As I said I will make them up. Not worth the bother chasing replacements.
 
Hi Uwek,
I'm very impressed with your build so far, and these CAF models are truly superb. I must get back to my Enterprise model soon.

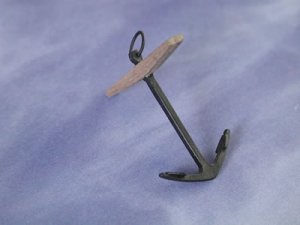
Question, does your kit have anchor stocks ? My Enterprise kit does not include them in the box and I notice your model does not show them in the photos ?

photo below is for reference, the timber anchor stock is what I am referring to.

C87003-anchors.jpg
 
Last edited:
Yes there are anchor stocks for the two provided brass anchors. Here is the photo. I had also bought 3 extra anchors. The bomb ketch has an additional 3 kedge anchors shown in the ANCRE plans but not part of the kit. Two are small and another full size one. For these I will make up the stocks to the same pattern as the kit ones. The additional anchors were used to position and adjust the ship so that it could be kept on target when bombing. Since they were only specific to a bomb ketch and it could not function as designed without them I thought it appropriate to include them in my build.24ECCDA6-C6E3-484C-8F56-7C3BDE5532DA.jpeg
 
Last edited:
Thats interesting, my Enterprise kit is missing the timber anchor stocks. I cross referenced with the parts list and its not included with the kit for some strange reason.
Does your cast brass anchors have the name of the ship etched on the anchor ? Mine did and I thought it was historically incorrect so I filed it off.
The anchors provided are plain brass of good quality with no name.
 
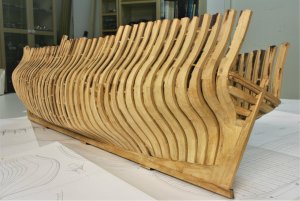
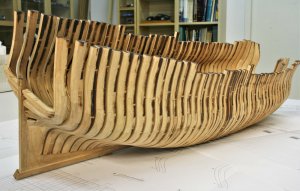
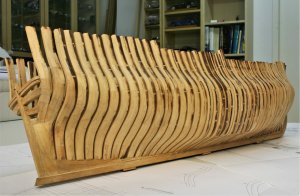
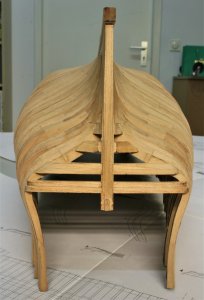
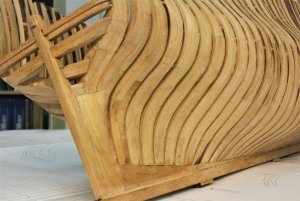
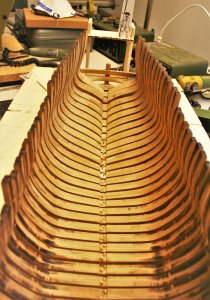
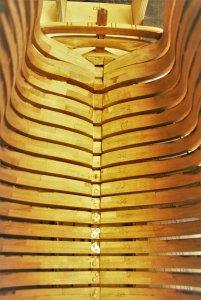
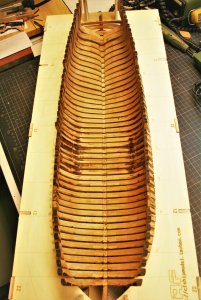
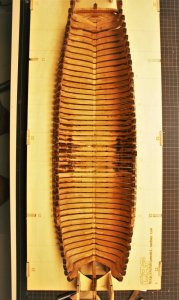
Not realy some progress.......I was curious to have a ships hull of the La Salamandre in my hand.
So I checked, if it would be possible to remove the model out of the jig......and it was possible.

For me this is also a sign, that the complete kit elements of the ship in combination with the jig are very well designed and very accurate prepared.
When the scelleton of the hull is inside the jig there is not movement, it fits very well. And for removing out of the jig I need only some vertical pressure to lift it out.
and it is possible to reassamble it inside the jig if I put the scelleton vertical down......I hope that you understand, what I want to say.....
Congratulation to CAF for this very good work on the design of this kit - well done.

And now some impressions of my hull outside of the jig - in the meantime it is back in the jig for assambling the hawse pieces etc.

The first photo is showing the hull on top of the Boudriot drawing
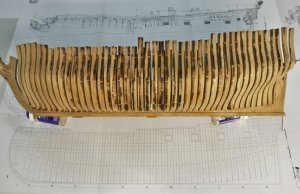
IMG_34521.jpg
Like usual some images more than realy necessary in order to give some hints
and to show all details to other modelers which are building this kit......
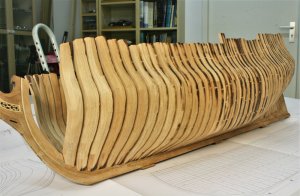
IMG_34531.jpg IMG_34541.jpg

IMG_34551.jpg IMG_34561.jpg

IMG_34571.jpg IMG_34581.jpg IMG_34591.jpg

IMG_34601.jpg IMG_34611.jpg IMG_34621.jpg

IMG_34631.jpg IMG_34651.jpg IMG_34641.jpg

IMG_34661.jpg

Many thanks for your interest ...... to be continued.....
 
Back
Top