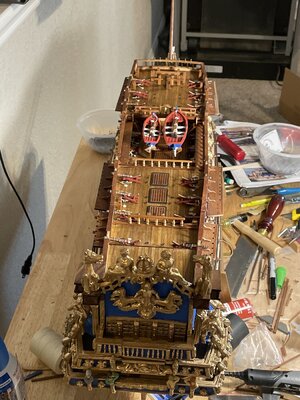
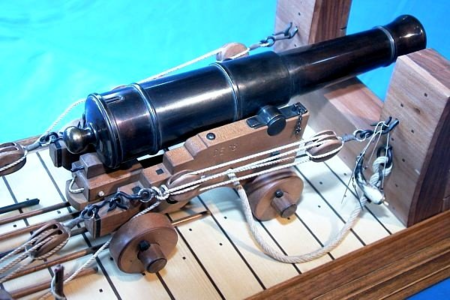
I did. That was an early iteration. @DARIVS ARCHITECTVS was correct, to the best of my knowledge. However, there was a difference between British and French ships. British guns had single trains. French and other Continental ships had two trains.You have been a great help and I understand now, the coils I installed on the main deck are too big too much rope! I might just replace them with a correct size coil to reflect the correct length of rope as for the upper deck cannons your info will help make them look truer to life! as for the hooks and the rings I will see how i feel after rigging 16 more cannonsDid you install the rings behind the guns on your Le Soleil? I didn't see them in your posts
-

Win a Free Custom Engraved Brass Coin!!!
As a way to introduce our brass coins to the community, we will raffle off a free coin during the month of August. Follow link ABOVE for instructions for entering.
-

PRE-ORDER SHIPS IN SCALE TODAY!
The beloved Ships in Scale Magazine is back and charting a new course for 2026!
Discover new skills, new techniques, and new inspirations in every issue.
NOTE THAT OUR FIRST ISSUE WILL BE JAN/FEB 2026
You are using an out of date browser. It may not display this or other websites correctly.
You should upgrade or use an alternative browser.
You should upgrade or use an alternative browser.
La Soleil Royal 1:90 Scale (ZHL) A Bandido Build
- Thread starter bandido
- Start date
- Watchers 28
-
- Tags
- le soleil royal
- Joined
- Jan 21, 2022
- Messages
- 471
- Points
- 278

Still working on my cannon rigging but getting close, I didn't use rope coils and also ran out of 3.5mm blocks had to order there goes 2 weeks!! installed all the ladders and began planking the small boats or dinghies as I call them.Here are a couple of pictures of Continental gun rigging. And the way I did it. View attachment 336506View attachment 336507
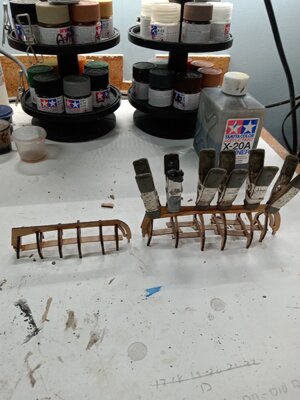
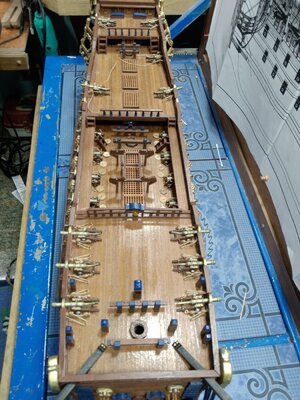
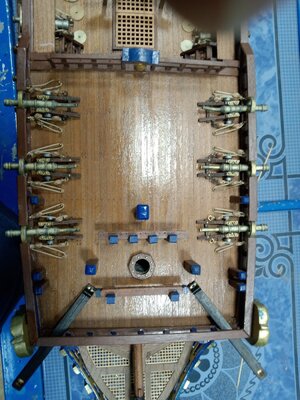
How did you bend the tails of the guns upward? I did it without a heat gun and broke one and had to glue it back on.Still working on my cannon rigging but getting close, I didn't use rope coils and also ran out of 3.5mm blocks had to order there goes 2 weeks!! installed all the ladders and began planking the small boats or dinghies as I call them.
View attachment 337505
View attachment 337506
View attachment 337507
- Joined
- Jan 21, 2022
- Messages
- 471
- Points
- 278

a little heat does the trickHow did you bend the tails of the guns upward? I did it without a heat gun and broke one and had to glue it back on.
I wished I had a heat gun when I was bending them. That’s why I bought one.a little heat does the trick
- Joined
- Jan 21, 2022
- Messages
- 471
- Points
- 278

Ya, I broke a couple parts myself till I used a heat gun!!!I wished I had a heat gun when I was bending them. That’s why I bought one.
- Joined
- Jan 21, 2022
- Messages
- 471
- Points
- 278

Well, I am finally winding down on the Hull and all its hardware I have a few cannons to rig and install, waiting for some blocks I ordered to finish that up!! began working on the install the channels and install the deadeyes to the channels, and then rig to the hull that will take a while there's 24 of them!! Also working on the masts to get them ready when the time comes to rig the shrouds and tie the rat lines. Purchased a square rigging book to help I guess it creates a question as the book covers uses a 17th century English square rigger as the example is there much difference on how a French and English ships were rigged during that period??Ya, I broke a couple parts myself till I used a heat gun!!!
Anderson’s book can be bought online. It covers ships from the 17th Century to include French models. Some of it you’ll have to figure out on your own. I had sails and that almost doubled the rigging. At least another 30%. Where do you tie everything off? Sometimes you just have to go with what makes sense. Each captain has to decide, and you’re the captain.Well, I am finally winding down on the Hull and all its hardware I have a few cannons to rig and install, waiting for some blocks I ordered to finish that up!! began working on the install the channels and install the deadeyes to the channels, and then rig to the hull that will take a while there's 24 of them!! Also working on the masts to get them ready when the time comes to rig the shrouds and tie the rat lines. Purchased a square rigging book to help I guess it creates a question as the book covers uses a 17th century English square rigger as the example is there much difference on how a French and English ships were rigged during that period??
- Joined
- Jan 21, 2022
- Messages
- 471
- Points
- 278

well, it has been a few days since i have posted anything on my build! Still waiting for parts to finish the deck cannons. I installed the chainplates and the deadeyes for the shrouds! Been doing some reading on Rigging which is part 2 of the build, I have found some great articles on my ship that will help me when the rigging starts. The instruction sheets on the rigging are very limited with this kit, the other kits I have built you could just follow the instructions and rig without ever understanding what it does and why it is there, but this kit has placed the burden of understanding on me to read and begin to somewhat understand the purpose of all that rigging that I will be installing. I purchased a Domanoff Serving machine, a little pricy$$ but it will help! I am practicing up on my knot skills also! I do believe I am beginning to have a very basic understanding of the rigging and how to approach it without getting too overwhelmed!!! Again, the members articles have been very helpful.
Today I decided to assemble the professional building slip from Hobbycraft, I received last month Very nice, assembly will take a day and a half. but the kit is designed very sturdy, well-engineered, not too complicated to construct, just many pieces and a lot to glue up! this hobby tool I believe is well worth the money! I will be using the slip on my next build!
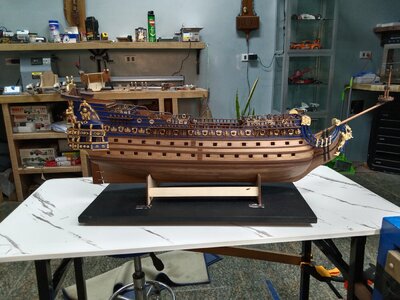
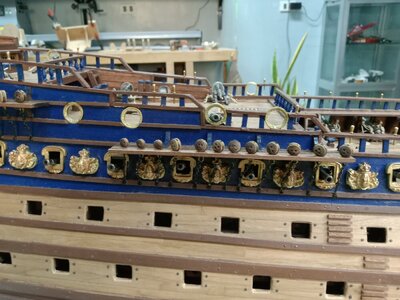
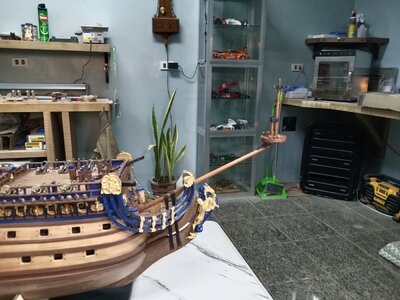
Today I decided to assemble the professional building slip from Hobbycraft, I received last month Very nice, assembly will take a day and a half. but the kit is designed very sturdy, well-engineered, not too complicated to construct, just many pieces and a lot to glue up! this hobby tool I believe is well worth the money! I will be using the slip on my next build!


Hi Bandidowell, it has been a few days since i have posted anything on my build! Still waiting for parts to finish the deck cannons. I installed the chainplates and the deadeyes for the shrouds! Been doing some reading on Rigging which is part 2 of the build, I have found some great articles on my ship that will help me when the rigging starts. The instruction sheets on the rigging are very limited with this kit, the other kits I have built you could just follow the instructions and rig without ever understanding what it does and why it is there, but this kit has placed the burden of understanding on me to read and begin to somewhat understand the purpose of all that rigging that I will be installing. I purchased a Domanoff Serving machine, a little pricy$$ but it will help! I am practicing up on my knot skills also! I do believe I am beginning to have a very basic understanding of the rigging and how to approach it without getting too overwhelmed!!! Again, the members articles have been very helpful.
Today I decided to assemble the professional building slip from Hobbycraft, I received last month Very nice, assembly will take a day and a half. but the kit is designed very sturdy, well-engineered, not too complicated to construct, just many pieces and a lot to glue up! this hobby tool I believe is well worth the money! I will be using the slip on my next build!
View attachment 342734
View attachment 342735
View attachment 342736
Great progress
She looks good. Be careful with that sprit mast. Mine broke off twice while I was working around it. Once my shirt caught it. I wound up putting some pins in it.
- Joined
- Jan 21, 2022
- Messages
- 471
- Points
- 278

That has been on my mind, I also snapped it off the bow sprintShe looks good. Be careful with that sprit mast. Mine broke off twice while I was working around it. Once my shirt caught it. I wound up putting some pins in it.
- Joined
- Jan 21, 2022
- Messages
- 471
- Points
- 278

I finished my Hobbycraft Building Slip seems sturdy and simple to use! another Toy to add to my collection of hobby tools, I am starting to realize that the model ships I purchase are the inexpensive part of my hobby the tools and toys I purchase to build them is where the money is spent!!  I love purchasing and using the gadgets as much as I love building the models!!
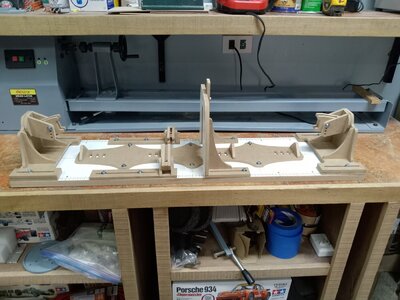
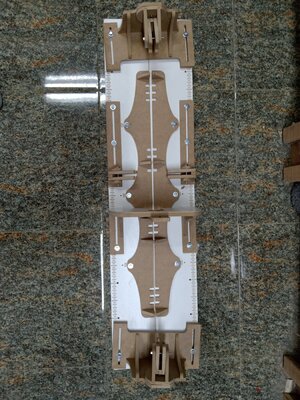


I like using them, but I don't like paying for them!I finished my Hobbycraft Building Slip seems sturdy and simple to use! another Toy to add to my collection of hobby tools, I am starting to realize that the model ships I purchase are the inexpensive part of my hobby the tools and toys I purchase to build them is where the money is spent!!I love purchasing and using the gadgets as much as I love building the models!!
View attachment 343106
View attachment 343107
I'm with you there, but there are times when you just want the easy way out. Soon it will be time to move my model from the cradle stand to the home-made multi-position keel vice for rigging work. They charge quite a bit for a keel vice these days, and the ones available are too small for a large model. Because the hull is heavy with balsa filler blocks, you wouldn't want it tipping over and damaging the guns.I like using them, but I don't like paying for them!
Exactly!I'm with you there, but there are times when you just want the easy way out. Soon it will be time to move my model from the cradle stand to the home-made multi-position keel vice for rigging work. They charge quite a bit for a keel vice these days, and the ones available are too small for a large model. Because the hull is heavy with balsa filler blocks, you wouldn't want it tipping over and damaging the guns.
- Joined
- Jan 21, 2022
- Messages
- 471
- Points
- 278

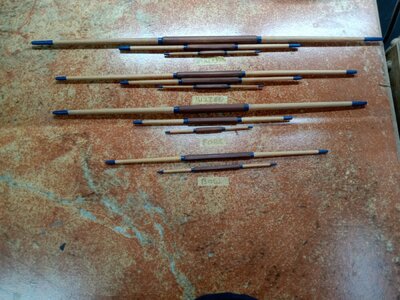
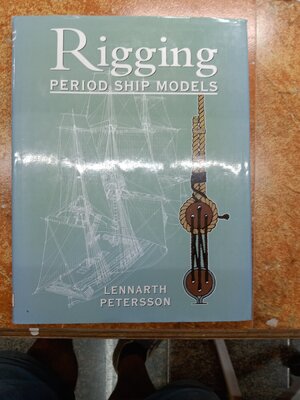
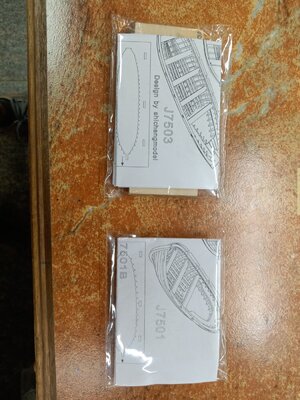
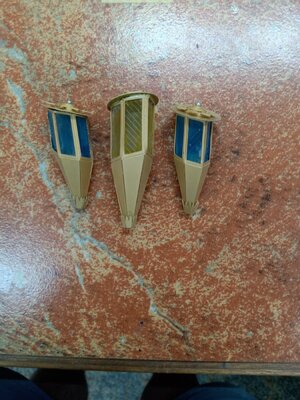
Finished all the yards for rigging and added a little Personal touch to the detail!! I finally received my rigging blocks and my new dinghies or lifeboats as I had a senior moment and trashed the originals!! I also received my rigging book and will begin to study the contents of that as i prepare to embark on the rigging, I also added some colored inserts to the rear lamps.Exactly!
- Joined
- Jan 21, 2022
- Messages
- 471
- Points
- 278

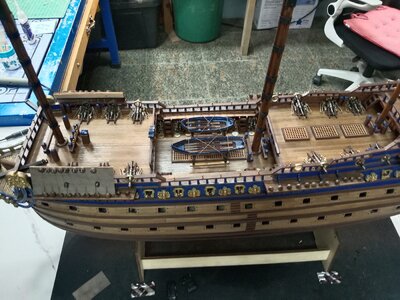
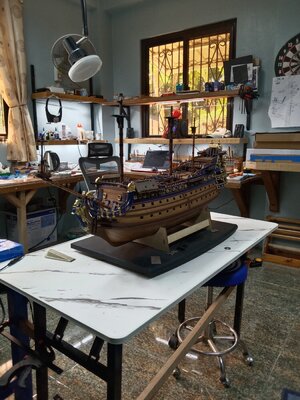
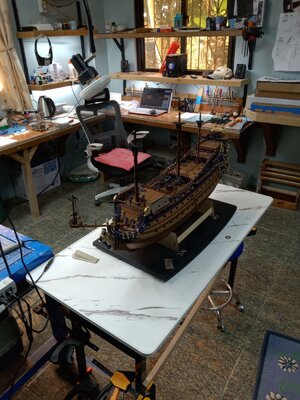
Finally received my new small transport boats and have assembled and installed on the ship I also have installed the rigging for the bowsprit mast, not perfect but it's a learning experience on how to approach the main, fore and mizzen mast, lanyards dead eyes and rat lines!! I made the jig for the fore mast install, but before I can get started, I am waiting for my serving machine, seems like I am always waiting for something!


- Joined
- Jan 21, 2022
- Messages
- 471
- Points
- 278

when I set the masts, I used a plumb bob to make sure the masts were correctly positioned in alignment with each other, a little tricky!! I have been practicing my knot tying especially a constrictor and double constrictor and a simple slip knot, also picked up some good tips online for tying, sizing / serving of blocks and attaching to yards/masts, process works and looks good! the more I practice the better I am getting, but still a lot more to learn! One of the members here made what i believe is a great way to approach rigging (Take each rigging type / line one at a time, understand what it is, why it is there and then install it) when you approach it that way the task of rigging a ship is not so intimidating over whelming? I do believe that approach helps!


