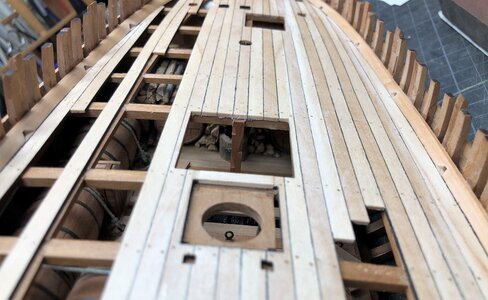
LE COUREUR - french Lugger 1776 - POF kit from CAF in 1:48 by Uwe

Many Thanks for the positive feedbacks and comments - also all the Likes received
Much much appreciated and a motivation

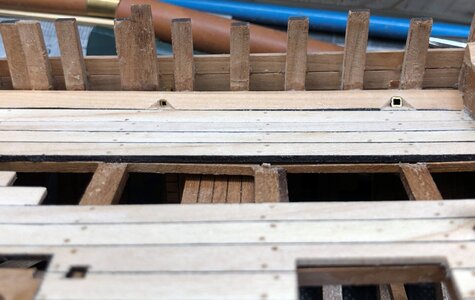
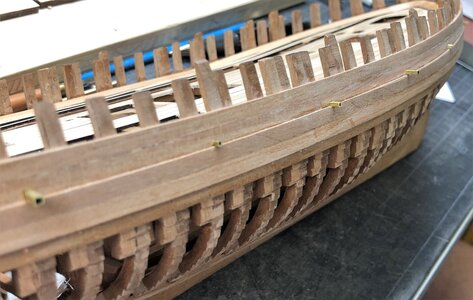
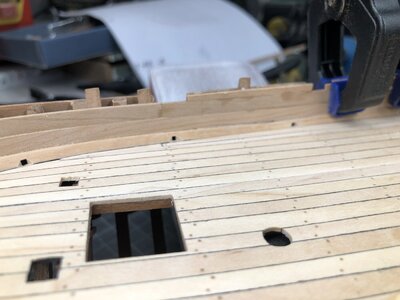
Scuppers were necessary to dewater the deck - on each side of the ship 6 scuppers (german term is Speigatt) were installed, five smaller ones and one bigger one close to the pumps.
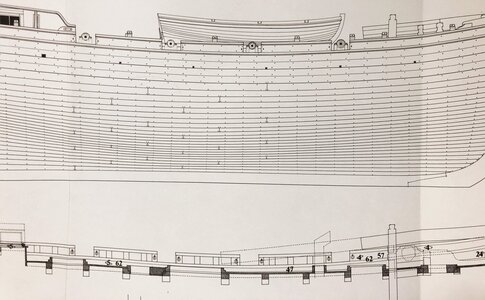
Alle scuppers are located directly over the wales. In Boudriots drawings they are shown in a hulls sideview - no other information about the scuppers were given.

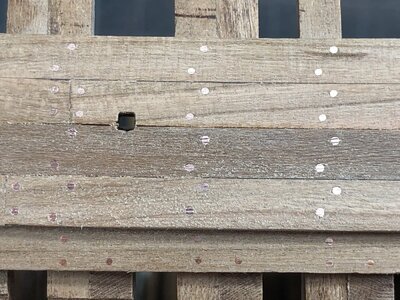
drilling carefully with a hand driven drill holes with 0,8mm, drill through the edge of the waterway and the plank No. 2 (according the CAF planking drawing) directly over the wales. Afterwards with the front end of a needle-file filing the square hole so that the brass tupe (1,5*1,5mm) is fitting. The next step was cuting out the final form at the scupper inflow into the waterway-plank. On the hull outside the scuppers have to be flush with the plank - this will be done, when all 12 holes are prepared. So I have to adjust the length of the brass tubes and than they will be blackened before the final installation
-> this is the plan

Now here some progress photos showing the first side of the hull

IMG-6728.jpg

IMG-6729.jpg

IMG-6730.jpg

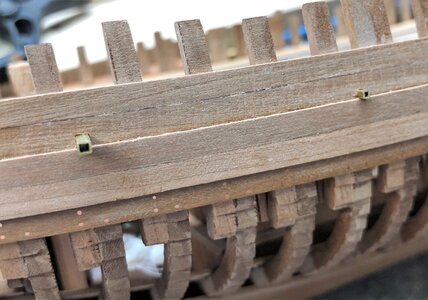
five have smaller dimensions (1,5*1,5mm) - only one near the pumps has bigger dimension (2,0*2,0mm)
IMG-6732.jpg

visible are the two different dimensions
IMG-6734.jpg

The length of the brass tubes have to be adjusted, they hav to be flush with the plank over the wales
IMG-6735.jpg

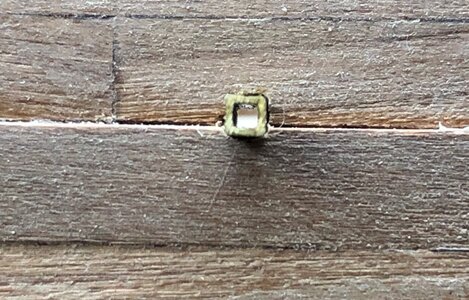
not so easy to file the holes into the plank, that no gaps are visible - but with the macro the gap between tube and wood is looking bigger than it is - appr. 0,1mm
IMG-6736.jpg

The water could flow
IMG-6738.jpg

One side is prepared, now the second side of the hull ....... many Thanks for your interest in my build .... to be continued
 
Last edited:
Hi Uwe!

Even if the kit forces one to a correct offset of the outside- to the inside planking and everything is correct, the execution of scuppers is always a precision work on the model. Otherwise you can see the smallest inaccuracy. According to the guideline "rather show less than something wrong" I used to leave them out. Your scuppers are really well done!
Best regards
Thomas
 
Uwe das sieht echt toll aus.
Eine Frage zum Model das bekomme ich nur in den Staaten oder gibt es das auch hier in Deutschland oder EU zu kaufen?

Uwe that looks really great.
A question about the model that I only get in the States or is it also available here in Germany or the EU?
 
Last edited by a moderator:
Uwe das sieht echt toll aus.
Eine Frage zum Model das bekomme ich nur in den Staaten oder gibt es das auch hier in Deutschland oder EU zu kaufen?
The model is designed and manufactured by Tom from the chinese company CAF Model
You can find the link to their web-page on our main page of the forum or use this link:

Very reliable, correct and fast dealer, and ver good aftersale service
 
Many Many thanks for the comments and all the likes
Even if the kit forces one to a correct offset of the outside- to the inside planking and everything is correct, the execution of scuppers is always a precision work on the model. Otherwise you can see the smallest inaccuracy. According to the guideline "rather show less than something wrong" I used to leave them out. Your scuppers are really well done!
You are right,
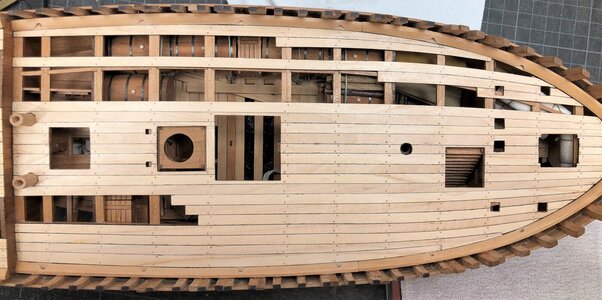
the kit is very complete and offers already a lot of correct details. Nevertheless some details are missing, due to the fact, that some of modelers will not execute them, because to fragile, etc. And I like it to adjust or add some details, which are making "my" model somehow unique and more complete.

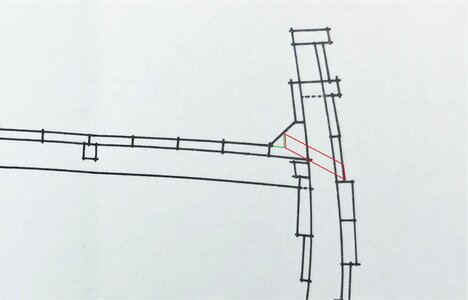
With the scuppers, especially when you want to install also the tube inside, it is very important, that the inboard waterway is sitting in the correct height compared to the wales outboard. Only than the water can flow via the inclined tube. Means, that you have to be relatively precise already with the outside planking and the wales and also the correct level of the beams and deckplanking etc. inside.

IMG-6286aa.jpg

On my model the wales are sitting slightly higher than shown in this cross section, nevertheless I have some inclination in the tubes (red lines)

This is the Boudriot side view of the hull, where the 6 scuppers are shown
IMG-6741.jpg

All 12 scuppers are now prepared
IMG-6739.jpg

IMG-6740.jpg
 
Many Thanks for the kind comments and likes

Only to complete the information of this chapter of the scuppers of such types of ships, I like to show an informative sketch of another clinker build vessel, the Le CERF also draught by Jean Boudriot

cerf9a2a.jpg
 
In the last days not much happened in the workshop ......

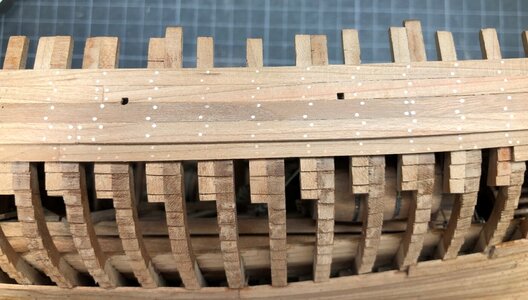
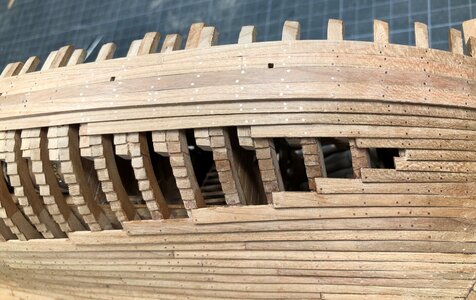
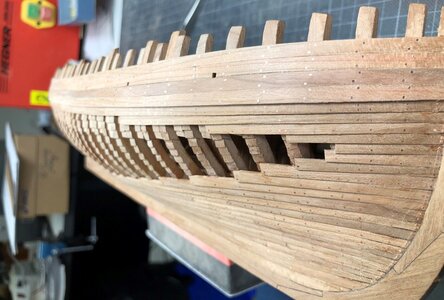
I finally fixed the second planking row (No.1 ) over the wales and started with the missing nailing of the planking.
Due to the fact, that these planks are carvel planked it is the "normal" nailing pattern like on the deck planking.
I used 0,7mm copper nails for the wales and 0,6mm for the rows 2 and 1

IMG-6787.jpg

IMG-6788.jpg

IMG-6789.jpg

with the close up photo you can recognize the small marks made by the needle file on top of the copper nails -> I have to use a finer grid !!!!
IMG-6790.jpg
 
Many Thanks for the positive comments and all the likes received - really motivating

Going further with the planking and gunport preparation

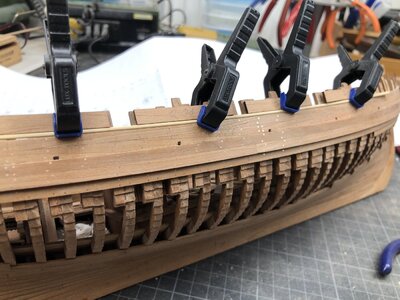
Dryfitting of the decoration boxwood strip and plank No.0 - in the meantime also the nailing on both sides are finished
IMG-6826.jpg

also the cuts for the gunports into the frames have to be marked
IMG-6827.jpg

IMG-6828.jpg

after profiling the decoration strip it has to be fixed - this will be the lower edge of the gunports
IMG-6829.jpg

IMG-6830.jpg

you can see here the gunport markings
IMG-6831.jpg

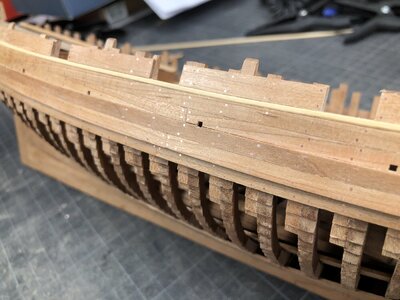
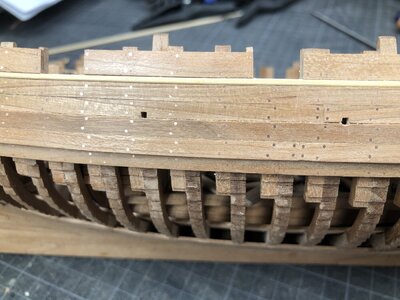
plank No.0 fixed and already nailed - also the gubports are cut out - rectangle to the keel and parallel to the frames
IMG-6832.jpg

IMG-6833.jpg

IMG-6834.jpg

Many thanks for the interest .... to be continued
 
great job Uwe, have now completed your construction diary and I hope I won't ask any more stupid questions. I finished my Essex yesterday and can now fully dedicate myself to Le Coureur.
There are no stupid questions possible - only stupid answers are possible
So do never stop to ask - we are all learning with our projects ......
 
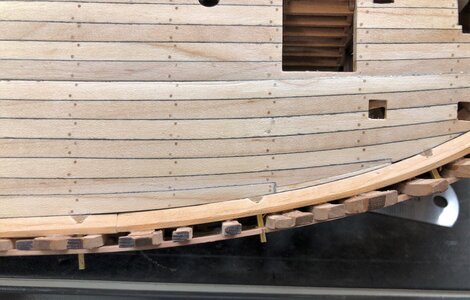
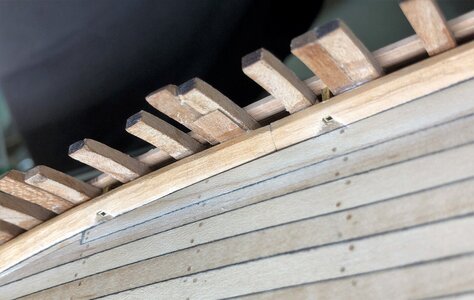
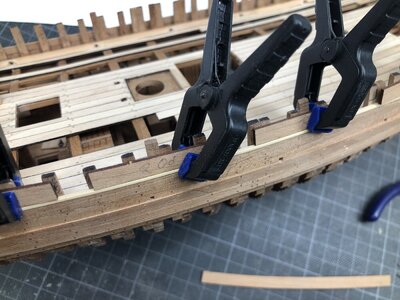
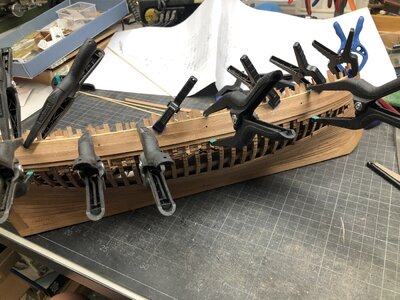
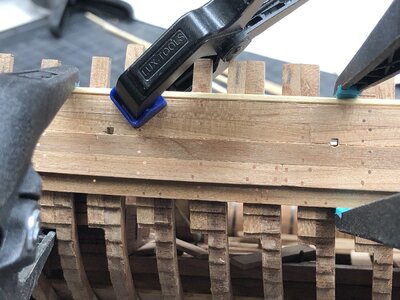
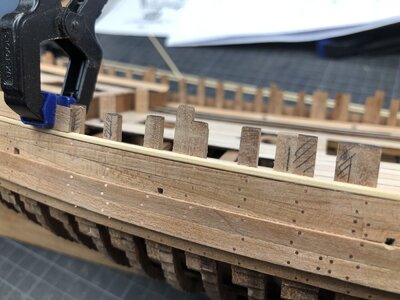
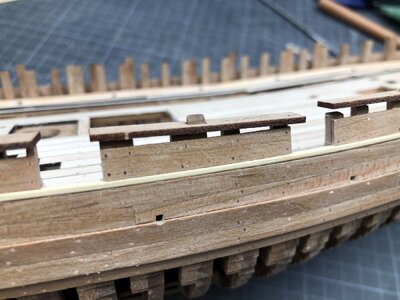
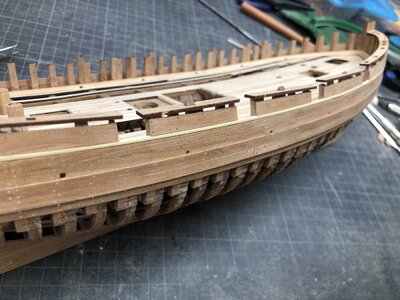
The next parts, which I started to adjust and add are the heads of the railing

Here some slots are precut for the prolonged frames, which will have later on the connecting points for the oars
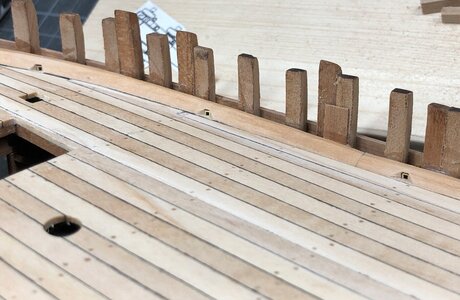
you can see, that most of the frames are too long, so they have to be cut / sanded down

IMG-6835.jpg

IMG-6837.jpg

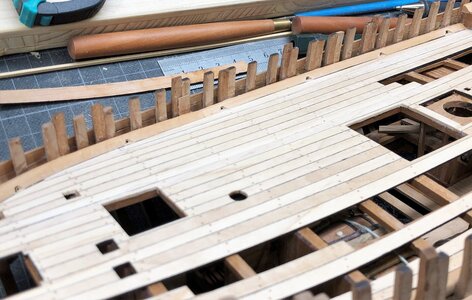
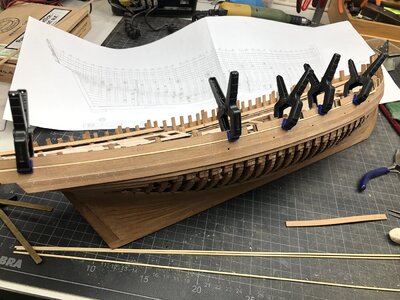
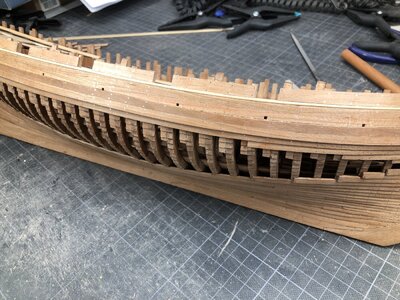
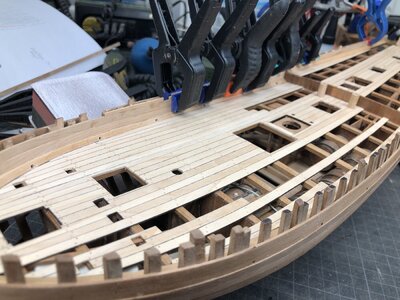
In order to get the correct "horizontal" height I decided to start with the inner planking - it will be much easier to make the inner planking before the head of the railing is fixed

IMG-6842.jpg

the inner planking is not prelaser-cut, but have 1,5 * 5mm strips - so I decided to cut out the gunports after installation of the inner planking
IMG-6843.jpg

Mayn Thanks for the interest .... to be continued
 
Back
Top