Le Requin-Zebec-1750 POF 1:48 (ZHL)

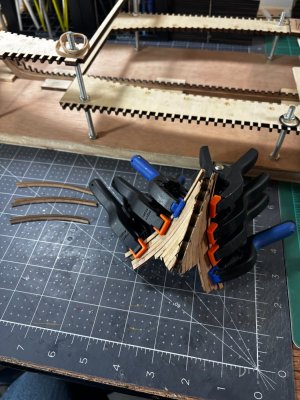
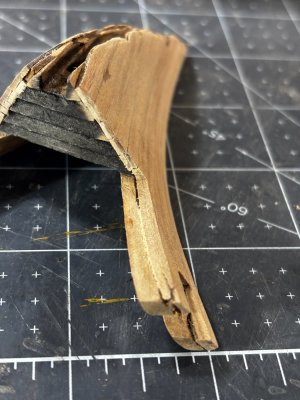
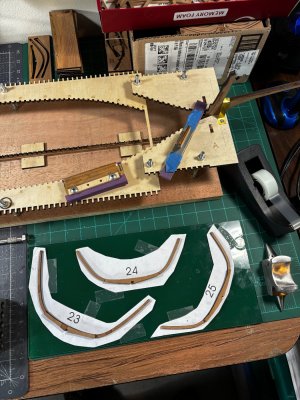
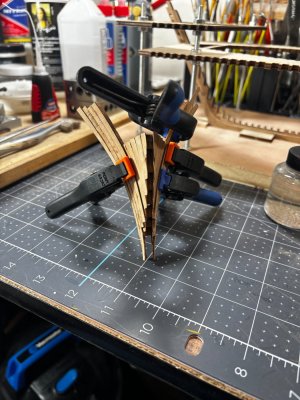
Good evening, all, two layers of 1mm pear planking has solved my nose gap problem. Its ugly at first but gets better check it out.
IMG_0969.jpgIMG_0970.jpgIMG_0971.jpgIMG_0972.jpg

After some preliminary sanding and dry fitting, the gap is filled.


IMG_0975.jpgIMG_0977.jpg

IMG_0973.jpg
A little more honing will be required along the bow stem slot and with a complete hull covering on one side, I will have to come up with a clever covering along the open side at the bow only.

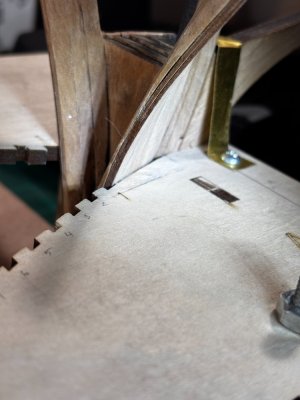
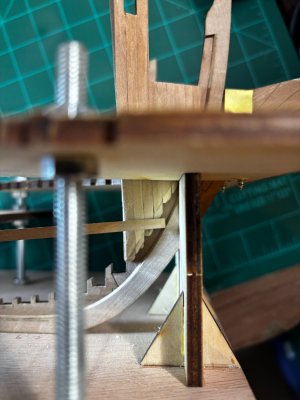
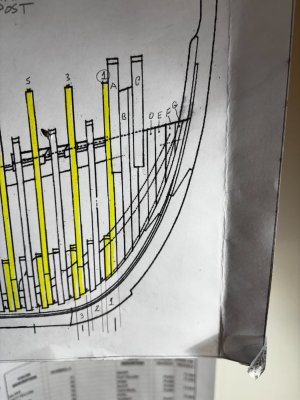
Looking under the jig top it appears there is too much gap between the ribs and the bearding line however according to the plan drawings there is a significant gap so this all is going to work out well.
IMG_0976.jpgIMG_0979.jpg

Only 70 more frames to go. Thanks for stopping by.
Till next time!
 
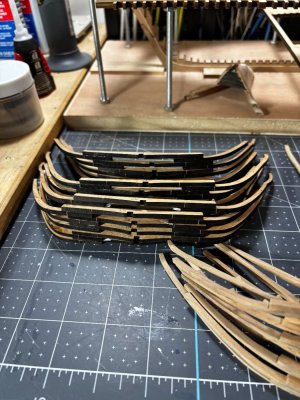
Good afternoon, everyone. There is nothing much exciting for this post, very little progress this last week other than sanding char and fitting frames. I started the 2nd of four stacks of frame sections which when finished gets me almost halfway through. I plan on finishing all the frames plus dry fitting before I begin glueing them in. So here is more of the same.

IMG_0984.jpgIMG_0985.jpgIMG_0987.jpg

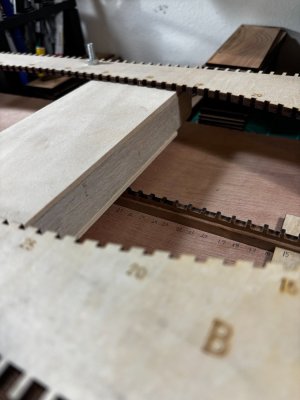
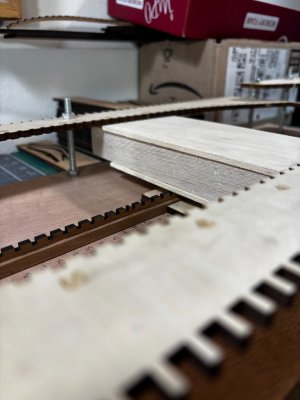
A neat little hack I found. The long narrow keel does have a tendency to lift up when placing and removing the frames for fitting, so a thick piece of balsa and two flats of basswood fit perfectly between the lower jig and top of the keel holding the keel firmly in place.

IMG_0988.jpgIMG_0989.jpg

I am really liking this threaded rod w/nut secured jig, it gives plenty of room for access.

Thanks for checking in, till next time, have a great week!
 
Good afternoon, everyone. There is nothing much exciting for this post, very little progress this last week other than sanding char and fitting frames. I started the 2nd of four stacks of frame sections which when finished gets me almost halfway through. I plan on finishing all the frames plus dry fitting before I begin glueing them in. So here is more of the same.

View attachment 510780View attachment 510781View attachment 510782

A neat little hack I found. The long narrow keel does have a tendency to lift up when placing and removing the frames for fitting, so a thick piece of balsa and two flats of basswood fit perfectly between the lower jig and top of the keel holding the keel firmly in place.

View attachment 510783View attachment 510784

I am really liking this threaded rod w/nut secured jig, it gives plenty of room for access.

Thanks for checking in, till next time, have a great week!
Looking good Daniel, all part of the process. ;)
 
Good afternoon, everyone. There is nothing much exciting for this post, very little progress this last week other than sanding char and fitting frames. I started the 2nd of four stacks of frame sections which when finished gets me almost halfway through. I plan on finishing all the frames plus dry fitting before I begin glueing them in. So here is more of the same.
View attachment 510780View attachment 510781View attachment 510782

A neat little hack I found. The long narrow keel does have a tendency to lift up when placing and removing the frames for fitting, so a thick piece of balsa and two flats of basswood fit perfectly between the lower jig and top of the keel holding the keel firmly in place.

View attachment 510783View attachment 510784

I am really liking this threaded rod w/nut secured jig, it gives plenty of room for access.

Thanks for checking in, till next time, have a great week!
Hello Daniel. I know this feeling. Remove char, make frame put in pile……repeat etc, etc. You are making some good progress. Hopefully sometime soon our models will start to resemble something like a ship;). Have fun. Cheers Grant
 
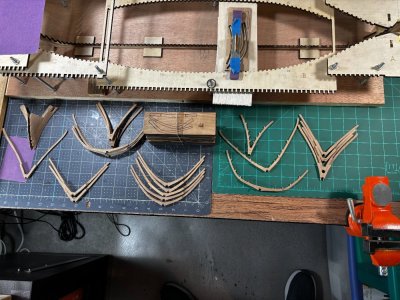
Here is another frame-report. Yesterday I glued up a whole stack of 24 frames. From left to right, the second stack of 24 assembled but not de-charred, then the first stack of 24 assembled, de-charred and sanded down to 320 grit. Next are two stacks of cut-outs waiting to be assembled and finally the remaining 4 frames that go with stack #2.
.
IMG_1002.jpgIMG_1003.jpg

Not a lot of excitement here but the photos are kind of interesting, I think.
Till next time!
 
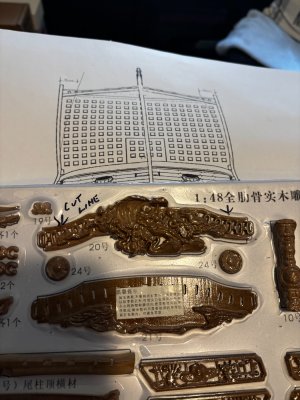
I was doing some study on the wooden grated area aft of the quarter deck where the general consensus is not only does ZHL have a wrong depiction but so does Jean Boudriot and Hubert Berthi's very fine Monograph on the Le Requin. The problem is the both the kit, and the monograph show a rectangular shaped grated area verses the accepted correct trapezoidal shape that's the favorite of our knowledgeable modelers on this forum. Personally, I like the looks of the trapezoid shape the best however I do not see building it that way and here's why. The taffrail at the end of the grate has a very ornate, pearwood CNC carving of Venus rising from the waves with sirens and dolphins. This bas-relief has a specific width corresponding to a rectangular grate deck and I would have to trim some 16mm off each end to make it fit. I can't, bring myself to do that especially considering my skill level. See the following photos and you can get an idea of what's at stake.


IMG_1004.jpgIMG_1005.jpg

Laying the carving on the 1:48 plans with the ships railing projected out to the taffrail exposes the problem.

An SOS modeler named Barba @barba who built a scratch version at 1:48 from the Monograph itself, I captured a picture of it and like the looks from this angle so for now this will be where I'm headed. There is a curvature with this that I just love.

Barba's Xebec.JPG

My main reason for this post is to give future builders of this ZHL kit something to consider.

Thanks for looking in.
 
like the looks from this angle so for now this will be where I'm headed. There is a curvature with this that I just love.

I agree with your decision from the carving and the curvature aspects. It looks good that way.

I'm surprised to see those dead straight yards in Barba's model though as every picture I've ever seen of a lateen sail had a curved yard.
 
I was doing some study on the wooden grated area aft of the quarter deck where the general consensus is not only does ZHL have a wrong depiction but so does Jean Boudriot and Hubert Berthi's very fine Monograph on the Le Requin. The problem is the both the kit, and the monograph show a rectangular shaped grated area verses the accepted correct trapezoidal shape that's the favorite of our knowledgeable modelers on this forum. Personally, I like the looks of the trapezoid shape the best however I do not see building it that way and here's why. The taffrail at the end of the grate has a very ornate, pearwood CNC carving of Venus rising from the waves with sirens and dolphins. This bas-relief has a specific width corresponding to a rectangular grate deck and I would have to trim some 16mm off each end to make it fit. I can't, bring myself to do that especially considering my skill level. See the following photos and you can get an idea of what's at stake.


View attachment 511085View attachment 511086

Laying the carving on the 1:48 plans with the ships railing projected out to the taffrail exposes the problem.

An SOS modeler named Barba @barba who built a scratch version at 1:48 from the Monograph itself, I captured a picture of it and like the looks from this angle so for now this will be where I'm headed. There is a curvature with this that I just love.

View attachment 511087

My main reason for this post is to give future builders of this ZHL kit something to consider.

Thanks for looking in.
Good evening Daniel. We can only “modify “ a kit so much before it all becomes chaos. I personally think the only way to build a historical accurate ship is from scratch. Those decorations look like quality items. Cheers Grant
 
Back
Top