Looking great. You really made progress since starting over. I’ve been mulling over mine. Decided it’s over and done with. Still thinking about 1/24 though.
-

Win a Free Custom Engraved Brass Coin!!!
As a way to introduce our brass coins to the community, we will raffle off a free coin during the month of August. Follow link ABOVE for instructions for entering.
-

PRE-ORDER SHIPS IN SCALE TODAY!
The beloved Ships in Scale Magazine is back and charting a new course for 2026!
Discover new skills, new techniques, and new inspirations in every issue.
NOTE THAT OUR FIRST ISSUE WILL BE JAN/FEB 2026
You are using an out of date browser. It may not display this or other websites correctly.
You should upgrade or use an alternative browser.
You should upgrade or use an alternative browser.
Le Rochefort build log by OlivierF
- Thread starter OlivierF
- Start date
- Watchers 39
-
- Tags
- ancre group build le rochefort
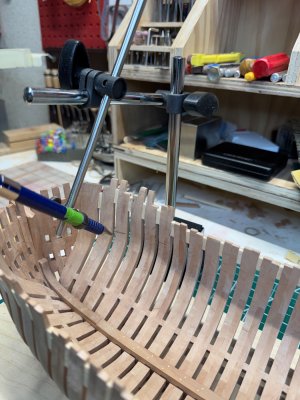
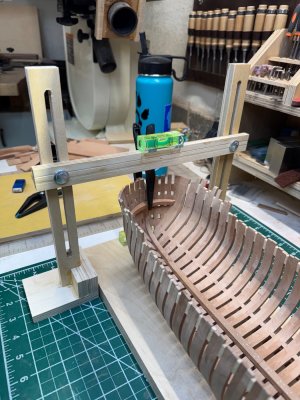
With the knowledge and experience you gained in your earlier work, I think (actually I’m sure) your next effort will be easier. Go with what feels right. This is a hobby and should be enjoyable, right?Looking great. You really made progress since starting over. I’ve been mulling over mine. Decided it’s over and done with. Still thinking about 1/24 though.
share with us that you have figured out, please.Never mind my earlier query about not completing the scarf joints for the deck clamp. Once I figured them out they’re not too difficult.
Good morning Oliver, very nice progress. How you make the cutouts is entirely up to you and as you already mentioned, you won't be able to see them later. I think everyone has to make that up for themselves. You can of course simplify it if that makes it easier for you.The stern is now closed in and the counter is complete except final sanding and scraping to smooth everything out.
View attachment 482914View attachment 482915View attachment 482916
Next step was to mill the wood for the deck clamp. In reviewing the scantling table it appears that there is an error in the width of the deck clamp as the table calculates to 4.5mm but the drawings scale to 2.5mm and Adrian made his deck clamps as 2.4mm. Anyway, 4.5mm is simply to thick so I made them 2.5mm.
View attachment 482918
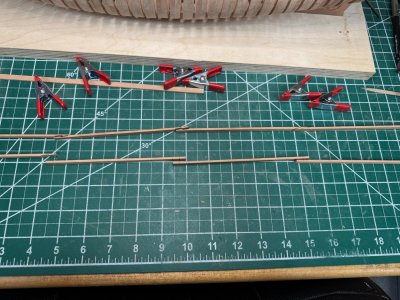
I then made one of the scarf joints in keeping with the drawings and Adrian’s book.
View attachment 482920
View attachment 482921
View attachment 482922
I’m simply not sure if making the scarf joints is worth it… will they even be visible once the deck beams and waterways are installed? I need to think about that as making the scarf joint took me about 1.5 hours to make the one!!!
Any thoughts from @Tobias or @Titoneri or others?
Thanks for any insight…
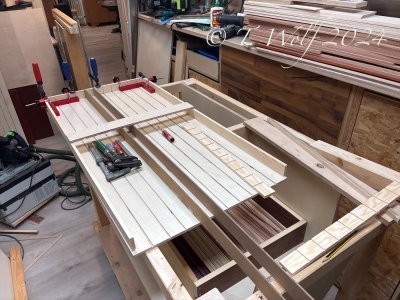
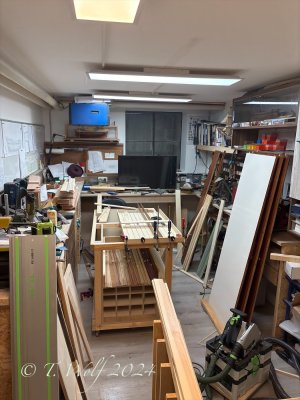
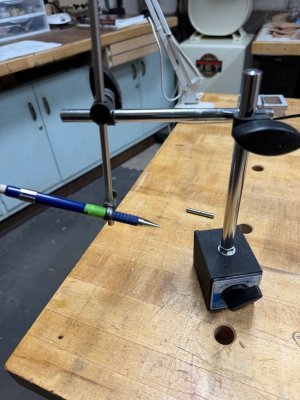
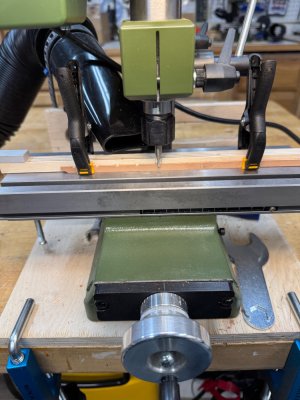
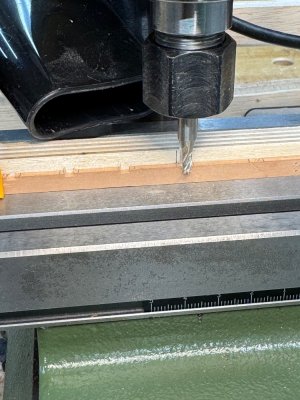
As for the manufacturing process, it's actually relatively simple. You take four, six or eight strips, stick them next to each other on a piece of flat board with double-sided tape, mark two lines, angle it slightly and mill them all at once. This way they usually fit together perfectly. Unfortunately I didn't take any pictures to illustrate it better. I'll try to take some today, as long as I've made some room in the chaos of my workshop.
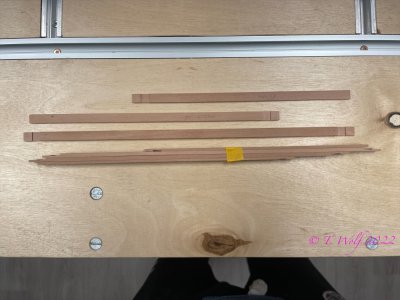
Thanks !
angle it slightly and mill them all at once.
 I actually never thought of using the mill. What a dope I am!
What I did was measure each joint and using a razor saw cut 1 shallow groove and a second deeper groove. Then made a mini planing board (I’ll post a picture later) and using a sharp chisel removed the material between the shallow groove and the deeper one. Then snuck up on the final fit with trial and error. Not very fast or repeatable. Also lots or room for error. I may start over and try @Tobias method even though the joints will be hidden. It’s good practice…share with us that you have figured out, please.
Yea....pictures would be exactly what we need, and thank you!I actually never thought of using the mill. What a dope I am!
What I did was measure each joint and using a razor saw cut 1 shallow groove and a second deeper groove. Then made a mini planing board (I’ll post a picture later) and using a sharp chisel removed the material between the shallow groove and the deeper one. Then snuck up on the final fit with trial and error. Not very fast or repeatable. Also lots or room for error. I may start over and try @Tobias method even though the joints will be hidden. It’s good practice…
I starting making the deck clamps by hand as I described above.Yea....pictures would be exactly what we need, and thank you!
I made a planing board and used a chisel to make the scarf.
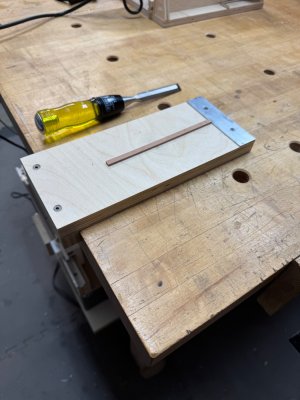
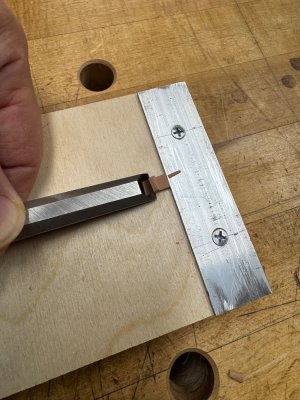
Then I snuck up on the correct angle
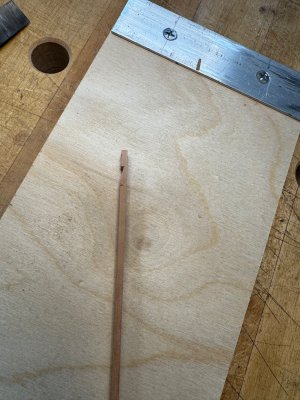
However, as usual, @Tobias was correct. It was much easier to set up the mill with the correct angle and mill them all at once.
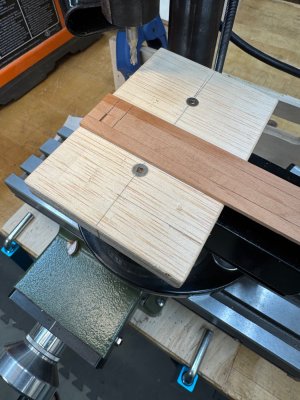
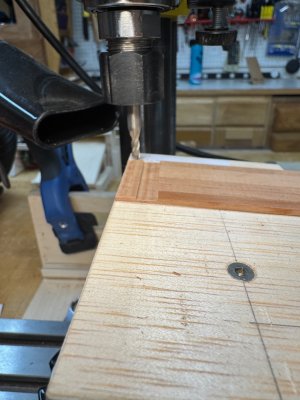
Just a little adjustments and excellent results.
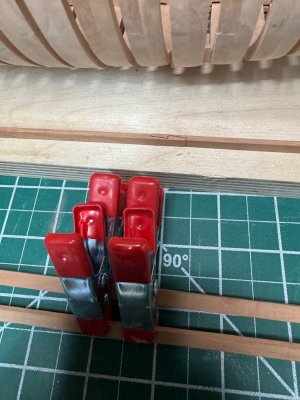
Now I’m working on bending the bow section of the deck clamps.
I soaked the pieces in hot water for about a half hour while I made a clamping frame.
Now they are drying and we’ll see the results in a bit.
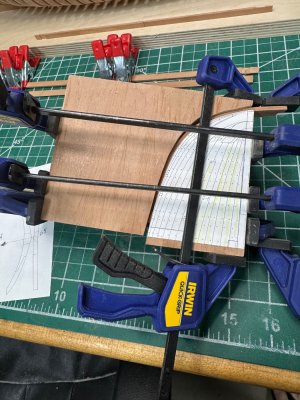
In the infamous words of “The A Team” (US TV show from the 80’s) Don’t you just love it when a plan comes together?


Last edited:
You are moving quick ! Great progress.
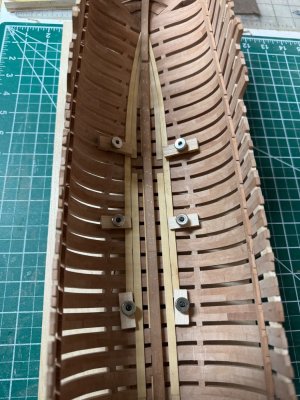
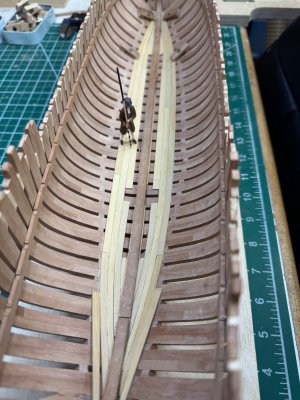
I finally got the deck clamps measured, milled and installed
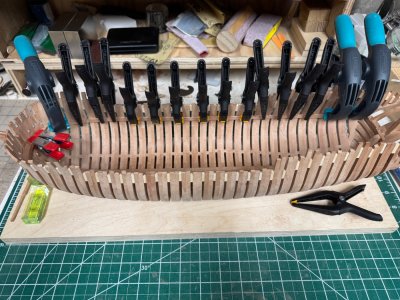
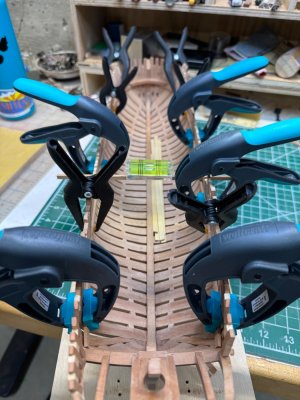
Now on to installing the ceiling…
First I milled and installed the teeny-tiny pieces that act as a shelf for the removable limber channel.
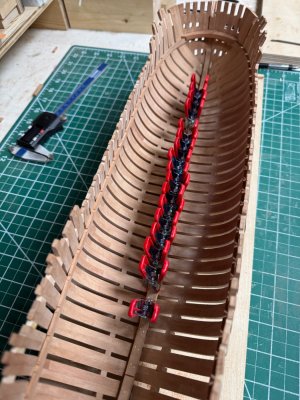
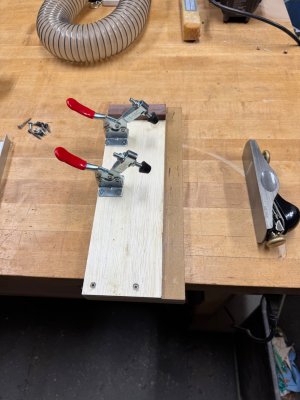
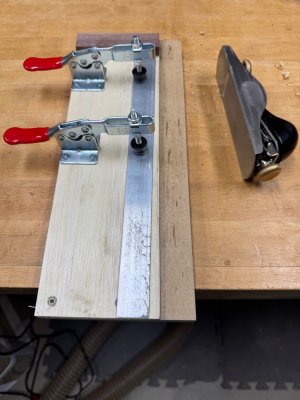
I was struggling to get the ceiling planks the proper width so I made a small shooting board with an adjustable stop in order to taper the planks as needed.
Got the first couple of planks fitted, tapered, soaked and bent into position.
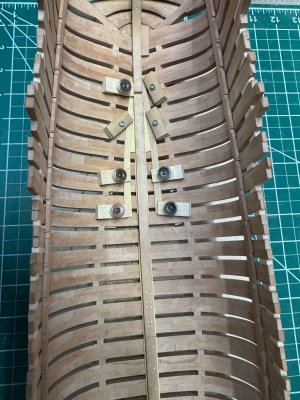
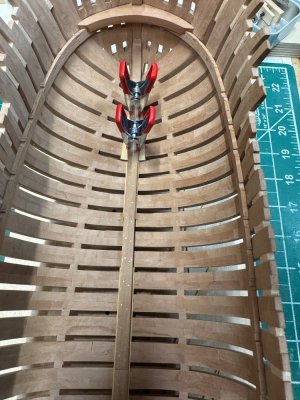
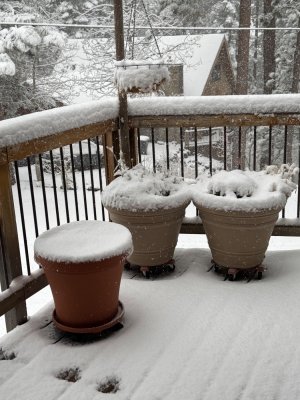
Now it’s waiting time again while I let the planks dry. Once dry I’ll use brown tissue paper to mimic caulking between the planks. Time for a break and watch the snow fall…


Now on to installing the ceiling…
First I milled and installed the teeny-tiny pieces that act as a shelf for the removable limber channel.

I was struggling to get the ceiling planks the proper width so I made a small shooting board with an adjustable stop in order to taper the planks as needed.


Got the first couple of planks fitted, tapered, soaked and bent into position.


Now it’s waiting time again while I let the planks dry. Once dry I’ll use brown tissue paper to mimic caulking between the planks. Time for a break and watch the snow fall…

Love your work, Olivier, and how the model build is nicely progressing. As much as I like the snow (beautiful photo) I'd love to enjoy the snow only in photos or images.
BTW, I don't think the caulking was used on the internal ship planking (except for the decks)
BTW, I don't think the caulking was used on the internal ship planking (except for the decks)
Thanks for your kind words Jim.BTW, I don't think the caulking was used on the internal ship planking (except for the decks)
You are normally correct that there was no caulking on the ceiling planks. Le Rochefort was built as a gun powder runner between the shipyard and larger vessels that couldn’t navigate up the river, so the ceiling was caulked as well to help keep the powder dry according to G. Delacroix and following @Tobias’ example…
Very nice progress, the contrast is very nice, so don't worry.
I would like to remind you that Oliver was already at this stage almost a year ago and started again from the beginning, great achievement.
I hope you have a nice holiday.
I would like to remind you that Oliver was already at this stage almost a year ago and started again from the beginning, great achievement.
I hope you have a nice holiday.
I’m back in the shipyard after being away most of December. Not much progress but I did manage to complete the mast support.
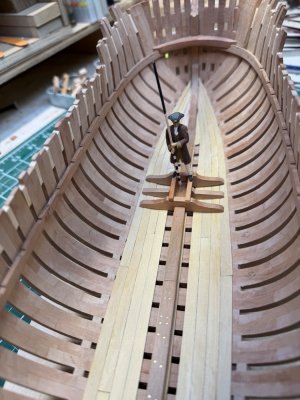
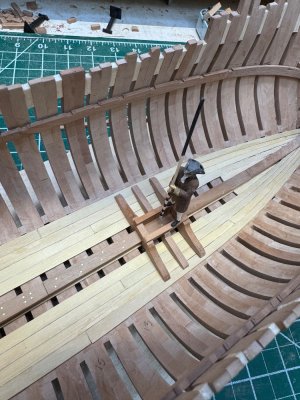
Now I’ll continue with the inner “ceiling”. I’m not sure yet how high I will take the planking on the open side… and, of course, I need to decide which will be the open side! 


Now I’ll continue with the inner “ceiling”. I’m not sure yet how high I will take the planking on the open side… and, of course, I need to decide which will be the open side!


