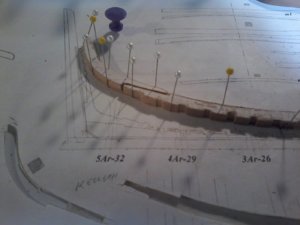
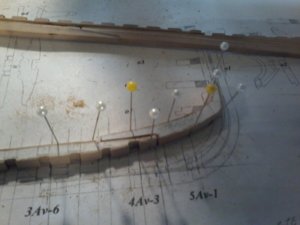
AS JIM SAID YOUR 7 cents is worth a million, and i will do like you said I was aware of the rounding as it occured when using my dremel to bring the pieces a little oversize and then final sanding, and probally i made it worst by using the foam backed sanding block, and i will absorb the res of what yo said, IT HELPS A LOT, this is what makes SOS WHAT A FORUM IS SUPPOSED TO BE. THANKS AGAIN Don
-

Win a Free Custom Engraved Brass Coin!!!
As a way to introduce our brass coins to the community, we will raffle off a free coin during the month of August. Follow link ABOVE for instructions for entering.
-

PRE-ORDER SHIPS IN SCALE TODAY!
The beloved Ships in Scale Magazine is back and charting a new course for 2026!
Discover new skills, new techniques, and new inspirations in every issue.
NOTE THAT OUR FIRST ISSUE WILL BE JAN/FEB 2026
You are using an out of date browser. It may not display this or other websites correctly.
You should upgrade or use an alternative browser.
You should upgrade or use an alternative browser.
LE ROCHEFORT
- Thread starter donfarr
- Start date
- Watchers 37
-
- Tags
- ancre le rochefort
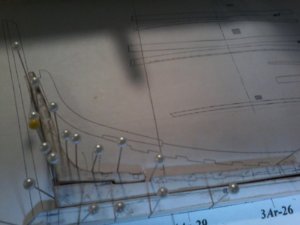
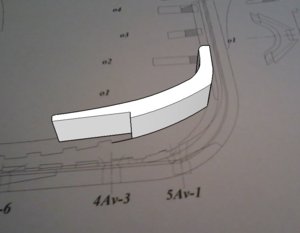
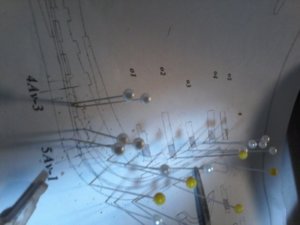
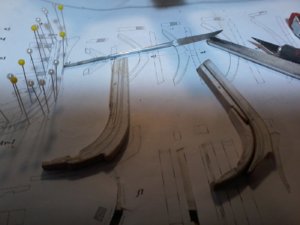
SHOWING 2nd attempt at making the stem, THANKS TO MEMBERS OF SOS it turned out much, much better, THANK YOU ALL VERY MUCH, also showing what I would consider the most critical part of the keel, this is where the notches are cut for the frames. this time i over cut the pattern whereas the other patterns were cut VERY CLOSE TO FINISH. This was because the last 3 FRAME NOTCHES ARE VERY, THIN, as I am having a bad time with the Z AXIS OF MY MILL I am left with 2 choices 1 to MILL THE NOTCHES FIRST THE ATTACH THE 2 pieces of the KEEL, or ATTACH THE 2 PIECES OF THE KEEL FIRST AND THEN CUT THE NOTCHES (BTW CAN ANYONE CONFIRM THE THICKNESS DIMENSION OF THE DOUBLE FRAMES I COME UP WITH 5.8mm AM I CORRECT), I AM LEANING TOWARDS ATTACHING THE 2 KEEL PIECES FIRST AND THEN MILL THE NOTCHES, any help would be greatly appreciated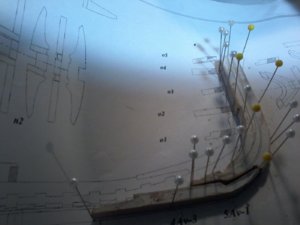
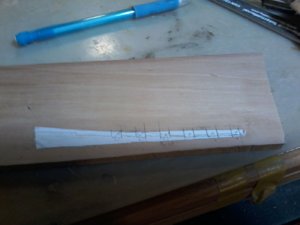


Hi Don
Can't help with frame thickness as I am unfamiliar with the vessel.However I would assemble the two keel pieces before cutting the notches as this piece is too flimsy on it's own.
Another suggestion is that you saw or plane a square straight true edge to your sheet of stock.You can then glue the straight face of you patterns against this edge.This makes life easier on the parts with straight edges(I am assuming the part is straight on the bottom,can't be certain from the angle of the pic)
Kind Regards
Nigel
THANKS NIGEL, ALWAYS A BIG HELP. SO AS NOT TO HIJACK YOUR THREAD COULD I PM YOU ON THE USE OF MY MILL THE Z AXIS IS GIVING ME BIG PROBLEMS. THANKS Don
Hi Don,yes no problem but Include some pics because I am unfamiliar with the setup
Kind Regards
Nigel
Kind Regards
Nigel
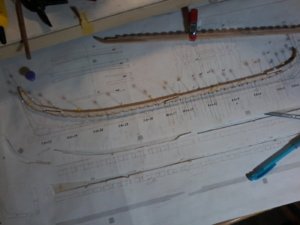
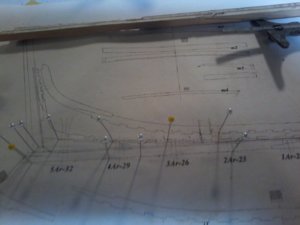
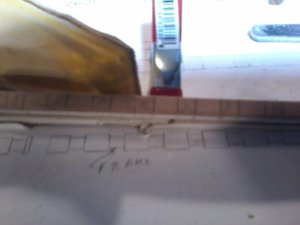
more progues on the build showing sections of the keel assembly. all comments greatly appreciated, getting ready for a sample frame, NOW TO USE MY MINI-MILL for the many notches that I have to do and a BIG THANKS TO NIGEL WHO FORM A COUPLE OF PICTUYRES AND A FEW THOSANDS OF MILES AWAY TOLD ME WHAT MY PROBLEM WAS ON THE Z AXIS, MANY, MANY, THANKS NIGEL. Don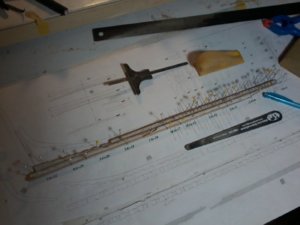
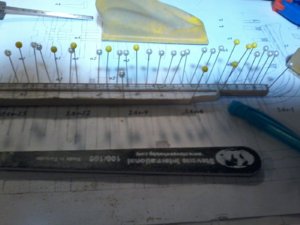
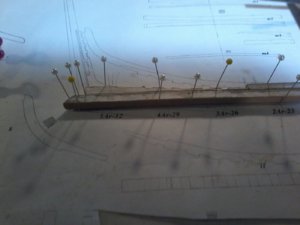


- Joined
- Dec 1, 2016
- Messages
- 6,379
- Points
- 728

OH YOU BET, DAVE THAT IS SUPER, WONDERFUL. Don
Don
My pleasure,I am glad to help and that you are now enjoying full use of the attachment
Kind Regards
Nigel
My pleasure,I am glad to help and that you are now enjoying full use of the attachment

Kind Regards
Nigel
THANKS NIGEL. Don
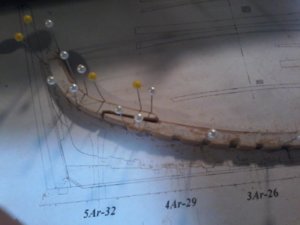
more progress pictures, showing the forefoot glued to the keel structure and the stem pieces including the apron, a critical mistake was avoided and a valuble lesson was learned, ALWAYS CHECK ALL THE PLANS CONCERNING THE PATS YOU ARE WORKING ON, almost had an extra frame notch on the upper keel, caught it in time,,,, PLEASE ALL CRITISIMS AND COMMENTS WELCOMED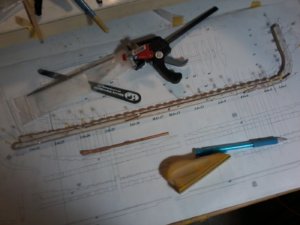
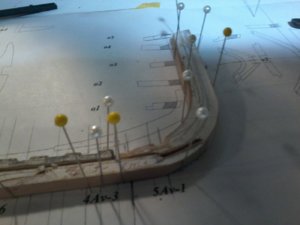
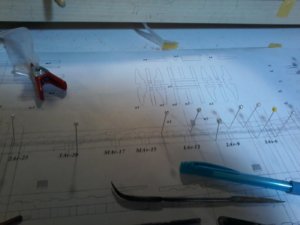
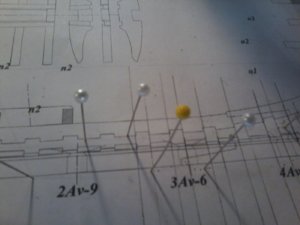
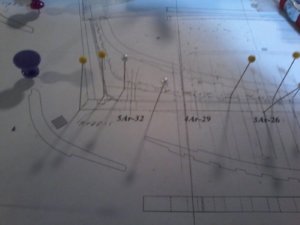


Hi DAVE, do you need me to send you the plans on the items that I am having problems understanding. THANKS AGAIN Don
Me personally would get crazy with these needles fixing the parts - I am holding one part down with one or more fingers of the left hand pressing the part down towards the drawing and adjust the second part - especially sometimes it is necessary to have both parts in hand - f.e. to check the joint etc.
So we can see, that everybody has his own preferences in working
So we can see, that everybody has his own preferences in working
Hi UWE, I had to do it with pins for a number of reasons EYESIGHT DUE TO AGE, ARTHRITCE and CAN NOT STAND FOR LONG PERIODS etc. and yes this method can drive someone a bit nuts, and i use a lot of prints due to fitting and refitting, but to me it works MOST OF THE TIME. and THANKS UWE. Don
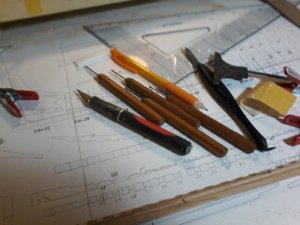
More pictures, this time showing details of cutting the rabbit I may have cut it to wide, not sure, also showing the tools and the use of straight edge to cut the rabbit, i first scribe it with a XACTO No 11 blade then a marking knife and the use of files, riflers, etc final using 220 sandpaper and 1000 grit to finish it. Also need help maybe from UYWE, to see if I have the frames numbered correctly would appreciate any help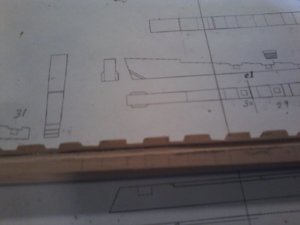
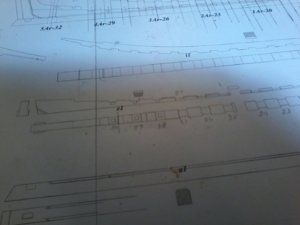
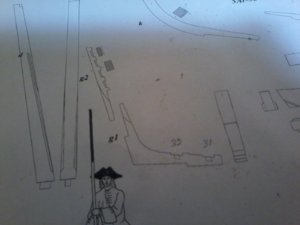
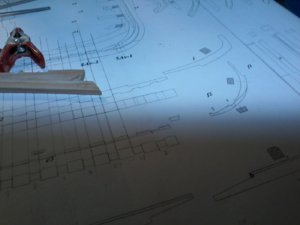
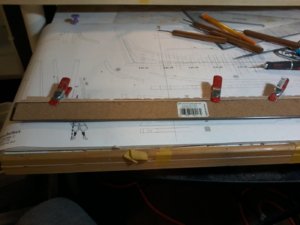
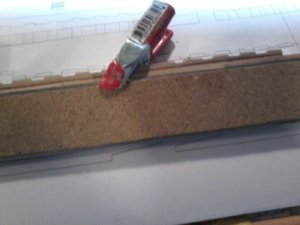


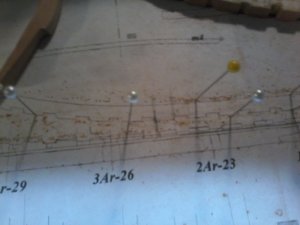
more pictures, showing the keelson and associated parts ( AND YES UWE THE PINS CAN DRIVE YOU BATTY, ALSO COSTS GO UP WITH THE AMOUNT OF ADDED PRINTS) but so far for me it works, STILL NEED HELP ON THE NUMBERING OF THE FRAMES TO SEE IF I HAVE IT RIGHT, also i am building the parts out of sequnce for 2 reasons to get experience using my MILL, and most important that i can not get the GANTRY BUILT FOR THE FRAMES WILL PAY A REASONBLE PRICE TO ANYONE TO DO IT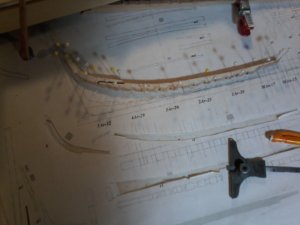


Looking good Don, and YES, sometimes it is better to make a new one than to fix\repair original. 


