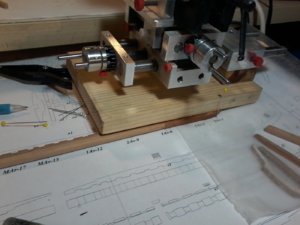
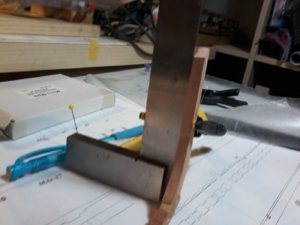
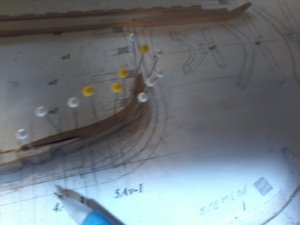
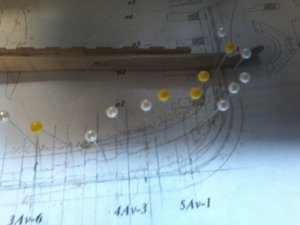
yes JIM it is, after finishing the keelson parts going to take a couple of days off of this build to finish my BLANDFORD, and the GUNBOAT PHILADELPHIA, the i will due a sample frame, hope that goes well. Don
-

Win a Free Custom Engraved Brass Coin!!!
As a way to introduce our brass coins to the community, we will raffle off a free coin during the month of August. Follow link ABOVE for instructions for entering.
-

PRE-ORDER SHIPS IN SCALE TODAY!
The beloved Ships in Scale Magazine is back and charting a new course for 2026!
Discover new skills, new techniques, and new inspirations in every issue.
NOTE THAT OUR FIRST ISSUE WILL BE JAN/FEB 2026
You are using an out of date browser. It may not display this or other websites correctly.
You should upgrade or use an alternative browser.
You should upgrade or use an alternative browser.
LE ROCHEFORT
- Thread starter donfarr
- Start date
- Watchers 37
-
- Tags
- ancre le rochefort
I am sure it will goes OK, and you can tasked them all!! You have already build frames for Blandford cross section. This should be the same or much similar process...i will due a sample frame, hope that goes well.
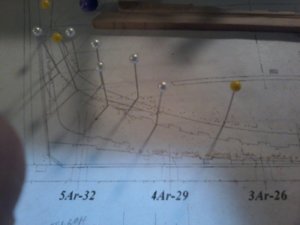
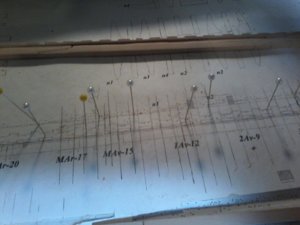
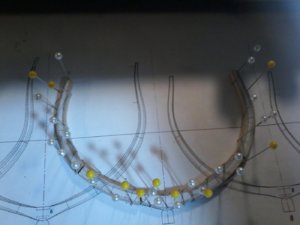
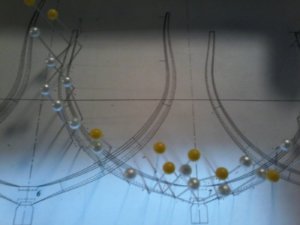
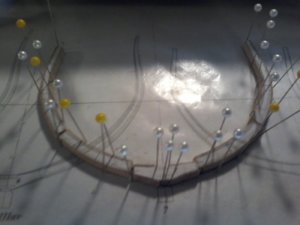
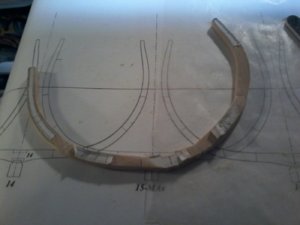
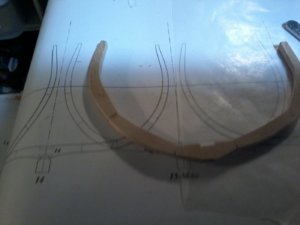
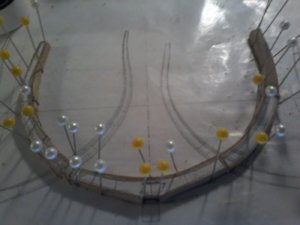
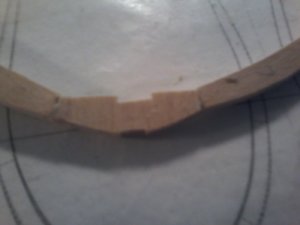
Hi All, update on my build this is a frame No 7, picked at radome, i hope some one can give me HELP AS THIS IS MY FIRST SCRATCH BUILD, FIRS FRENCH SHIP, FIRST FROM MONOGRAPH/GERARD, so there will be some questions, please HELP ALL COMMENTS AND CRITISIMS WELCOME NEED TO LEARN, WHAT BETTER WAY THEN SOS,,,,,,,,,,,pictures showin a double frame,(MATERIAL BEECH) using monograph terminology pictures of the chock of the DOUBLE FRAME, it is going in THE BIN NO GOOD AT ALL, last pictures of the futtock frame completing the double this one looks like a keeper,,, also showing the notches for inner keel and keelson notice the chock floor timber has a notch for the keelson and a shallow notch for inner keel,,,,the futock portion has no notch for the keelso, and a larger deeper notch for the inner keel,,,,I HOPE MY INTERPRTATION IS CORRECT (COMMENTS PLEASE),,,,, tomorrow I will post pictures from the monograph asking some questions, PLEASE HELP
Last edited by a moderator:
HI ALL, REALLY NEED COMMENTS, MAYBE UWE CAN HELP ME, have completed sample frame No 7 will show it latter today, not to happy with it, can not seem to get the joints done corectly leaving gaps not good, also need help in determing a starting point for preparing the frames over the plans maybe this can help, until some one can help do other parts, then come back to them. don
Hallo Don,
We will try our best
1) First of all I would suggest, that you try to show us the problem with more clear and focused photo - Maybe it is necessary to make the distance to the object bigger, so that your objective can focus really on the frame - also maybe some more light could help,
Try some things with your camera, so that we can see the problem better.
2) In principle the framing of the Rocheford is the same like with my Salamandre or other french ships, which have as standard the double framing.
Means every frame is constructed like a brickwork, so that the both half are overlapping to get a rigged frame.
These joints between the floor timber to the futtocks etc. are shown clearly in the drawing from Gerard. When you cut out the frame parts, do not use the line as a center for your saw blade - if you do so, than your glued joint will miss in total the thickness of your saw blade (if your saw- blade is 1mm thick you would miss 0,5mm on one side and 0,5mm on the other side). It is necessary, that if you cut the joint f.e. at the floor timber, you have to lead the saw-blade parallel to the drawn line of the drawing, just so, that the line is still visible (correctly will be exactly half thickness of the line). If you now cut the the futtock, you have to lead the sawblade also parallel to the drawn line of the drawing, just so that half of the line is still visible. With this method your joints will have a correct thickness of Cero.
If you are interested, please take a look at my building log of the Salamandre, where I describe the way with a lot of photos
Only here for example my way of putting a frame together (similar would be your sequence)
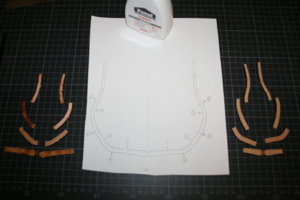
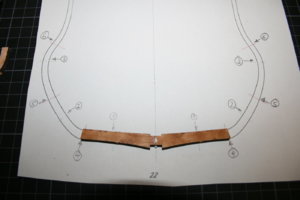
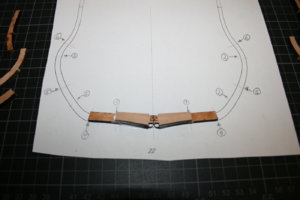
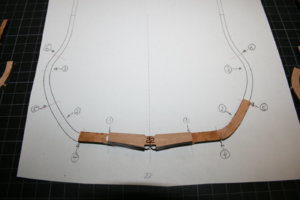
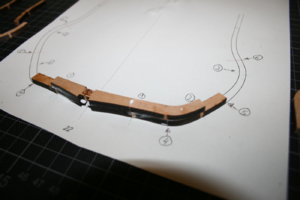
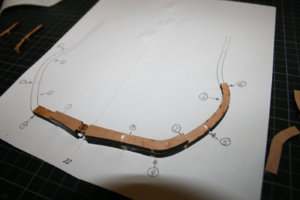
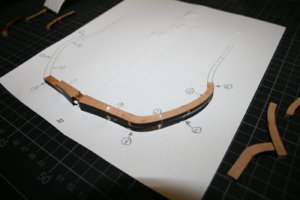
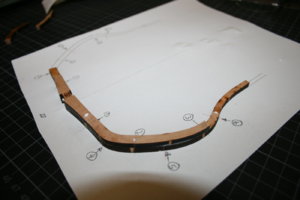
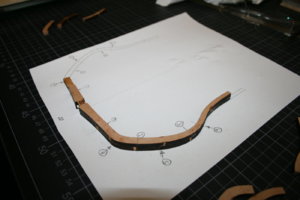
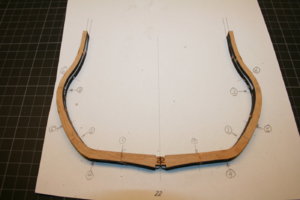
We will try our best
1) First of all I would suggest, that you try to show us the problem with more clear and focused photo - Maybe it is necessary to make the distance to the object bigger, so that your objective can focus really on the frame - also maybe some more light could help,
Try some things with your camera, so that we can see the problem better.
2) In principle the framing of the Rocheford is the same like with my Salamandre or other french ships, which have as standard the double framing.
Means every frame is constructed like a brickwork, so that the both half are overlapping to get a rigged frame.
These joints between the floor timber to the futtocks etc. are shown clearly in the drawing from Gerard. When you cut out the frame parts, do not use the line as a center for your saw blade - if you do so, than your glued joint will miss in total the thickness of your saw blade (if your saw- blade is 1mm thick you would miss 0,5mm on one side and 0,5mm on the other side). It is necessary, that if you cut the joint f.e. at the floor timber, you have to lead the saw-blade parallel to the drawn line of the drawing, just so, that the line is still visible (correctly will be exactly half thickness of the line). If you now cut the the futtock, you have to lead the sawblade also parallel to the drawn line of the drawing, just so that half of the line is still visible. With this method your joints will have a correct thickness of Cero.
If you are interested, please take a look at my building log of the Salamandre, where I describe the way with a lot of photos
LA SALAMANDRE, bomb ketch - POF - (CAF-models, 1/48)
Due to the fact, that I am waiting for the spar jig, which will be hopefully send by Max in short time, I started with some frame work. As I mentioned before the Salamandre is the first laser cut POF model, so I have to get used to the small but important specialities of this kind of wood /...
shipsofscale.com
Only here for example my way of putting a frame together (similar would be your sequence)


THANK YOU SO MUCH UWE, I WILL DO AS YOU SAY and I DEFINATLY WILL LOOK AT YOUR SALAMANDER BUILD AND STUDY IT THOURALY, BEFORE I ASK ANY MORE QUESTIONS ON THE FRAMES, I AM NOW GOING TO FINISH ALL THE RABBITS AND FINISH THE KEEL ASSEMBLY, ALSO THE MONOGRAPH AND THE PLAN SET IS EXCELLENT, FOR THE MOST PART DOING BETTER THEN I EXPECTED, AND PLEASE ADD ANY COMMENTS AND CRITISIMS TO ANY OF MY POSTS. THANKS AGAIN Don
STARTING TO LOOK AT YOUR SALAMANDER BUILD, BEAUTIFUL BUILD UWE, just two quick questions, as this is a kit and mine is scratch how do i cut the patterns at the joint line to give a good fit without any gaps, also when I cut the material to the pattern I as I have cut the pattern to the line, I have been using the outside edge as my starting point leaving the inside edge a little fat for final trimming when both parts of the double frame are complete, also I see you are doing the frames like a brick work assembly where I am doing it with one part of the frame finished and then the other and finally glueing the 2 parts together and final sanding,I AM GOING TO DO IT YOU WAY NEXT AND SEE IF I CAN HAVE A BETTER FRAME MADE, ,,,,,,AGAIN UWE THANK YOU SO MUCH FOR THE HELP IT IS GREATLY APPRECIATED. THANKS AGAIN Don
Hi Don
Do you own a bench top disc sander.If not then you really need to buy one for a build like this.I always cut 2mm away from the line on frame butts and disc sand to the line.You will get much tighter joints using this method
Regards
Nigel
Do you own a bench top disc sander.If not then you really need to buy one for a build like this.I always cut 2mm away from the line on frame butts and disc sand to the line.You will get much tighter joints using this method
Regards
Nigel
I agree completely with Nigel.Hi Don
Do you own a bench top disc sander.If not then you really need to buy one for a build like this.I always cut 2mm away from the line on frame butts and disc sand to the line.You will get much tighter joints using this method
Regards
Nigel
Also with my Salamandre I did this, due to the fact, that the laser cut ends left some meat to be accurately fitting the drawings.
you can see this in post #21 and #22
LA SALAMANDRE, bomb ketch - POF - (CAF-models, 1/48)
Due to the fact, that I am waiting for the spar jig, which will be hopefully send by Max in short time, I started with some frame work. As I mentioned before the Salamandre is the first laser cut POF model, so I have to get used to the small but important specialities of this kind of wood /...
shipsofscale.com
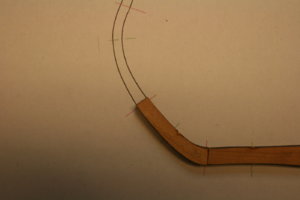
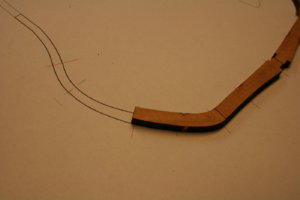
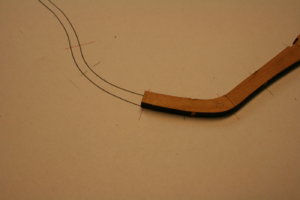
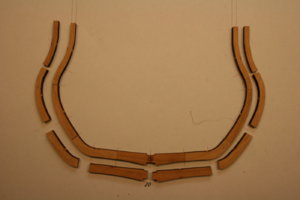
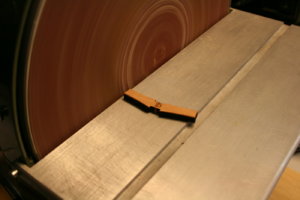
THANKS NIGEL AND UWE, I WILL GET ONE I HAVE BEEN LOOKING FOR ONE FOR QUITE SOME TIME THE ONE I HAVE DECIDED ON IS THE 5 INCH DISK SANDER AND 1 inch BELT FROM MODEL EXPO, THIS IS THE ONE THAT I THINK THAT SERVES MY PURPOSE I NEED A SMALL ONE THAT DOES NOT TAKE UP MUCH ROOM AND IS NOT TO HEAVY, THANKS AGAIN Don
You will find it a godsend Don.I only have the small Proxxon one.At the time I bought it,I couldn't afford the large one.I can cope with this one on Saint Philippe so it is more than big enough for what you need.
Two points to remember.Only use the left side of the wheel as you face the machine,unless you exercise extreme caution,and the further the piece is from the centre of the disc,the faster you will remove material.
Kind Regards and happy shopping
Nigel
Two points to remember.Only use the left side of the wheel as you face the machine,unless you exercise extreme caution,and the further the piece is from the centre of the disc,the faster you will remove material.
Kind Regards and happy shopping
Nigel
THANKS NIGEL AND KNUT, I JUDT LOOKED AT THE PROXON AT AMAZON, THE $200.00 IS MORE THEN I CAN AFFORD RIGHT NOW I LIKE IT VERY MUCH ESPECIALLY THE WEIGHT, SO RIGHT NOW THE MODEL EXPO ONE SEEMS OK, WHAT DO YOU GUYS THINK SHOULD I WAIT OR GO FOR THE CHEAPER ONE. THANKS Don
- Joined
- Dec 3, 2018
- Messages
- 2,451
- Points
- 538

I'm very happy with my machine and would go for one, to put it that way, I haven't tried any other make or model
because I've never had any problems with it, and I use it in many parts.
Soon I will use it to grind the arch on deck beas Blandford, the advantage is that then I get to grind the beams so that they are at an angle,
I had not been able to do that manually.
My opinion-
.
because I've never had any problems with it, and I use it in many parts.
Soon I will use it to grind the arch on deck beas Blandford, the advantage is that then I get to grind the beams so that they are at an angle,
I had not been able to do that manually.
My opinion-
.
Don,it is only a sander,the model expo one will be just as good.I went with the Proxxon because the discs are easily available in the UK and we don't have an alternative over here.I realise that you pay a bit of a premium over the pond for Proxxon tools but you do have alternative manufacturers.Even if you bought the Proxxon,you still have to check the table is square to the disc and angles have to be checked when using the guide.The moulded on degree marks on the Proxxon are only approximate and can't be taken as gospel.
Kind Regards
Nigel
Kind Regards
Nigel
Hi Don, Here is an expensive product - Perfomax, and could be an alternative to Proxonn. I said 'could' because personally have not tried it, but it does have the same functionality as most sanders: variable speed control, tilted table and miter guide. It uses 5" disks.
Hi Jim, I bought this one some time ago, BAD,BAD, BAD, mine is now in the trash bin, could never get it clamped down to work place kept falling off during operation, i think it is going to be the model expo. THANKS Don
well a big problem occured hope I can fix it, do not know why it happened, after gluing the stem pieces to the keel assembly I discovered the assembly was tilted not warped I think it had something to do with the scarf joints, i opened the joints up reglued them and put a heavy weight on top, it seemed to work it still is a little bit out hope I can fix it when installing the frames, this caused me a problem as I had to use CA and some wood filler witch I really do not like to use, hope it is not to noticable when oiled, now still dry fitting the stern pieces and when i glue it will make sure I weigh it down, any sugestions PLEASE comment