


I like the third most among all three, but even this size seems a bit small, IMHO. But...sized aside, the read you are showing is fuzzy, at least under a magnifying image. If you don't consider rigging thread upscale, I would suggest doing so. There are great aftermarket threads out there, from Rope Of Scale and DryDock Parts. They have options of Poly or Cotton threads, all the sizes and colors used by the shipwrights.

 drydockmodelsandparts.com
If, for whatever reason, you do not decide on upgrades, use the beeswax and pull the tread through, it should take care of the fuzz. Fuz is the killer, it attracts specks of dust and later, you will have a much bigger issue cleaning the model. But...it is in your hands, 'cause you are the captain!
Ropes of Scale
Miniature Rope for the scale modeler. These products are designed for rigging model ships but can be used for most scale modeling or dioramas.
ropesofscale.com
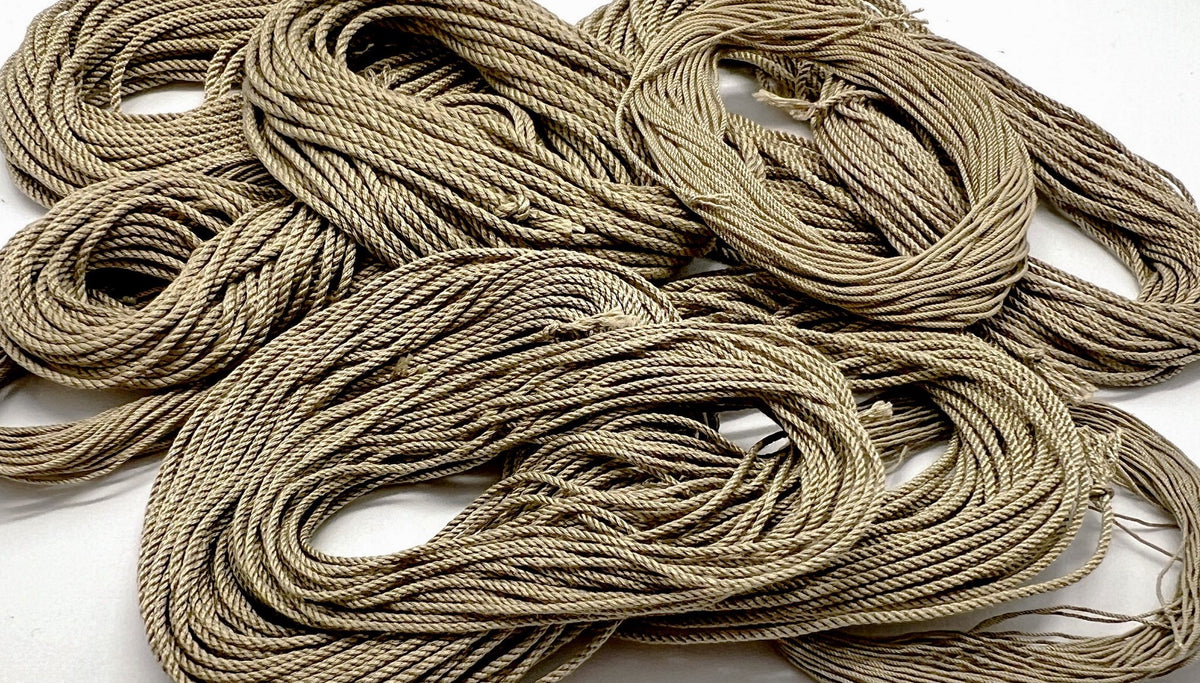
Miniature rigging ropes - Beige - Cotton
Premium quality rigging ropes for your ship modeling needs, Beige color for running rigging. All ropes are historically accurate Hawser-laid right handed ropes. No Fuzz!!
drydockmodelsandparts.com
If, for whatever reason, you do not decide on upgrades, use the beeswax and pull the tread through, it should take care of the fuzz. Fuz is the killer, it attracts specks of dust and later, you will have a much bigger issue cleaning the model. But...it is in your hands, 'cause you are the captain!

")


")


