Thank you Heinrich!Superb detailing Dean. It's like Peter's Ducati - you can get lost in them!
-

Win a Free Custom Engraved Brass Coin!!!
As a way to introduce our brass coins to the community, we will raffle off a free coin during the month of August. Follow link ABOVE for instructions for entering.
-

PRE-ORDER SHIPS IN SCALE TODAY!
The beloved Ships in Scale Magazine is back and charting a new course for 2026!
Discover new skills, new techniques, and new inspirations in every issue.
NOTE THAT OUR FIRST ISSUE WILL BE JAN/FEB 2026
- Home
- Forums
- Ships of Scale Build Logs
- Super Detailing Static Models / Other Genres
- Historical Trailways, Guns, Aircraft, and Cars
You are using an out of date browser. It may not display this or other websites correctly.
You should upgrade or use an alternative browser.
You should upgrade or use an alternative browser.
Model Airways Sopwith Camel 1/16 scale [COMPLETED BUILD]
- Joined
- Sep 3, 2021
- Messages
- 5,190
- Points
- 738

A
A beautifully crafted seat, that's certain, but whether that seat was comfortable in real life...I added the tail skid…it has rigging!
They used a bungee cord which acted like a shock absorber.
View attachment 298947
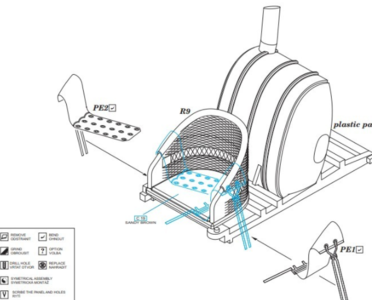
Then I decided to try to make something decent out of the provided seat. First I cleaned it up and glued it to the seat bottom and painted the bottom.
View attachment 298948
There was a big gap and no supports…sigh! So I added the vertical supports that cross …
View attachment 298949
As you can see I also decided to make a seat cushion, which was standard. But I also decided to make a upper cushion that goes on the bulkhead behind the seat. I have seen this added on the real airplane.
View attachment 298950
Then I painted the seat and cushions…
View attachment 298951View attachment 298952View attachment 298953
Then they were installed in the fuselage…
View attachment 298954View attachment 298955
As she sits now with current progress…
View attachment 298957
Thank you!A
A beautifully crafted seat, that's certain, but whether that seat was comfortable in real life...
They didn’t get many comforts in the old planes! They flew at altitudes where the air was -40 degrees, with nothing but a big coat, gloves and boots! The only wind protection was a tiny screen and googles. And they had that skin cap…lol.
True pioneers of military aviation!
And the wicker seat in addition to the cushion on top, was most likely more comfortable than you think! Kind of like outdoor furniture today!
Last edited:
I realized the kit has no provision or thought for a seat belt. So…
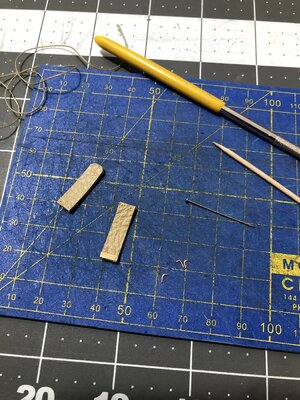
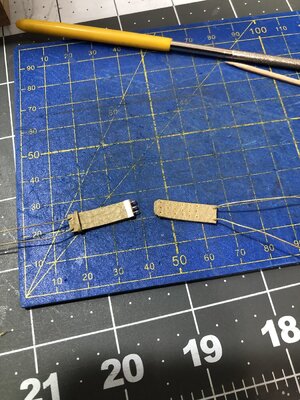
After some research, fabrication began!
Now for installation…there was a rope that went from the belt and was anchored around the seat support and gas tank support…
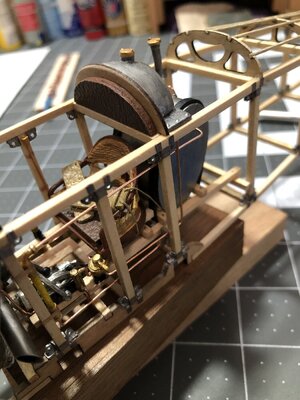
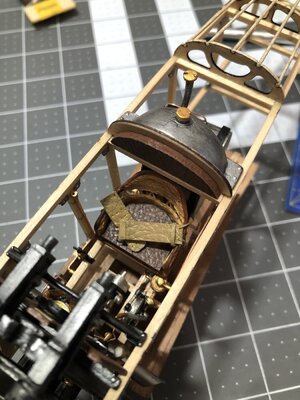
And finally I can start thinking about closing this fuselage up with tension wires!
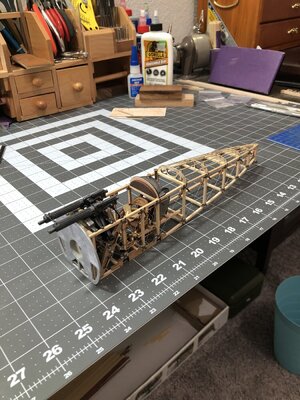
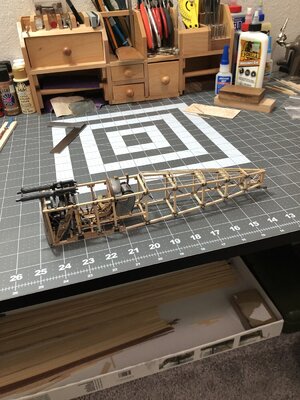
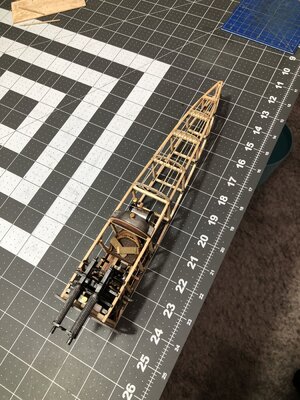
One side is done, then the other side is next, and finally the bottom!
I may wait on the bottom tension wires, until I install the empannage assembly and run all of the control lines to the flaps, rudder and tail skid. The instructions say to install prior. But I think they will get in the way?


After some research, fabrication began!
Now for installation…there was a rope that went from the belt and was anchored around the seat support and gas tank support…


And finally I can start thinking about closing this fuselage up with tension wires!


One side is done, then the other side is next, and finally the bottom!
I may wait on the bottom tension wires, until I install the empannage assembly and run all of the control lines to the flaps, rudder and tail skid. The instructions say to install prior. But I think they will get in the way?
Actually they had 2 hrs of fuel and oil, and from what I have read, they sometimes lost track of time and had to try to get back over enemy lines so they could do an emergency landing in a field somewhere safe! How do you lose track of time you say, easy…get in a dog fight!In action, aircraft like these would have been back on the ground more often than not within 15 to 20 minutes.
I would imagine the pilot would be far too busy to give much thought to what he was sitting on.
I think with the cushion and the fact it is a wicker type seat, which is not hard like a piece of wood, that it was plenty comfortable enough for the 2 hour max flight!
Last edited:
Stage 7: Empennage Installation & Cabling
After all that work on the fuselage, the empannage assembly is finally ready to be installed! So that is done!
Now…I have to add the tension wires for the empannage assembly…and then…all of the control cables! Four in total. This will be tedious and time consuming…but that’s model building!
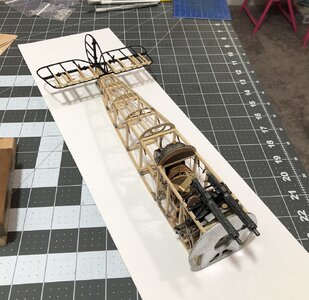
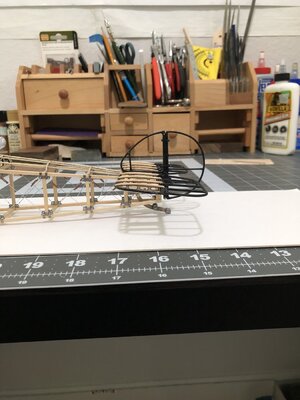
After all that work on the fuselage, the empannage assembly is finally ready to be installed! So that is done!
Now…I have to add the tension wires for the empannage assembly…and then…all of the control cables! Four in total. This will be tedious and time consuming…but that’s model building!


Last edited:
Thank you Lou! I appreciate it!Beautiful Dean! Really like the seat mods - looks so much better than what they give you! Cowl and fairing really show their beauty now too! Just awesome!
After test fitting the printed pieces, it looks like I will print them one last time with final adjustments! Then painting one last time…sigh!
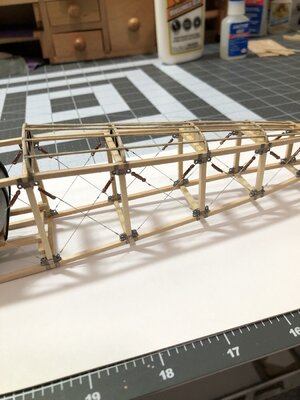
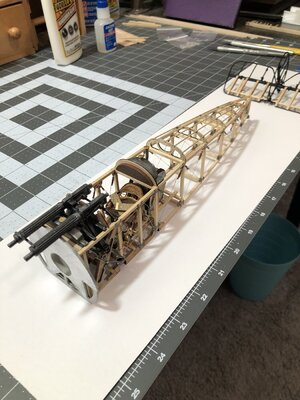
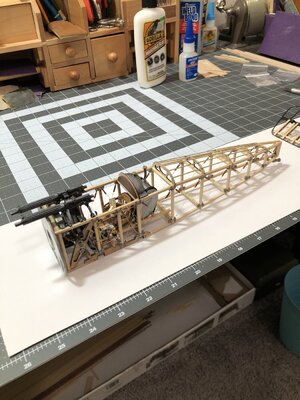
Today I added the tension wires to the empennage assembly, including turnbuckles and cable crimps. Amazing how much time you can spend on about 8 wires…lol.
Anyway, it is now time to run the control cables to the rudder, elevator and tail skid.
After that I can finally put on the lower wing and landing gear!!! Excited to get to that point!
Pics…
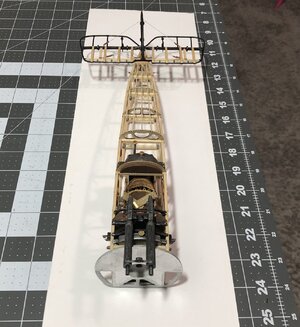
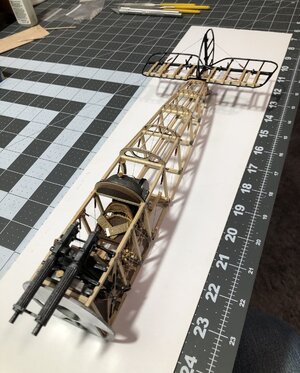
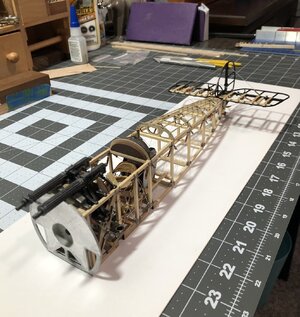
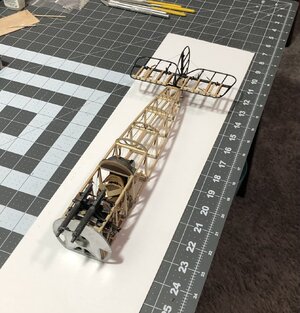
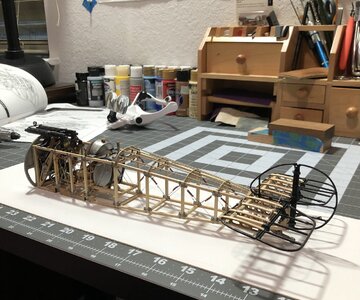
Anyway, it is now time to run the control cables to the rudder, elevator and tail skid.
After that I can finally put on the lower wing and landing gear!!! Excited to get to that point!
Pics…


You now get a good idea of how the entire construction gets its strength with all those tension cables. And thanks to your report on how it is built up.Today I added the tension wires to the empennage assembly, including turnbuckles and cable crimps. Amazing how much time you can spend on about 8 wires…lol.
Anyway, it is now time to run the control cables to the rudder, elevator and tail skid.
After that I can finally put on the lower wing and landing gear!!! Excited to get to that point!
Pics…
View attachment 299379View attachment 299380View attachment 299381View attachment 299382View attachment 299383
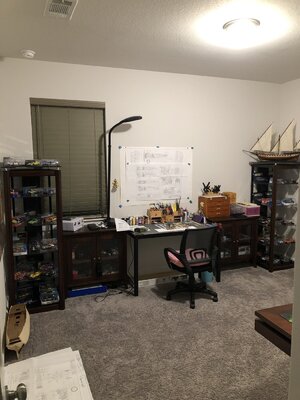
Clutterde, Dean ????? I don’t show mine.My work area is getting cluttered!
View attachment 299409
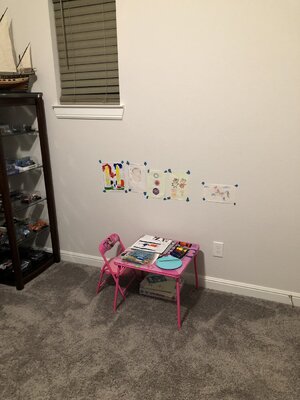
My granddaughter has her area too!
View attachment 299411
And your granddaughter has a beautifull area. Next to all your tools, ready to explore and using them (in the future).
Regards, Peter
Looks like a nice, tidy work area, but with a voracious carpet monster. 
- Joined
- Sep 3, 2021
- Messages
- 5,190
- Points
- 738

Cluttered, yeah right... Looking for something more like this? At least there's ample room for your granddaughter to play around.My work area is getting cluttered!
View attachment 299409
My granddaughter has her area too!
View attachment 299411

A hungry carpet monster! But I have found a way to beat it! We have a Miele vacuum cleaner, and it has an access door to the bag. So if I lose a part, which happens frequently, then I take the bag out of the vacuum cleaner and vacuum until I hear a part go into the vacuum. Then I shut if off and open the access door and get my part out!Looks like a nice, tidy work area, but with a voracious carpet monster.
- Joined
- Jan 9, 2020
- Messages
- 10,565
- Points
- 938

Simply stunning work Dean. To me the seatbelt looks slightly on the wide side for the seat, but what do I know? In any case, that does not detract one iota from a marvelous build!
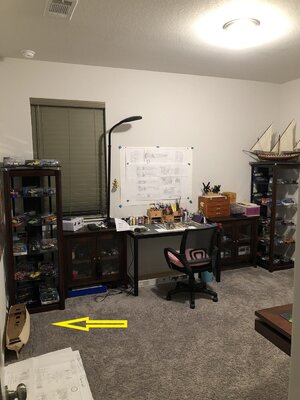
I do, however, feel sorry for the NL in the corner - you can always send her to Nantong! Just joking - my Haarlem is also stashed away on the floor in the spare room!

I do, however, feel sorry for the NL in the corner - you can always send her to Nantong! Just joking - my Haarlem is also stashed away on the floor in the spare room!
The seat belt is actually correct. I will see if I can find a few photos...see below....Simply stunning work Dean. To me the seatbelt looks slightly on the wide side for the seat, but what do I know? In any case, that does not detract one iota from a marvelous build!
View attachment 299475
I do, however, feel sorry for the NL in the corner - you can always send her to Nantong! Just joking - my Haarlem is also stashed away on the floor in the spare room!

Last edited:
She is already eyeing my supplies Peter...ha ha! She told me she needs more paint!Clutterde, Dean ????? I don’t show mine.
And your granddaughter has a beautifull area. Next to all your tools, ready to explore and using them (in the future).
Regards, Peter


