Warning: Before any more shrouds, anchor the bottom ends of those chainplates to the hull. After tensioning and finishing a few more of the shrouds and deadeye lashings, the tension will be great enough to break the channel right off the hull! Then you'll have a small mess on your hands trying to get it back on the hull in the correct position. The tension force of each shroud is supported by the chainplate anchored to the hull. There should be no vertical force applied to the channel (chainwale). Before lashing the deadeyes, each chainplate must be firmly nailed to the hull below the channel, with the nail positions on a wale, if there is one. Rattlesnake does not have wales, but the it does have a hull strake that transitions from the lower hull, which is thicker, to the upper hull, which is thinner and lighter in order to save weight.
-

Win a Free Custom Engraved Brass Coin!!!
As a way to introduce our brass coins to the community, we will raffle off a free coin during the month of August. Follow link ABOVE for instructions for entering.
-

PRE-ORDER SHIPS IN SCALE TODAY!
The beloved Ships in Scale Magazine is back and charting a new course for 2026!
Discover new skills, new techniques, and new inspirations in every issue.
NOTE THAT OUR FIRST ISSUE WILL BE JAN/FEB 2026
You are using an out of date browser. It may not display this or other websites correctly.
You should upgrade or use an alternative browser.
You should upgrade or use an alternative browser.
Kurt, thank you for catching that... that would have been bad.
I was wrongly thinking to anchor after the shrouds to line them up.
I was wrongly thinking to anchor after the shrouds to line them up.
Last edited:
I have seen builders use a thread to mock up/simulate the shroud to determine the alignment of the chainplates.Kurt, thank you for catching that... that would have been bad.
I was wrongly thinking to anchor after the shrouds to line them up.
That's what I did too. It helps you plan where to place the anchor points of the chainplates to the hull and where to notch the outer edge of the channel to accept the chainplates.I have seen builders use a thread to mock up/simulate the shroud to determine the alignment of the chainplates.
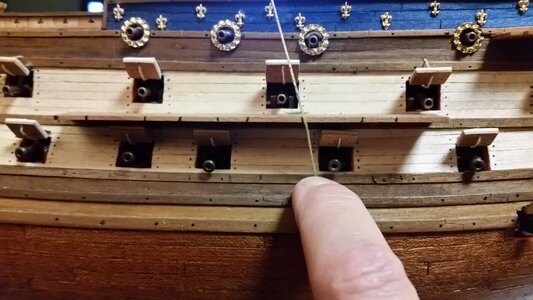
Using some temporary line as a false shroud to locate where the actual shrouds should be.
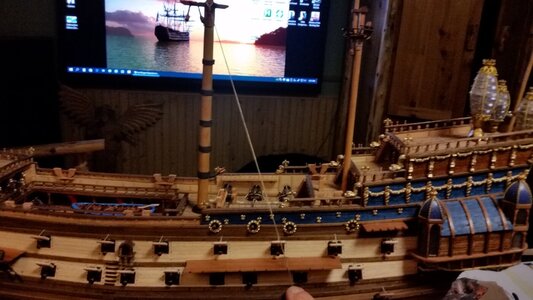
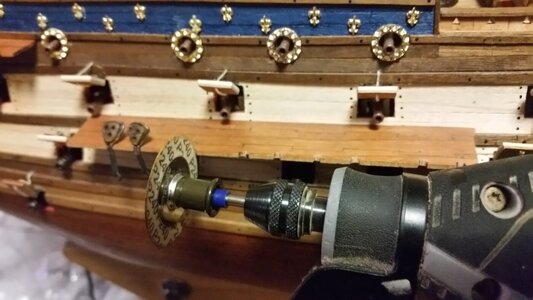
Place shrouds between gun ports leaving as much room for gun barrels as possible. This is more difficult with ships that have two or more gun decks. Mark spots on the channel and wale.
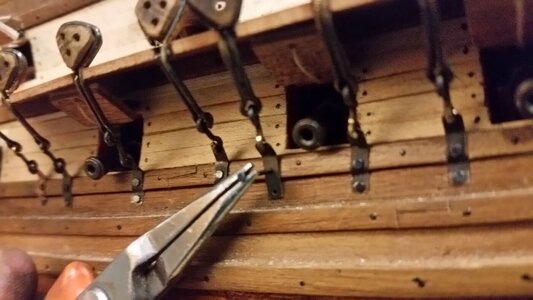
Notch the channel at the marked spots to accept the chainplates.
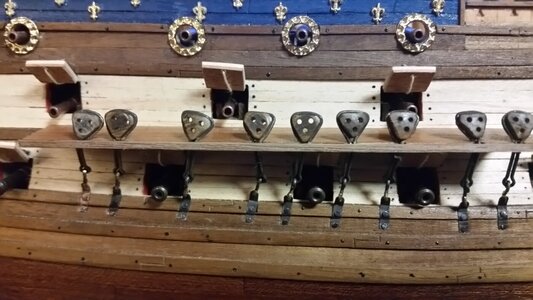
Fitting lower deadeyes and chainplates to channel and nailing chainplates to wales on the hull. In the case for this ship, two nails are used to hold the copper tab at the end of the chainplate to the hull. Tapping the tip of a flat screwdriver forms the folds of the copper to conform it to shape of the wale just before the lower nail is installed.
Wooden strip trim is glued over the outboard edge of the channel, trapping the chainplates in the notches. Later, the slack in the chainplates will be eliminated when the shrouds are installed and draw them taut.
Last edited:
Thank you PaulI have seen builders use a thread to mock up/simulate the shroud to determine the alignment of the chainplates.
- Joined
- May 27, 2021
- Messages
- 222
- Points
- 88

What is your over all opinion of this kit? Thinking of buying same in the future. Did it come with sails? thank you
No sails. I think the Mamoli kit is better but that isn't based on first hand knowledge. I had an over 20 year break from building these types of kits. I got it to relearn the art. From that perspective it is a good kit.What is your over all opinion of this kit? Thinking of buying same in the future. Did it come with sails? thank you
This is a well illustrated sequence for the memory bank and, nicely done. Rich (PT-2)That's what I did too. It helps you plan where to place the anchor points of the chainplates to the hull and where to notch the outer edge of the channel to accept the chainplates.
Using some temporary line as a false shroud to locate where the actual shrouds should be.
View attachment 254772
Place shrouds between gun ports leaving as much room for gun barrels as possible. This is more difficult with ships that have two or more gun decks. Mark spots on the channel and wale.
View attachment 254773
Notch the channel at the marked spots to accept the chainplates.
View attachment 254774
Fitting lower deadeyes and chainplates to channel and nailing chainplates to wales on the hull. In the case for this ship, two nails are used to hold the copper tab at the end of the chainplate to the hull. Tapping the tip of a flat screwdriver forms the folds of the copper to conform it to shape of the wale just before the lower nail is installed.
View attachment 254777
Wooden strip trim is glued over the outboard edge of the channel, trapping the chainplates in the notches. Later, the slack in the chainplates will be eliminated when the shrouds are installed and draw them taut.
View attachment 254778
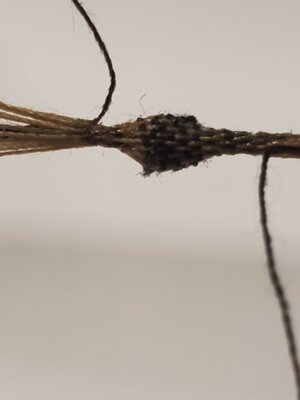
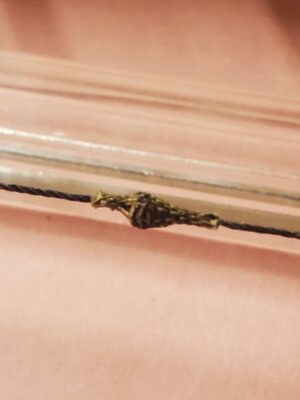
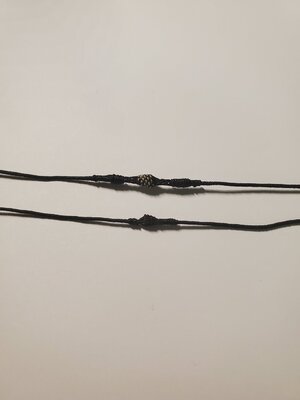
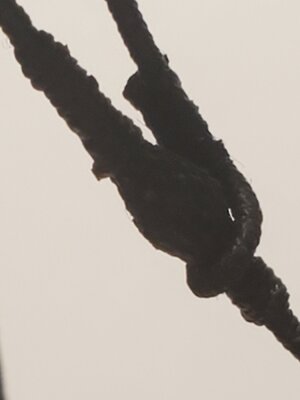
It looks like your patience and new ones have brought a mouse out of hiding. Don't worry about multiple attempts as I am also undergoing prior bad evenings rigging work leading lines to the wrong terminations and having to remove and redo a number while doing my best not to damage other things. Maybe there is a dance step in this hobby that keeps us stepping back every so often in the rhythm of progress. You are working at a very small size so your pursuit of what will satisfy your needs is a challenge which you are willing to dance with. Good for you!!! Rich (PT-2)The #14 mouse.... didn't look right. I attempted #15 last night... it looked okay. I tried to clean it up with a little flame... and the line separated. Today, #16 I used very thin tan and black thread to weave the mouse. Much better results. I use this one for the mizzen. View attachment 254914View attachment 254915View attachment 254916View attachment 254917View attachment 254918
I made the thimble mizzen stay last night.
I plan on securing it to the deck using 2 hearts, there really isn't detail on what to use.
Also, I'm going to have to secure the main mast before I secure the stay. Very tight place, I removed the pumps for now. Any suggestions on how to secure the stay with the main mast secured?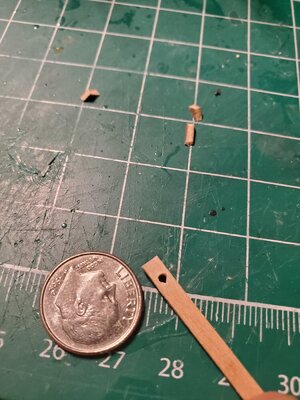
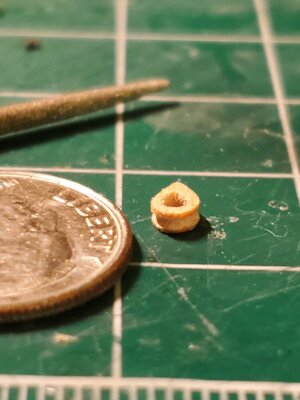
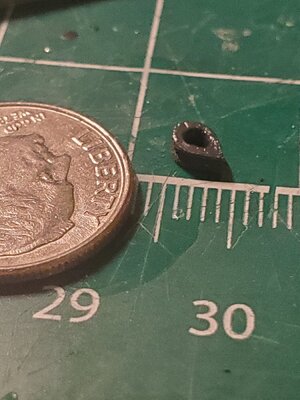
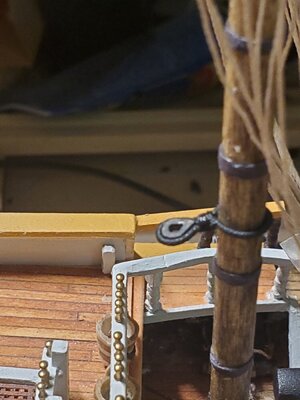
I plan on securing it to the deck using 2 hearts, there really isn't detail on what to use.
Also, I'm going to have to secure the main mast before I secure the stay. Very tight place, I removed the pumps for now. Any suggestions on how to secure the stay with the main mast secured?


Paul, you can learn more about the problem. I'll try to suggest something
Sasha.... what I'm planning on this:Paul, you can learn more about the problem. I'll try to suggest something
1. Make the lower heart, connect to ring off model.
2. Make the upper heart off model.
3. Connect hearts using tan line with a lot of slack.
Secure the main mast and ring, then pull the slack on the tan line.
My concerned that the lower ring will come out when I pull the tan line.
Is there a better way?
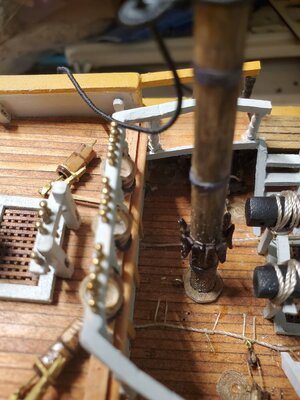
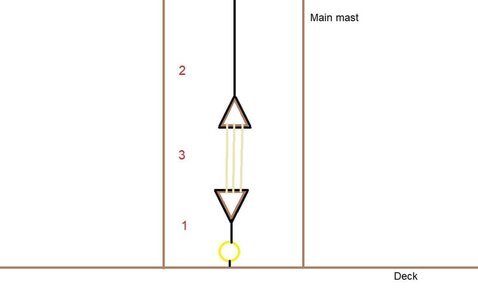
And I would advise you to install the pumps in place, when all the tackle and bays will hang on the mast ducks. So you can put them in the box for now.
Bravo! Thank you Sasha.Oho ho, a bit crowded in this place.
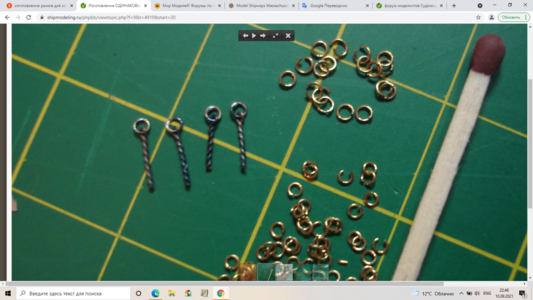
Paul, try to make an eye like in this picture, twisted. The hole in the deck should be exactly the diameter of the eyelet leg. Glue the eye on the cyanoacrylate. I must endure. And what kind of tackle is suitable for him?
View attachment 255528
Very nicely twisted deck eyebolts! RichOho ho, a bit crowded in this place.
Paul, try to make an eye like in this picture, twisted. The hole in the deck should be exactly the diameter of the eyelet leg. Glue the eye on the cyanoacrylate. I must endure. And what kind of tackle is suitable for him?
View attachment 255528
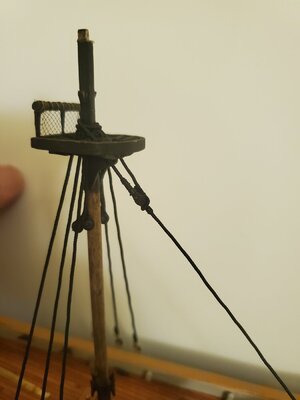
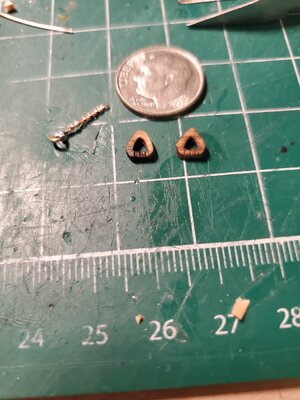
I managed to get the mizzen mast stay secured. The top heart changed angles while I was securing the lines. Too late to fix it.... I need smaller tools, the nail clippers aren't the right tool for this.
I also made the main mast stay, tried out a new method; I started the weave from the thick end of the mouse. I think I'll stick with this method.
Next step is putting on the main mast shrouds and then the stay.
Kurt, I did nail the chain plates that I will be connecting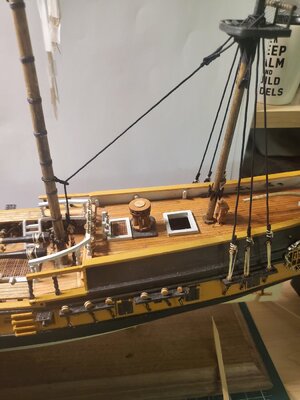
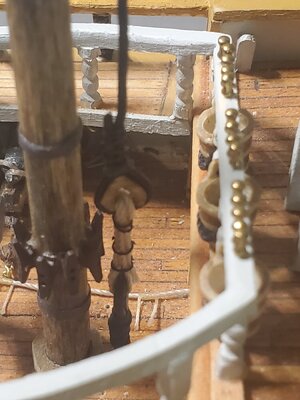
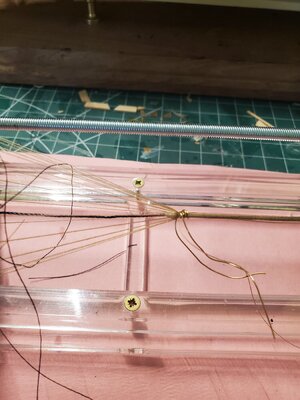
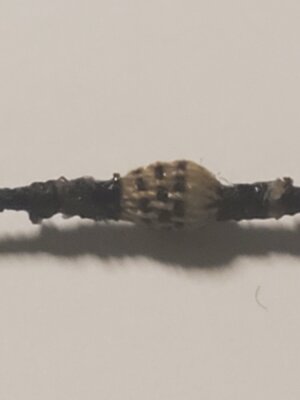
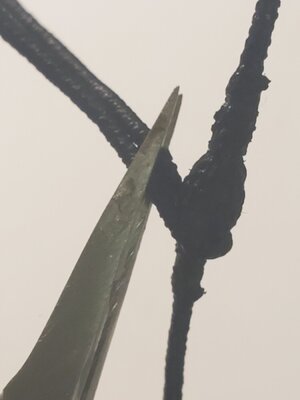
I also made the main mast stay, tried out a new method; I started the weave from the thick end of the mouse. I think I'll stick with this method.
Next step is putting on the main mast shrouds and then the stay.
Kurt, I did nail the chain plates that I will be connecting


Regarding small clippers I think you may go to a local first aid and medical devices store and ask to see their small surgeons scissors possibly called Iris Scissors which have a very small and very sharp cutting. I have had two and always used the older more worn out to cut heavier things. My current working set is now also needing replacement. The prices may vary but I went for a middle priced pair and have stuck with that type/manufacturer. Depending upon cost I may get two or one of the better ones $$?. when iI need to remove rigging items previously set with CV I keep a small can of acetate to apply with small paint brushes to soften the adhesive allowing me to pull things off for corrections. Just a thought. Rich (PT-2)I managed to get the mizzen mast stay secured. The top heart changed angles while I was securing the lines. Too late to fix it.... I need smaller tools, the nail clippers aren't the right tool for this.
I also made the main mast stay, tried out a new method; I started the weave from the thick end of the mouse. I think I'll stick with this method.
Next step is putting on the main mast shrouds and then the stay.
Kurt, I did nail the chain plates that I will be connecting View attachment 255897View attachment 255898View attachment 255899View attachment 255900View attachment 255901


