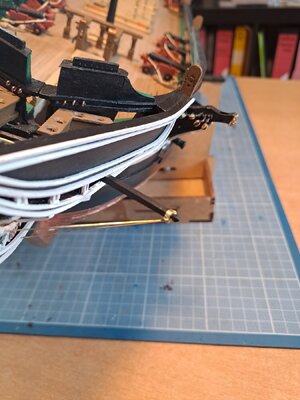
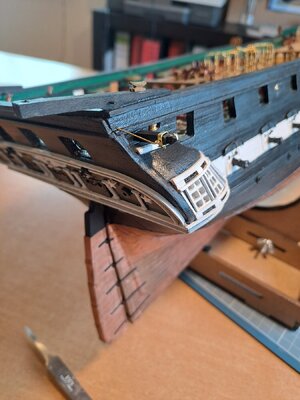
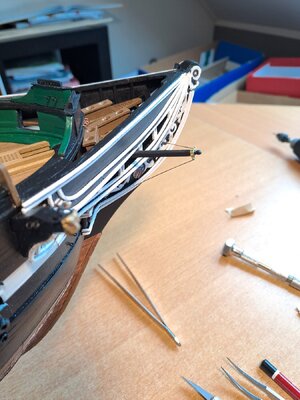
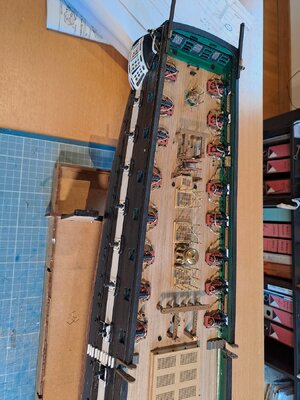
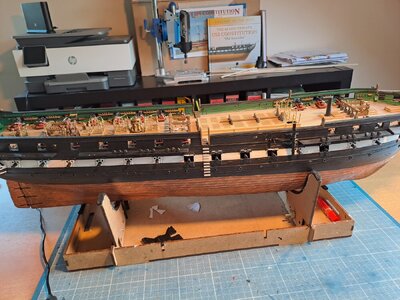
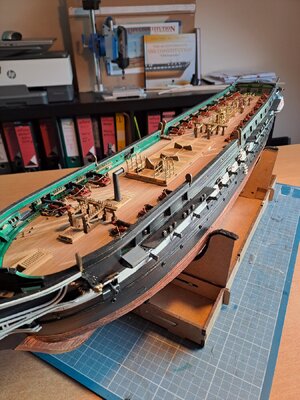
USS Constitution by Model Shipways 1:76 scale

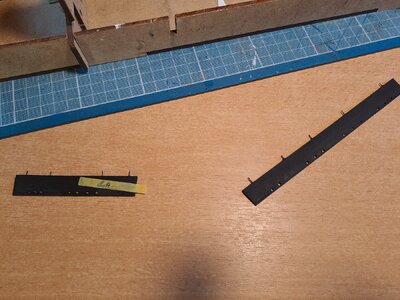
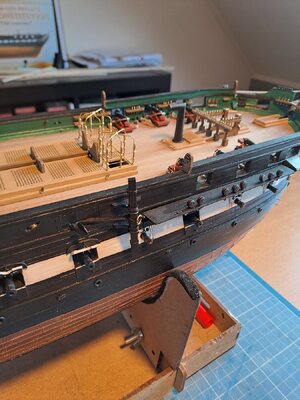
With completed bumpkins....with details!

Dear Tony,
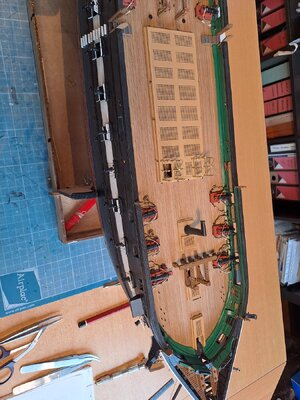
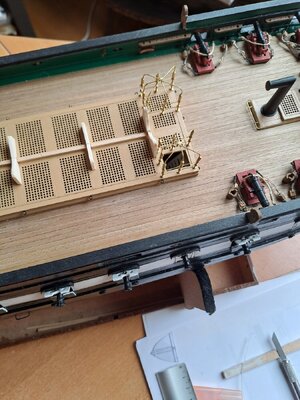
Hopefully you can take my mistakes into account: while building the deck decorations, I last made and installed the shot stowage racks. Waiting until the very last minute was a bad idea.
After all, it is very difficult to access the place where they are to be placed...
May I suggest you make these after you have made the gratings?!

Tony390.jpg

Tony391.jpg

Tony392.jpg

Tony385.jpg

Tony386.jpg
 
Thank you for the sketch. I will make adjustments as necessary! You've done more great work.
 
Those little brass details on the wheel really make it. You did a "wheel" good job! (Stupid pun aside, it's fantastic.)
 
BIG SURPRISE !!!!

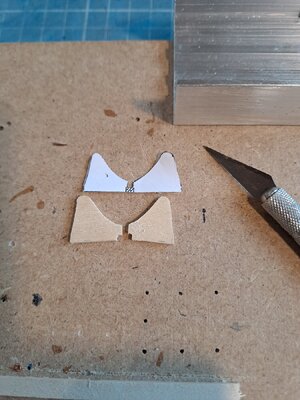
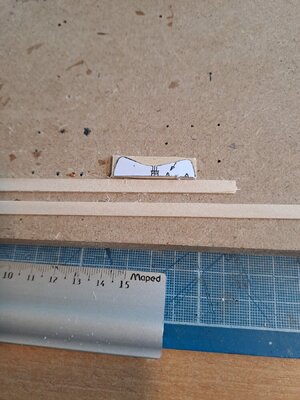
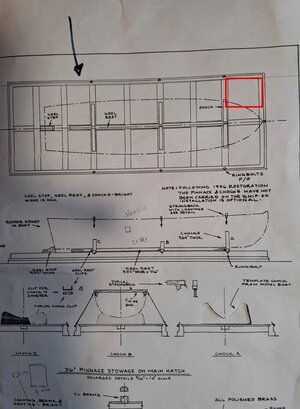
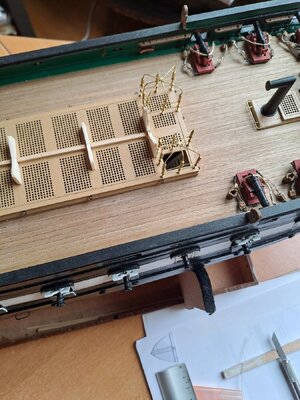
Today I made the CHOK A, B and C....in order to mount later on the life boat.
Everything perfectly tailored... :)
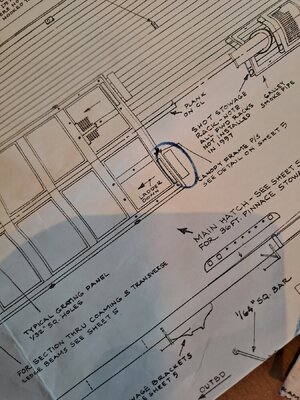
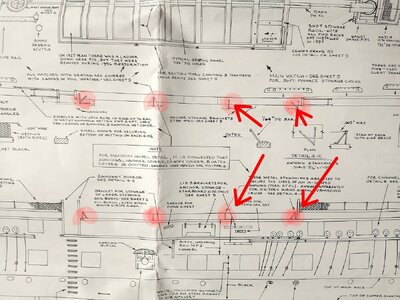
But when placing the Choks and Keel Rest I noticed that it did not fit on the large grating panel !

The story:
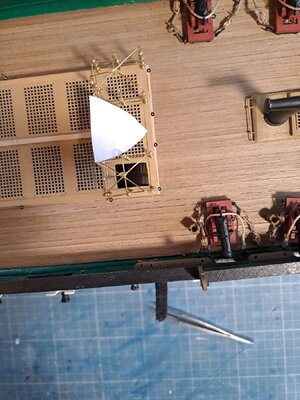
After all, I placed the CANOPY frames at an earlier stage. They were attached very accurately according to plan....
However, during the test setup of the Choks I discovered that it could not be installed according to plan. There's clearly something wrong with the plans?
After all, the front Chock A cannot be mounted exactly according to plan as it does not fit in the space between the canopy frames... Then place it a little backwards. And then I noticed that the bow of the life boat will not fit between the canopy frames either...
Although everything was measured very accurately...

Did you have to choose at an earlier stage between either the canopy structure (and no lifeboat) or ????
No reference anywhere.

Comments welcome!

Tony371.jpg

Tony372.jpg

Tony376.jpg

Tony378.jpg

Tony379.jpg

Tony380.jpg
 
Are the canopies (and their frames) contemporary to the period of the ship in active service? Or installed later as she was recommissioned as an historic relic? (Therefore, having no need for the ship's boat on chocks over the gratings.)Sick
 
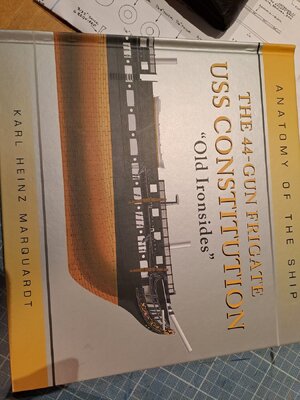
I bought the book "Old Ironsides" by Karl Heinz Marquardt. To get clarity on all version of the Con.
Getting back to the Canopy frames: there were indeed companionways installed originally. So this is not something that has been added recently. So I decided to mount the supports for the life boat eg the 36' Pinnace.

And also the Channel and Chain plates are mounted and started to install the deadeyes....

Tony390.jpg

Tony391.jpg

Tony393.jpg

Tony395.jpg

Tony398.jpg

Tony399.jpg
 
Hi
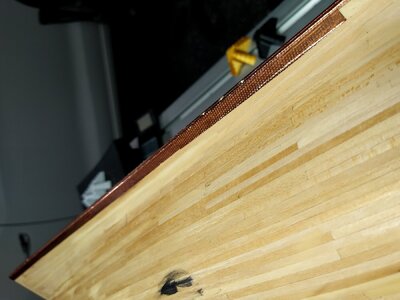
Just a quick update from me I've been playing around with copper strips trying to find an easy way to do the copper plating. There's lots of great ideas in various logs, I would have used the same as Marc but the price is too high.

IMG_20240127_151808.jpg
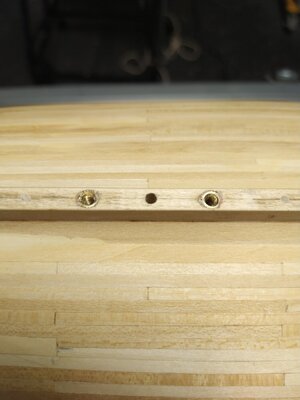
Before attaching the copper I drilled some holes for the display stand.
IMG_20240128_203417.jpg
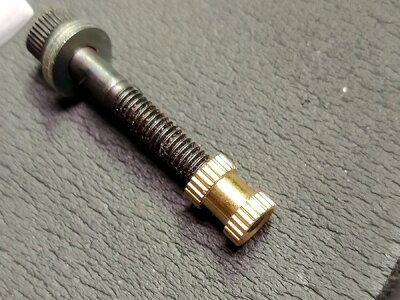
I used 12mm long nut inserts similar to this in the keel.

IMG_7603.jpg
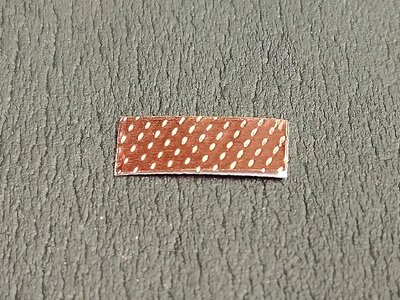
My first thought was to make the plates without any nails but in most photos they can be seen. The other thing I noticed the nails cover the whole surface not just around the edges and a line down the middle.

IMG_20240128_195829.jpg
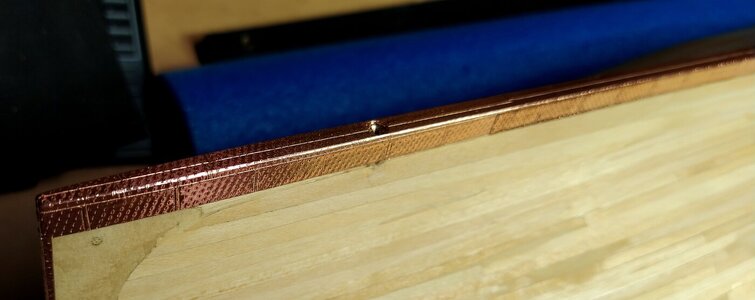
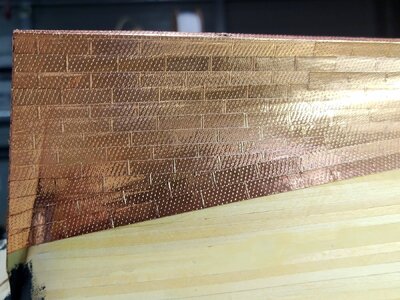
This is what I'm going to try, there's a few to many indentations but I can make them easily and quickly.

IMG_20240128_194942.jpg
IMG_20240128_194754.jpg
I'll do a few more rows to see how they look if I don't like the result I have a plan B. I haven't seen it done like this before is this the right way to go?
I haven't been talking photos as I was making these I'll show you how they're made next post.
 
Hi
Just a quick update from me I've been playing around with copper strips trying to find an easy way to do the copper plating. There's lots of great ideas in various logs, I would have used the same as Marc but the price is too high.

View attachment 424243
Before attaching the copper I drilled some holes for the display stand.
View attachment 424247
I used 12mm long nut inserts similar to this in the keel.

View attachment 424248
My first thought was to make the plates without any nails but in most photos they can be seen. The other thing I noticed the nails cover the whole surface not just around the edges and a line down the middle.

View attachment 424246
This is what I'm going to try, there's a few to many indentations but I can make them easily and quickly.

View attachment 424244
View attachment 424245
I'll do a few more rows to see how they look if I don't like the result I have a plan B. I haven't seen it done like this before is this the right way to go?
I haven't been talking photos as I was making these I'll show you how they're made next post.
Hello Tony,

Based on the adhesive strips, I think it's fine. However, may I recommend that you make fewer holes? Try to imagine the Hull covered with the plates full of dots... Don't you run the risk to have an "overloaded" view ? Well-intentioned from my side!

Marc
 
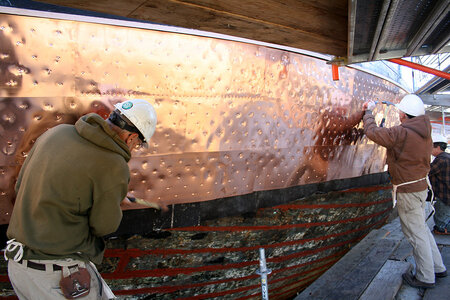
For the bottom sheathing there has to be a happy medium somewhere. All affected by scale, patina (has the ship been in the water a long time, affecting the color of the metal. Or is the sheathing just newly installed before the ship is put back in service?) and believability (the ship should be wearing the sheathing, not the other way around) Does the effect overwhelm the viewer's eye? Do the nails leave pimples or dimples? (Given the above photograph on the real process in progress, I go with dimples. And they aren't in perfectly neat even rows. Even a little hap-hazard!:eek:.)
 
Hello Tony,

Based on the adhesive strips, I think it's fine. However, may I recommend that you make fewer holes? Try to imagine the Hull covered with the plates full of dots... Don't you run the risk to have an "overloaded" view ? Well-intentioned from my side!

Marc
For the bottom sheathing there has to be a happy medium somewhere. All affected by scale, patina (has the ship been in the water a long time, affecting the color of the metal. Or is the sheathing just newly installed before the ship is put back in service?) and believability (the ship should be wearing the sheathing, not the other way around) Does the effect overwhelm the viewer's eye? Do the nails leave pimples or dimples? (Given the above photograph on the real process in progress, I go with dimples. And they aren't in perfectly neat even rows. Even a little hap-hazard!:eek:.)
I tried a few methods to mark the nails and decided to put the plates on without nails. I did around 20 and wasn't happy with the way they looked. The latest method has too many dimples but gives a good representation of how the plates look on the ship. Once the copper loses its shine they won't be as noticeable.
 
Back
Top