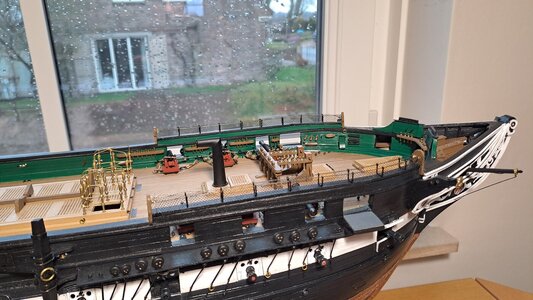
USS Constitution by Model Shipways 1:76 scale

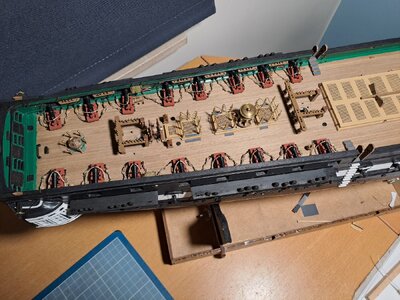
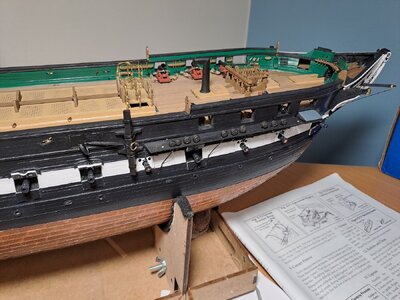
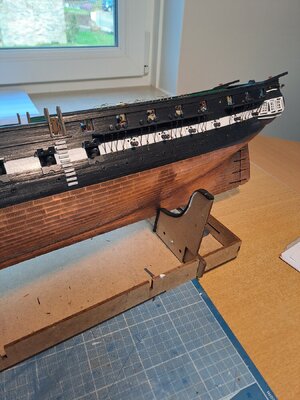
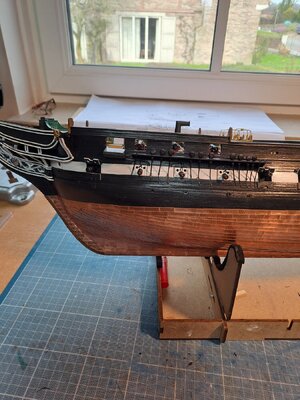
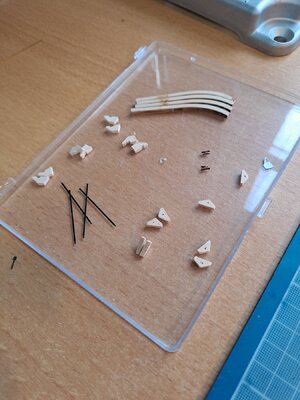
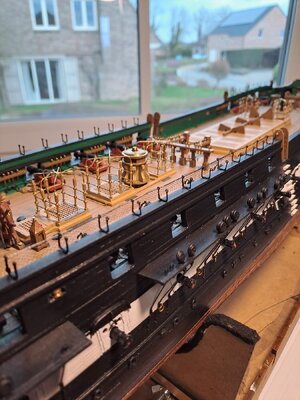
Small update: I started making the channel & chaine plates in the last three days... It's not all that bad, but it is a very time-consuming job.

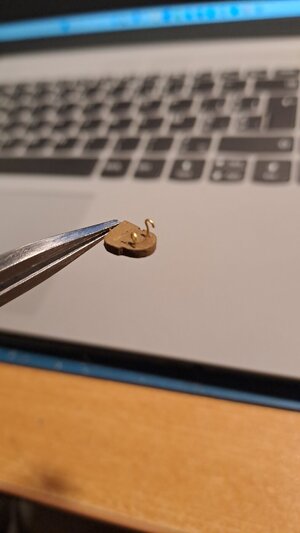
Most of the time is spent preparing the photo-edged chain plates, which have holes of 1/64" diameter. There you have to insert a pin that is inserted into the Hull. The holes must be slightly drilled out....Sick
It's a lot of precision work...

PS
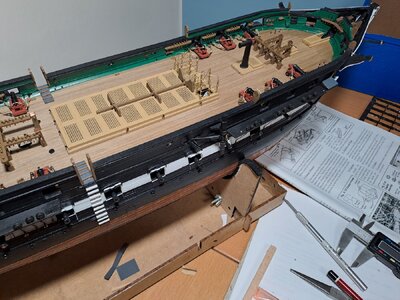
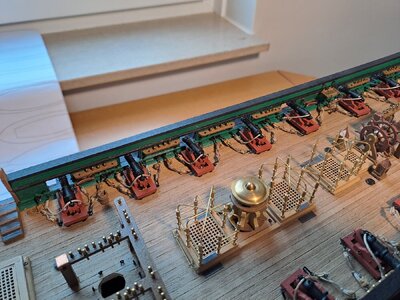
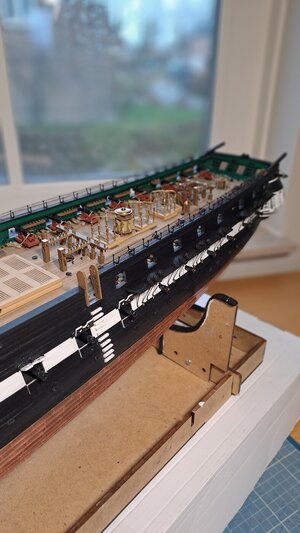
I almost finished the spar deck....
I still need to add some Gun rigging...but will be done later on.... :)
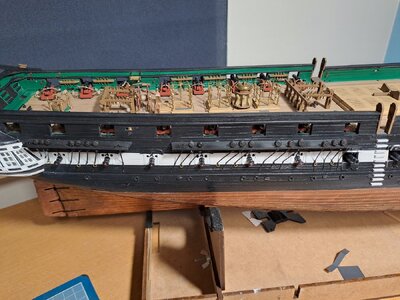
Tony400.jpg

Tony405.jpg

Tony401.jpg

Tony404.jpg
 
Yes, most excellent. The basic build is almost done, but standing rigging will be some work, and then...RUNning rigging. Maybe it's actually called that because it makes everyone run. (At least me.) I'm thinking of switching to furled sails and one set sail. Not sure it will be too much easier, but early-days thinking. Good luck. You are close-ish.
 
Yes, most excellent. The basic build is almost done, but standing rigging will be some work, and then...RUNning rigging. Maybe it's actually called that because it makes everyone run. (At least me.) I'm thinking of switching to furled sails and one set sail. Not sure it will be too much easier, but early-days thinking. Good luck. You are close-ish.
Thx for the support!

Indeed, I must admit that it is sometimes nerve-wracking... especially the small dimensions and very small diameters....
I fear the worst for the rigging.. :mad:
 
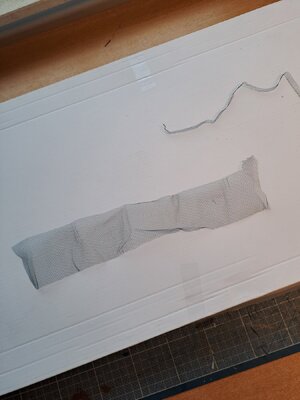
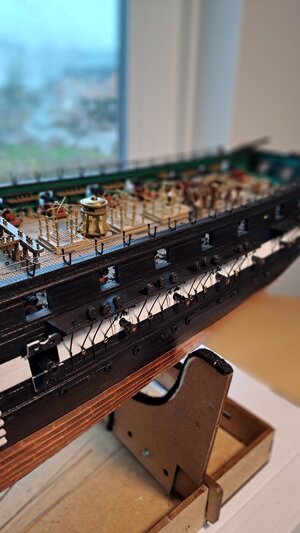
In the past weekend I found some time to complete the Channel and Chain plates.... special attention to the eyebolts and rings to be installed.
Also started with the installation of the Trunnion bands (Guns) and will complete the quarter Davids...
Looks ok for me, and you?

View attachment 425762

View attachment 425763

View attachment 425764

View attachment 425765
Just about to update my log when your photos popped up. Channels look very realistic I'm always worried about them getting in the way of the gunports.
One question are you going to paint the red band around the top of the copper plating?
Tony
 
Hi
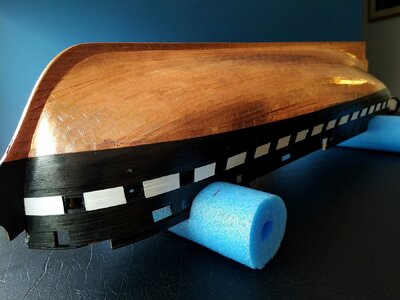
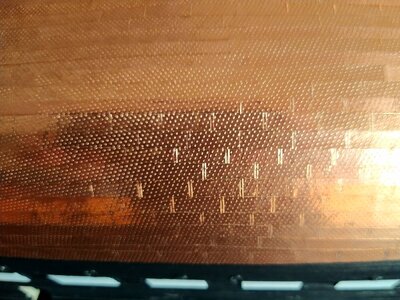
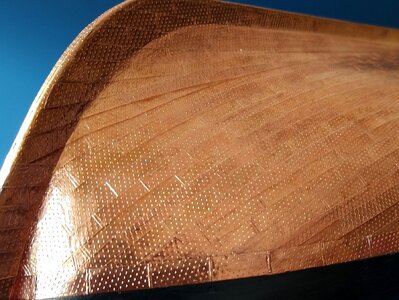
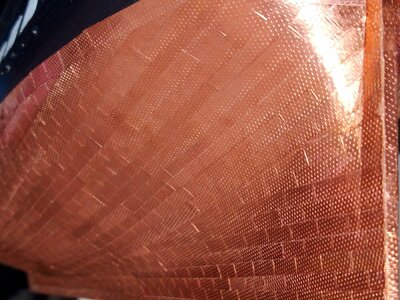
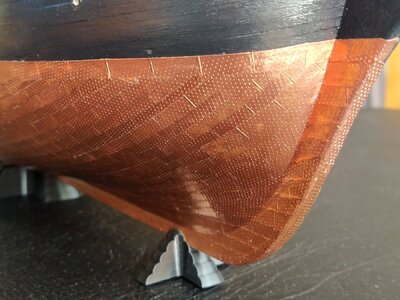
I've finished the copper plating today it went on surprisingly quickly over four days.

IMG_20240205_193442.jpg
IMG_20240205_192401.jpg
IMG_20240205_193529.jpg
IMG_20240205_192656.jpg
IMG_20240205_192829.jpg

This is my method.
IMG_20240129_081404~2.jpg
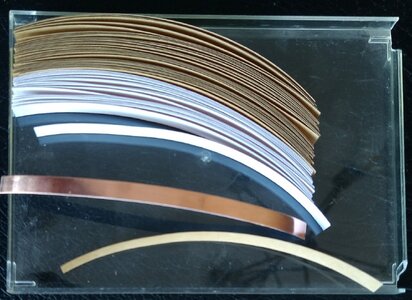
Cut the tape into 112mm lengths. I used up a spare roll If you are very careful one roll may be enough but I didn't take that chance.

IMG_20240129_081828.jpg
IMG_20240129_091411.jpg
IMG_20240129_091508.jpg
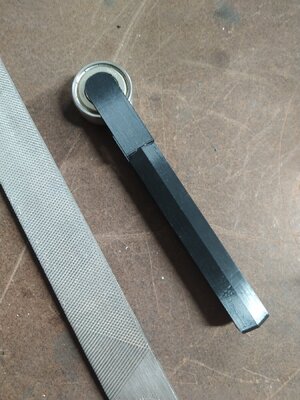
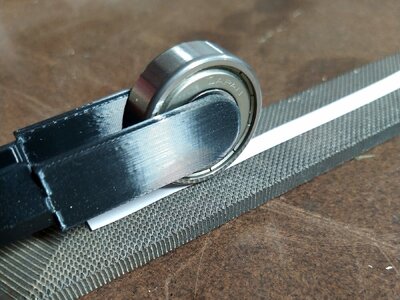
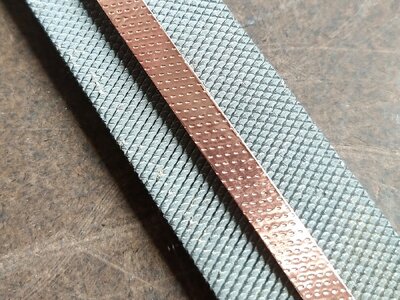
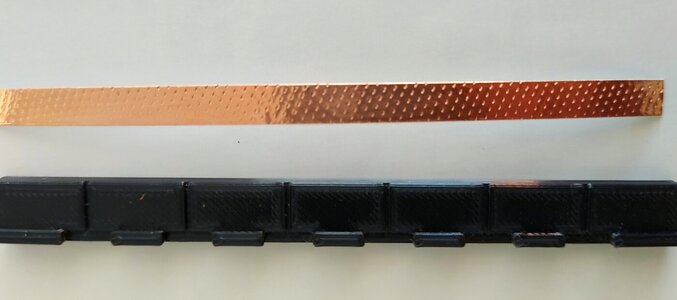
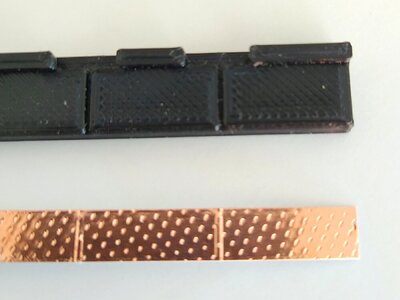
Using my coarsest file and a roller I made the pattern on the copper.tape.
IMG_20240129_222246.jpg

IMG_20240129_222333.jpg
IMG_20240129_222417.jpg
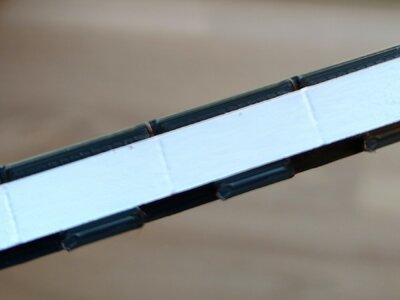
Using this little jig I scribed lines to make 7 plates per strip. A fine tip pen worked well to make the lines, I used an old pen so there was no ink on the back of the tape.
I found long strips much easier to apply than single plates.

Tony
 
Last edited:
Hi
I've finished the copper plating today it went on surprisingly quickly over four days.

View attachment 425766
View attachment 425767
View attachment 425770
View attachment 425768
View attachment 425769

This is my method.
View attachment 425778
Cut the tape into 112mm lengths. I used up a spare roll If you are very careful one roll may be enough but I didn't take that chance.

View attachment 425779
View attachment 425780
View attachment 425781
Using my coarsest file and a roller I made the pattern on the copper.tape.
View attachment 425789

View attachment 425783
View attachment 425784
Using this little jig I scribed lines to make 7 plates per strip. A fine tip pen worked well to make the lines, I used an old pen so there was no ink on the back of the tape.
I found long strips much easier to apply than single plates.

Tony
great idea!
 
Just about to update my log when your photos popped up. Channels look very realistic I'm always worried about them getting in the way of the gunports.
One question are you going to paint the red band around the top of the copper plating?
Tony
Hello Tony,

First off all the cupper plating looks very good! Well done!

To answer your question: no, I'm not going to paint the red band around the top of the copper plating. Because this is not at all an Historical feature and has been added recently by the Navy (a lead based paint layer)....
In addition, the copper plates I used are starting to oxidize and I are slowly but surely developing a green patina.... :)
 
Hi
I've finished the copper plating today it went on surprisingly quickly over four days.

View attachment 425766
View attachment 425767
View attachment 425770
View attachment 425768
View attachment 425769

This is my method.
View attachment 425778
Cut the tape into 112mm lengths. I used up a spare roll If you are very careful one roll may be enough but I didn't take that chance.

View attachment 425779
View attachment 425780
View attachment 425781
Using my coarsest file and a roller I made the pattern on the copper.tape.
View attachment 425789

View attachment 425783
View attachment 425784
Using this little jig I scribed lines to make 7 plates per strip. A fine tip pen worked well to make the lines, I used an old pen so there was no ink on the back of the tape.
I found long strips much easier to apply than single plates.

Tony
Tony, your plating came out spectacularly! Well done. Great idea using the rasp/file. I have bookmarked your post for future reference.
 
Before starting on the masts, I thought it would be appropriate to install the Hammock Stanchions. I bought very fine nylon net in the internet.
First I tried to pull a fine thread through the eyes of the Stanchions and then attach the net...
Easier said than done because the net is of course very flexible and it was very difficult to obtain a straight result. After a lot of trial and error I used a very fine copper wire that I "straightened". And then through the holes through both the Stanchions and nylon net... It's not perfect but I can't get it any better.
To attach the net to the gangway boards I attached 2 eyebolts each time...
I' m considering to install fine hooks to tighten the net to the topgallant rail.... wil be followed

Tony410.jpg

Tony411.jpg

Tony412.jpg
 
Almost finished with the nets...
And now the masts...very afraid for this....I put it off as long as I could... :)

View attachment 426211

View attachment 426212

View attachment 426213
I have worked on the mast of the cross section of the Constitution by ME and there's a lot of detail to do. If I haven't already motioned it, take a look at the instruction book for the cross section. You might find it useful to help understand the construction of the masts (as well as a number of other parts of the full-size model).
 
I have worked on the mast of the cross section of the Constitution by ME and there's a lot of detail to do. If I haven't already motioned it, take a look at the instruction book for the cross section. You might find it useful to help understand the construction of the masts (as well as a number of other parts of the full-size model).
Ok thx for your advise..... I've always got the feeling to need special tools.... If you see how Tony made the masts... I have only the proxxon DB250.... and not yet milling machine....(next boat :) )....
 
I have somewhat rudimentary tools as well. I do have a mini-lathe (https://www.amazon.com/Polisher-Machine-Machining-Woodworking-Standard/dp/B07HKZPDDD/ref=sr_1_1_sspa?crid=3P10KLT0BP8V3&keywords=mini+lathe&qid=1707319559&sprefix=mini+lthe,aps,285&sr=8-1-spons&sp_csd=d2lkZ2V0TmFtZT1zcF9hdGY&psc=1) that I can use for tapering dowels for masts and yards. Or, I use a drill and sandpaper. Due to the diameter of the mast on this build, it was somewhat challenging. I don't have a milling machine or a small table saw. I am sure it's much slower without these and I worry that the precision is not quite as good, but I get by.
 
Last edited:
I have somewhat rudimentary tools as well. I do have a mini-lathe (https://www.amazon.com/Polisher-Machine-Machining-Woodworking-Standard/dp/B07HKZPDDD/ref=sr_1_1_sspa?crid=3P10KLT0BP8V3&keywords=mini+lathe&qid=1707319559&sprefix=mini+lthe,aps,285&sr=8-1-spons&sp_csd=d2lkZ2V0TmFtZT1zcF9hdGY&psc=1) that I can use for taper dowels for masts and yards. Or, I use a drill and sandpaper. Due to the diameter of the mast on this build, it was somewhat challenging. I don't have a milling machine or a small table saw. I am sure it's much slower without these and I worry that the precision is not quite as good, but I get by.
Welcome in the club!
 
Back
Top