The later steps of the build include a number of fun things to work on!Fancy dancy!
-

Win a Free Custom Engraved Brass Coin!!!
As a way to introduce our brass coins to the community, we will raffle off a free coin during the month of August. Follow link ABOVE for instructions for entering.
-

PRE-ORDER SHIPS IN SCALE TODAY!
The beloved Ships in Scale Magazine is back and charting a new course for 2026!
Discover new skills, new techniques, and new inspirations in every issue.
NOTE THAT OUR FIRST ISSUE WILL BE JAN/FEB 2026
You are using an out of date browser. It may not display this or other websites correctly.
You should upgrade or use an alternative browser.
You should upgrade or use an alternative browser.
New Bedford Whaleboat - Model Shipways - 1/16 - by JeffT [COMPLETED BUILD]
Good afternoon Jeff. Details, details and some more….excellent. Cheers GrantHarpoons, lance boat hook and boat spade iron were made using dowel, thin brass rod and brass heads. Several different types of heads for the harpoons and the heads were soldered onto the rods. The pieces were rigged as per the plans.
View attachment 341577View attachment 341578
Waifs (flags) were made from some red fabric I found in a rag bag found in the house. Waifs were used to mark the location of the whale so it could be found later if the whaleboat had to leave for some reason. These were rolled up until used.
View attachment 341579View attachment 341580
Thanks, Grant. Details are one of the reasons I chose to build this kit.Good afternoon Jeff. Details, details and some more….excellent. Cheers Grant
Last edited:
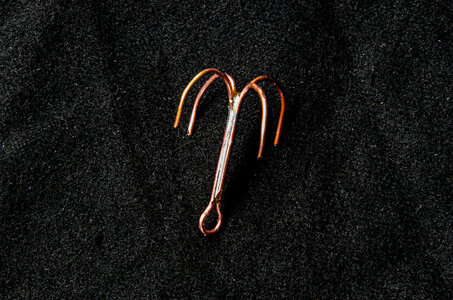
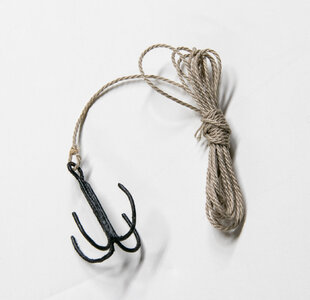
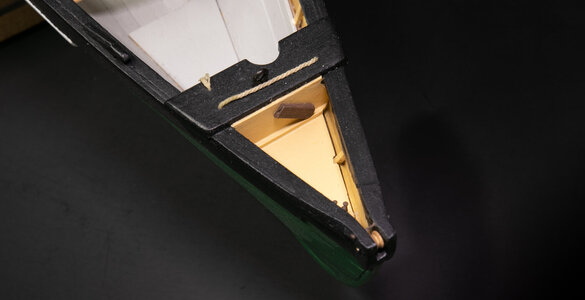
The grapnel was made by soldering together two pieces of copper wire bent to fit tightly. The hook was painted and line was added. This will be placed in the bow under the box.
The hand axe and knives were made using brass parts supplied in the kit. Handles for the knives were made from walnut strips left over from a previous build. Sheaths for the knives were made from thin strips glued together after putting a groove in the thicker piece for the knife blade. One was glued to the cuddy and the other in the box at the bow.
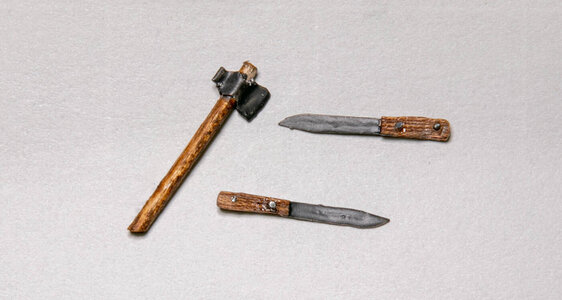
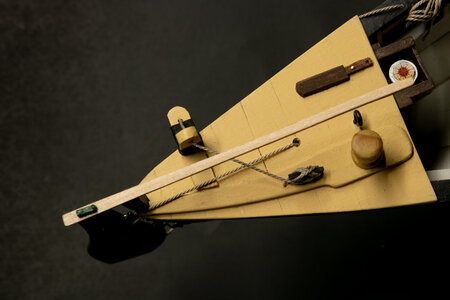


The hand axe and knives were made using brass parts supplied in the kit. Handles for the knives were made from walnut strips left over from a previous build. Sheaths for the knives were made from thin strips glued together after putting a groove in the thicker piece for the knife blade. One was glued to the cuddy and the other in the box at the bow.


Wow!
dittoWow!
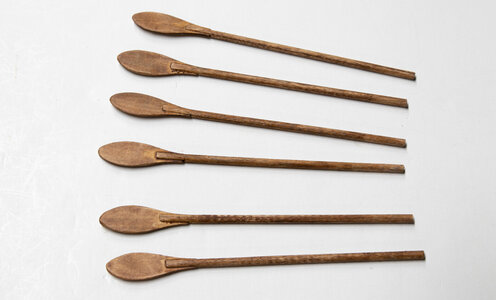
Paddles were made in a similar manner to the oars. The blades are laser cut and the dowels for the handles were opened with a saw on the end to slide onto the blade.
A bomb lance was made from a toothpick and card. This device fit the gun and had rubber fins that folded to fit into the barrel.

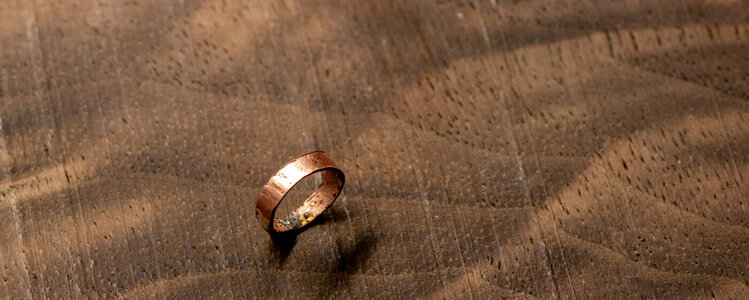
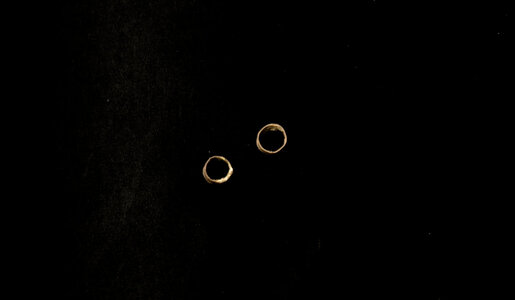
Four mast hoops are required for the sail. I tried making them out of wood initially but broke each of the ones I tried to make so I made them from scrap brass sheet. They were wrapped around a dowel to the correct diameter and the ends solder together. I painted them brown. I think I will have another try at making wooden hoops since I don't really like the brass ones.

A bomb lance was made from a toothpick and card. This device fit the gun and had rubber fins that folded to fit into the barrel.

Four mast hoops are required for the sail. I tried making them out of wood initially but broke each of the ones I tried to make so I made them from scrap brass sheet. They were wrapped around a dowel to the correct diameter and the ends solder together. I painted them brown. I think I will have another try at making wooden hoops since I don't really like the brass ones.


Would black card stock work? The brass and wood appear to be a little thick?Paddles were made in a similar manner to the oars. The blades are laser cut and the dowels for the handles were opened with a saw on the end to slide onto the blade.
View attachment 341973
A bomb lance was made from a toothpick and card. This device fit the gun and had rubber fins that folded to fit into the barrel.
View attachment 341974
Four mast hoops are required for the sail. I tried making them out of wood initially but broke each of the ones I tried to make so I made them from scrap brass sheet. They were wrapped around a dowel to the correct diameter and the ends solder together. I painted them brown. I think I will have another try at making wooden hoops since I don't really like the brass ones.
View attachment 341972View attachment 341975
I made sme for my "Cicely" schooner this way. First, I made some long 1/4" wide shavings with a jack plane. I spiralled one piece on to a waxed dowel. Secure with a piece of tape at each end. Next I coated that with PVA and spiralled another layer of shaving on that making the spiral in the opposite directioen. I think I did 3 or4 layers. Let it dry and knock the dowel out. Now yoeu have a tube that you can cut rings off.
Considering the scale of this model is 1/16, I really don't think the brass is over sized (at least not by much). The pieces have to be bigger than the mast in order to slide up and down with the sail. The book with the kit suggests brass strips of 1/32" wide and mine are closer to 1/16" so, possibly oversized in the vertical direction. I have some time before I am going to need these, so I am still thinking about them.Would black card stock work? The brass and wood appear to be a little thick?
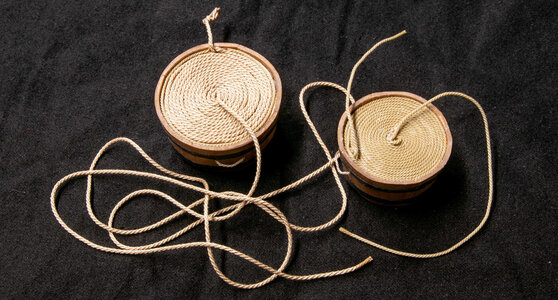
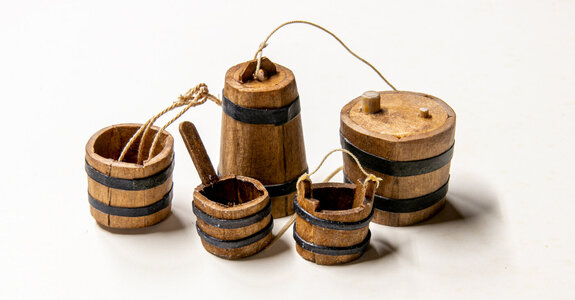
So on to possibly the most difficult part of the build for me - the cooperage (buckets, tubs, etc.). I had lots of difficulty making these fiddly little things. The tubs were not too difficult, but the bucket and dipper gave me fits. All were stained and had black card used for the hoops. All pieces were matt varnished with an acrylic finish.
Rope was coiled onto the false top of the tubs. The larger tub has a long line that will go around the loggerhead on the cuddy and up to the bow to be tied to a harpoon. The smaller tub's line is tied to the end on the line in the larger tub. The other end is tied to the drogue. The drogue is a bucket with a harness that acts as resistance in the water once all of the line is played out.
Left to right - Drogue, bailer, lantern keg, bucket, water keg.
Rope was coiled onto the false top of the tubs. The larger tub has a long line that will go around the loggerhead on the cuddy and up to the bow to be tied to a harpoon. The smaller tub's line is tied to the end on the line in the larger tub. The other end is tied to the drogue. The drogue is a bucket with a harness that acts as resistance in the water once all of the line is played out.

Left to right - Drogue, bailer, lantern keg, bucket, water keg.

Today I present the mounting of the whaleboat. The plans and booklet describe two different possibilities, the simple use of brass rods and tubes along with the plans to make davits to hang the boat. With the right tools the davits would be an exceptional way to display the build, however, I took the simpler route. I had previously drilled pilot holes in the keel of the boat and placed supporting blocks inside the boat. I drilled out the holes to the required size and inserted & glued the brass rods which were cut to the length needed.
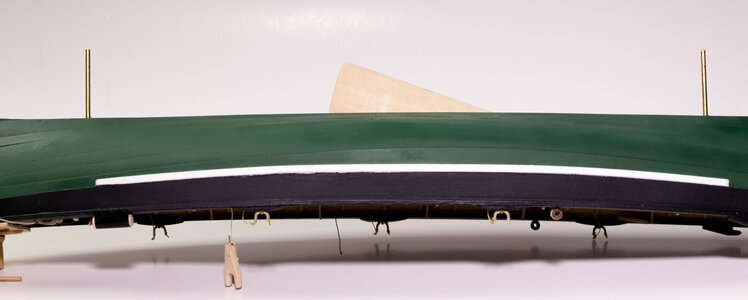
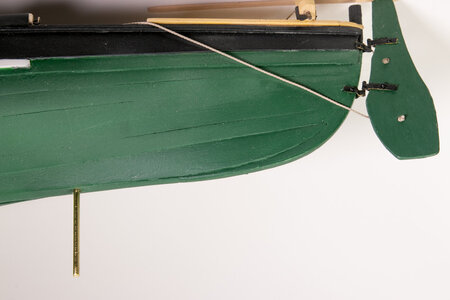
The base is 4 x 1/2" pine. Holes were drilled in the base after alignment with the brass rods of the boat. The tubes were cut to the desired length and glued in place. The board and tubes were painted satin black.


The boat is placed on the base with the rods going inside the tubes. A length was selected so that the extended centerboard was about 3/4" above the base. I will be displaying this build on a 6" wide self, so this mounting method works very well for my space.
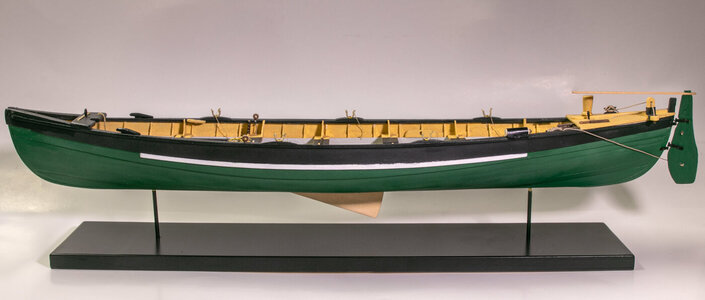


The base is 4 x 1/2" pine. Holes were drilled in the base after alignment with the brass rods of the boat. The tubes were cut to the desired length and glued in place. The board and tubes were painted satin black.


The boat is placed on the base with the rods going inside the tubes. A length was selected so that the extended centerboard was about 3/4" above the base. I will be displaying this build on a 6" wide self, so this mounting method works very well for my space.

Last edited:
Love it, Jeff!
Thanks, Paul. Possibly a mounting method for your Esping?Love it, Jeff!
Indeed. On my Vasa I neglected to think it all through ahead of time. The 'open format' of these little boats requires some ingenuity.Thanks, Paul. Possibly a mounting method for your Esping?
The bow and stern sheets in this boat made it fairly easy to hide a small block of supporting wood under them. (https://shipsofscale.com/sosforums/...odel-shipways-1-16-by-jefft.10753/post-272123)Indeed. On my Vasa I neglected to think it all through ahead of time. The 'open format' of these little boats requires some ingenuity.
Made with love, Jeff! 

Really nice!
Stunning JeffToday I present the mounting of the whaleboat. The plans and booklet describe two different possibilities, the simple use of brass rods and tubes along with the plans to make davits to hang the boat. With the right tools the davits would be an exceptional way to display the build, however, I took the simpler route. I had previously drilled pilot holes in the keel of the boat and placed supporting blocks inside the boat. I drilled out the holes to the required size and inserted & glued the brass rods which were cut to the length needed.
View attachment 342287View attachment 342288
The base is 1 x 4 x 1/2" pine. Holes were drilled in the base after alignment with the brass rods of the boat. The tubes were cut to the desired length and glued in place. The board and tubes were painted satin black.
View attachment 342285View attachment 342286
The boat is placed on the base with the rods going inside the tubes. A length was selected so that the extended centerboard was about 3/4" above the base. I will be displaying this build on a 6" wide self, so this mounting method works very well for my space.
View attachment 342289
Hi Jeff, great work, impressive


