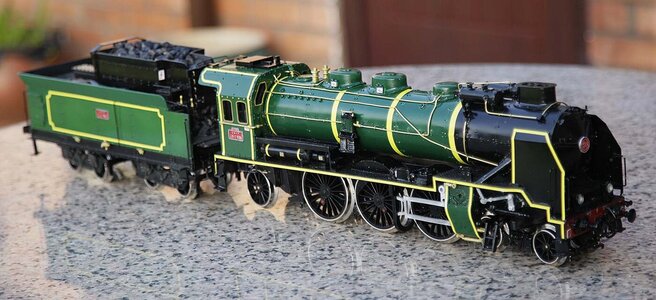
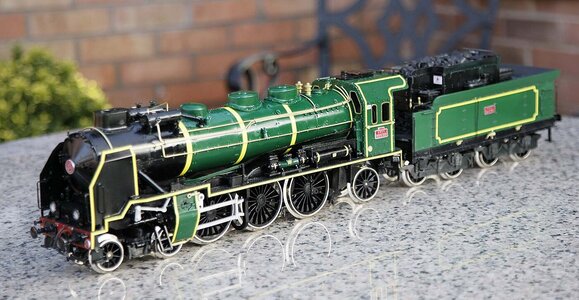
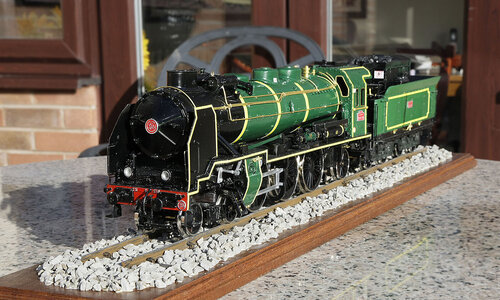
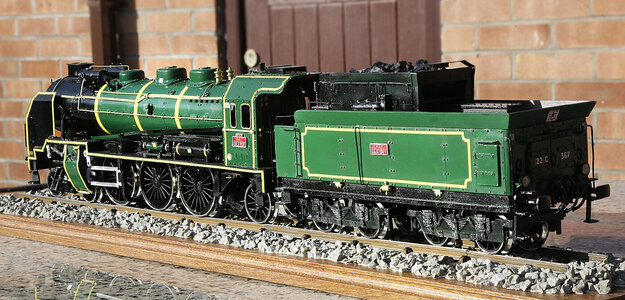
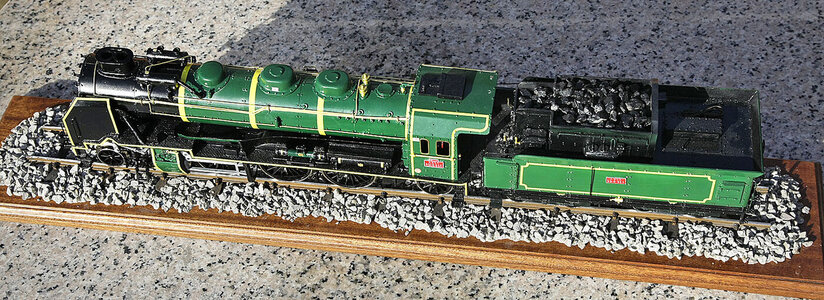
Occre Pacific 231 wood and brass train [COMPLETED BUILD]

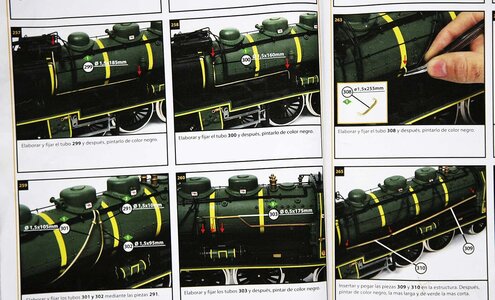
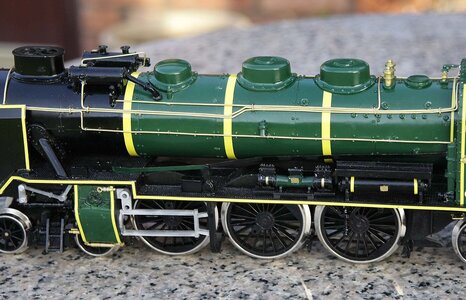
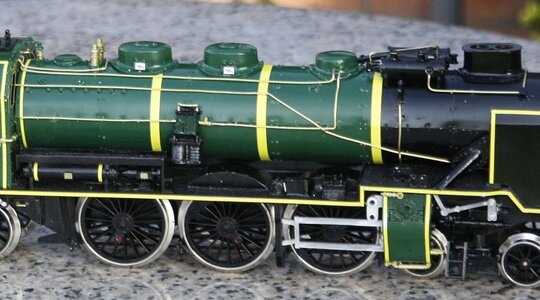
Hi, As I mentioned in my last post am now on to the array of pipes that surround the boiler, there are rather a lot and they look like spaghetti spread around by a mad chef. This proved to be the most difficult part of the build, I have never been defeated by even the most complex rigging yet but this was something else! Once again the instructions were a complete joke and just left you confused; given the complexity of the layout a line drawn diagram would have been much more helpful. I’ve shown a picture the instructions, remember that these are only 7cm each and not clear and sharp.

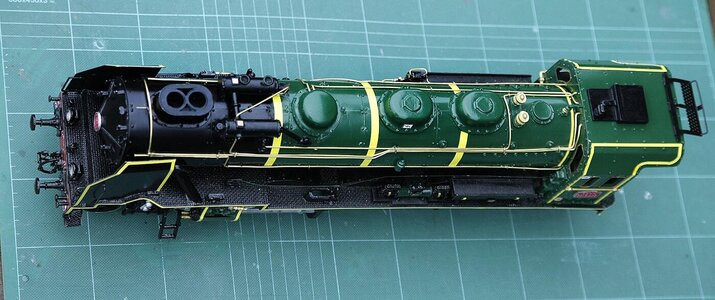
I decided that I would just have a token amount and fit only the main pipes, the ones that were most dominant, not paint them but leave them in brass as a feature. I chose to do this as it was necessary to use the boiler itself as a former and guide to bend the pipes to shape and as there were so many intricate twists and bends the paintwork was becoming marked and the handling was taking the shine off, also drilling out the holes for the many clamps left some flaking around their edges. I had used low tack tape to hold the wire down as I worked along it but removing it lifted small areas of paint so it then had to be held in place with rubber bands, not ideal but it worked.

What you see in the photos is about half the amount of pipe work required but it looks ok to me as it is so I’m stopping there before I mess up. Hopefully the running gear when it arrives goes better.
134.jpg

135.jpg

136.jpg

137.jpg

140.jpg

141.jpg
 
Beautiful Model, I just stumbled on your build, you would prob love Henry Fords Museum here in Michigan, there’s planes and Trains, some trains you can go in, yours reminde me of the huge steam locomotives they have on display. You could do a weekend there if yiu ever make it over to Detroit Area.
 
Hi, Just a short update to keep your interest. I managed to polish out most of the marks that crept in whilst doing the pipes and the touching up went ok, so relieved about that. Whilst waiting for the missing parts I decided to make a start on the tracks. The base supplied was three pieces of 5mm MDF glued together end on with strip for the edges, for a model of this weight it was never going to be strong enough to stand up to being moved so I’ll be visiting my local wood yard for a suitable piece of hardwood when the weather improves a bit, were in the middle of a storm at the moment.

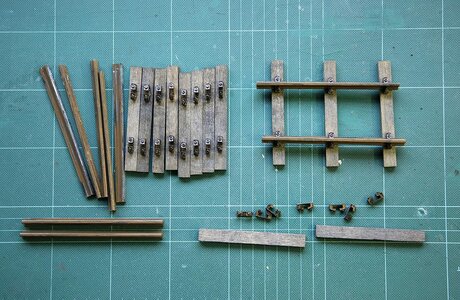
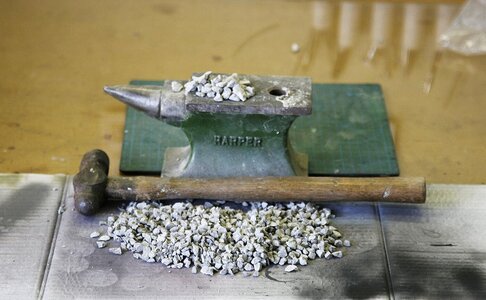
I’m preparing the rails, blocks and sleepers ready to mount, At the moment I’m just taking a rest from breaking up stones for the ballast, ( my thumbs aren’t enjoying this ) ouch!

151.jpg

150.jpg
 
That's an amazing amount of detail, if I could achieve something like that I would be very pleased with myself. I didn't realise this kit would be so intricate. Great work.
Hi Tony, Thanks. I couldn’t have made anything like this if it wasn’t in kit form with guidance. The instructions were very good for the main structure, I only wish that they were a great deal better and more explicit for the detailing.

Ken
 
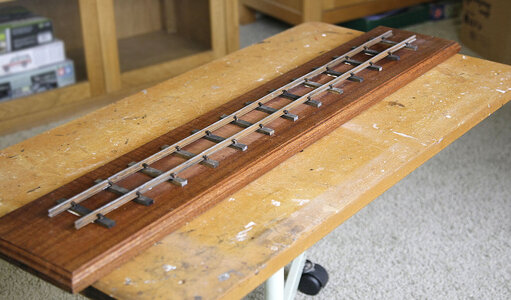
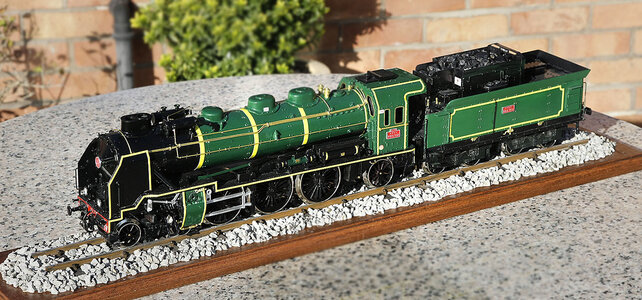
Hello, Again thanks for your likes and interest in my build. I’m still waiting for the missing parts so I’m continuing with the track. I finished breaking up all the ballast, ending up doing about twice the amount needed, ah well! I managed to get to the wood yard and picked up a nice piece for the base. I stained and varnished it then lay the prepared track before infilling with ballast. I was delighted when I saw the loco actually on the track, it sort of brought the thing to life. I feel as if I’m now smoking the good stuff. Probably about two sessions left to finish when the parts arrive. The weather improved this afternoon, good enough for some outdoor photos which are always better, on carrying this thing out I couldn’t believe just how heavy it had become and needed my wife’s’ help, I suppose that’ll cost me. The base is 90cm so that will give an idea of its overall size.

152.jpg

153.jpg

154.jpg

155.jpg

156.jpg
 
As a model railroader who has laid lots of ballast, yours looks good.

I hope you soaked it well with wetting agent prior to adding medium to glue it down.

If not you may end up with a glued crust on top and loose ballast underneath.

First good bump and crust breaks and ballast goes everywhere it should not.

I speak from experience with this problem.

Wetting agent could be a drop of soap in water or isopropel alcohol to ensure good saturation thru layers of ballast.
Hi Kurt. Thanks for taking the time to offer advice on my log. Being a complete novice on rail modelling I went about laying the ballast as I thought best, it differs from what I can see is the conventional method but it has worked out perfectly. After fitting the track to the base I decided where I wanted the gravel to come out to, I then put a generous seam of Tightbond along the edge and laid gravel over it, having washed it first. When it had set I tipped it upside down to let the loose gravel fall away and check what was left was secure, this left me with a sort of low wall as an edge, I then packed in the gravel between the sleepers and out to the already glued gravel, I didn’t glue this gravel down but just let it lay naturally. I know that it’s not secured but my thinking was that it would only move or fall away if I tipped the whole thing upside down and I’m not going to do that, it can still be re arranged if I didn’t like how it lay as it’s not fitted permanently there‘s no glue near the surface and the stone still has its natural surface, just my take on it.

Ken
 
Last edited:
Well it looks great and how you do your model work is up to you.

I like your track work before the ballast went down, much better than is sold online for base.
 
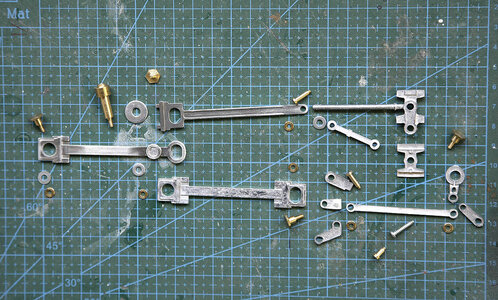
Hi. Not much of an update but just letting you know that the missing pieces arrived today, I'd say that was pretty good service. I've laid all the drive fittings out to show, I'll give them a good polishing then try and figure out how to fit them, wish me luck with this.

157.jpg
 
Hello again. I've been working on the running gear now that I have the complete set. I've almost finished one side and to my amazement it all functions. I say to my amazement because as I have come to expect from this kit the instructions were very confusing to say the least, it is a complicated set up and I found that the box art was sometimes more helpful, again a diagram would have been much better. There were a lot of cast pieces many were almost identical, perhaps just slight differences in the diameter of their holes and other than the photos there was no way to identify them, I was constantly having to remove and re build to get them right, a frustrating part of the build, a pity because the cast parts were excellent.

137.jpg
 
The drive links look grand when all connected together.

I don't know how the European railroads kept there decorations on drive links, but I have seen some American railroads that would paint up the non-wear surfaces black mostly to give some accent to the shiny linkage.
 
Back
Top