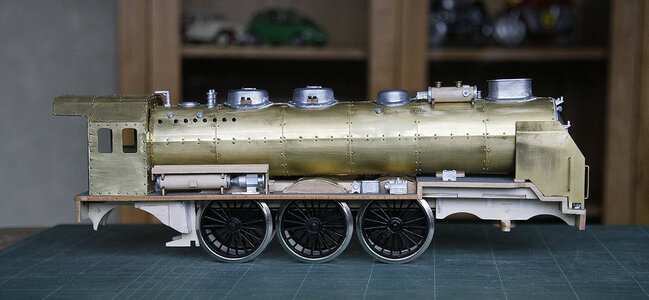
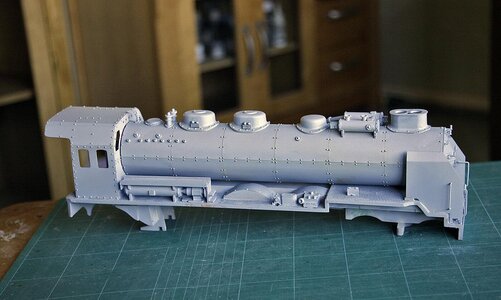
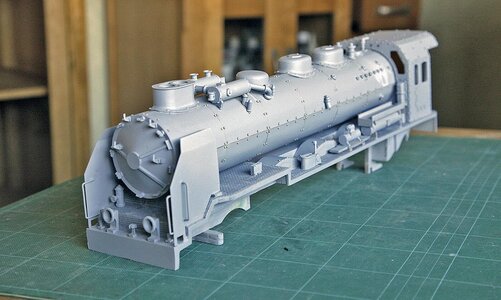
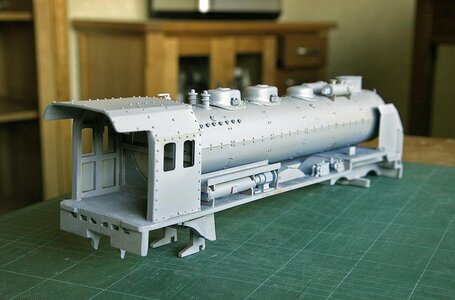
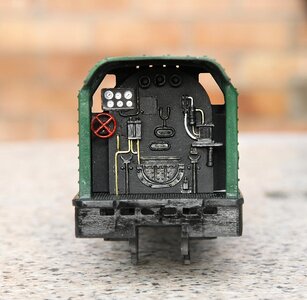
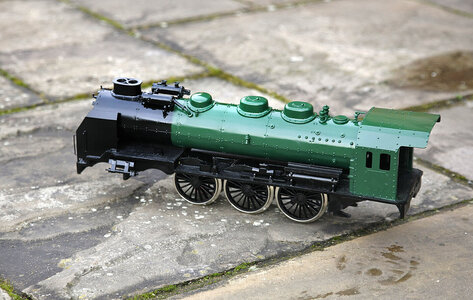
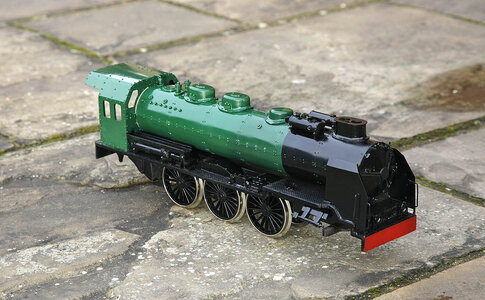
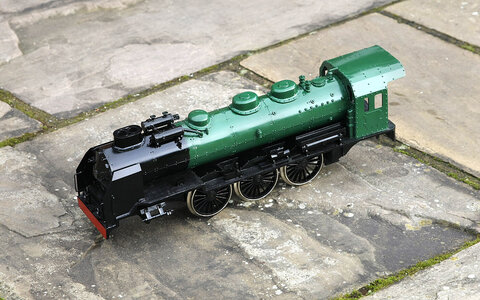
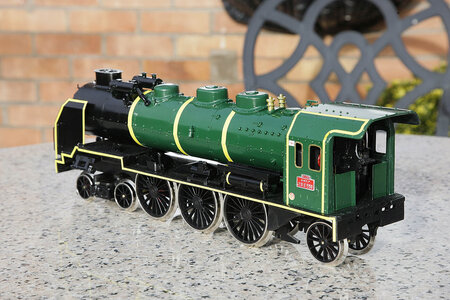
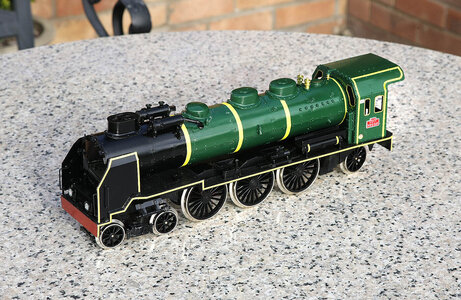
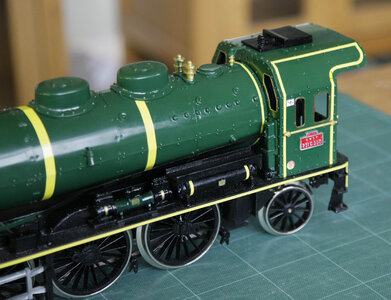
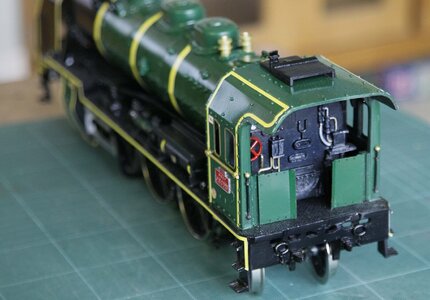
Occre Pacific 231 wood and brass train [COMPLETED BUILD]

Great job, first!

Second, a note: the coal stones seem to me too large for the scale of the model. Once for a similar scale kit I used coarse salt (the one we use for the water in which to cook the pasta ...), and then paint it in matt black.

It could be an idea!
Hi Piero, thanks for the like, I have to agree with you on the coal, it’s well stuck down so it will have to stay for the moment, when I’ve some spare tame later I might re consider. Anyway my stoker is a big strong guy, he eats babies for breakfast.
 
Hi Adi, Yes I know it well. At Llangollen they still run their trains, occasionally they put a restaurant car on the Berwyn Belle, it makes a nice treat for my wife when we can get a reservation , must keep her happy!
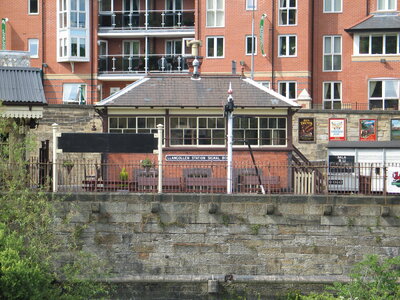
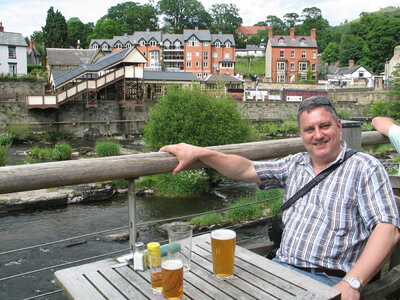
Hallo Ken, I found 2 pictures from my collection in Llangollen 2009, I didn't want to deprive you of them.

IMG_1513.JPG

IMG_1511.JPG
 
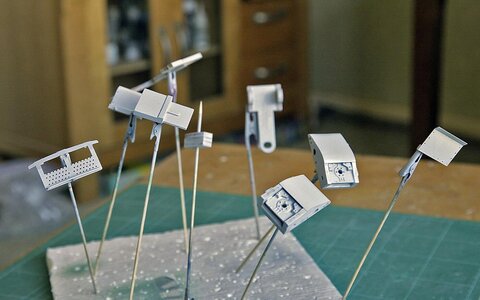
Hi, Again some nice reactions to my last post, thanks, you are all very kind. I'm trying to keep up with my progress, it's all coming together so quickly. Whilst I was in painting mode and having everything set up I primed the whole of the loco. I had keyed the parts with a fine grit as I went along so all that I had to do is give it a good clean with alcohol to remove any grease marks then spray, again using my rattle can of primer. It came out well.

099.jpg

100.jpg

101.jpg

102.jpg

103.jpg
 
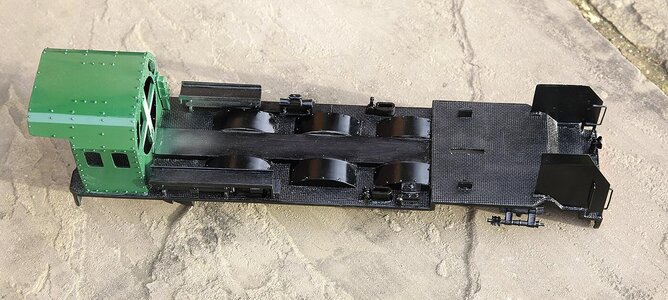
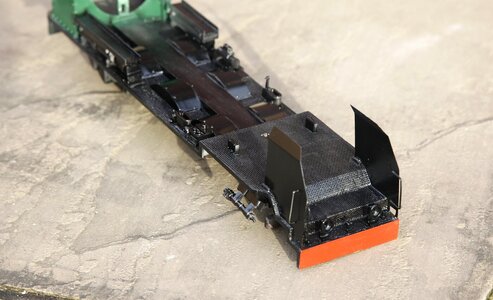
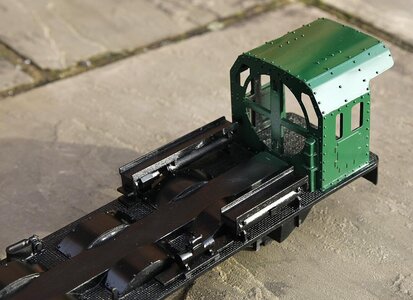
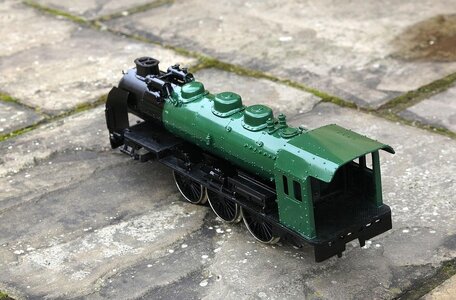
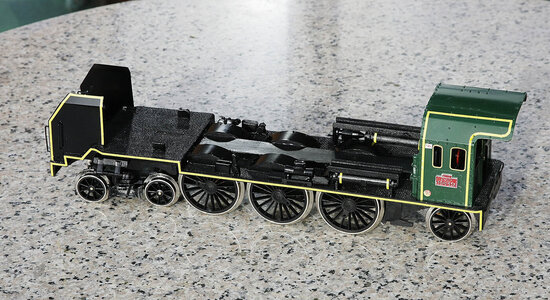
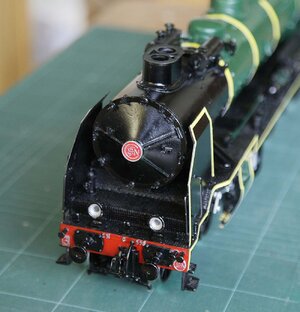
Hi, A quick photo update on the progress of the painting. The basics of the main chassis and cab are now painted and it is ready for all the detailing. I’m pleased with the way it came out. Next is the main boiler.


110.jpg

in real life it’s much darker green than it looks here, a bright sunny day for a change

111.jpg

I was surprised at how well the plastic mesh worked, it looks good

112.jpg

113.jpg
 
Last edited:
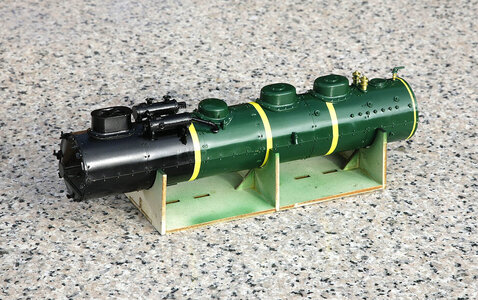
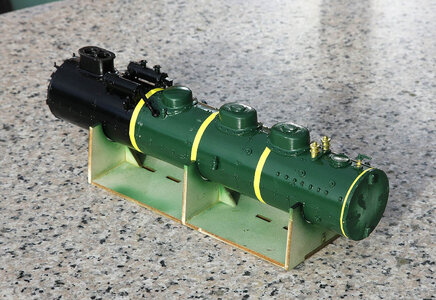
Hi Everyone. Today’s post is again just pictorial; it shows the continuation of the painting session. As you can see the boiler has now been painted and is ready to be pinstriped and detailed before being permanently attached to the chassis. I’m delighted with the finish that I was able to achieve, better that I had expected.

Thanks Stuart, yes there will be a place for you on its inaugural run, there will be a virtual restaurant car attached and everyone and their wives will be invited at no cost, tickets are free to followers.

106.jpg

107.jpg

108.jpg

109.jpg
 
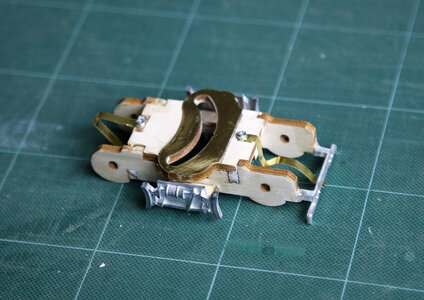
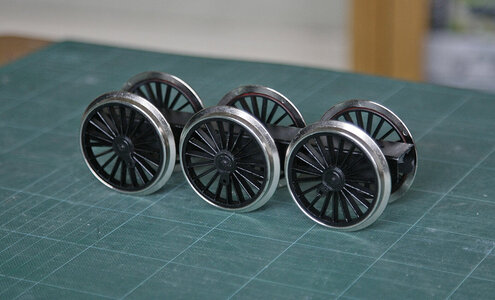
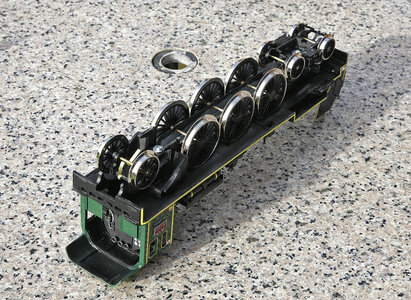
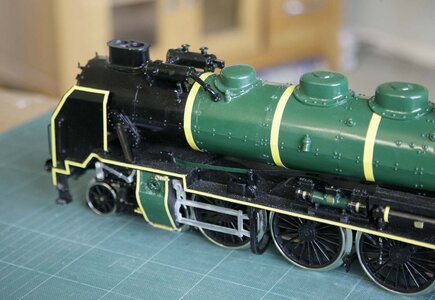
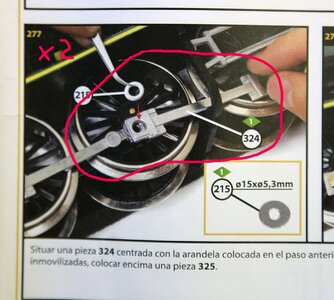
Hi, The build continues and despite the poor instructions all is coming together nicely. I’ve now made up and fitted the bogeys and the main drive wheels, I was surprised that the bogeys had suspension and not only turned but had sideways slide as well. I’ve added some smaller castings and started the pin striping which has gone on quite well and I think is starting to add real character. Next will be the striping to the boiler.
The observant amongst you will notice brass detailing and plaques etc on the cab, I'll get some close up shots later when the cab is finished and attach them.

097.jpg

098.jpg

123.jpg

124.jpg

125.jpg
 
Great work Ken!
Is it possible to get it motorized?
This beauty has to drive in a nice railroad layout!
Christian
Hi, I’ve come to believe that anything is possible in model making, so yes I think that with experience, that I don’t have it could be motorised. It would need planning at the outset of the build as quite a lot of modifications would need to be done. I have just about enough room to display it but certainly not enough to run it around the house without clearing out all my wife’s stuff, so it’s not even worth considering if I want to live in harmony
 
Hi, Continuing from my last post, I have now finished off the pin stripes. My arrangements for them was a little different from that shown on the box art and manual as there was no way that I would be able to get the vinyl tape to lay flat over the rivet heads and there are a lot of them so I had to arranged the spacing avoiding the rivets and other fittings. This was tricky as I also wanted the stripes to be evenly spaced but got there in the end. Next I can move on to the array of drive parts

120.jpg

121.jpg

126.jpg

127.jpg
 
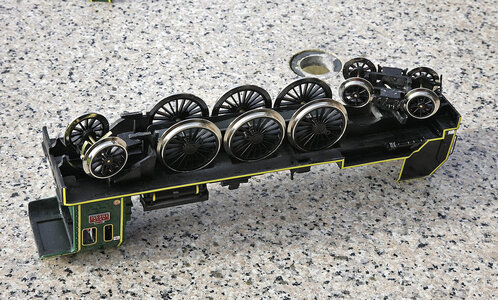
Hi, I've now started on the running gear. As the pictures show just a small update but they don't reflect the work needed. Some modification was needed for everything to fit, I had misunderstood some earlier instructions.

122.jpg

128.jpg
 
Hi, Some more pictures. The cab is complete, most of the chassis fitments are now attached, linkages, brakes and their frames are fitted and the boiler is now permanently attached. I hadn’t wanted to fit the boiler at this stage as it would be too easily scratched whilst on its side making up the running gear, but I’ve hit an issue and unless I want to put it to one side I will have to work on completing the boiler with its pipes etc.

There are twelve long crank rods when complete but with my kit two are missing, the same one on either side, so probably an error in packing, these are the main central ones so I can’t work around it and come back later.

It’s understandable to have pieces missing on a kit of this complexity, over a hundred different metal and cast parts, what maters is how the manufacturer handles the issue, how easy it is to communicate and how quickly the part is dispatched. Well Occre seem to have it very well organized, I went onto their site thinking to Email them for the part. On their home page their was a parts request section, just fill in the kit number as well as the part number, no explanation was required and within a few minutes I got an Email saying parts will be dispatched from the warehouse after two days. Congratulations Occre .

130.jpg

131.jpg

132.jpg

133.jpg

pacific 2.jpg
 
Back
Top