Oh yes, Marten, we are recovered and it was nice to just relax after two years of the pandemic.Hi Tobias,
Hope the dog enjoyed his holiday and you ofcourse as well.
Welcome back with fresh energy.
-

Win a Free Custom Engraved Brass Coin!!!
As a way to introduce our brass coins to the community, we will raffle off a free coin during the month of August. Follow link ABOVE for instructions for entering.
-

PRE-ORDER SHIPS IN SCALE TODAY!
The beloved Ships in Scale Magazine is back and charting a new course for 2026!
Discover new skills, new techniques, and new inspirations in every issue.
NOTE THAT OUR FIRST ISSUE WILL BE JAN/FEB 2026
You are using an out of date browser. It may not display this or other websites correctly.
You should upgrade or use an alternative browser.
You should upgrade or use an alternative browser.
POF La Palme (L'Amarante) Corvette 1744 1:36 (Ancre Monograph) by Tobias
Vielen Dank an alle für Ihre Kommentare und den ganzen "I love it-Button", sehr überwältigend, dass er so gut ankommt, danke, danke, danke.
Very good progress, Tobi!
@Tobias, How did you color the bolts, before or after assembly, possible you can show, how to fix this, BDW, exciting building log you have, follow your records when they come, Regards Knut-
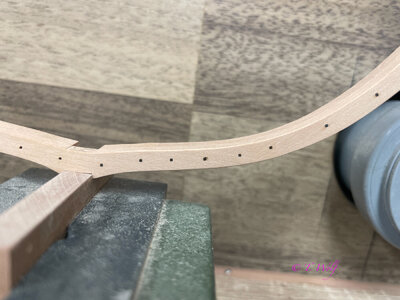
Hello Knut I colour them very carefully with the tip of a toothpick and only a little of the burnishing agent after installation. However, it is dangerous that the wood draws the colour.
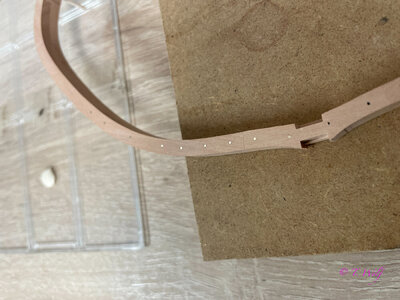
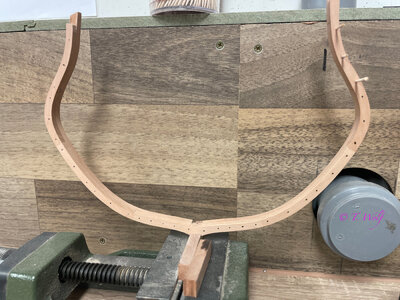
@Hoss6262 I drill a 0.7mm hole and then carefully insert the 0.6mm square wire with pliers and a small hammer. I cut the wire beforehand to approx. 11-12mm, the frame has 9mm on both sides, it is then filed flat.
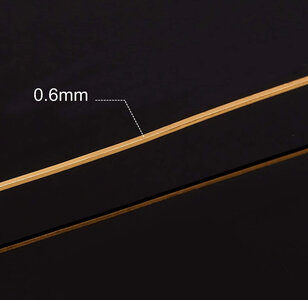
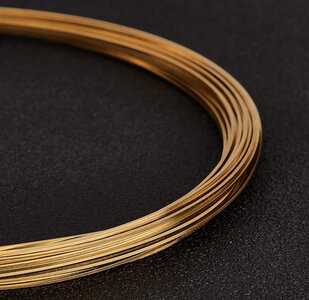
According to the plans of the monograph, the square bolt should only be 0.4mm. When I asked GD, the author of the monograph, the bolt was 0.4mm, but there was still a washer sunk into the wood and flush with the wood, the end was a little thicker and would protrude a little over the wood. @Olivers Historic Shipyard did that very well in the construction diary of his Redoutable.
@archjofo thank you for your compliment, I'll do my best. Johann much appreciated.
Very good result with the bolts - I will try this method on my next ship
Day 2:
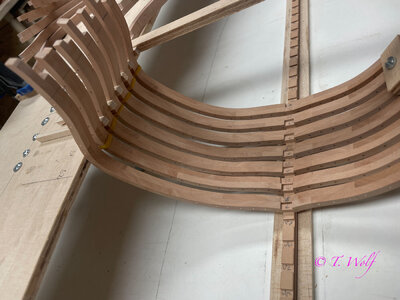
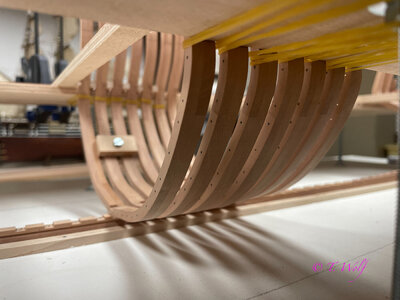
Measure the hole pattern of the frame exactly, mark, drill holes, insert bolts, file off bolts (first use a file, smooth with 240 grit sandpaper and then polish with abrasive wool), blacken bolts and then come the upper tree nails at the end.
Exactly in that order. Working time per frame about 1 hour. I've definitely been busy for a very long time.
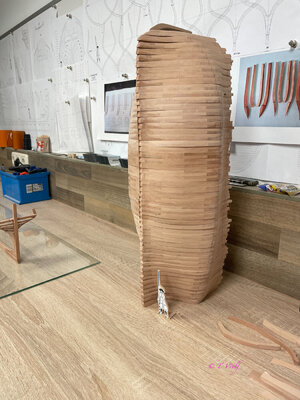
If we now imagine the following:
You won't see half of it because it disappears under the planks and the other half will probably be cut away if I open the side, i.e. 3 frames then a whole one again, etc. But I know that they are there .
.
Well we'll see.
Thank you all again for all the likes and comments, you are a great support.
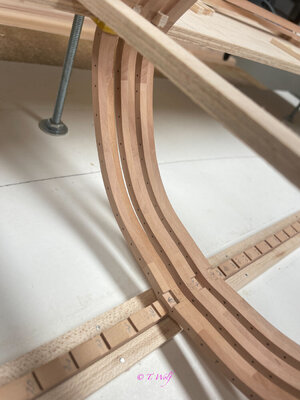
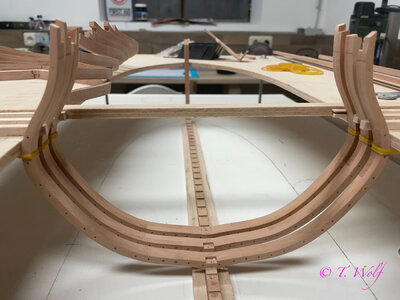
Measure the hole pattern of the frame exactly, mark, drill holes, insert bolts, file off bolts (first use a file, smooth with 240 grit sandpaper and then polish with abrasive wool), blacken bolts and then come the upper tree nails at the end.
Exactly in that order. Working time per frame about 1 hour. I've definitely been busy for a very long time.
If we now imagine the following:
You won't see half of it because it disappears under the planks and the other half will probably be cut away if I open the side, i.e. 3 frames then a whole one again, etc. But I know that they are there
 .
.Well we'll see.
Thank you all again for all the likes and comments, you are a great support.


It going to be some build Tobias, looks very nice wood to work with
- Joined
- Apr 20, 2020
- Messages
- 6,239
- Points
- 738

Dear Tobias,Day 2:
Measure the hole pattern of the frame exactly, mark, drill holes, insert bolts, file off bolts (first use a file, smooth with 240 grit sandpaper and then polish with abrasive wool), blacken bolts and then come the upper tree nails at the end.
Exactly in that order. Working time per frame about 1 hour. I've definitely been busy for a very long time.
If we now imagine the following:
You won't see half of it because it disappears under the planks and the other half will probably be cut away if I open the side, i.e. 3 frames then a whole one again, etc. But I know that they are there.
Well we'll see.
Thank you all again for all the likes and comments, you are a great support.
View attachment 317086
View attachment 317087
the frames looks wonderful , I admire your Accurate and beautiful woodwork.

Very accurate work - looking very good my friend.
I hope to see this project next year during our meeting in Hattersheim
I hope to see this project next year during our meeting in Hattersheim


