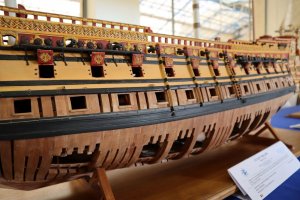
Saint-Philippe 1693-POF to the Monograph by Jean-Claude Lemineur by NMBrook-1/36

Hi all
I have been spending a little cash today after watching numerous YouTube reviews and some serious thinking.
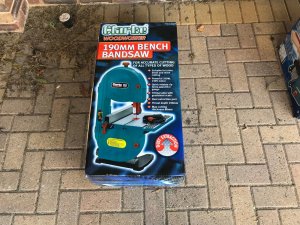
Firstly,I have mentioned I was going to purchase a bandsaw for cutting the frames out and ripping stock.Now after discussing this with the sales chap in the tool shop I made a decision.The problem I have is I need a narrow blade to follow the curves of the frames but I also ideally want a wide blade to rip stock.Here in lies a problem.To buy a machine that gives you this selection of blades,I need to spend serious cash.I am not starting a cabinet making business,I only need the machine for this build so it does not need to be rated for continuous use.
I picked a small machine that uses narrow blades and is half the price of Proxxon's equivalent.I have bought many things made by this manufacturer and their spares back up is second to none.The machine does have blade guides both above and below the table(the latter as I understand is not always a given but gives a more accurate cut stopping blade flex).These guides are crude but can easily removed and replaced by a homemade system using ball races.I don't mind tinkering given the price.I will post results when I get to that stage.If I need to buy another machine to cut the thick stuff,so be it,two machines are still cheaper than one 'universal' one.
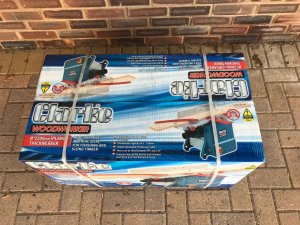
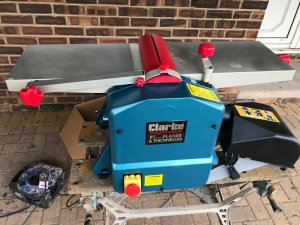
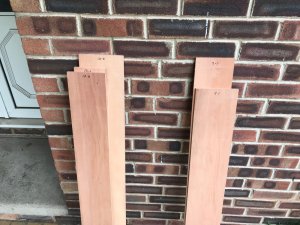
Now onto stock thicknessing.I was going to dig deep and buy a Byrnes thickness sander,this is not cheap after shipping import duty and tax is added.Further thinking and the fact that my frames are tapered in two planes made me think this was an unnecessary luxury.Infact nearly everything on this build is tapered.The tight tolerance and surface finish is only going to be removed by further work.So I spent some more cash on a reasonably priced planer/thicknesser.I have put this to the test and planed the timber I have acquired so far with results within 0.1mm.There is a slight 'ripple' from the cutting which will only require the lightest of sanding on any exposed faces.There is also a 'snipe' 50mm in from each end meaning these ends are scrap.This is common with planers and is no big deal.I include some pics including my first batch of 'sized' timber.
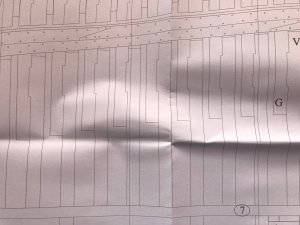
Next job is to sort my plan crease removal and copying.

Kind Regards

Nigel

sp12.jpgsp13.jpgsp14.jpgsp15.jpg
 
Hi Jim ROTF
Strictly speaking I have bought them before the house although we are hoping to complete the purchase on the house by the end of April;)I am just proving my theories at the minute.Once that is sorted and we are settled in,I can gear up for mass production.

Kind Regards

Nigel
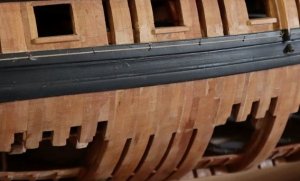
 
Looks like some very nice pieces of equipment Nigel.

Regards,
Bill


Thanks Bill

Yes,I hope they should be adequate for my requirements.Whilst I could have spent a fortune on the above,that isn't the point,I believe that you don't need to have a full professional workshop to achieve the same result.It is about reaching a balance.Yes you could actually build this model with no power tools whatsoever but that would probably quadruple the build time.

Kind Regards

Nigel
 
Sorry for the flood in your log, Nigel. I and Admiral live in an apartment building. My Admiral already adjusted to noise from Proxxon lathe and high pitched rotary tool. She wouldn't mind another machinery (dust and noise included), but I am afraid, my dearest neighbors wouldn't like this idea... I don't blame them, I guess...

Until then, I will enjoy watching your machinery in action. :cool:
 
Hi all,
Other than planing down another batch of Pear I had delivered,not a great deal has happened due to covering holidays at work and organising things for our impending move.
I have managed to 'iron' 10 of the plan sheets.I only focused on the areas running down the middle lengthways where they had been folded double thickness.Too much and it was obvious they would start wrinkling.
With most of my tools boxed up now,I have started to study the drawings in detail at least with respect to the framing.

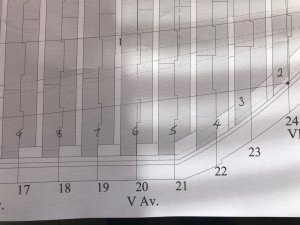
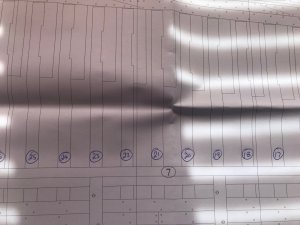
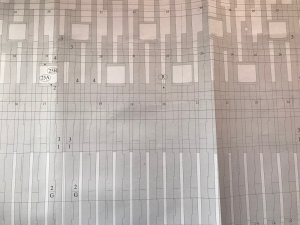
The first job was to number the frames from bow to stern on the drawings.These are already done but the system uses the traditional method work from'dead flat' midships forward and backward.I know this was asking for possible mistakes so numbered from the first frame 1 through to the last 61 at the stern.

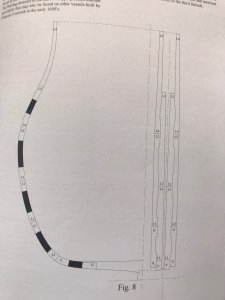
The Biggest challenge in constructing the typical 'sistered' frames used in French design is the fact that the two halves are mortice and tenoned together on this vessel.This was used to prevent slipping between frames which contributed to hogging of the keel.This is the reason I have two different thicknesses.The morticed frames are 9mm thick overall but the frames that incorporate tenons are 10.5mm to allow for the tenons which protrude 1.5mm.
The first pic shows a drawing illustrating a typical section.The mortices being in solid black.
The second pic shows my numbering on the framing body plan
The last pic shows the numbering on the flooring plan.Notice the difference,this has yet to be ironed.

Kind Regards

Nigel
sp16.jpgsp18.jpgsp17.jpg
 
The positions of these mortices is drawn in the side elevation.Note the ends of these are perpendicular to the outer face of the frame not horizontal.Each one will have to be measured vertically from the body framing plan in relation to the keel and transferred onto the cross section of each individual frame.These will then be drawn across perpendicular on the frame cross section.The measured height is only true with respect to the mortices position on the outer face of the frame.
Because the framing plan cannot be used to establish the mortices on the bottom of the hull(it is a side elevation) the flooring plan will have to be used.This time measurements will be taken from the centreline bow to stern on the plan.The difference is that these will be the position of the mortices on the inside face of the frames as this is a view looking down on the vessels structure.Again the ends of these mortices will have to be drawn in perpendicular to the outer profile of the floor timbers.
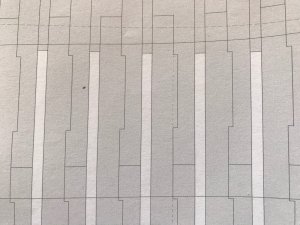
I plan to transfer these positions once I have had copies made as I wish to use possibly red to illustrate them.If everything was a black line,there would just be too many black lines possibly resulting in error due to confusion.Some pics of areas of both framing and flooring plan showing the many mortice and tenon joints present on this vessels framing

Kind Regards

Nigel
sp19.jpgsp20.jpgsp21.jpg
 
Thanks Uwe,yes I am trying to go into great detail of the trials and tribulations of building a model like this.Very few POF builds from scratch do not seem to detail the thought process involved.I hope this will provide a more detailed account and provide a valuable point of reference for others.

One issue I have to worry about which is not so prevalent in Michel's great model is timber movement due to the huge size.I have spent a great deal of time reading threads from Dr Mike and how he engineers his models around this.The concern lies in the fact that Pear is a very absorbent timber and expands due to humidity at a greater rate across the grain as opposed to along it.Although Dr Mike does not build models in the POF style in a traditional sense,he gets around the problem with having points in his pine hull halves that are pegged but not glued.
With a view to the fact that the infill timbers on this hull from the wales upwards create a solid 'wall' of vertical Pear which would expand at a much greater rate than the keel and any planking fitted,I will need to include some sort of movement joint.I am considering to include small gaps between infill and frame possibly at 6 or more positions to accommodate this movement.Brass dowels would allow the frames to swell but prevent sideways movement.

Slightly unrelated,but I wonder if anyone can point me in the right direction regarding the connection of the two frame halves.After hours scouring the French forum I have found that the futtocks were secured with 4 bolts driven from one side and 2 bolts driven from the other.No info is offered to the design of these bolts although I did find a period document chartering sizes of nails used by the French.My question is,what are these bolts like?Do they run completely through both halves?Do they have a head on one end and secured by washer and wedge on the other?In this large scale I intend to try and replicate these authentically,at smaller scales a simple pin would suffice.Bernard Frolic's book was no help either.His frames are devoid of any form of bolt representation.

Kind Regards

Nigel
 
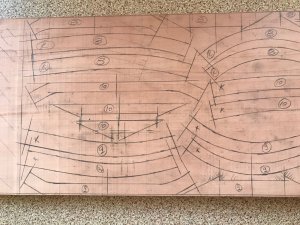
Another small update.With my continual frustration of most of my tools boxed away for our move,I decided to revisit the process of transferring futtock profiles on to timber for cutting.Whilst I was planning on gluing copies of each item to the wood to cut out,I did have a few reservations.
Cost-I would need 5 copies of ten massive drawings,at nearly £4 each,this would be the thick end of £200
Distortion-there is always a risk the copy may not be exactly the same as the original
Finally"Fuzzy Lines".Whenever I have done the process and the item is machine sanded to take back towards the line,the paper furs up and it is hard to distinguish how close you are to the actual line.

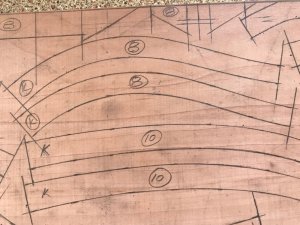
Keen to have a go and put my new bandsaw through it's paces this Bank Holiday weekend,I took inspiration from Bernard Frolich.Back to basics and using tracing paper I transferred the profiles to the sheet of Pear.Bernard describes the process as using a "grease" pencil.After advice in the art shop I purchased some black Chinagraph pencils which work ok.I drew over the lines in pencil to make them clearer as the lines were rather faint with the aid of a ruler and flexicurve.
The K on the end of each futtock denotes which end goes towards the keel

Kind Regards

Nigel

sp22.jpgsp23.jpg
 
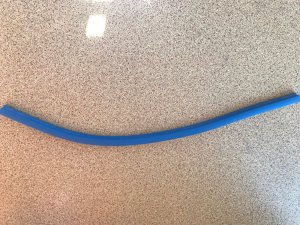
Thanks chaps,yes the straight lines were drawn over with the aid of a ruler.I marked points then drew in the curves using what is called over here a flexy curve,it is rubber with a soft lead core that you bend to whatever curve you need.You could use a set of French curves Jim,but this item is cheap as chips from the likes of WHSmith in the UK.

Kind Regards

Nigel
 
Back
Top